My 2012 MacBook Pro has not received a system update for four years now. This begins to cause inconvenience in work: the browser does not display websites correctly, some applications sometimes show a white screen, and the main working applications have stopped updating because they require a newer OS.
I will also say that sometimes I like to reinstall the system and configure it from scratch, because this way I more accurately understand what is really important for work and what is unnecessary trash.
I was inspired by the video and decided to try installing the unsupported system on my computer just for a fun.
Where do we start?
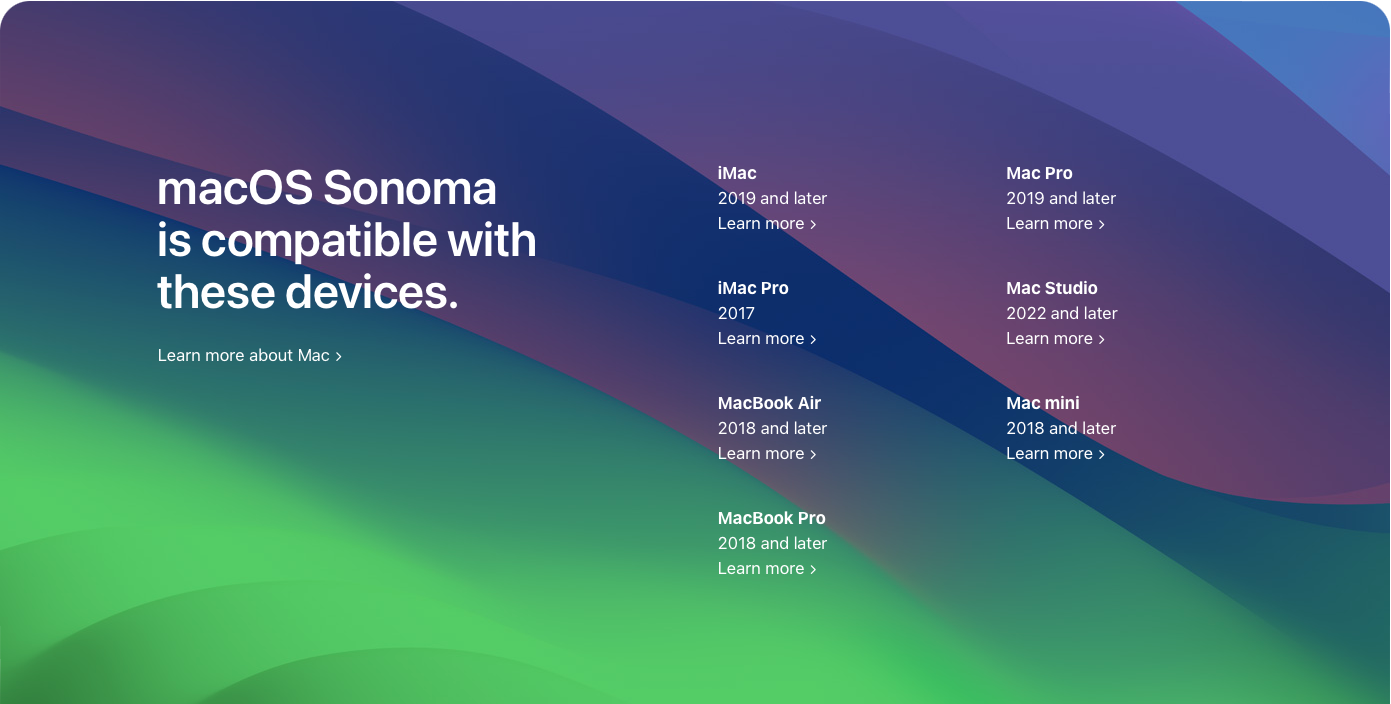
macOS 14.1 is only compatible with the following computers, Apple says.
However, a project “OpenCore Legacy Patcher“ appeared in the community of restless developers. Open source, documentation and active community support - just the way we like it.
This utility solves the problems of the entire installation cycle of a new system:
- download the installer for the desired system;
- make a bootable USB flash drive;
- install updated bootloader;
- accompany the entire process with documentation.
Therefore, all we have to do is find a flash drive at least 16GB and a couple of hours of free time. Before doing this, do not forget to transfer information that you do not want to lose from the main disk with the system.
The entire installation process is briefly described in the documentation, but this information was enough for me.
Create a bootable USB flash drive
Download the latest release from the project page on GitHub. And we launch the application. It will carefully greet us with a clear menu.
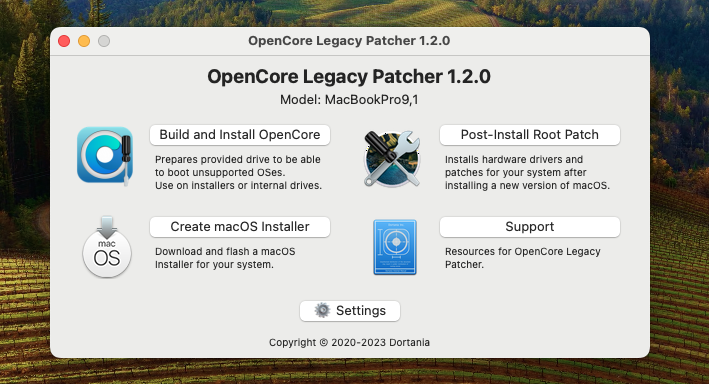
We are interested in creating a system installer.
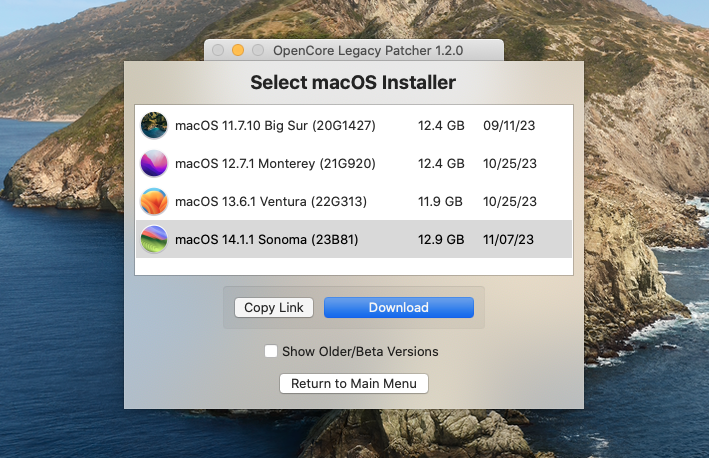
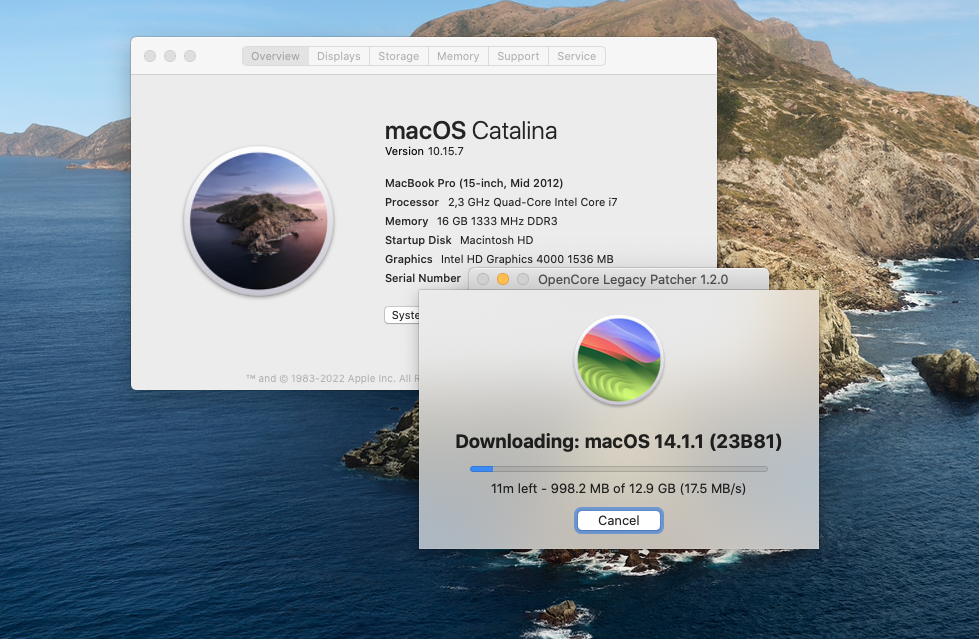
After the installer is downloaded, the utility will offer to burn the system image to a USB flash drive.
The next step is to select the “build and instal OpenCore” from the menu. The utility will collect the patches necessary for your computer and install the bootloader on the flash drive. This is necessary so that the system installer does not complain about old, unsupported hardware.
And then all we have to do is start the installation process through a custom bootloader from a flash drive.
Installation process
Before starting the installation, just in case, I format the disk where the system will be installed so that there are no leftovers from the old one. And I install it as if everything is as it should be.

Be prepared that during installation the computer may reboot several times and display an error screen. Either there is no system, or there are still some problems. This is normal. This is because we have not yet completed the entire installation process and the correct bootloader is not yet configured by default.
In this case, you calmly turn off the computer with the power button, again select boot via a USB flash drive, and the system installation continues on its own.
I needed to do this 3 times. Each time I worried that I had started all this in vain, but the progress bar was still moving towards success.
Installation completed
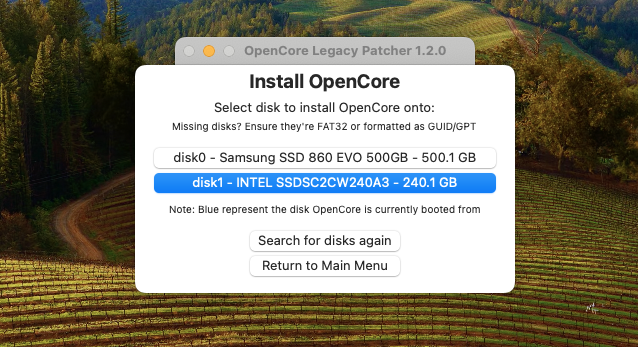
After the installation process is successfully completed, you will need to open the OpenCore utility again (it will already be installed by the application on the system) and install the updated bootloader on your hard drive so that the system boots correctly without a flash drive.
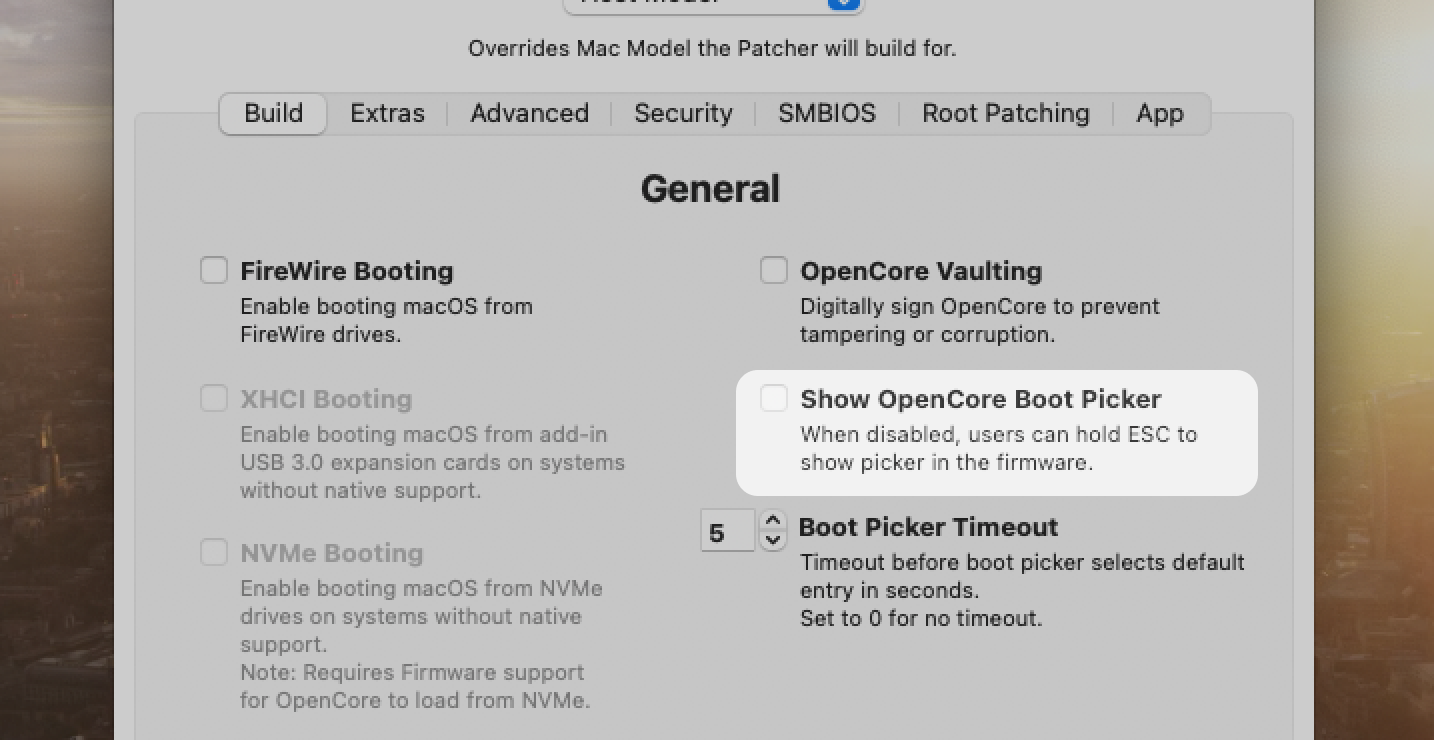
If you wish, you can disable boot loader selection at system startup in the utility settings. There is also a point about this in the documentation.
Then install OpenCore to main disk.
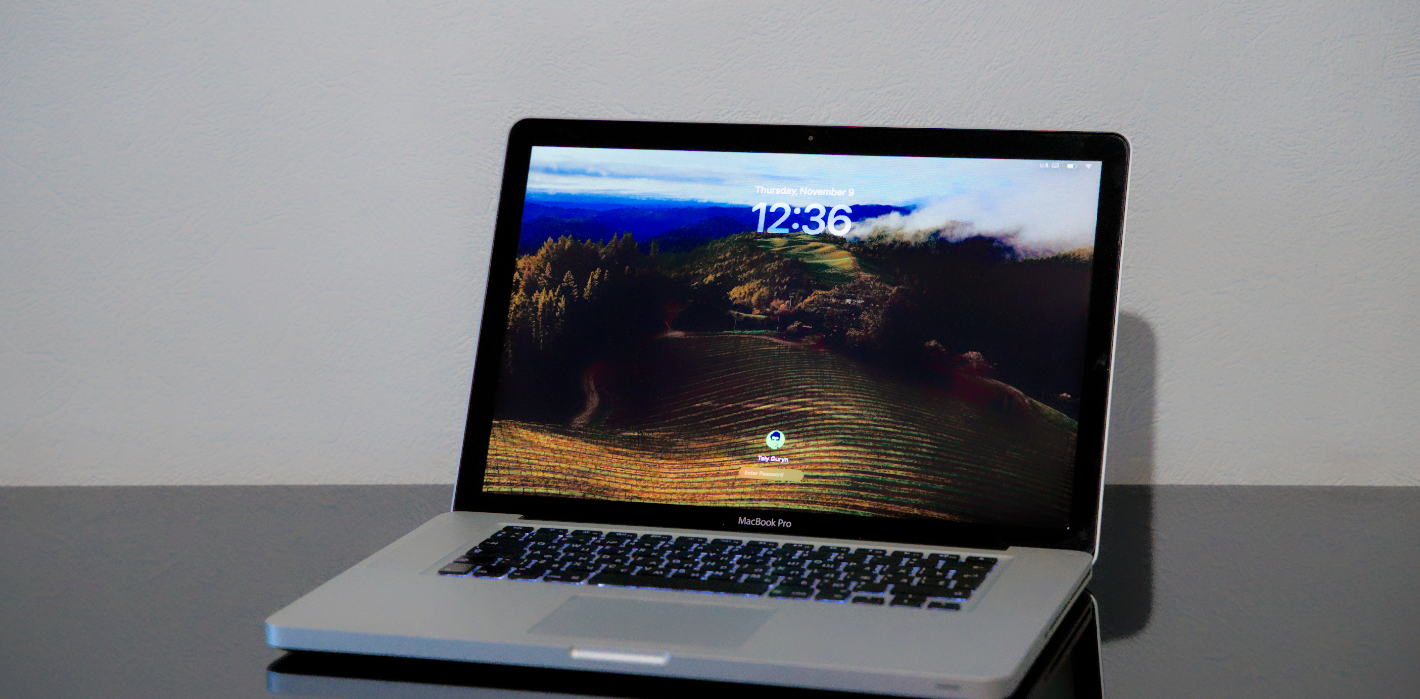
OK, it's all over now. We reboot the computer, remove the flash drive and get a fully working system on the old computer that did not support it.
Was it worth it
[Absolutely] yes.
The computer works [no worse than before], which is already cool. And everything works correctly. All new software functions also work. For example, I can connect my phone as a wireless webcam. I have installed all the latest versions of the programs I use. I can finally try out the latest software that required macOS 11 or 12.
Even though this computer is 11 years old, it is still cool because it can solve my problems. And I can easily replace the battery, upgrade hard drives or RAM. And I'm glad that the system update has breathed new life into it.
But.
After a week of use
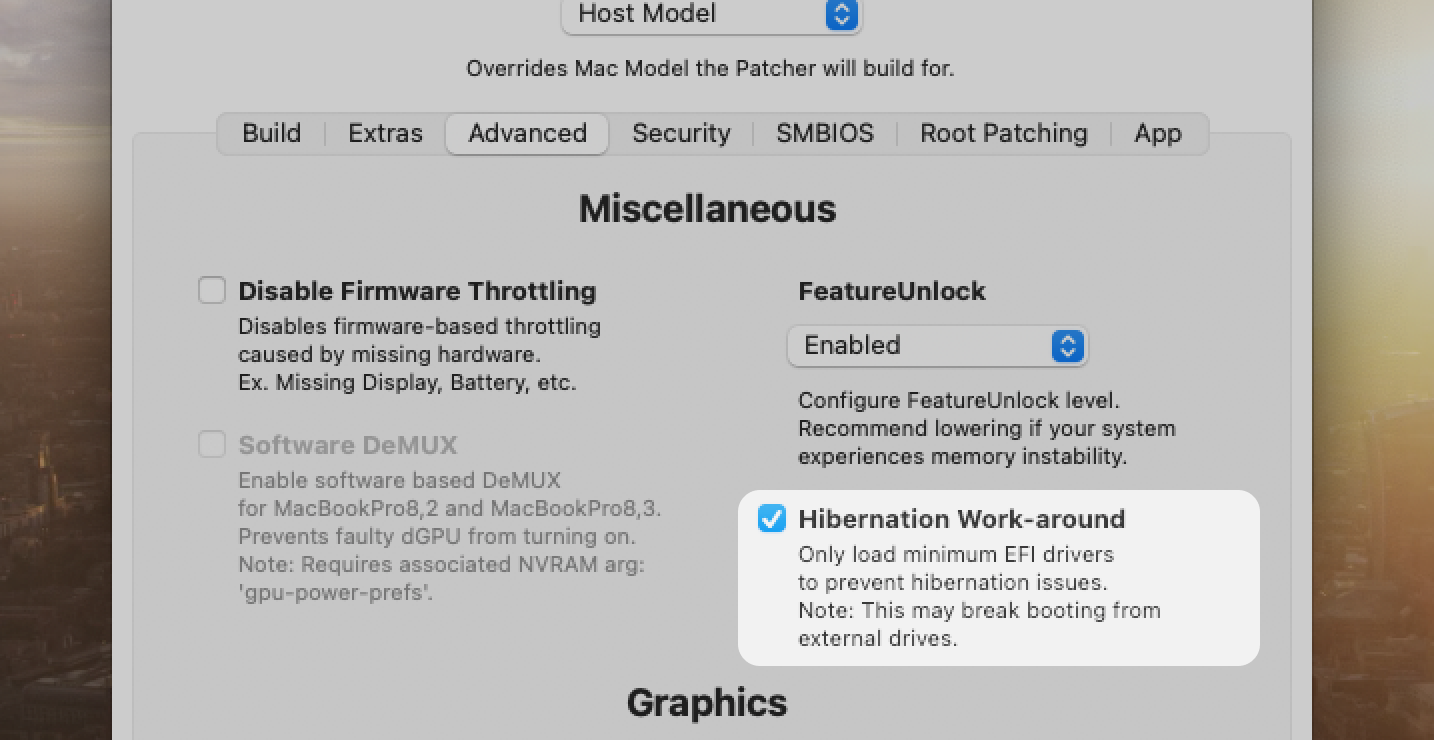
I noticed a problem with a hibernation. The laptop sometimes turns on involuntarily in the backpack and begins to heat up due to some processes. It tries to cool itself down from the heat and turns on the fans to maximum. The fact that it can discharge like this is not the worst thing. If it does not cool itself, problems with the board may arise, and this is already critical.
I tried to activate the option "Hibernation Work-around". So far the problem has not recurred, but the difficulty is that this happens under unclear conditions. They continue to watch.
I noticed an inconvenience that these OpenCore settings are not saved when installing and restarting the program. So far, when installing a new patch, I have to remember two places where I made changes.
And today I saw this. I don’t know whose fault it is: my computer, the patcher or the system itself.
Second week of usage
There are still problems getting out of sleep. The fans still sometimes turn on when the lid is closed in the backpack. Sometimes there are problems with graphics in the form of artifacts on the screen. Some applications cannot start and freeze.
Installing system updates
After installing official updates, you need to flash the kernel.
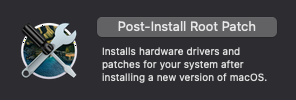
Wi-Fi and video card drivers did not work for me without this.
3 month of usage
In general, everything is ok. I'm still enjoying the new system more than it's challenging. I sometimes continue to worry about waking up from sleep mode: a couple of times a week I have to restart the computer because it cannot wake up from sleep properly.
There are still cases when a closed laptop wakes up on its own, turns on the fans, works and discharges to zero.
Problems with graphics come up a little less often. I still don’t understand, is it just instability of the system on old hardware and driver curves, or my laptop will die soon.
But I still don’t regret anything.
New Ideas
After another sudden reboot, I read the error report and went looking for something similar on the Internet. I found two possible solutions: reset NVRAM and disable automatic switching between video cards. I'll try both.
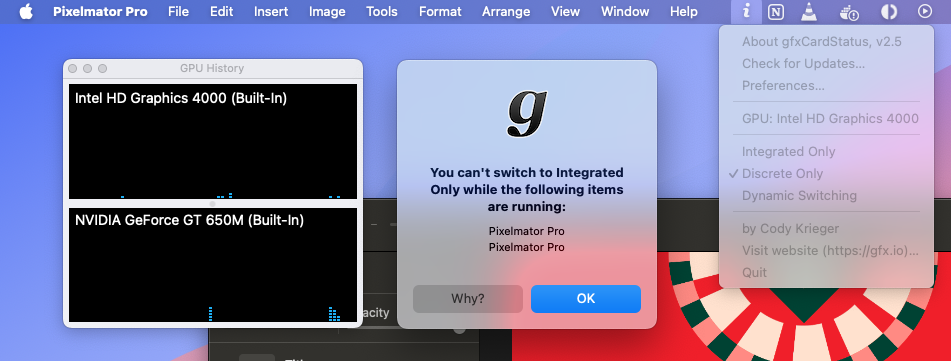
Discrete Graphics Problems
I noticed that problems with graphics sometimes begin after the computer is idle for rest, or when charging is connected. With the "automatic graphics switching" option enabled, I loaded the computer and noticed that when switching to a discrete card, artifacts appeared again.

It turns out that the problem is in the poorly functioning drivers of my second computer video card.
This utility helped me force use of the integrated video card.
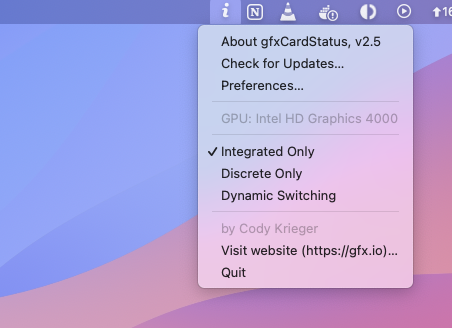
But not for all applications. Some still require an additional video card. I still don’t understand what to do with this.