GPG (GNU Privacy Guard) signatures is used for the verification purposes of emails, text and other messages. Firstly, the project was called G10 in honor of Tenth Amendment to the Grundgesetz, constitution of the Federal Republic of Germany.
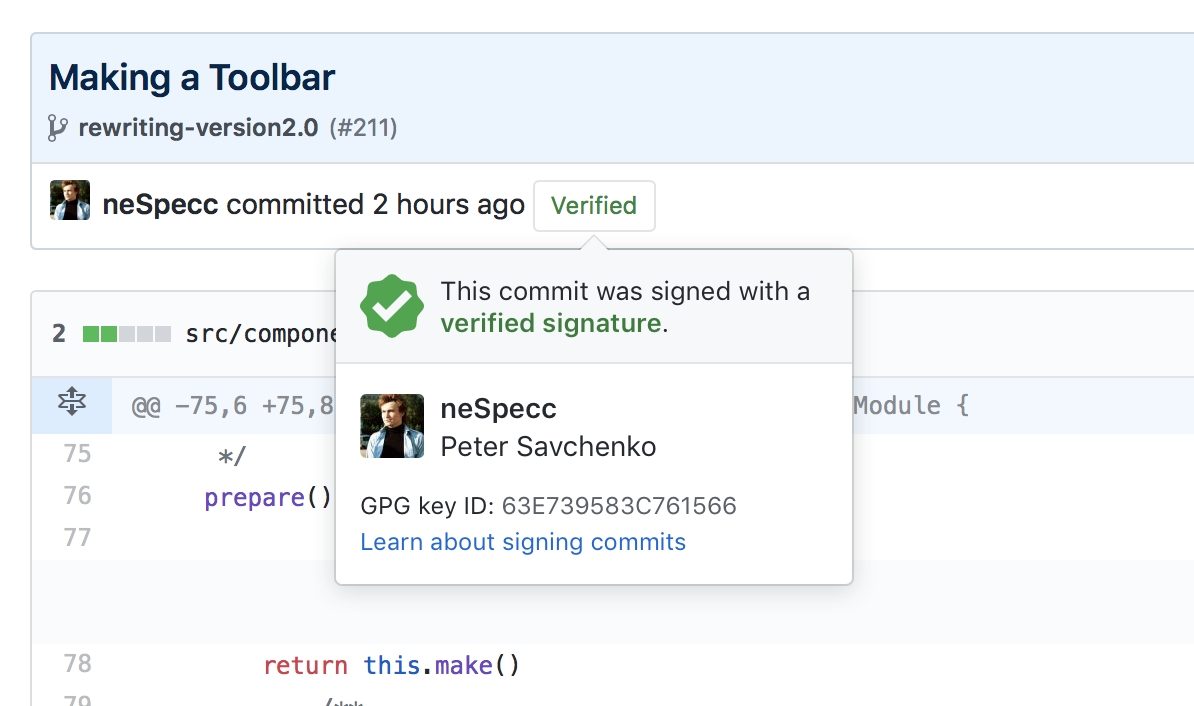
Particularly it is used to sign git-commits, to verify work from trusted collaborators on the GitHub.
What is GPG
One of the most well-known software for the encryption and digital signatures verification called PGP — Pretty Good Privacy — was built in 1991 by Phil Zimmermann at United States. The program will actively used abroad that was restricted and considered as munitions within the definition of the US export regulations. Author became the formal target of a criminal investigation, but he found a solution — source code was published in book via MIT Press. Books distribution is protected by the First Amendment to the United States Constitution proclaiming the freedom of press.

PGP became widely used and for the solving of patents issues in 1997 PGP Inc. was announced the open standard called OpenPGP. He got an open-source implementation in 1999 by German developer Werner Koch. The project called GNU Privacy Guard (GnuPG or GPG).

Okey, lets have a look how GPG is used for the commits verification on the GitHub, GitLab and other platforms.
How to set up a GPG git verification
1. Download and install a GPG from the project's homepage or via Brew
2. Open Terminal (on Windows use Git Bash) and generate a key.
gpg --full-generate-key
Chose RSA and RSA type, 4096 size and the expiry date.
Make sure that the email your entered is the same as you used for the GitHub account.
3. Print keys list and copy ID of the generated key's fingerprint.
gpg --list-secret-keys --keyid-format LONG
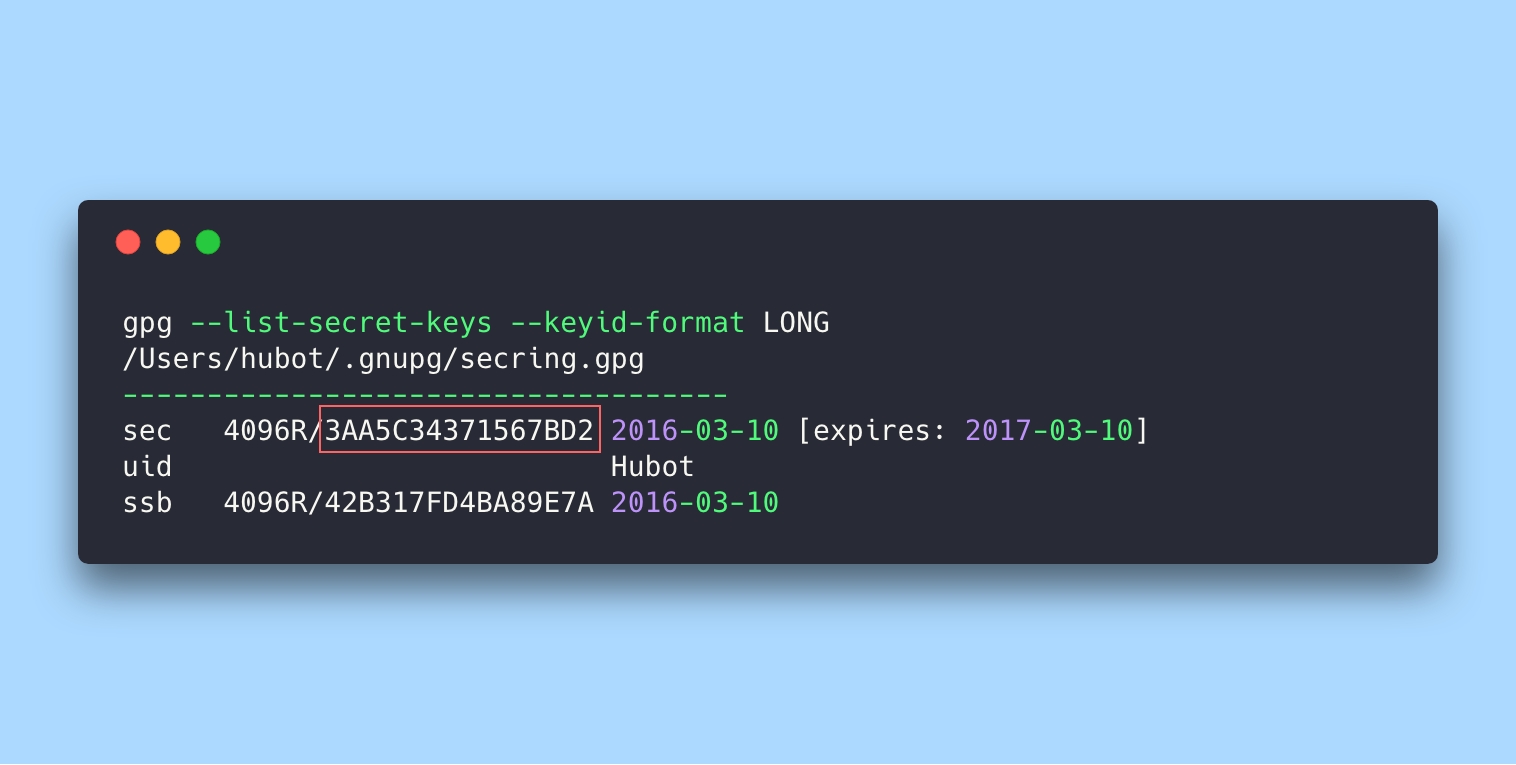
4. Export the key at ASCII-format by its ID.
gpg --armor --export 3AA5C34371567BD2
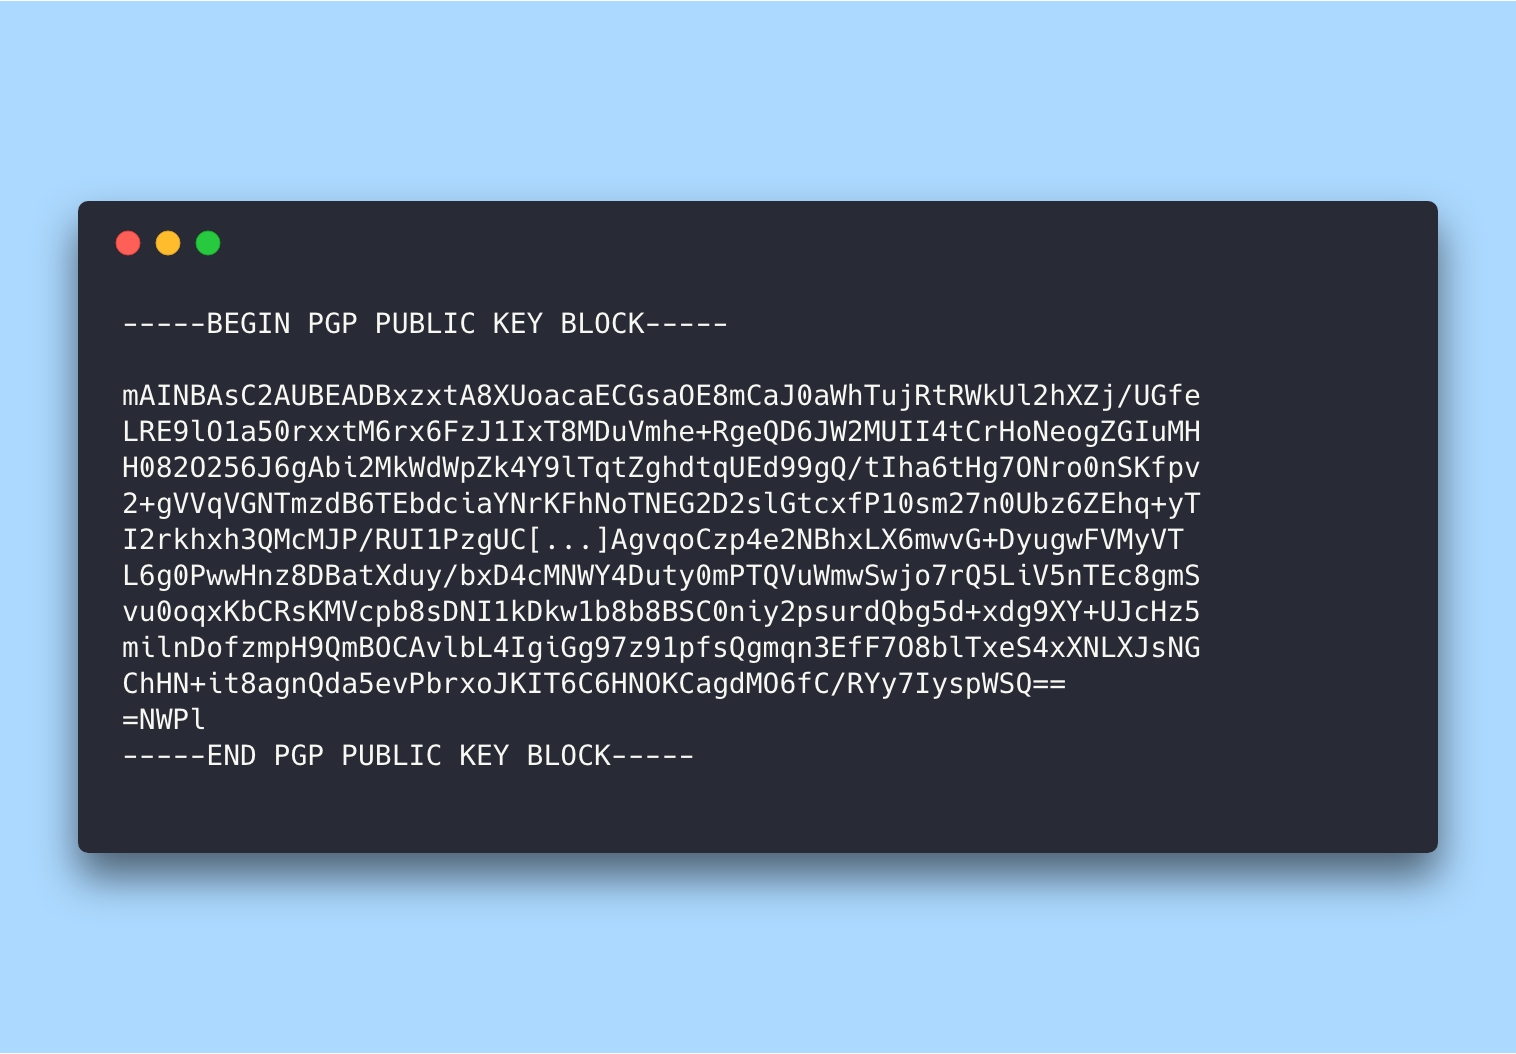
5. Copy the key and add it to the GitHub's (or GitLab's) account settings page.
After that you can sign any commits working via Terminal:
git commit -S -m your commit message
# Creates a signed commit
The -S flag means a signed commit. You may be asked for the code phrase you entered on PGP-key generation.
How to set up GPG verification at the GitHub Desktop
Official GitHub Desktop application does not support GPG signing, but there is a way to add the feature manually.
Ask a git client to sign all commits and tell him the key.
git config --global commit.gpgsign true
git config --global user.signingkey 3AA5C34371567BD2
Add the no-tty option to the GPG configuration file and specify the program location
For macOS
echo no-tty >> ~/.gnupg/gpg.conf
git config --global gpg.program /usr/local/bin/gpg
For Windows
sed -i '/^no-tty/d' ~/.gnupg/gpg.conf
git config --global --unset gpg.program
For now all commits created via GitHub Desktop will be signed and verified. Client can ask you a GPG-key code phrase with the first commit.
The instruction for the GitLab is a quite similar.
2023 Update. Use your public SSH key for signing
One of the painful problem of GPG verification was the necessity of renewing a PGP key every year. Since git version 2.34 there is a solution for that.
You can use your public SSH key for commit signing. It's a persistent key so you don't need to update it and keep gpg-agent running.
If your git version is less than 2.34, you need to update it first.
git --version
Setup a GPG for using SSH
git config --global gpg.format ssh
git config --global user.signingkey /home/<user>/.ssh/id_rsa.pub
git config --global commit.gpgsign true
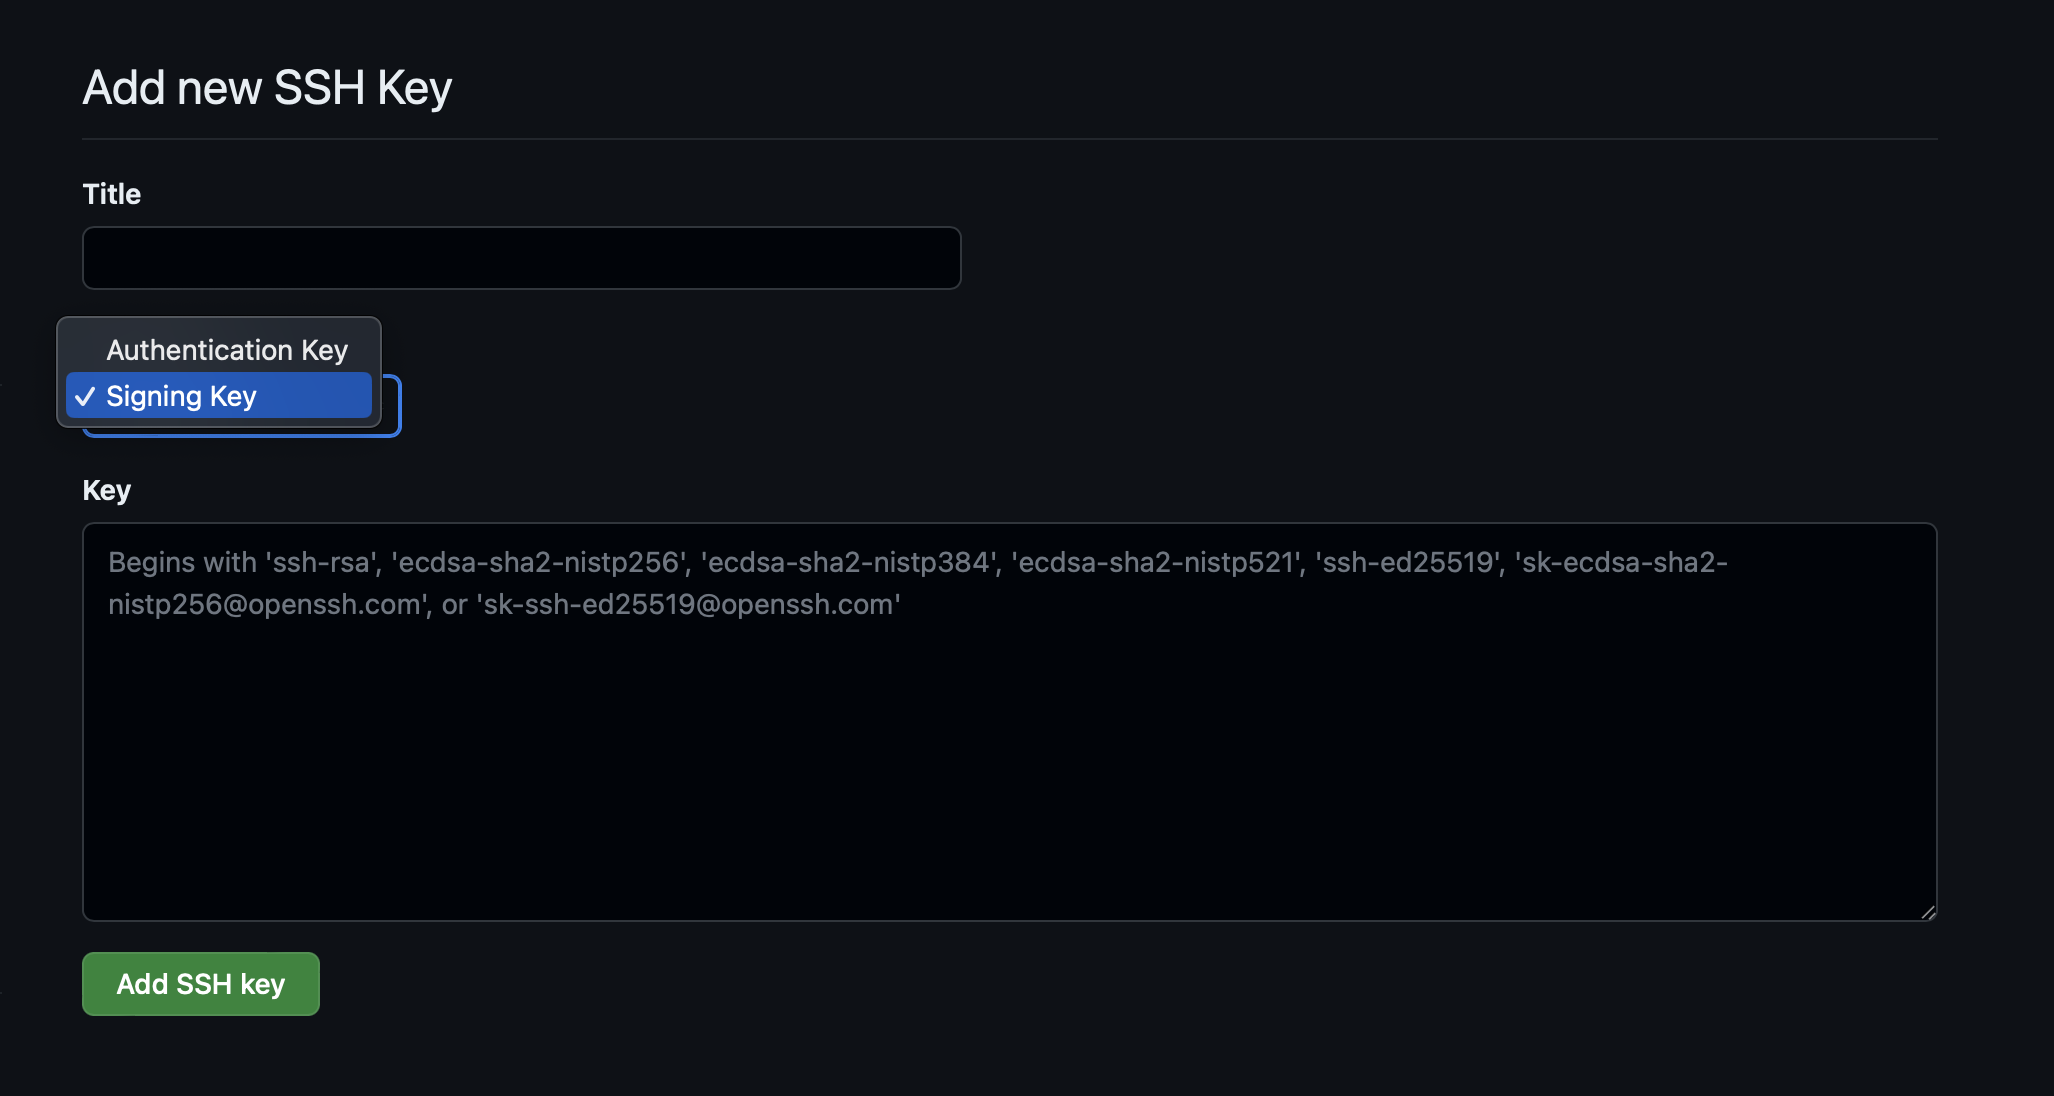
Then open GitHub and add your SSH key as the Signing Key:
https://github.com/settings/ssh/new
That's all. Now you don't need to update the key every year.