Almost 4 months of hard work, experiments, ideas, and fun.
There will be a lot of photos in the article.
CodeX Lab is our non-profit educational initiative for young enthusiasts around the world that would like to work in a team. CodeX core members will become mentors for CodeX Lab residents. Together we’ll make open-source products and many experiments in software engineering.
Read more: https://codex.so/lab
Design project
We made our own interior design project for the first time.
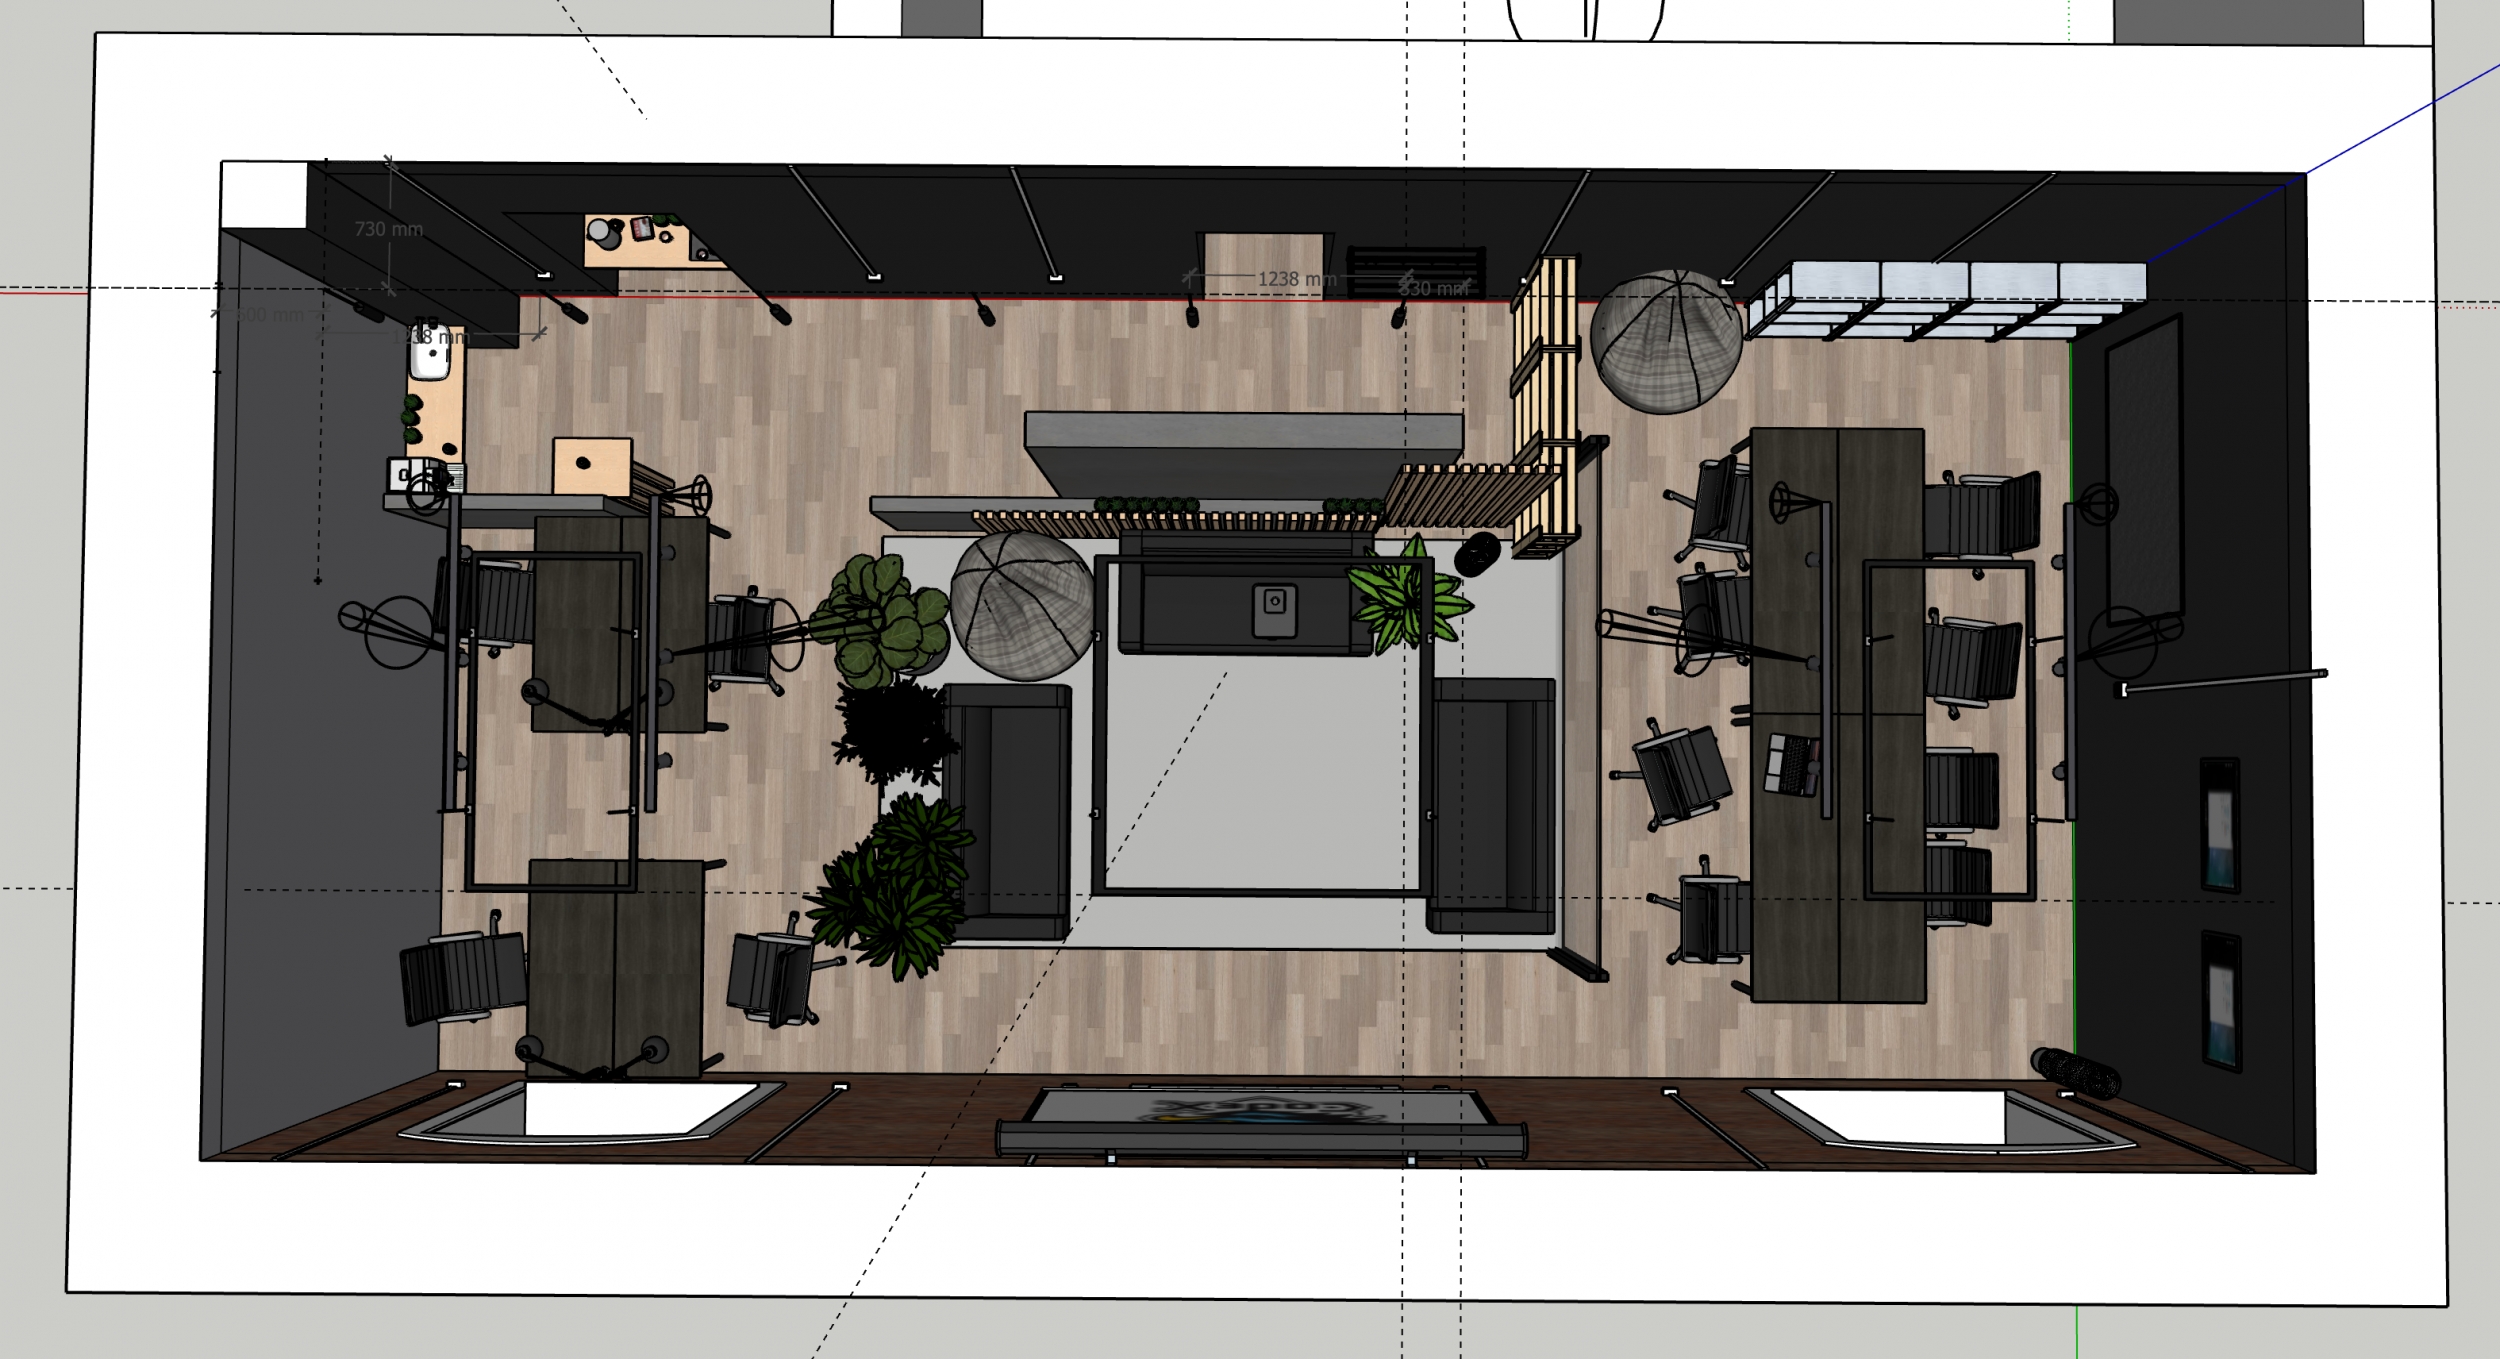
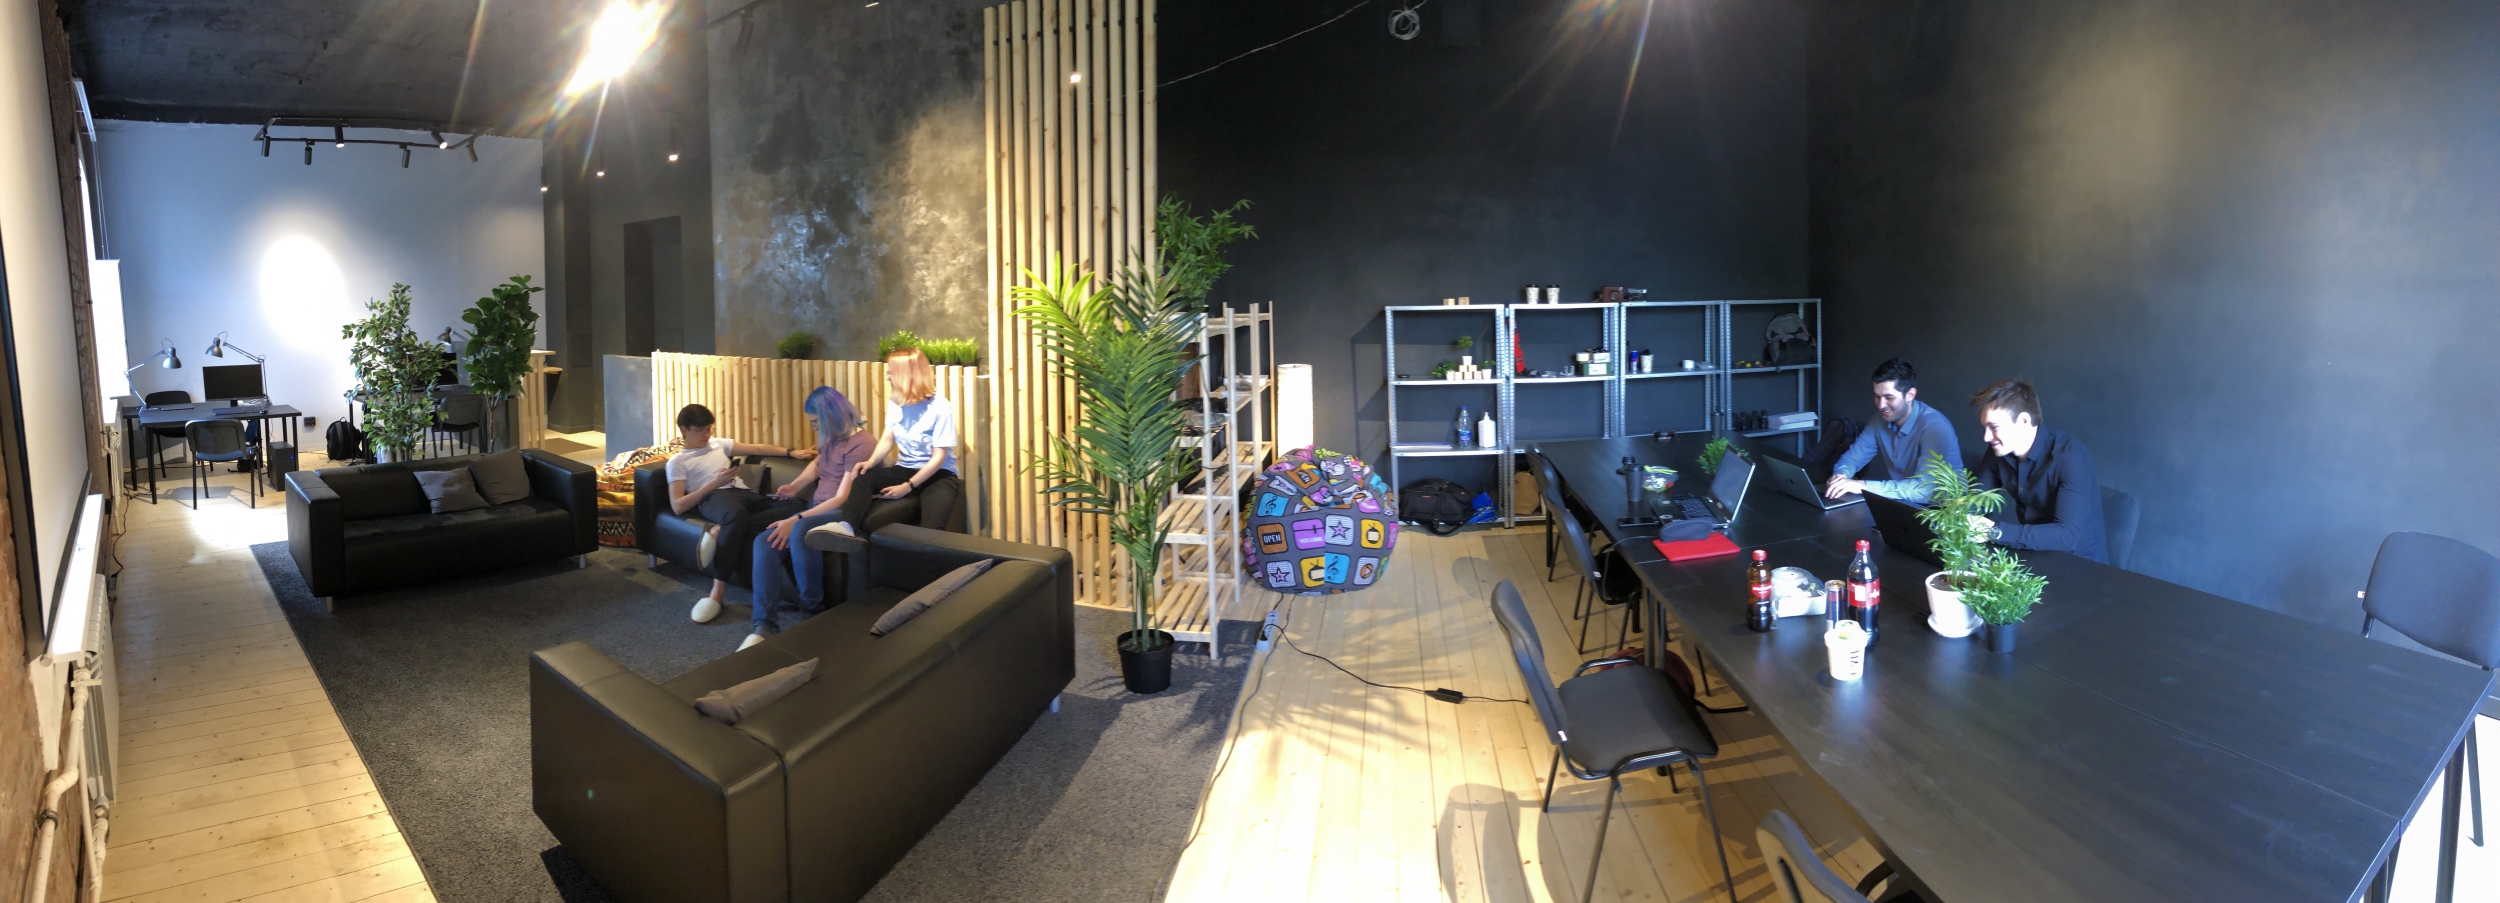
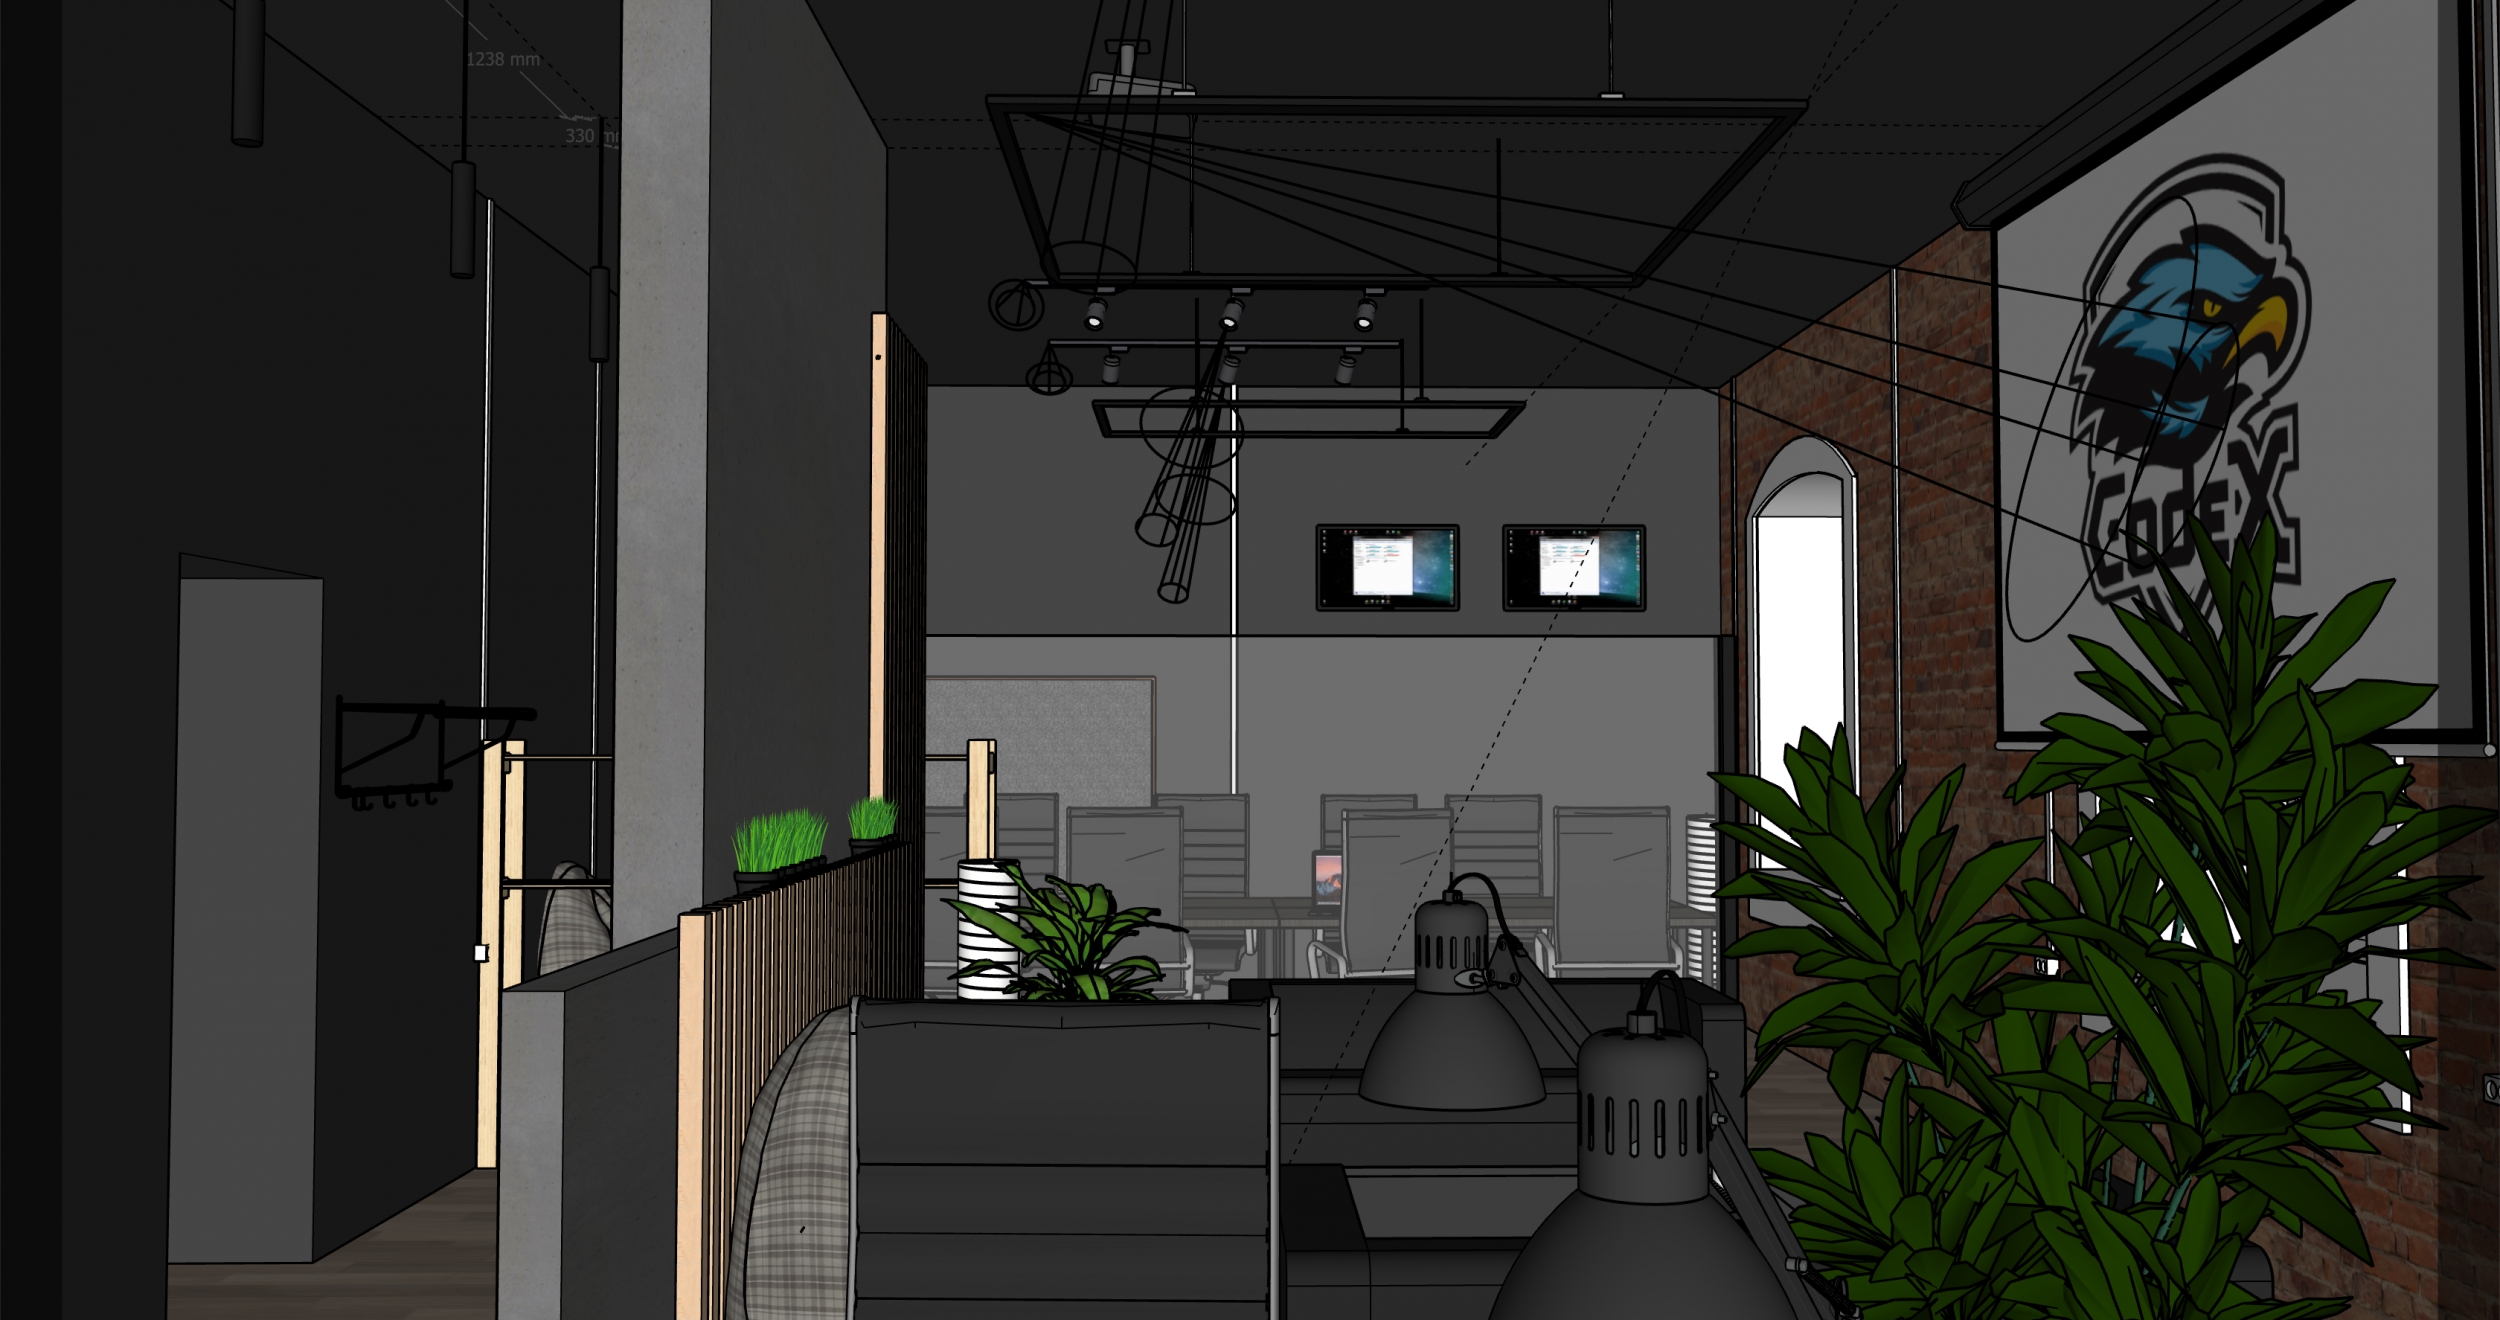
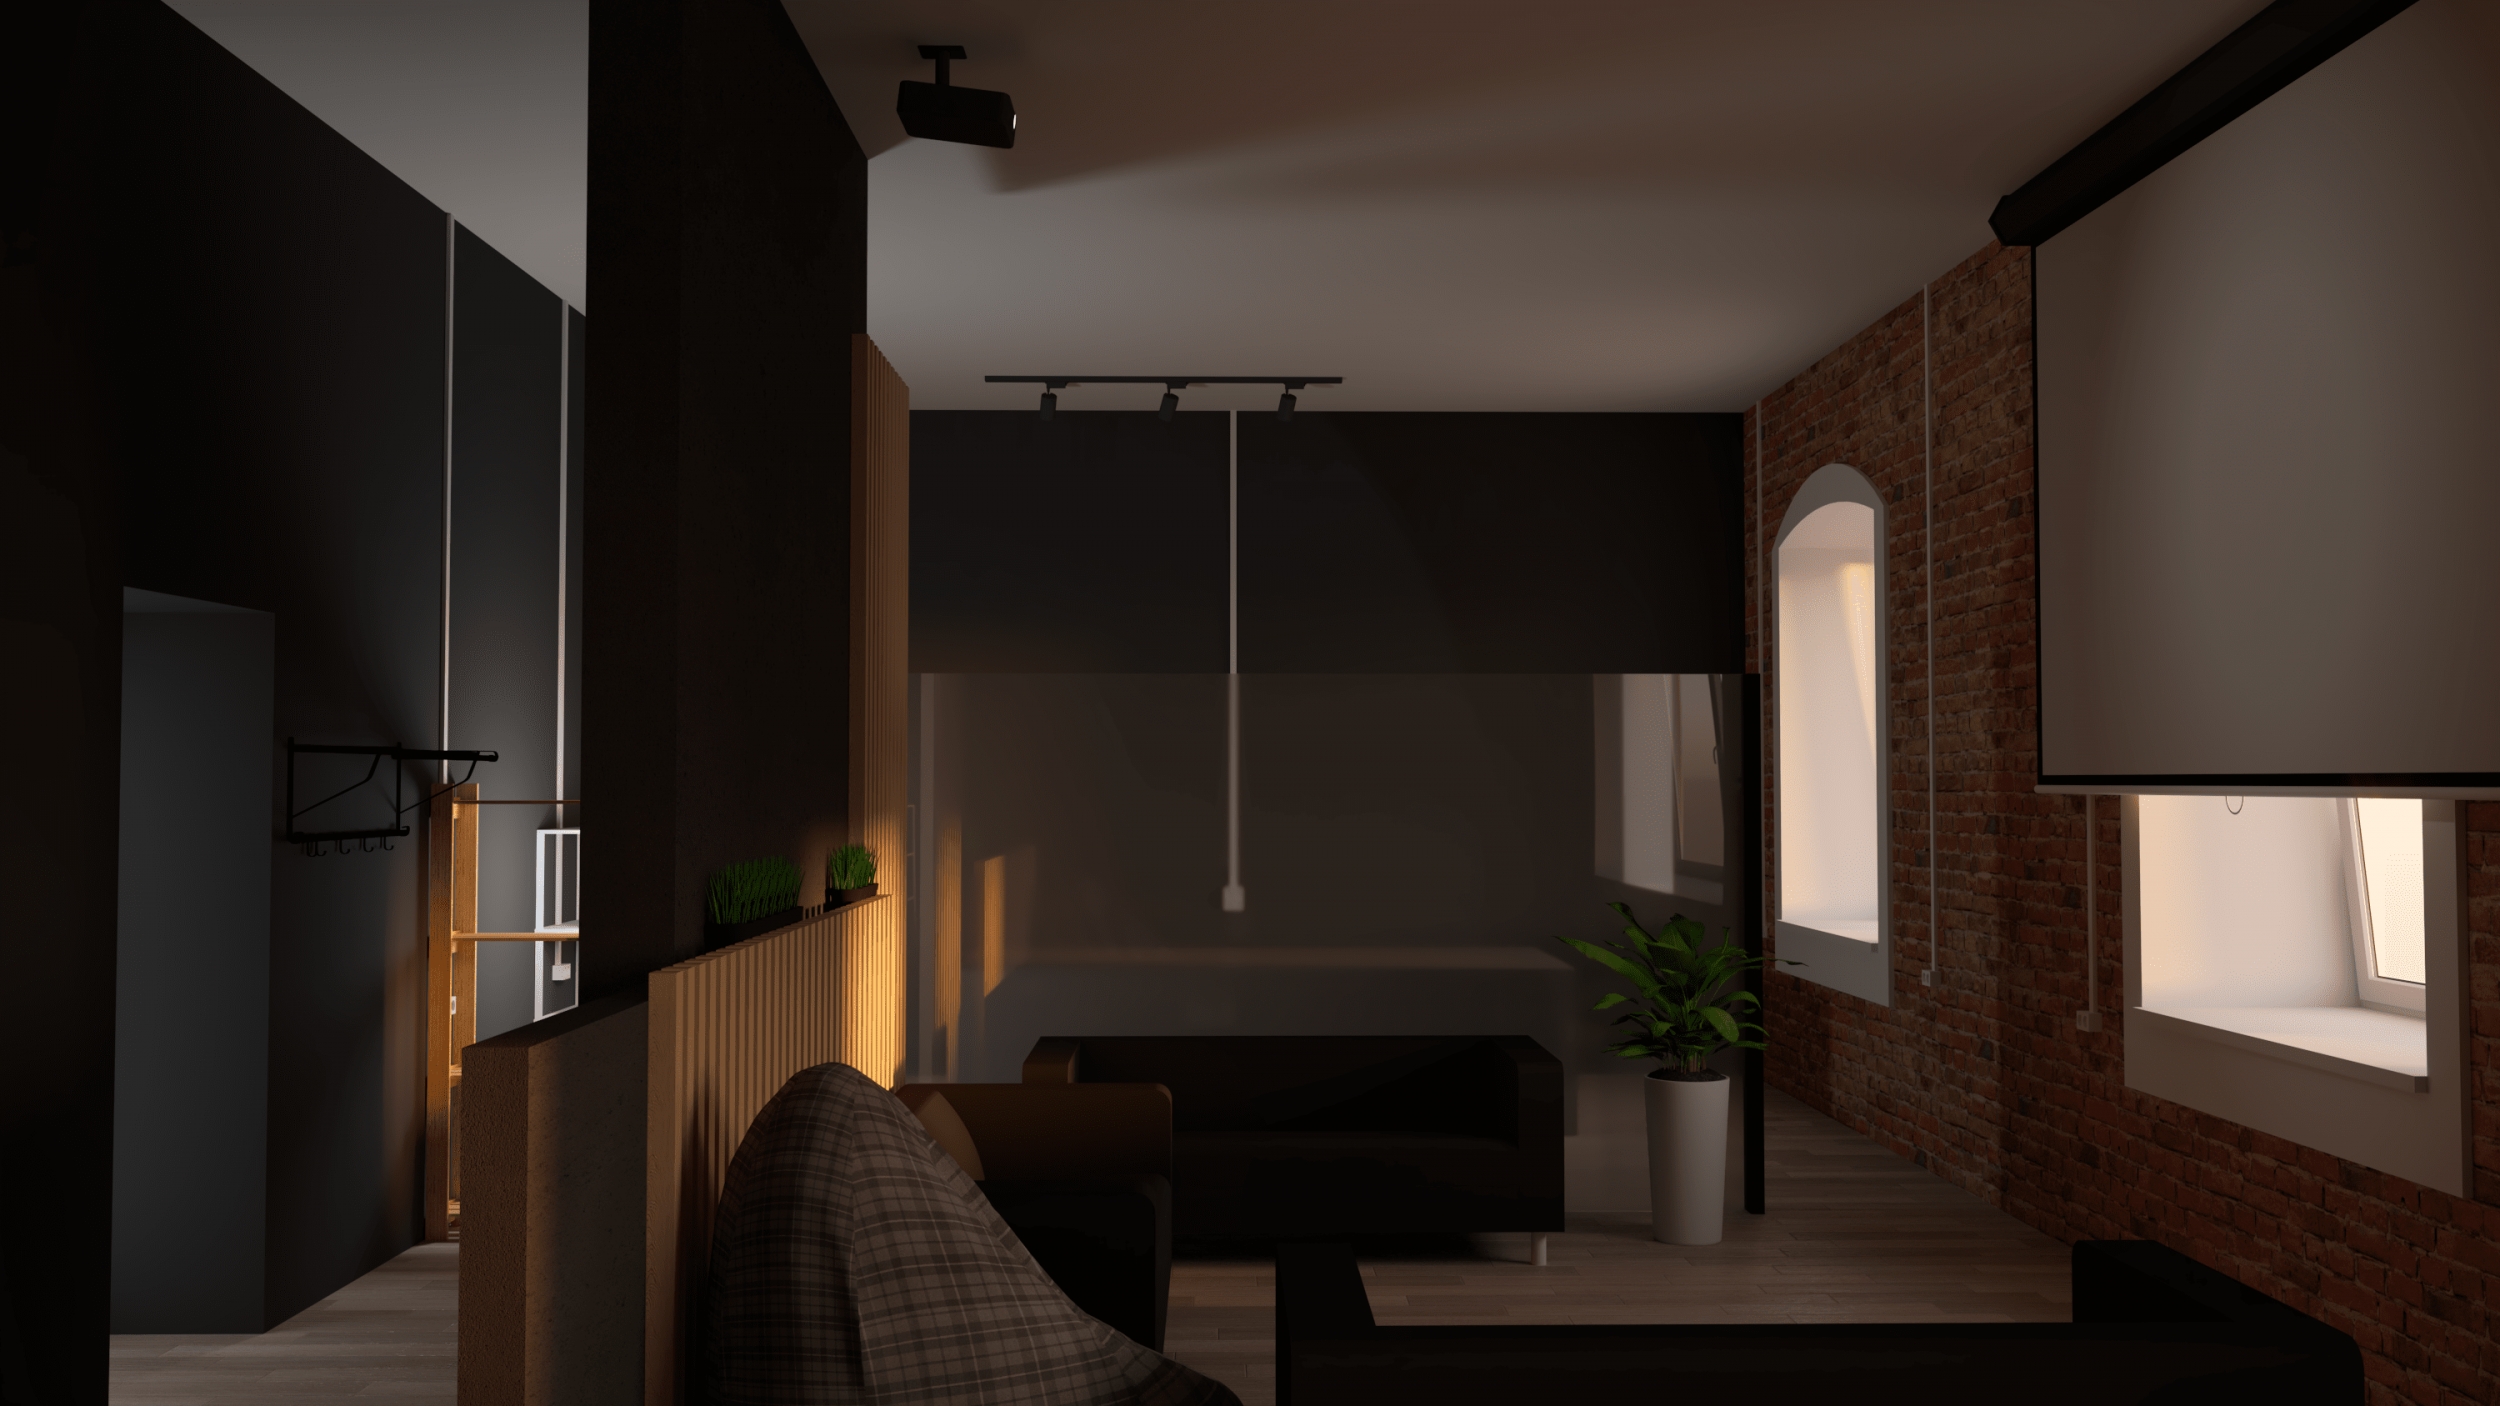
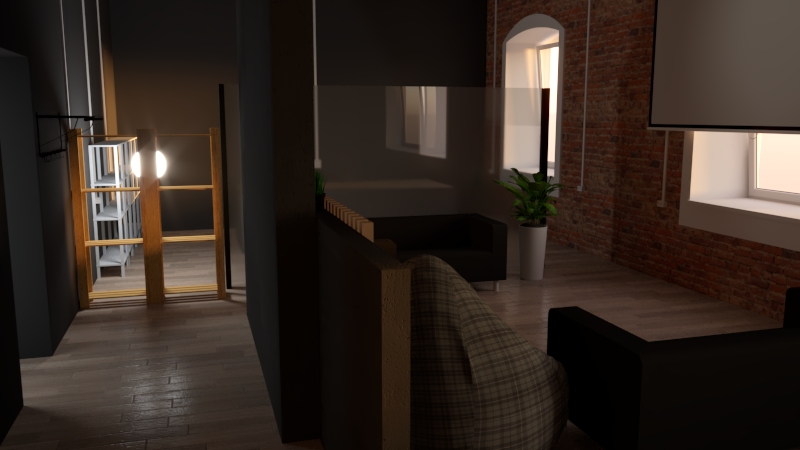
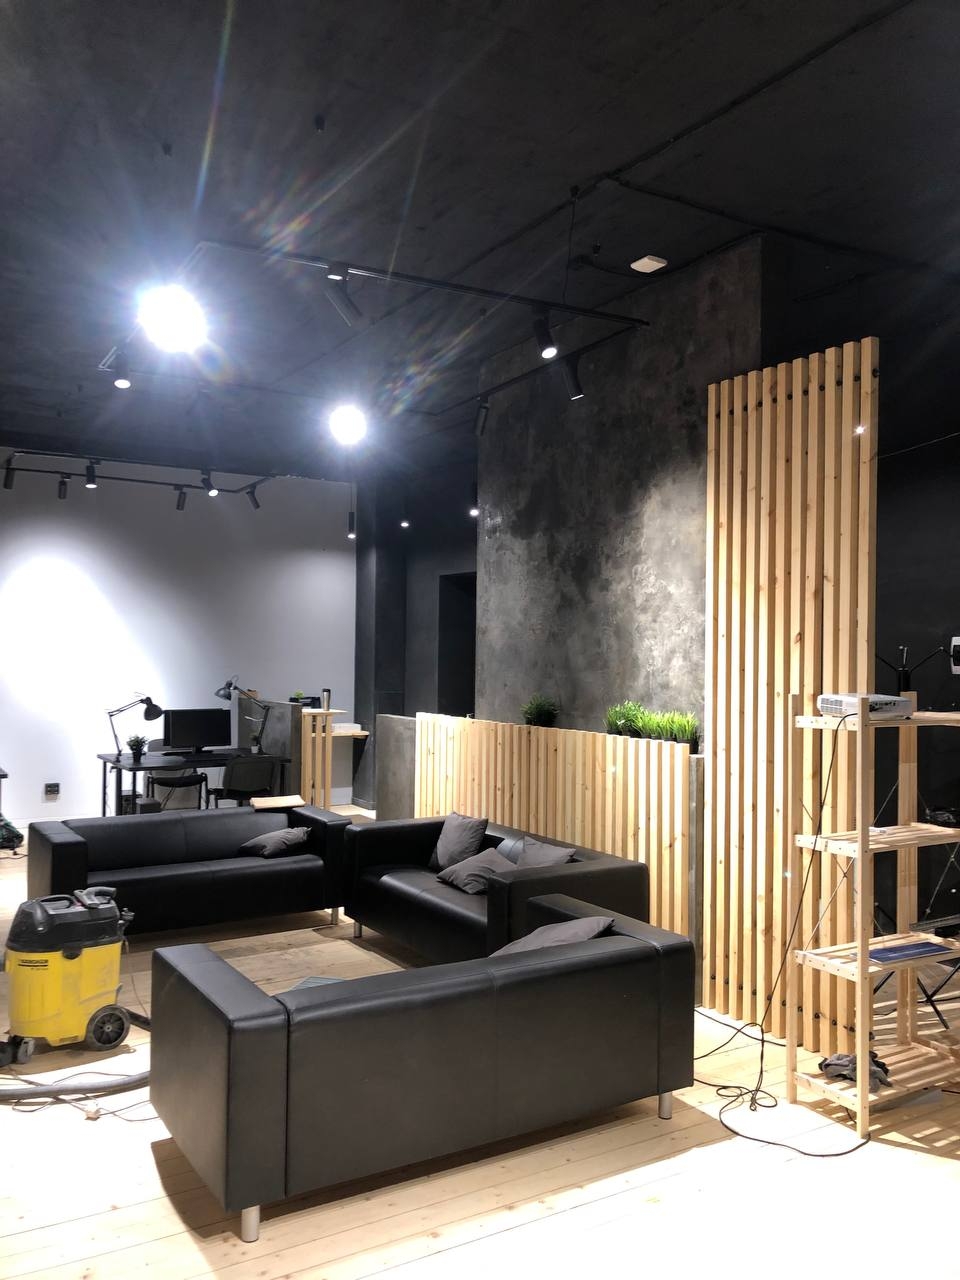
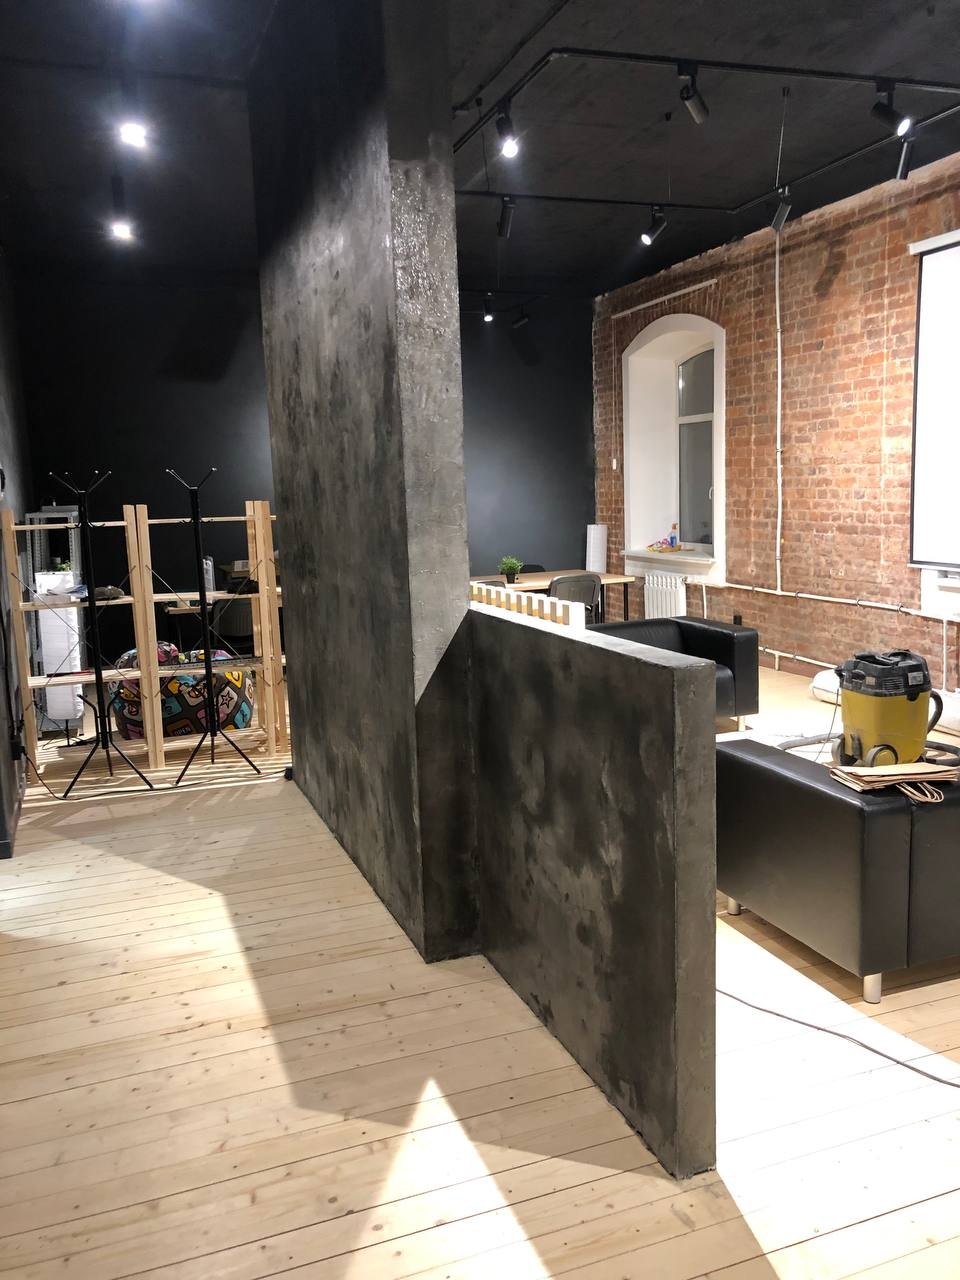
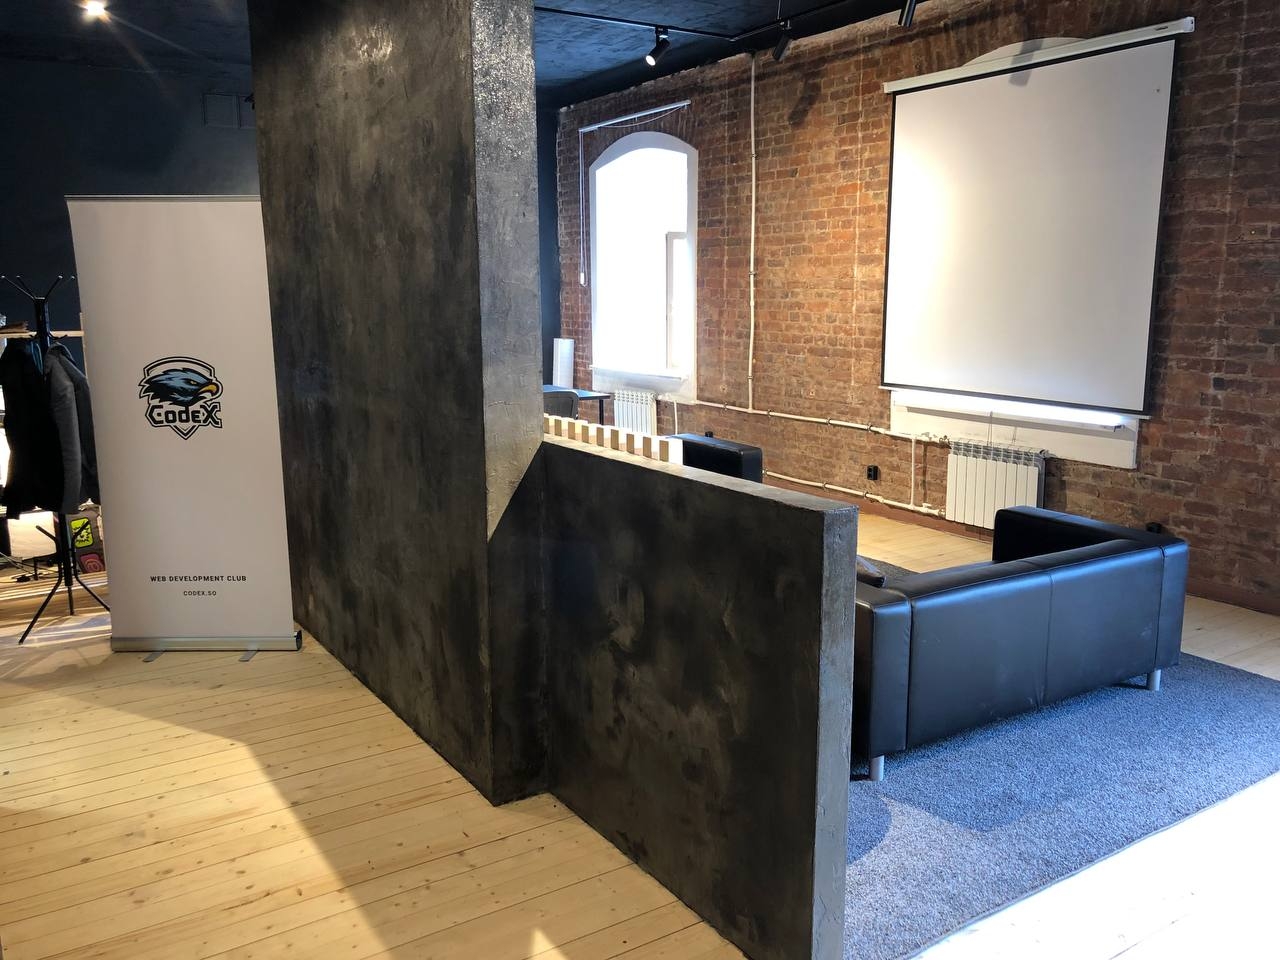
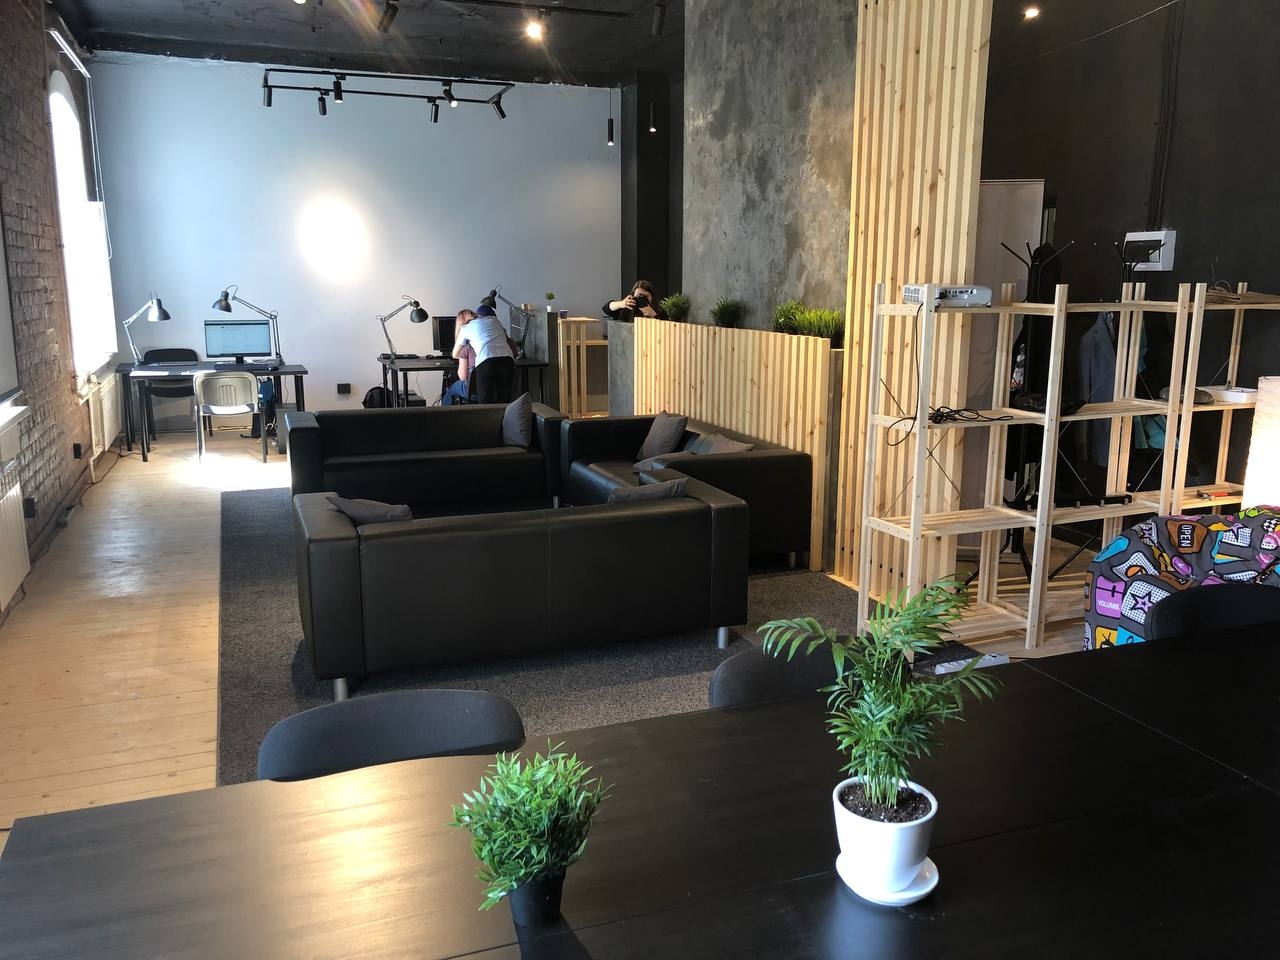
There will be several zones in the Lab. The central is the conference zone for meetings, presentations, discussions, and chill out.
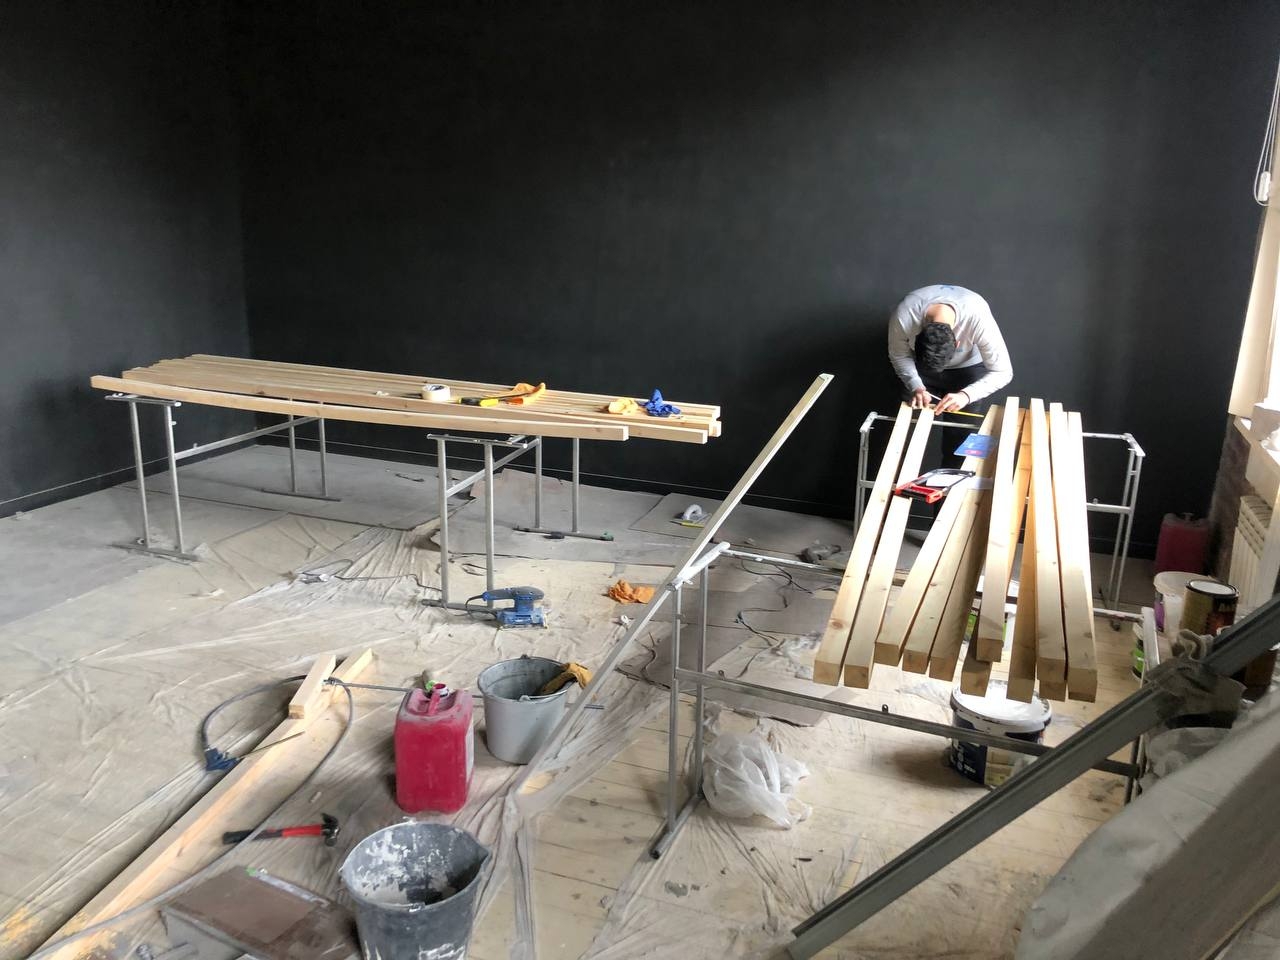
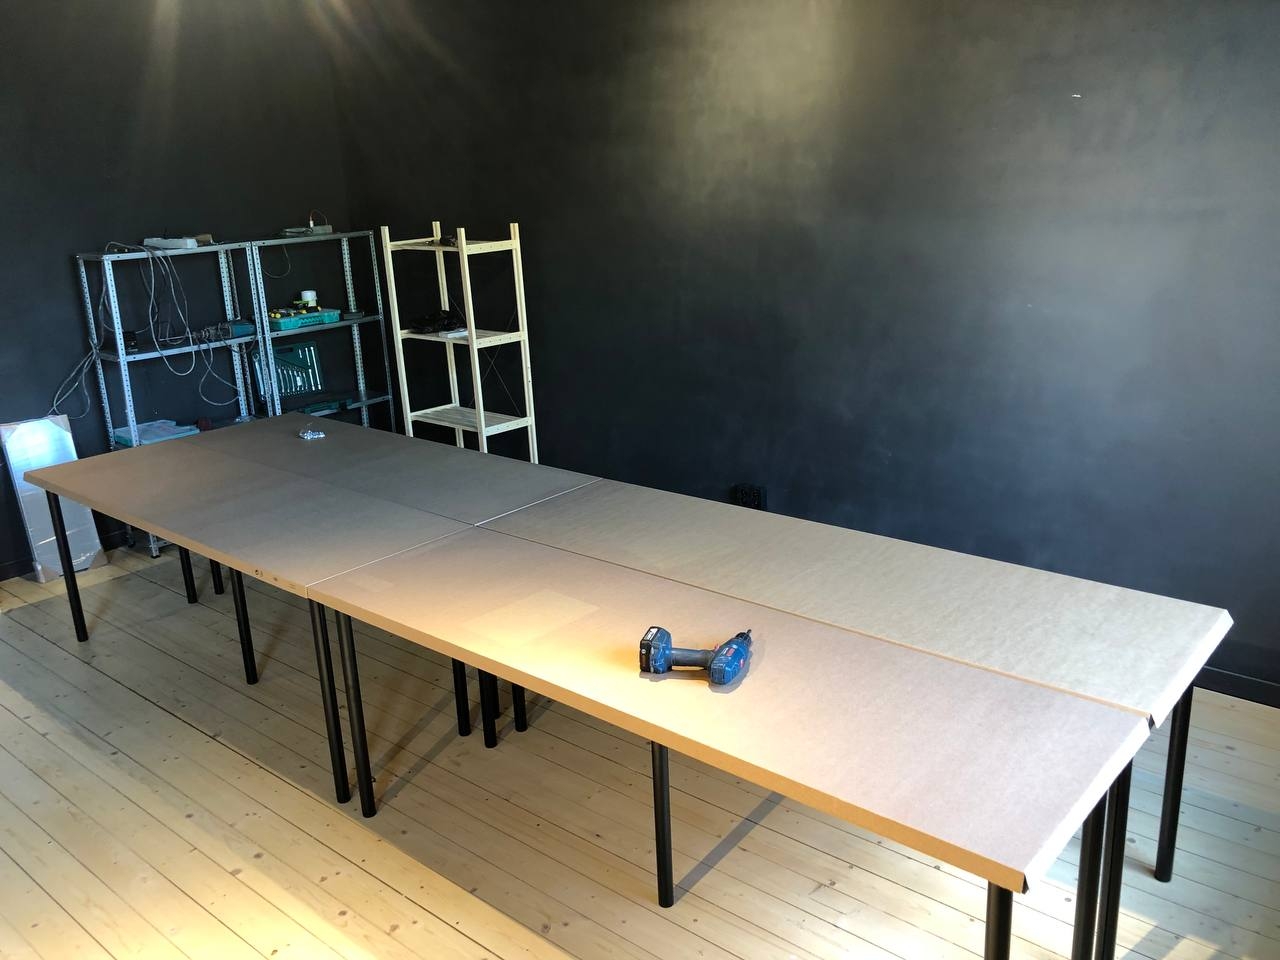
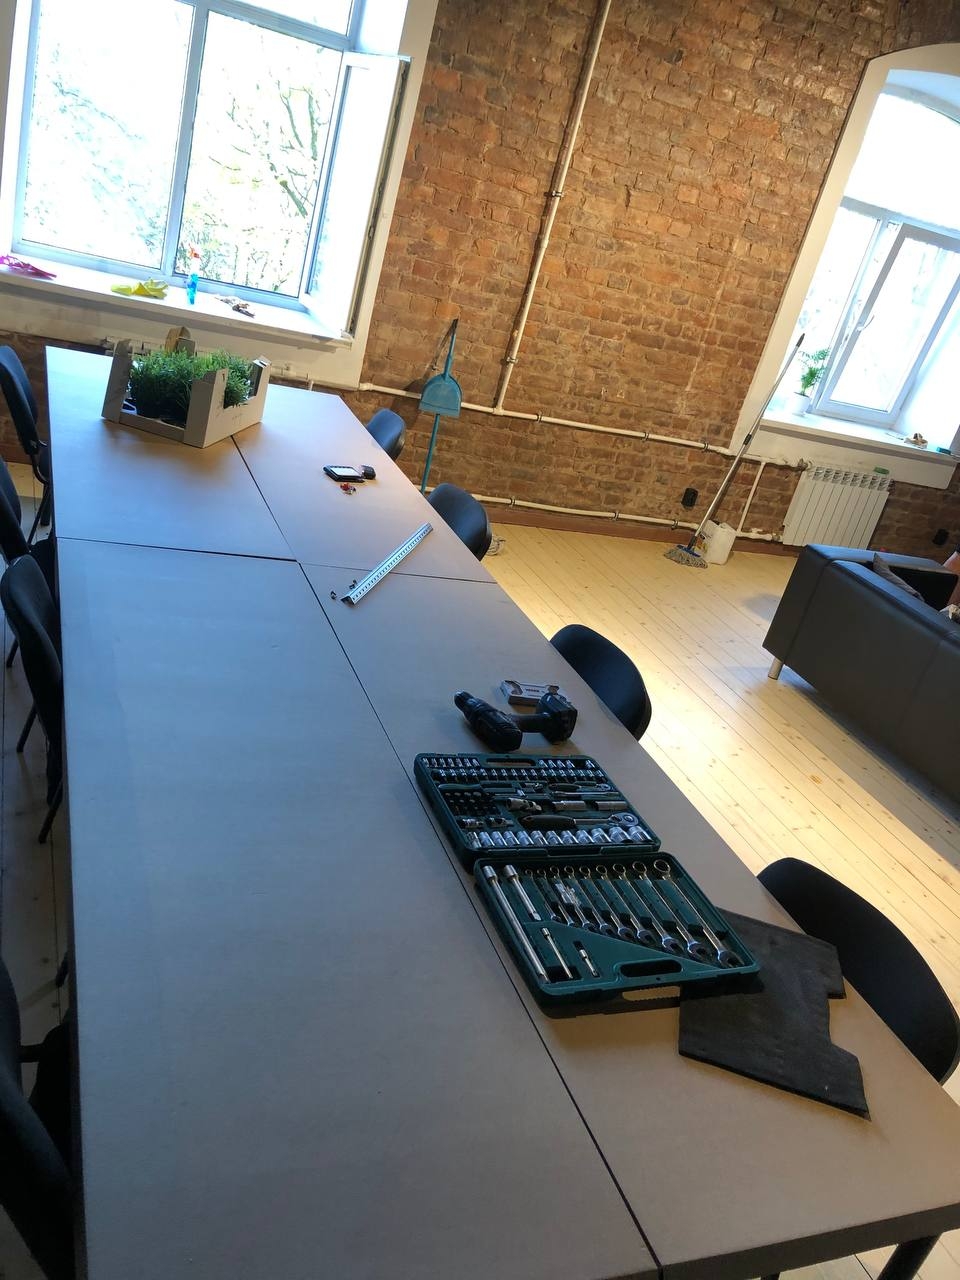
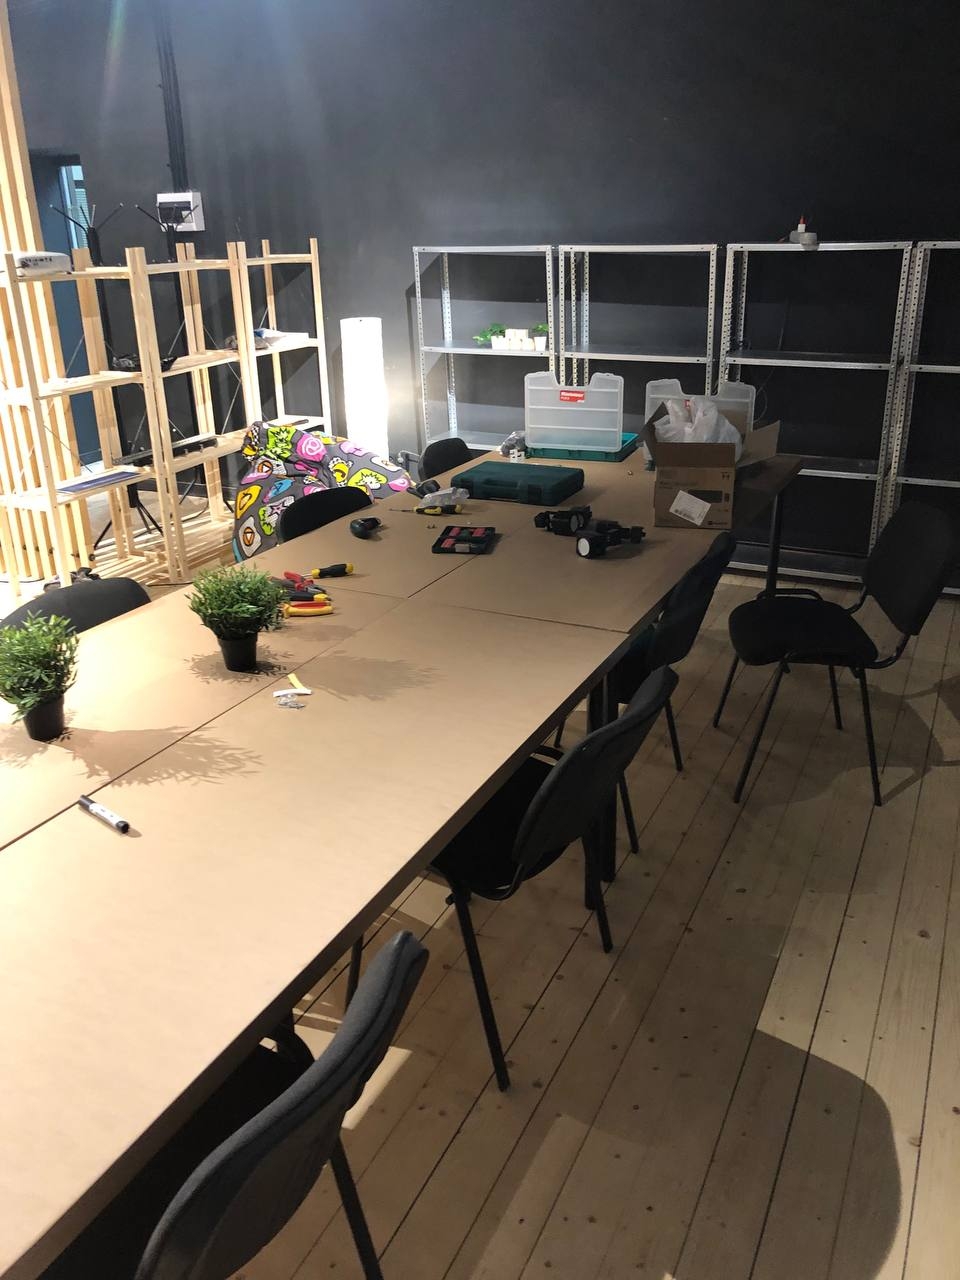
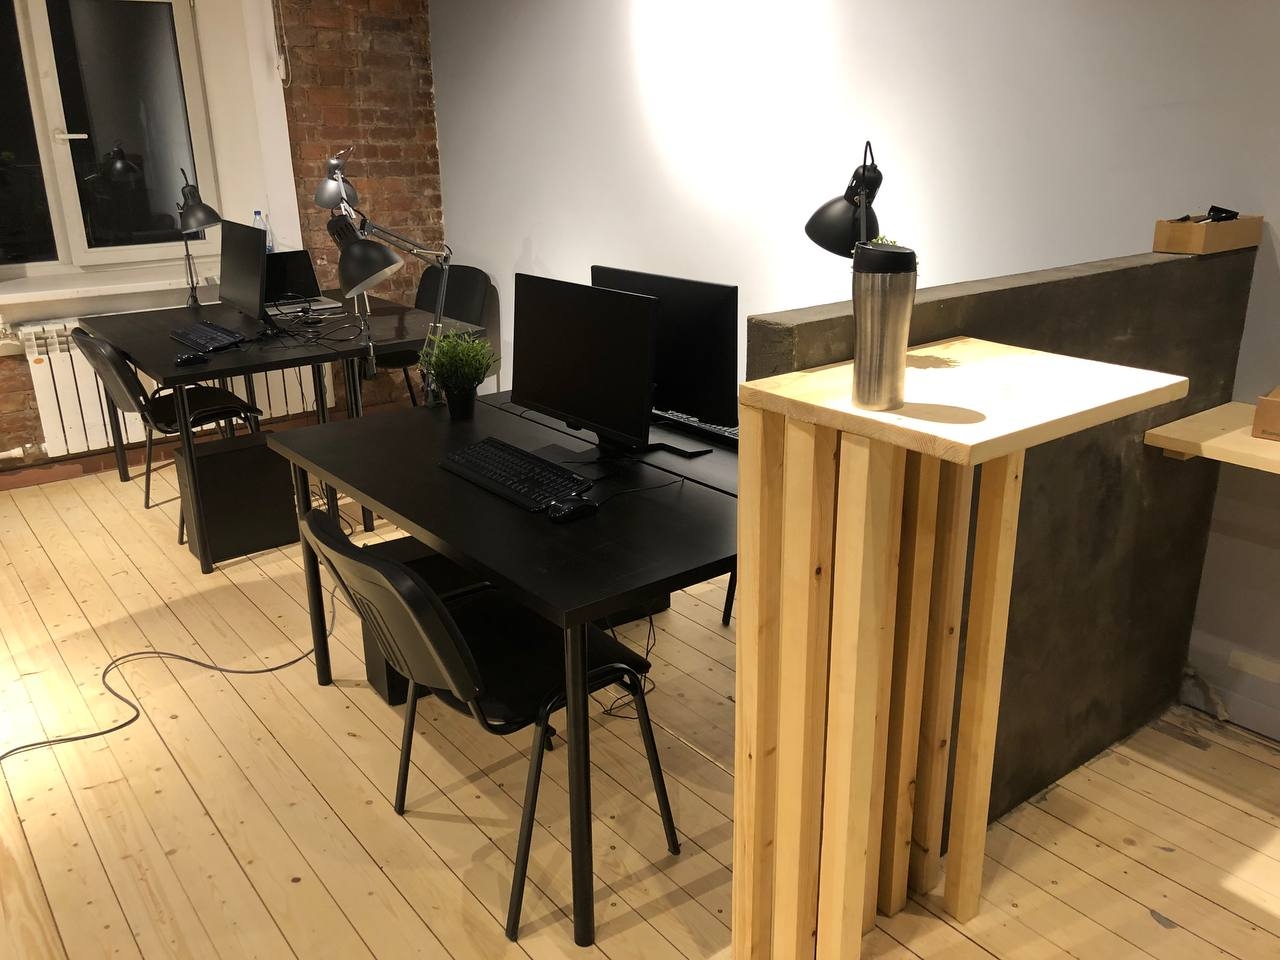
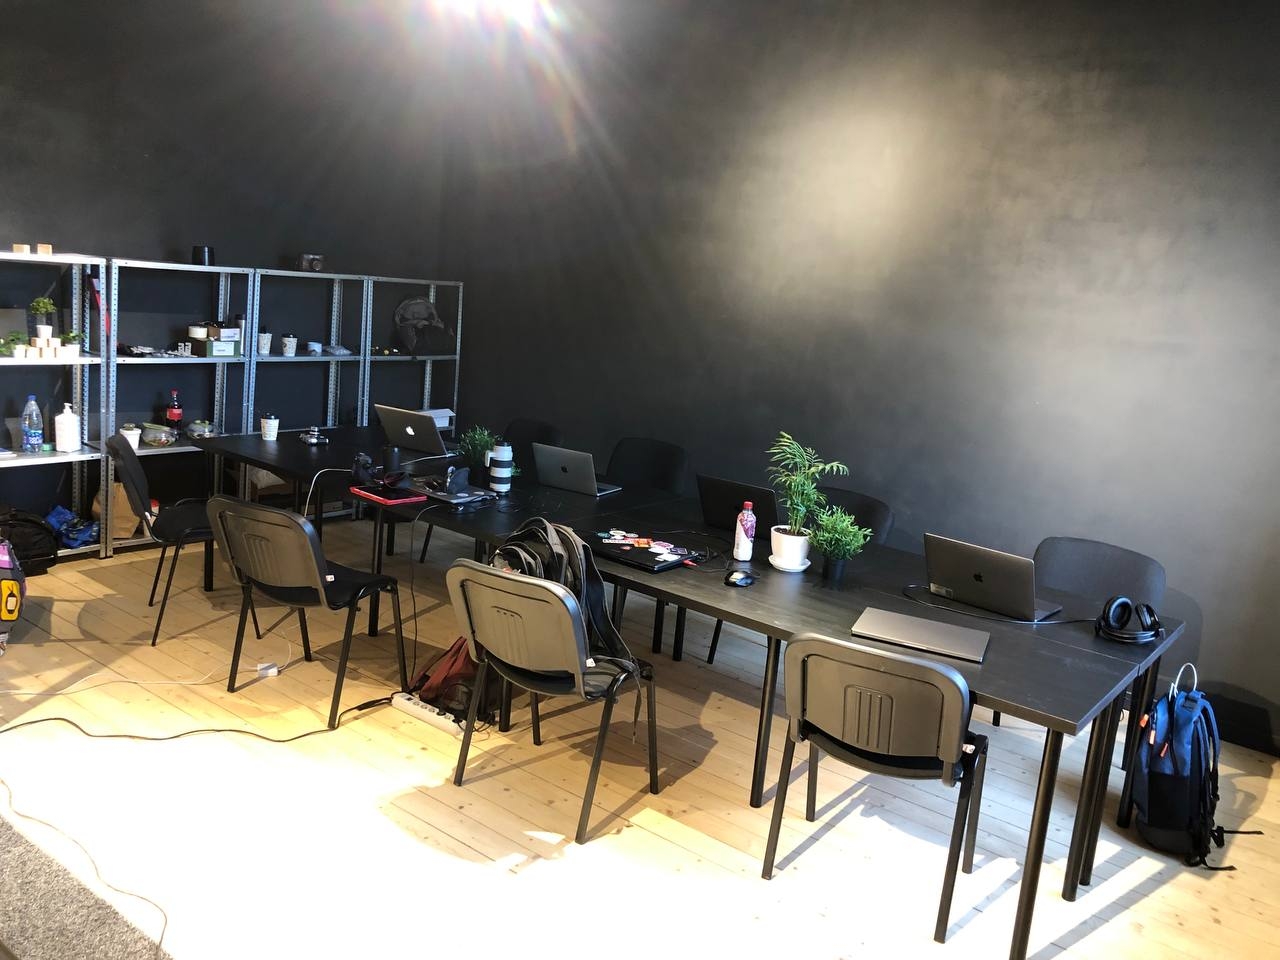
Next right — big working zone, where a whole team can work on some project together. The big table consists of four several separate 2-meters tables which can be reorganized if need.
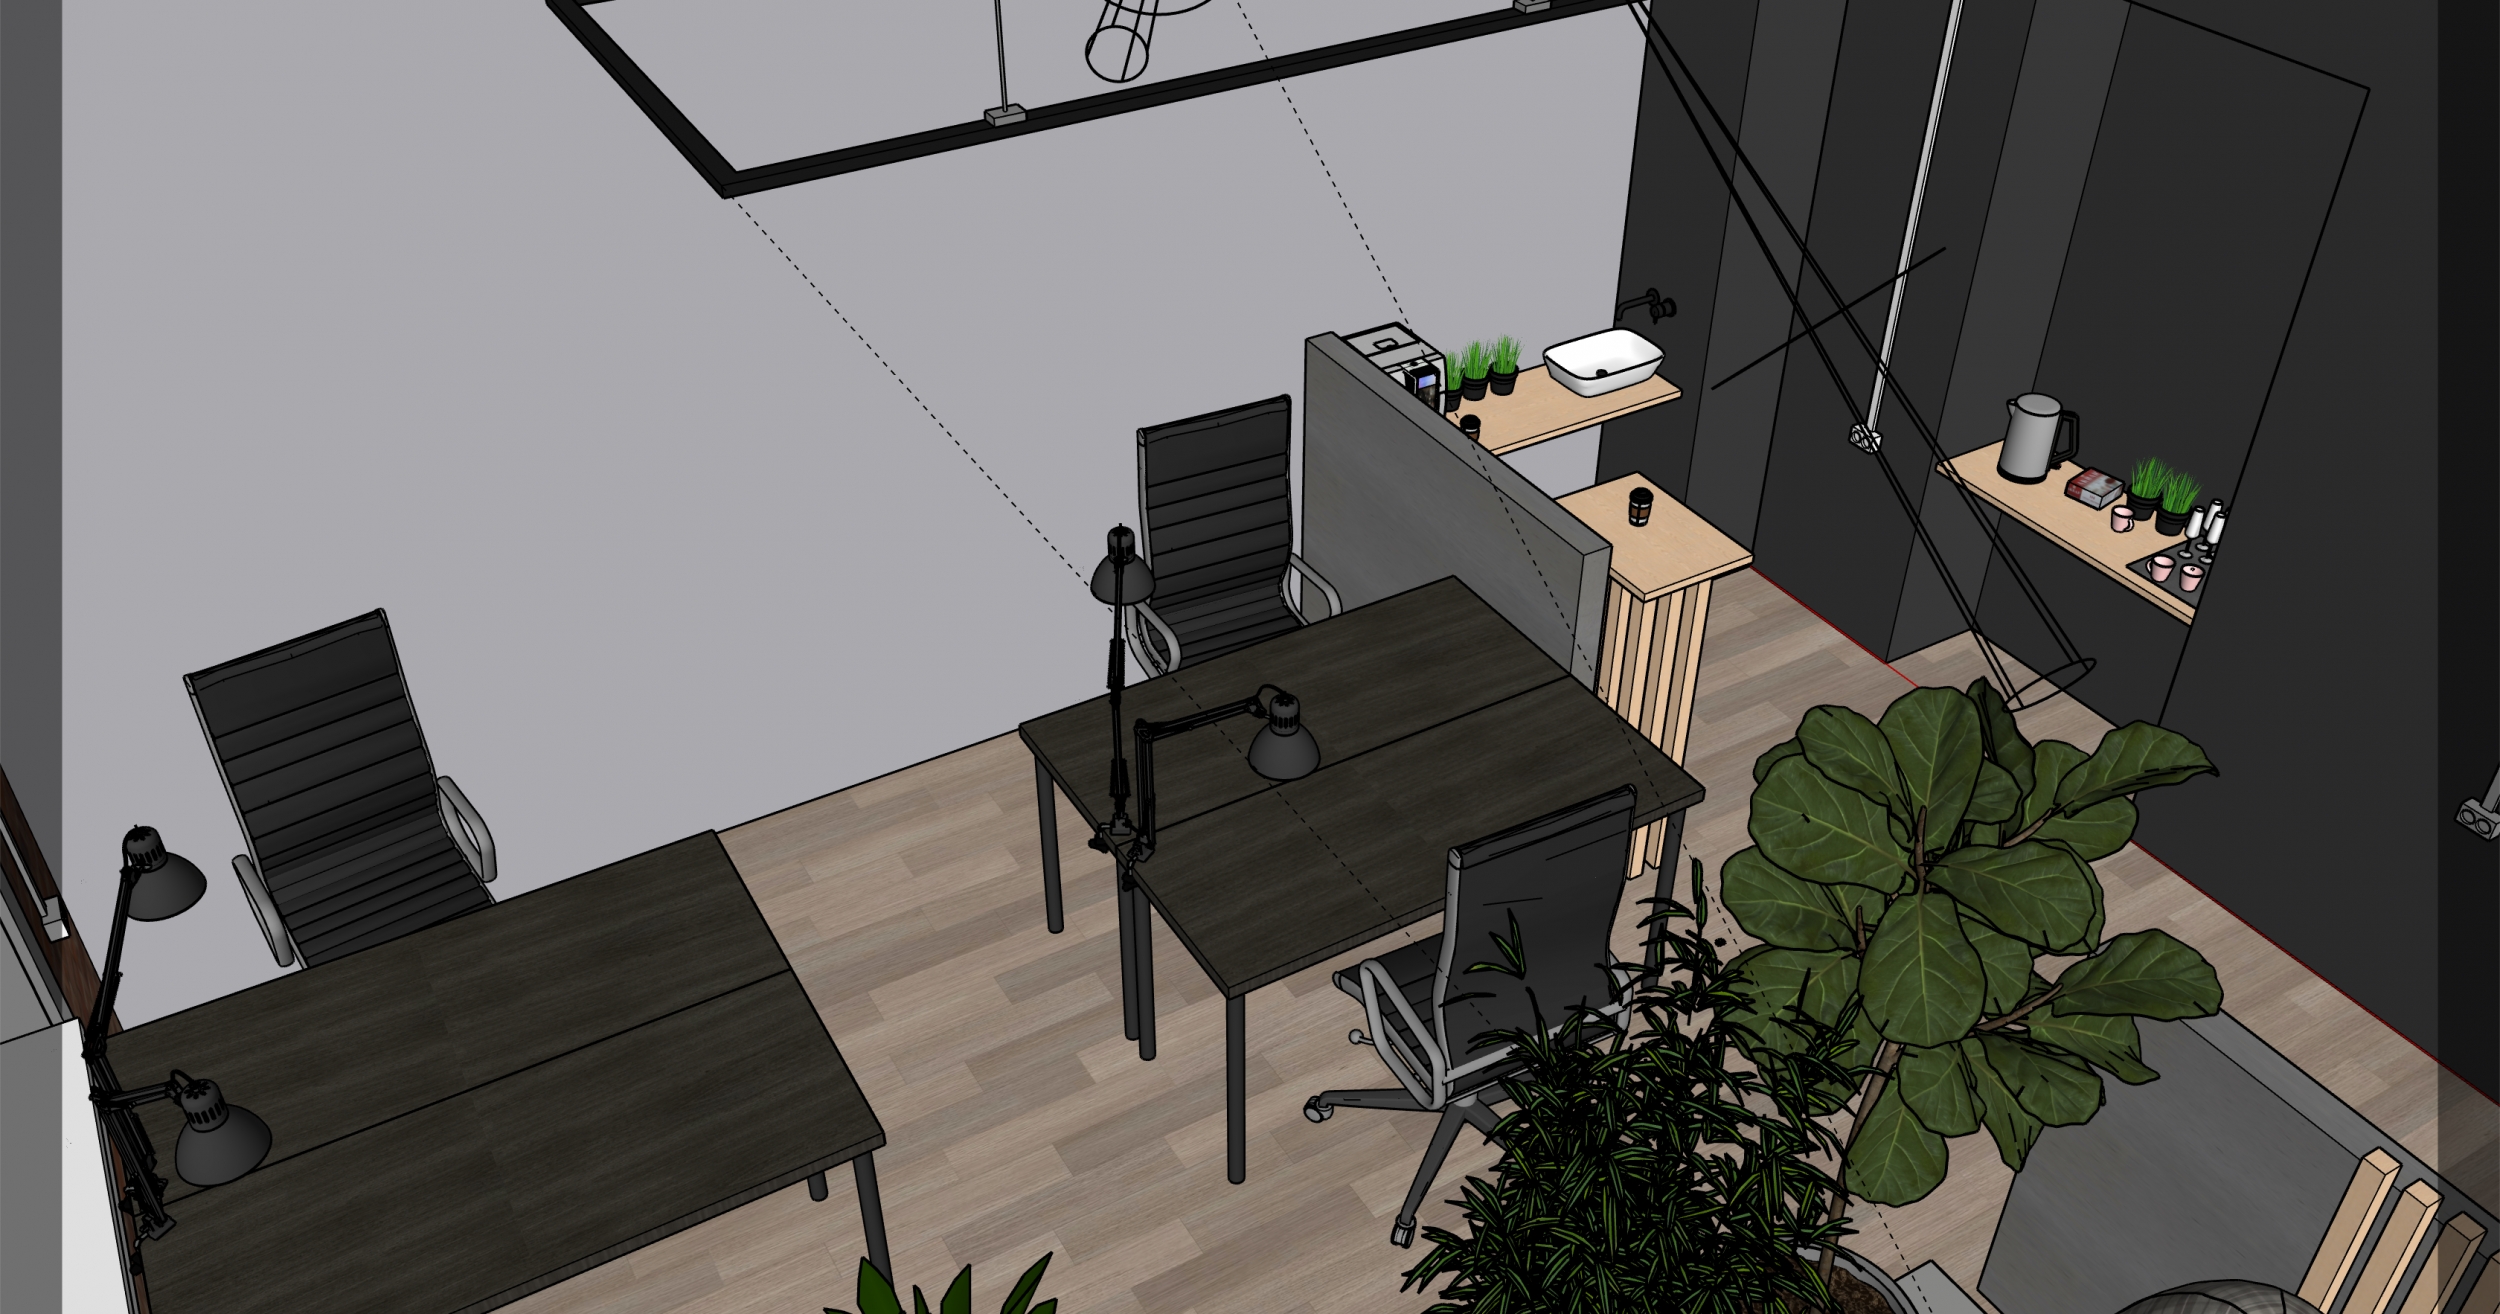
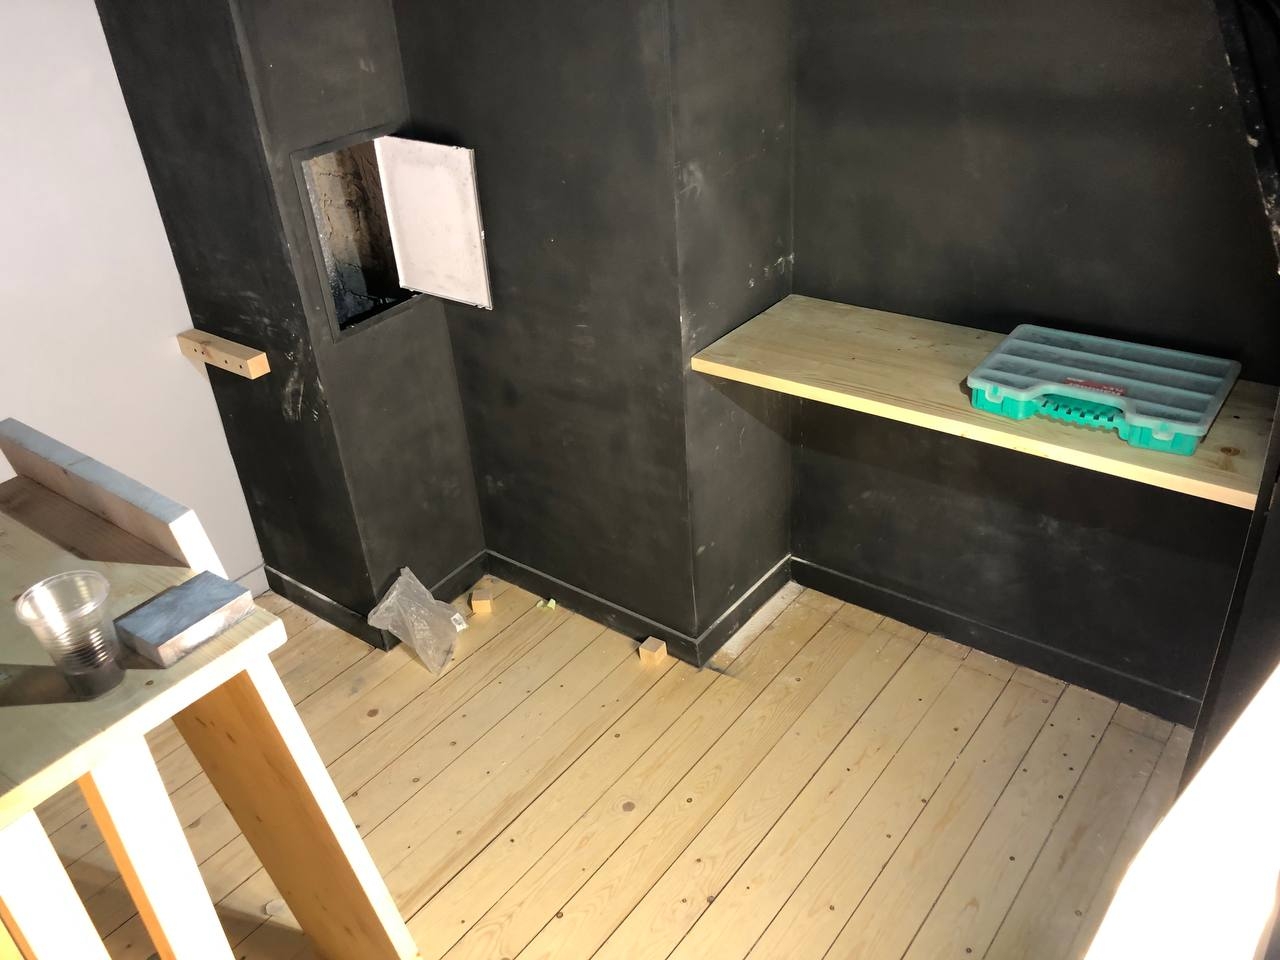
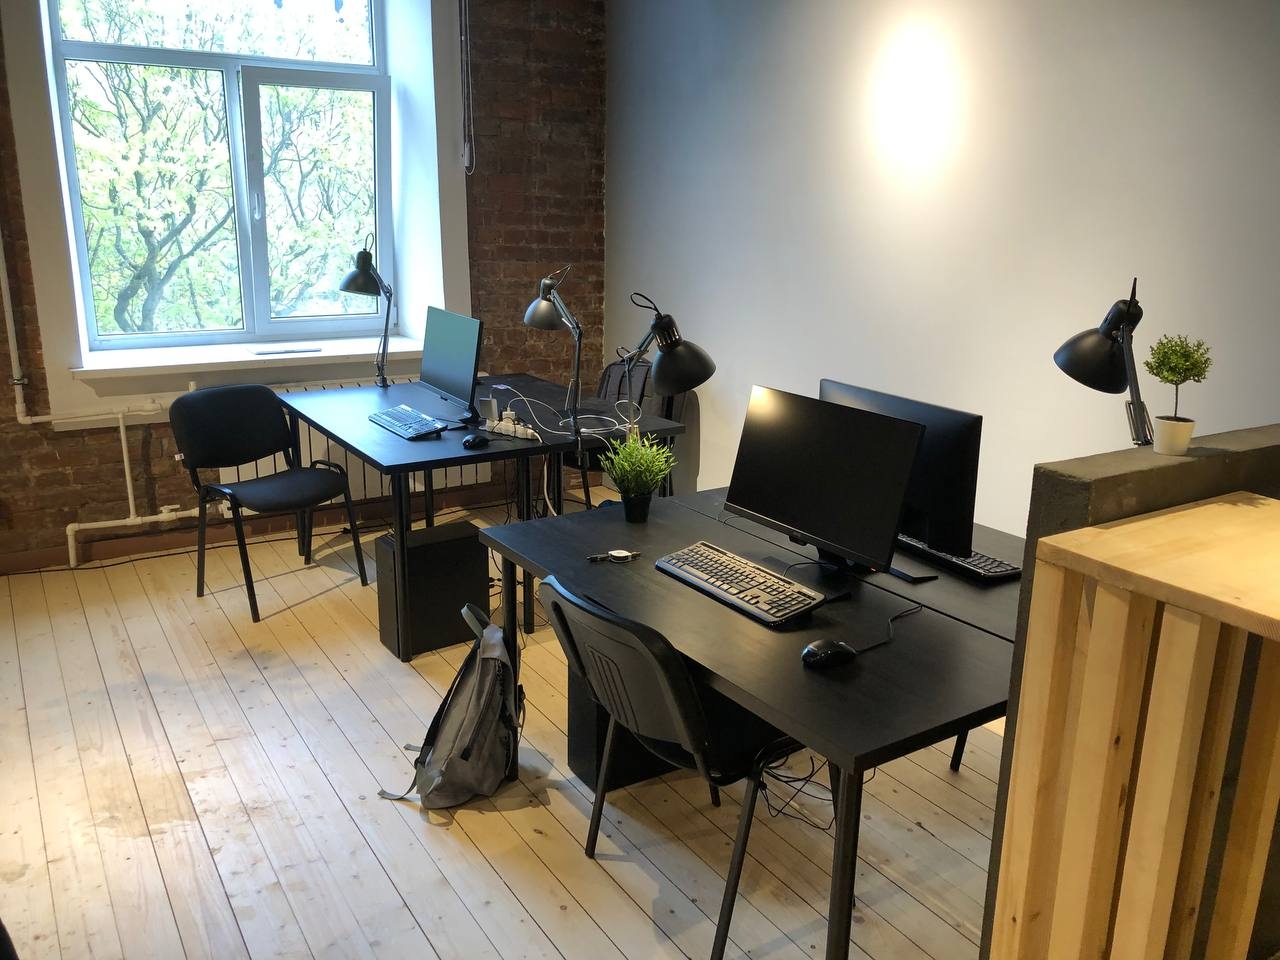
At the left of the central zone — separate workstations for focused work.
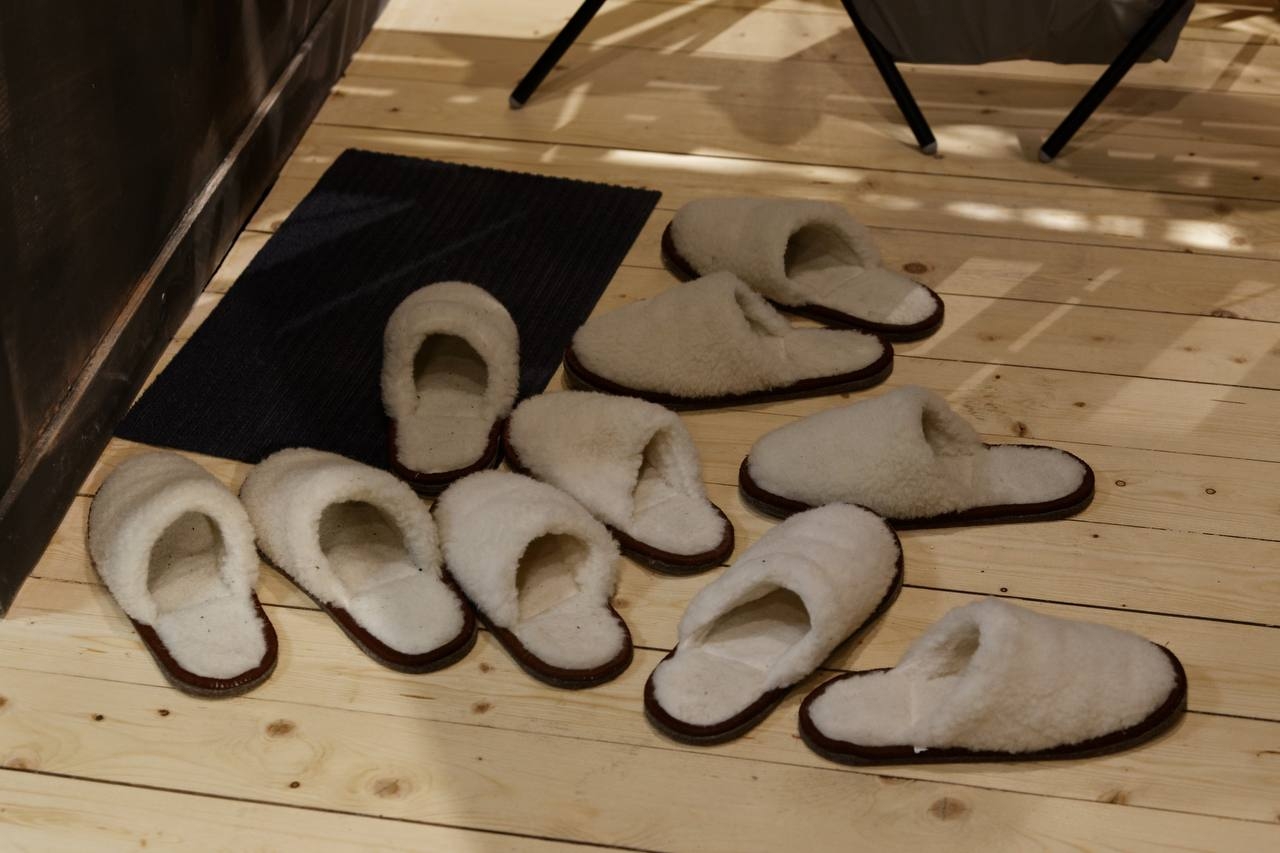
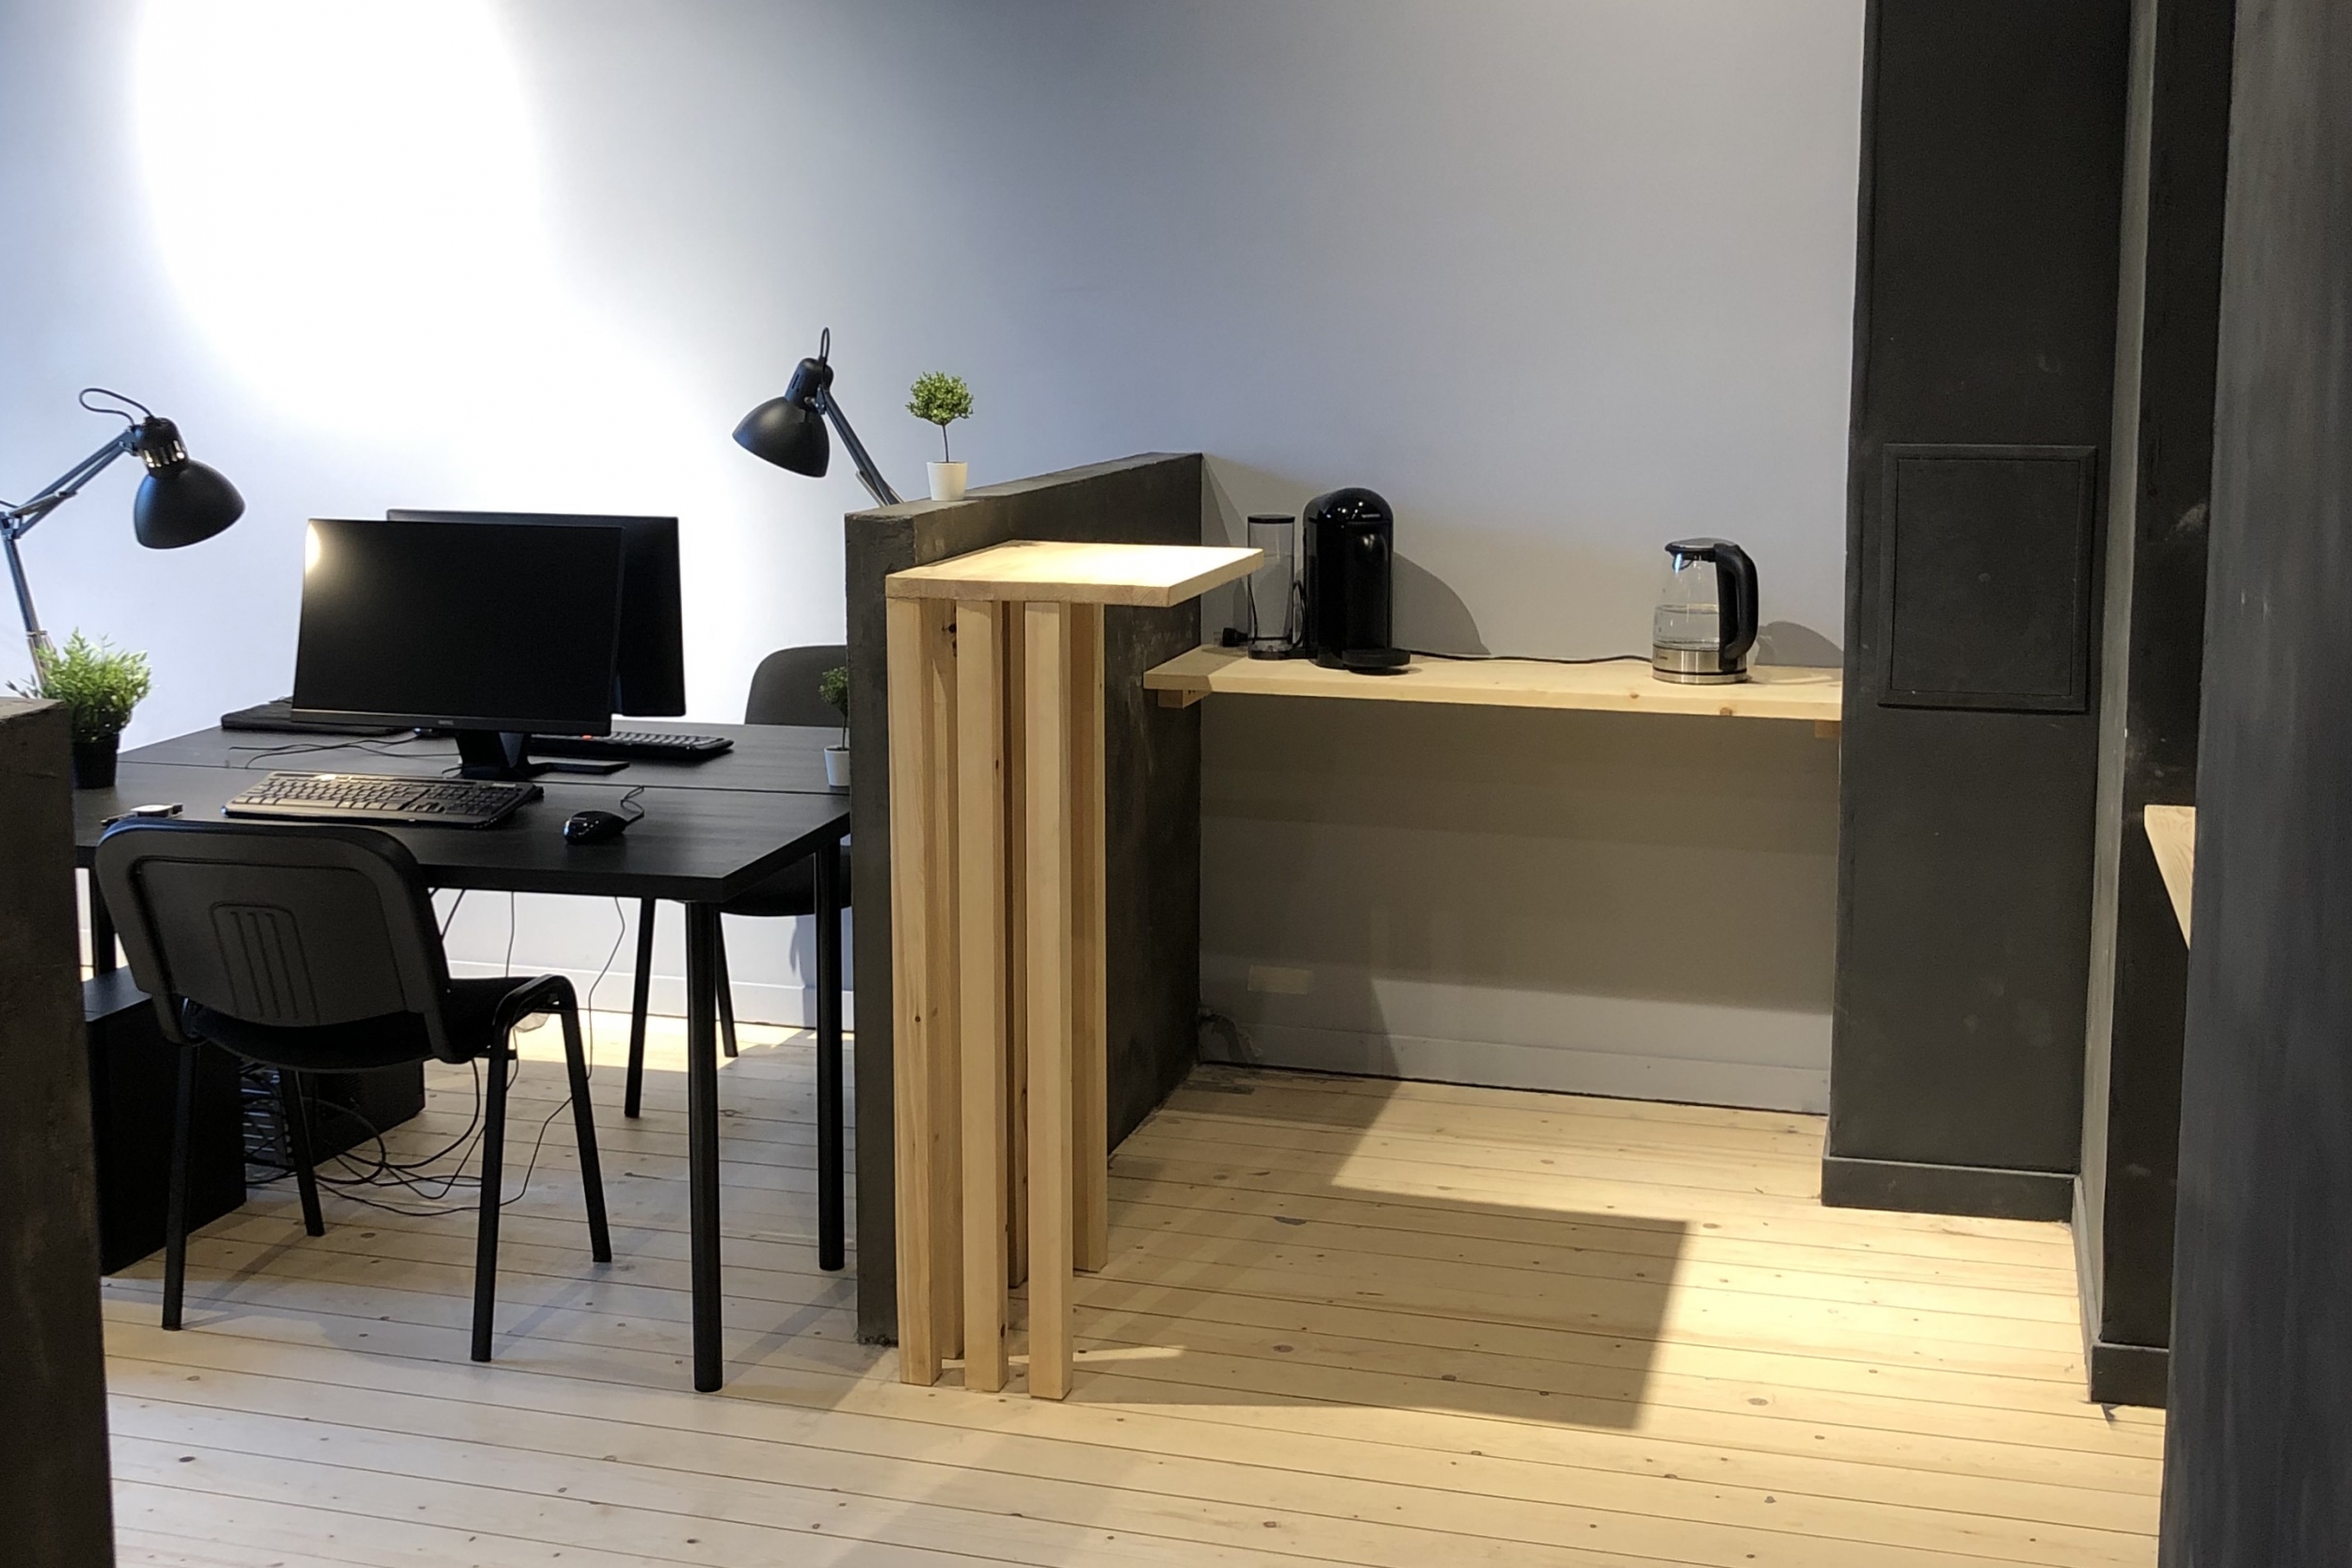
Also, there is a small kitchen for coffee breaks. The entrance zone has a hallway separated from the rest.
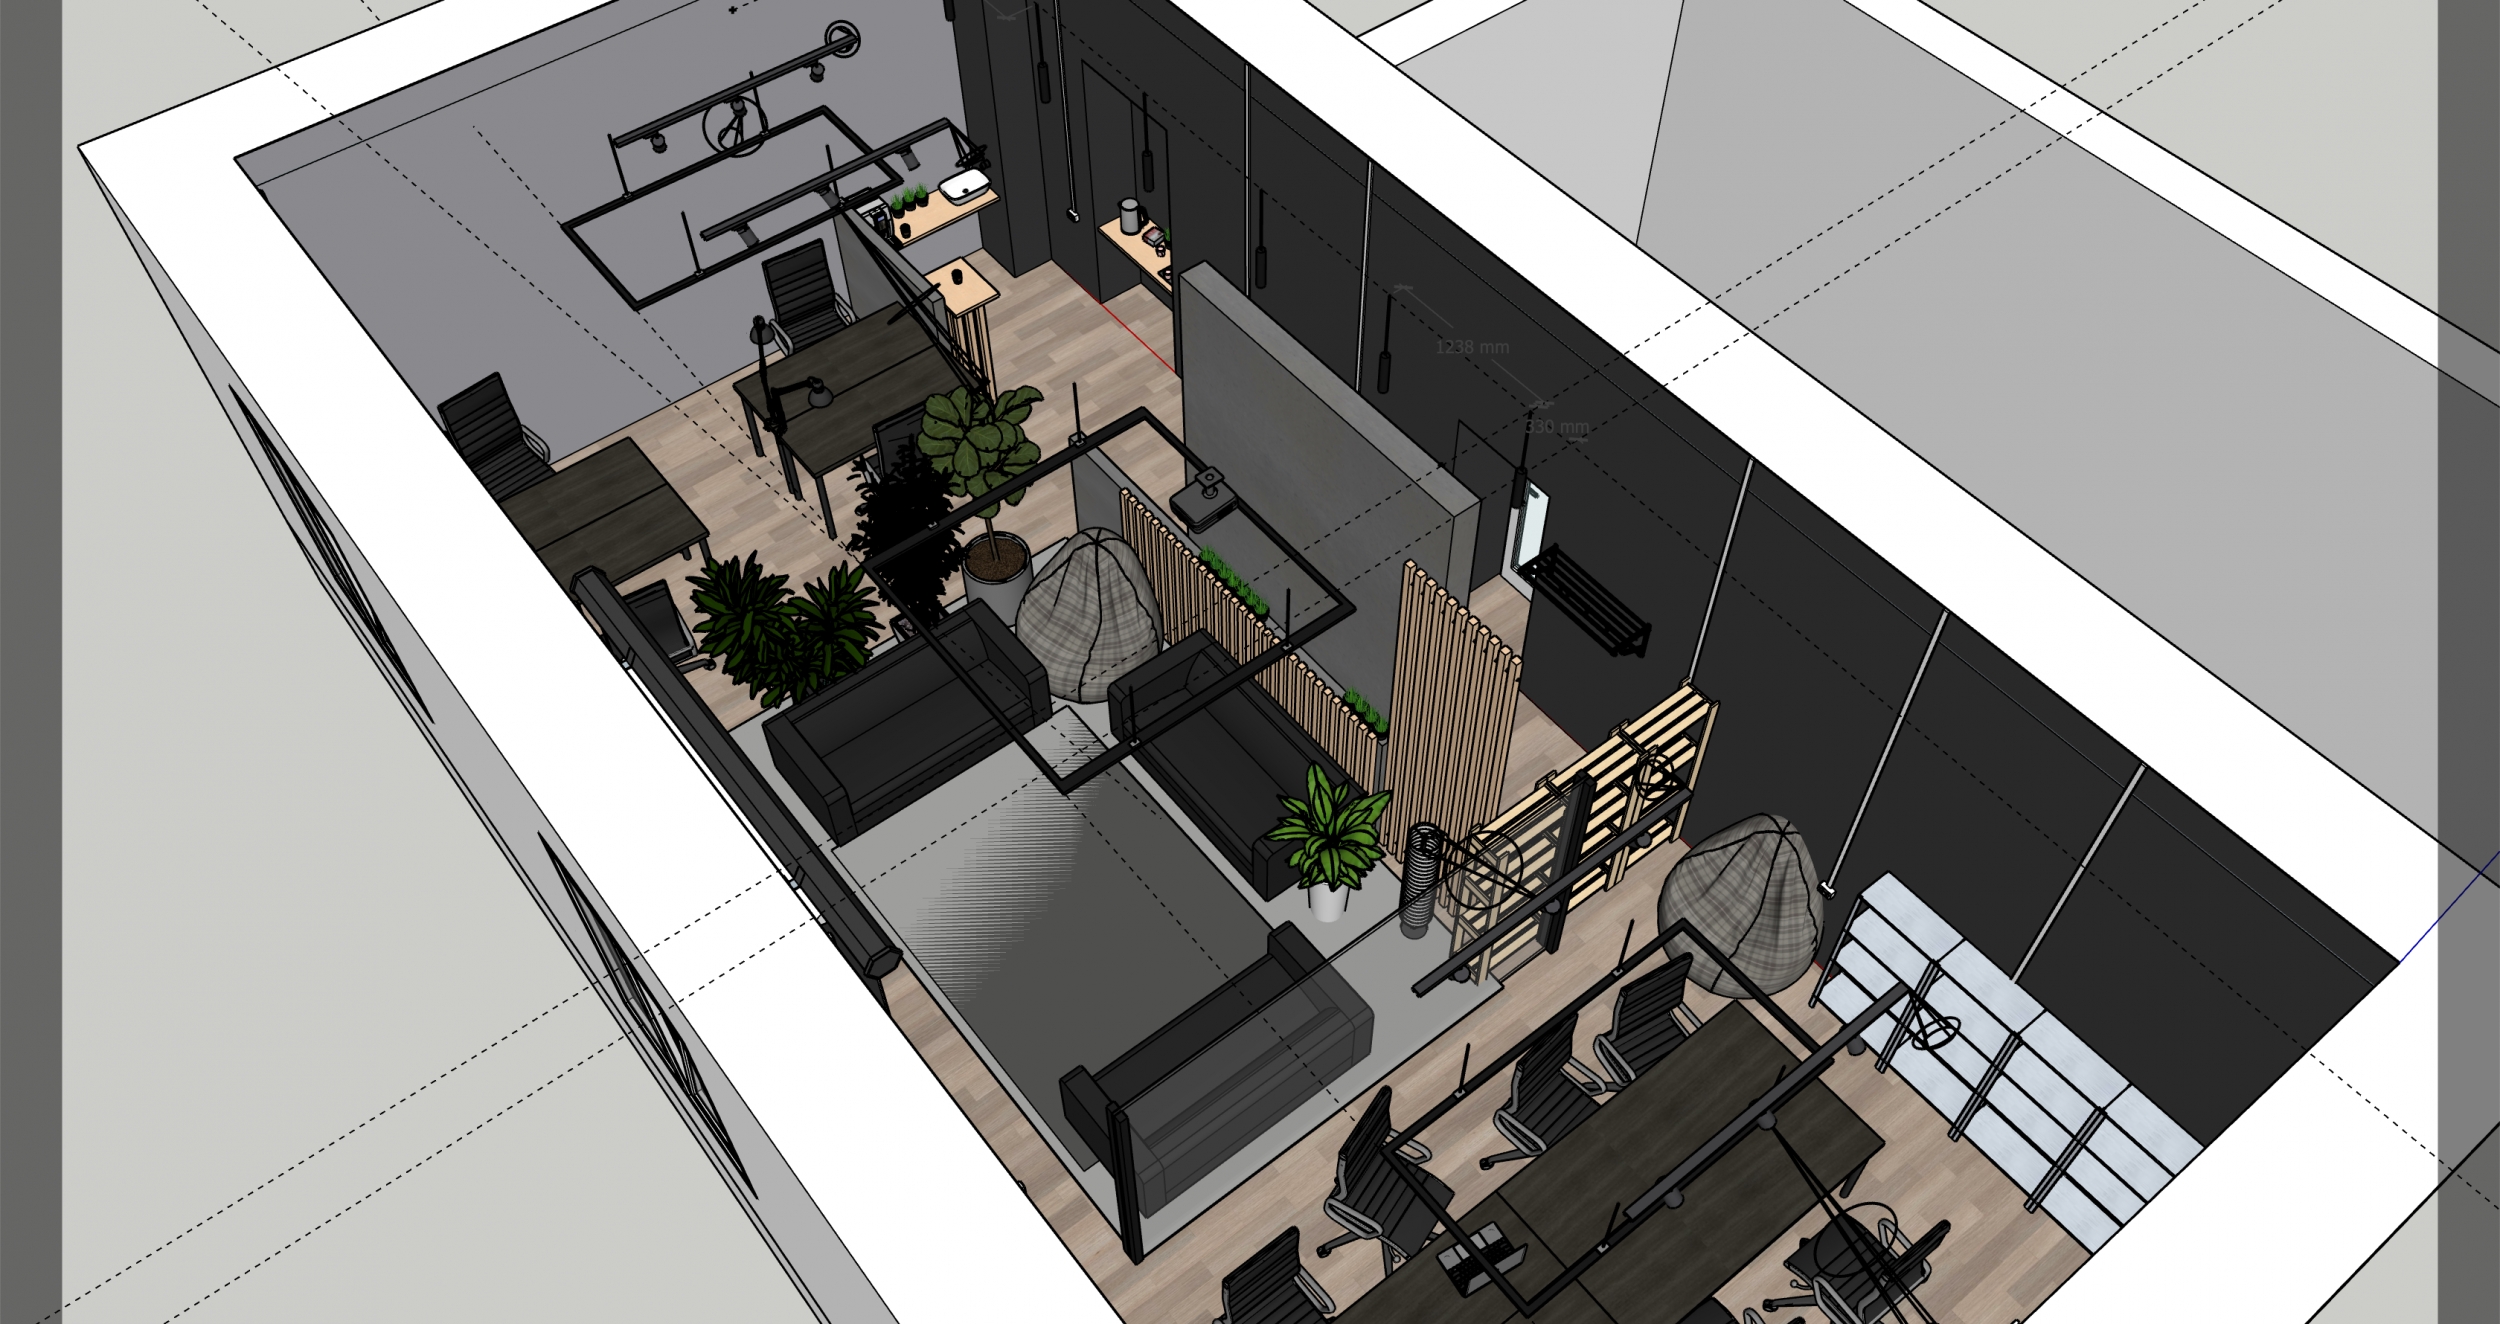
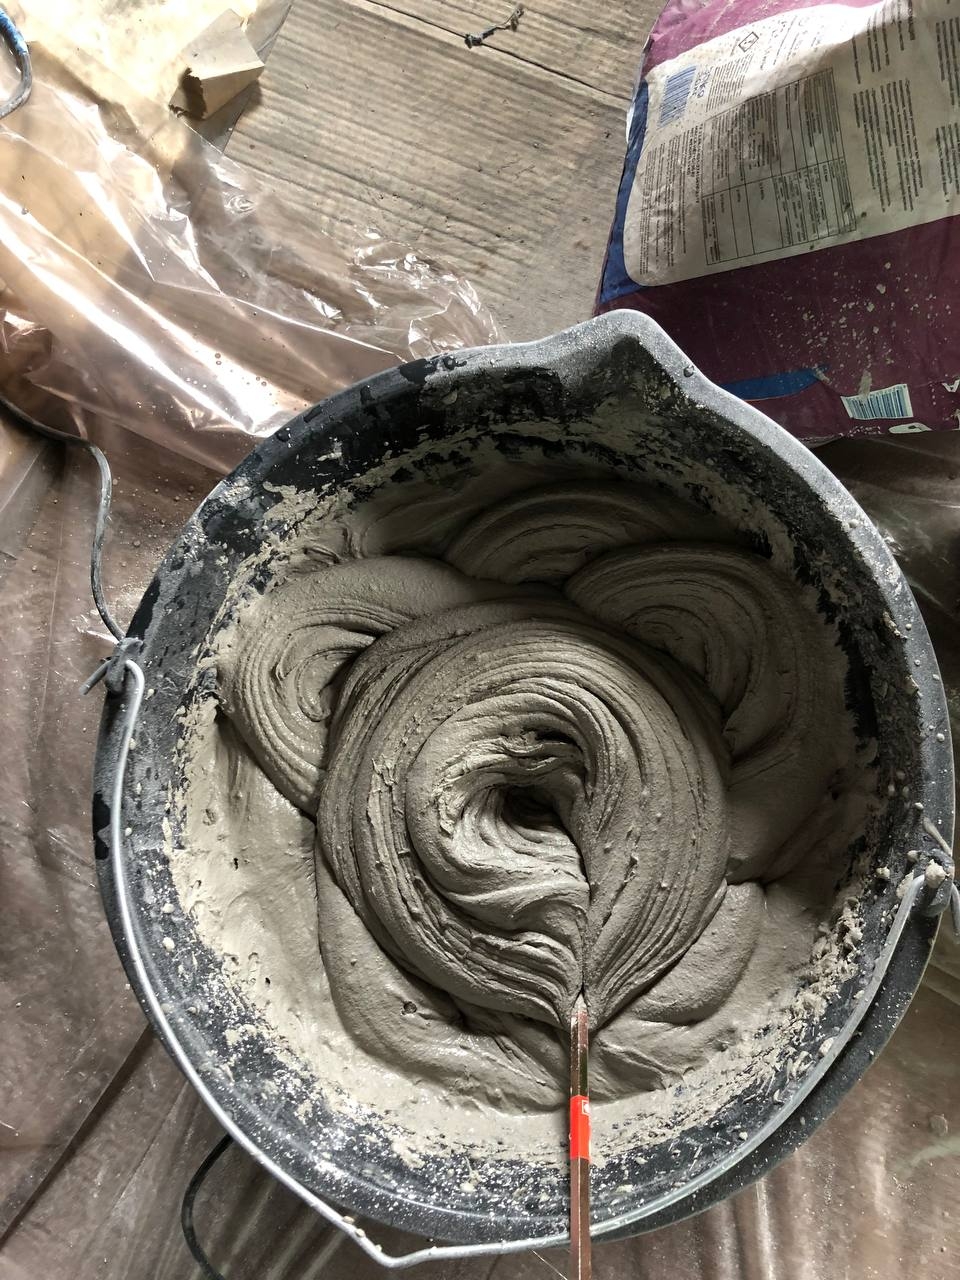
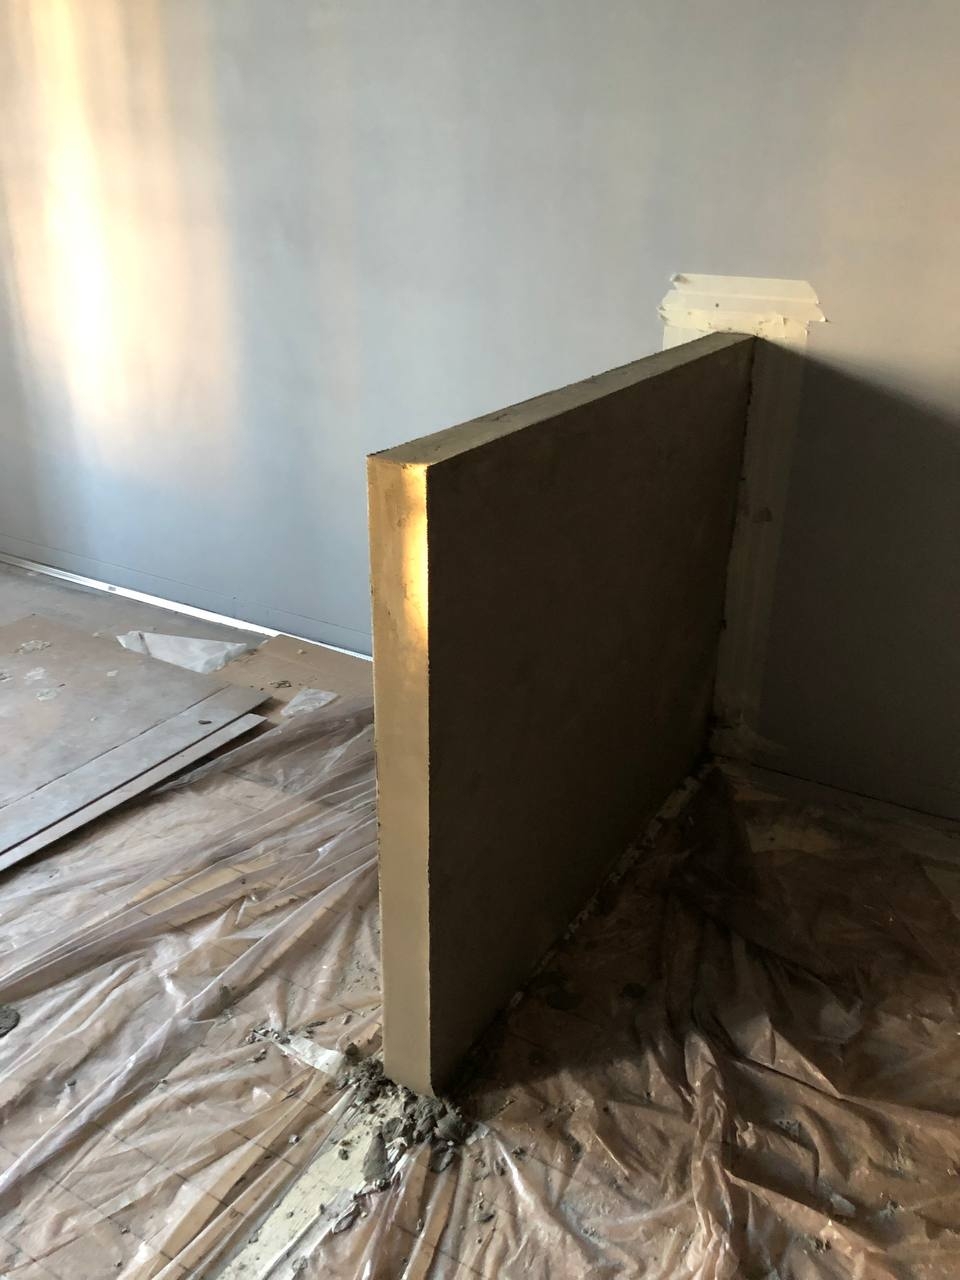
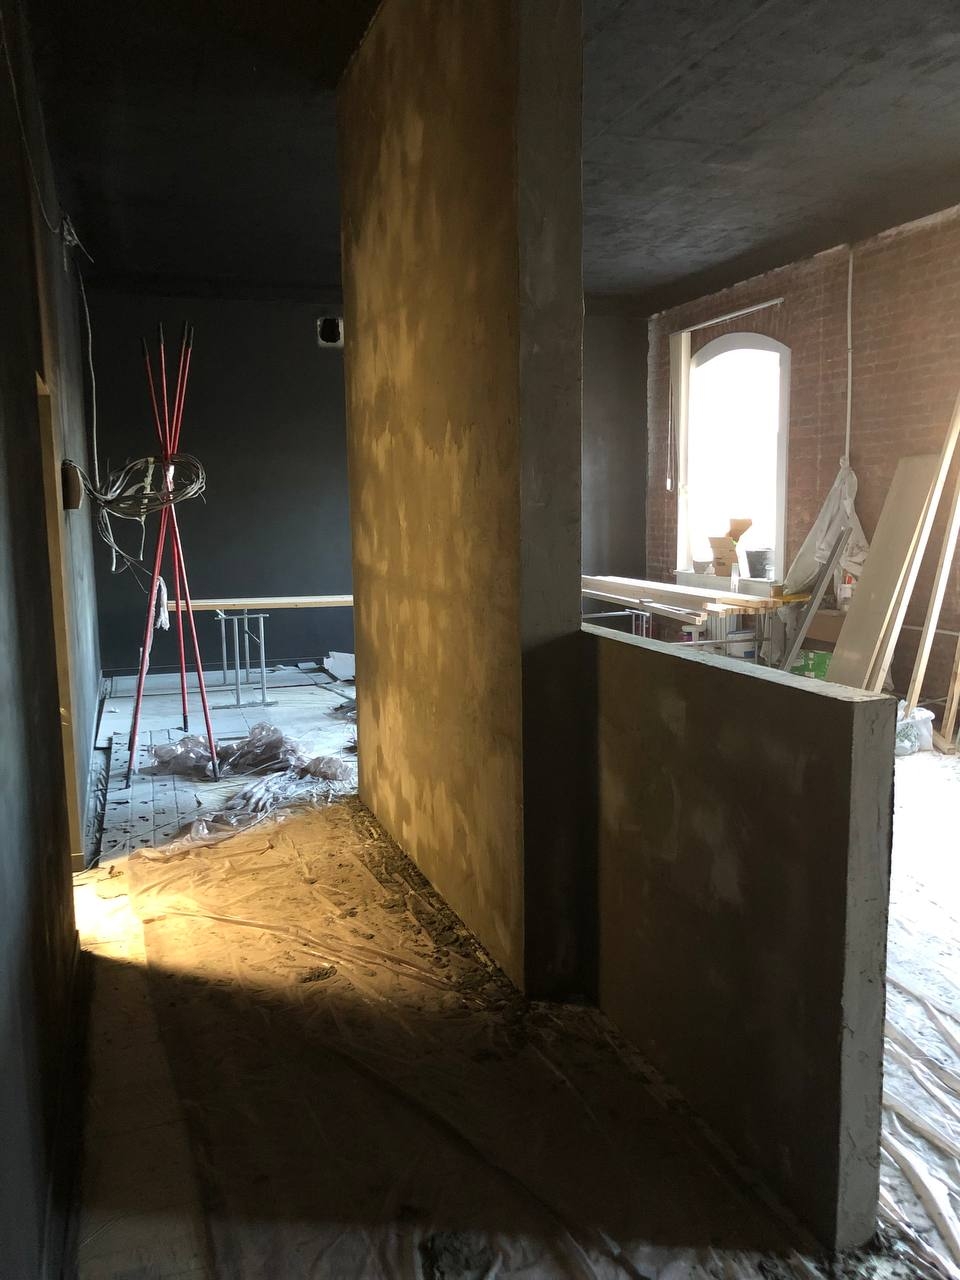
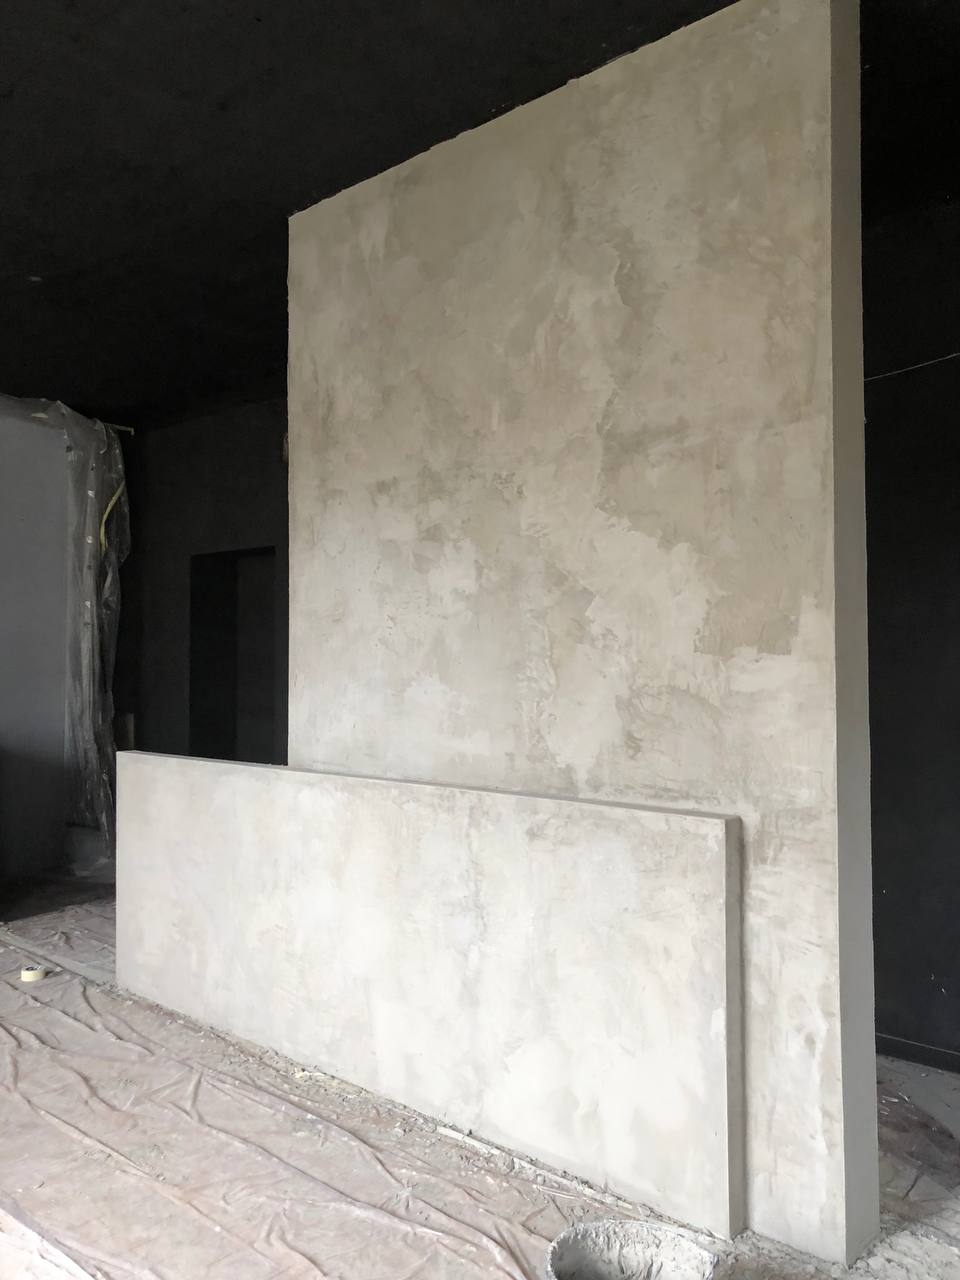
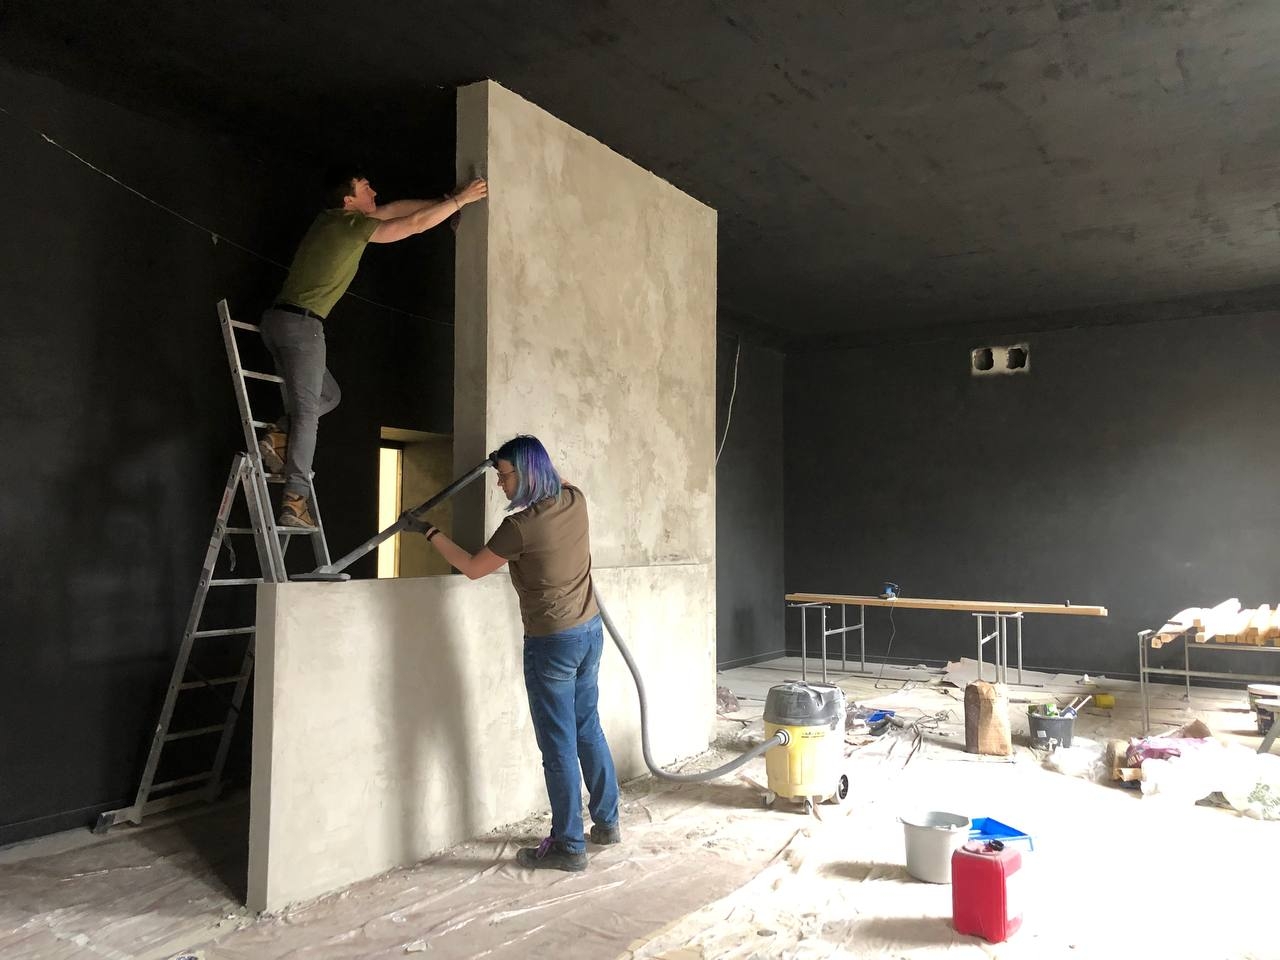
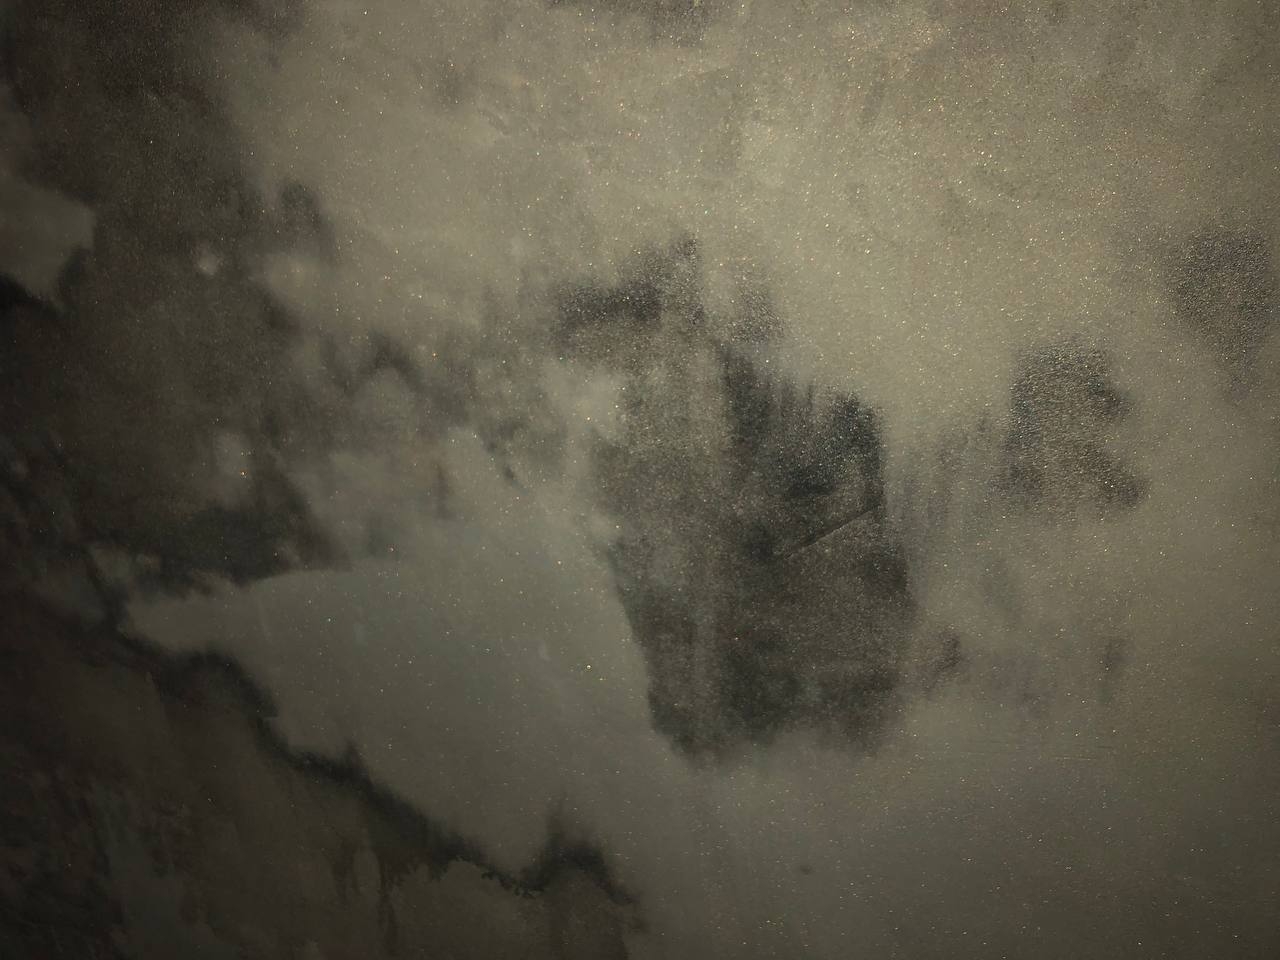
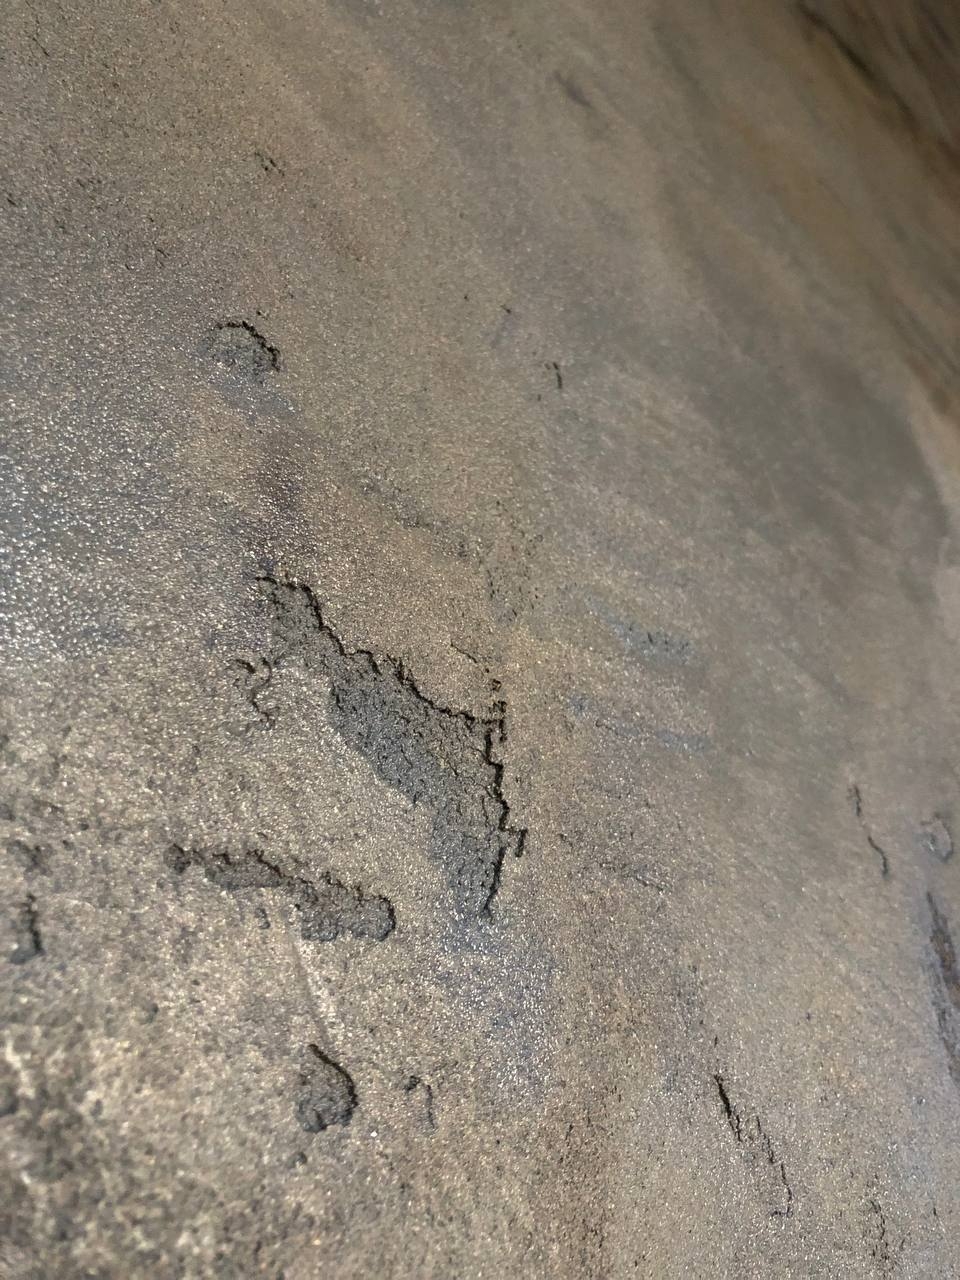
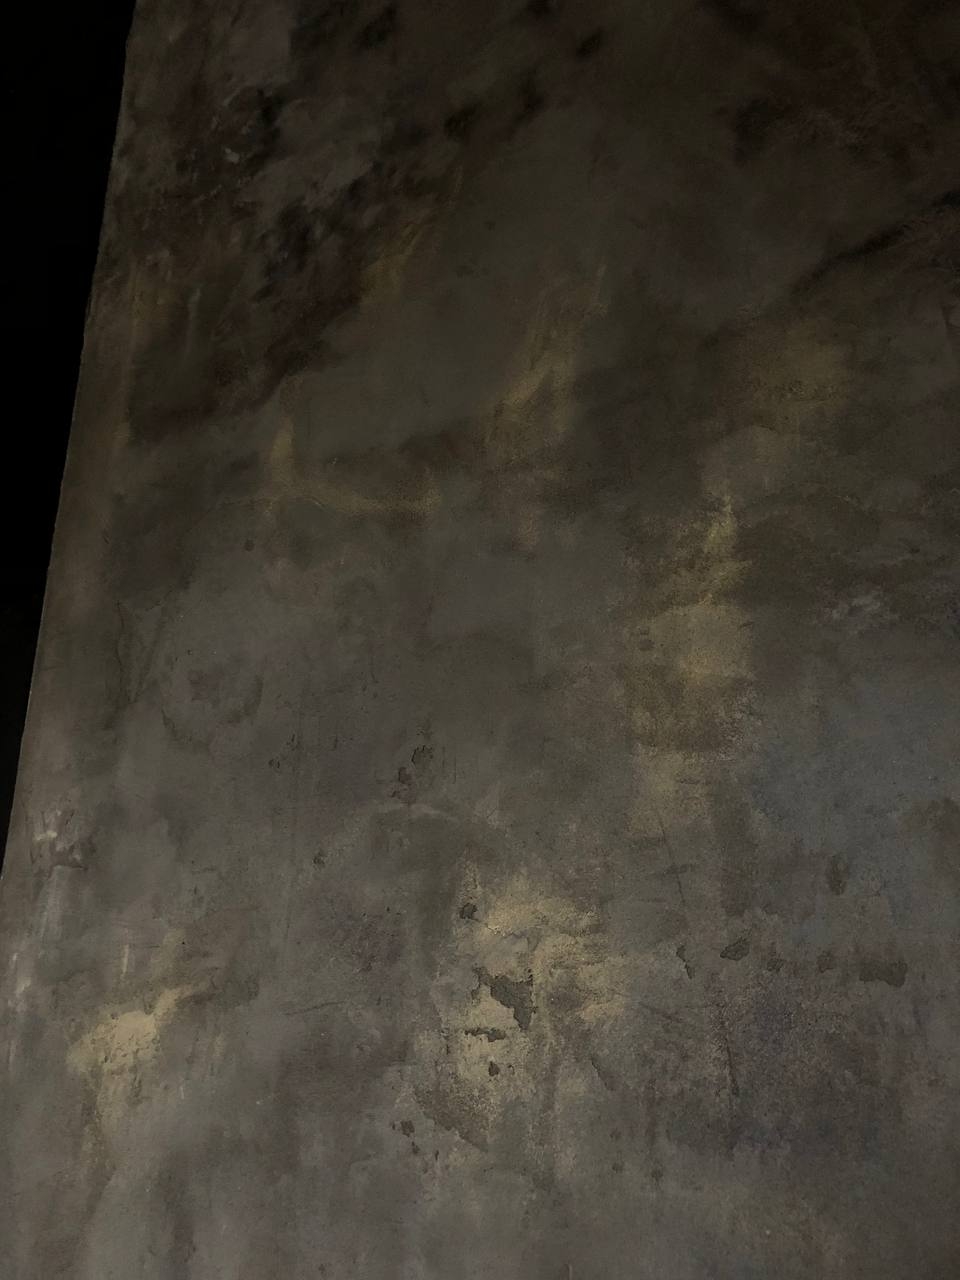
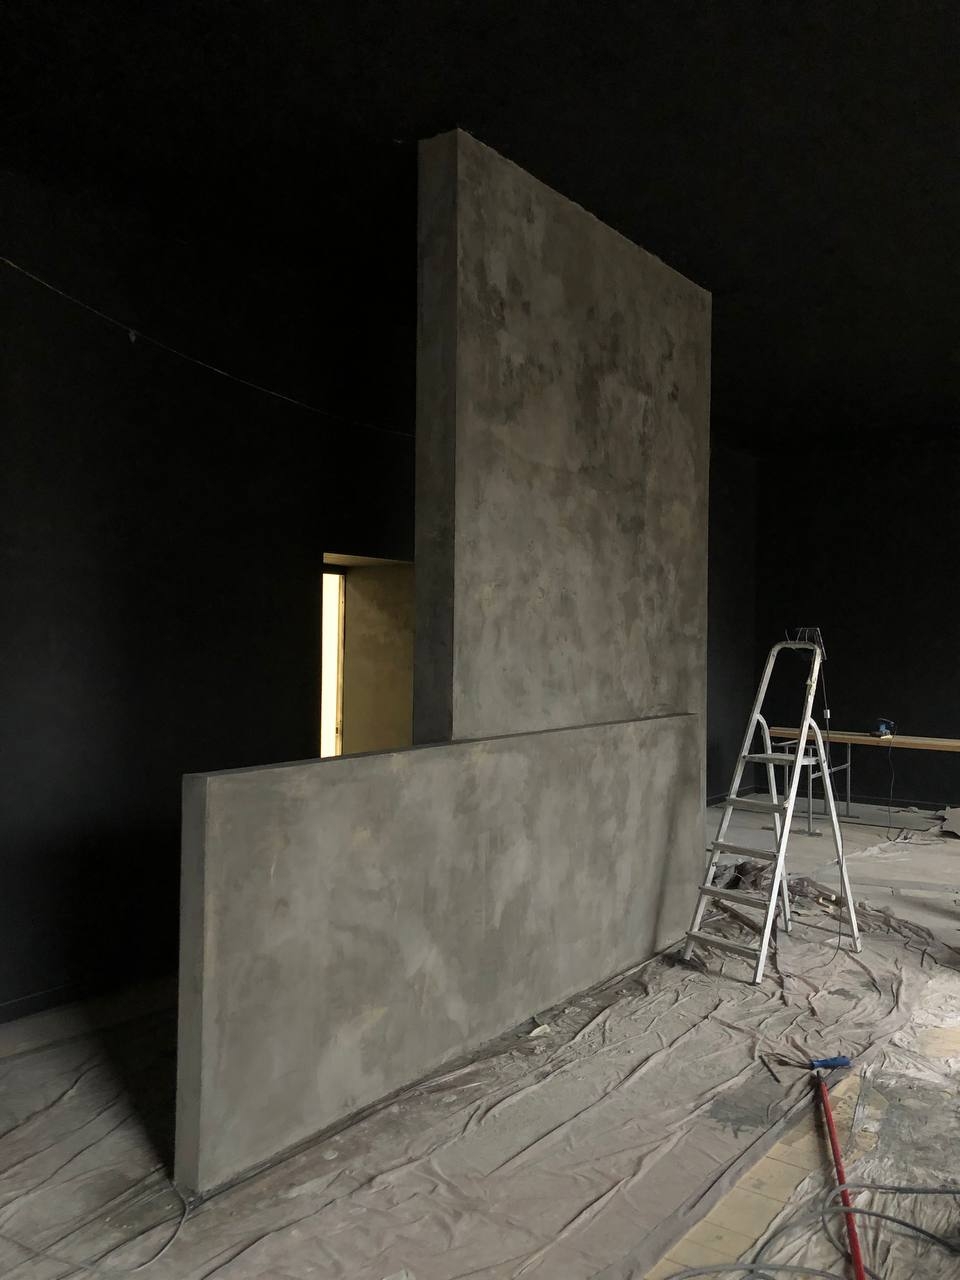
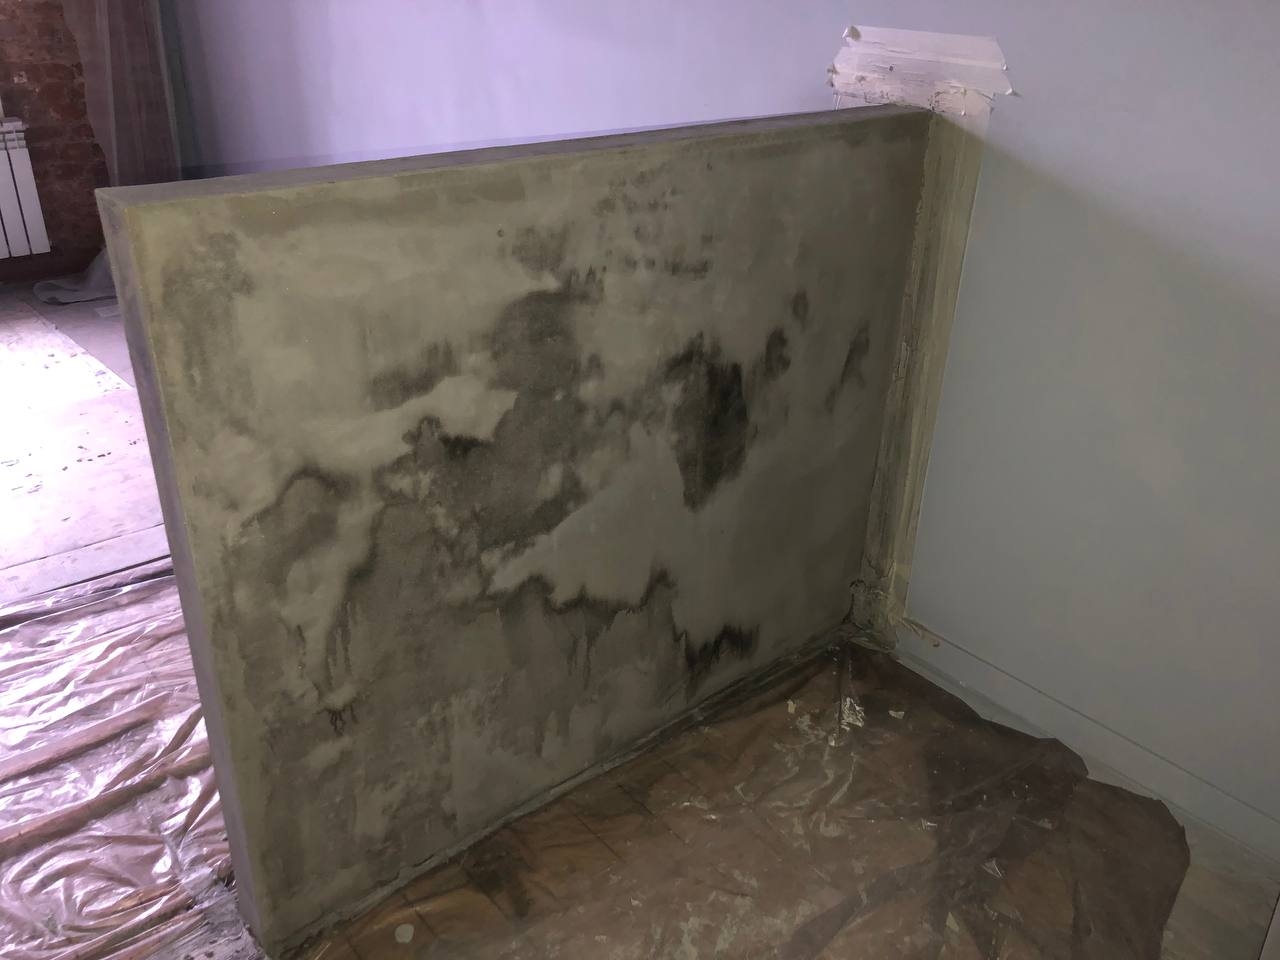
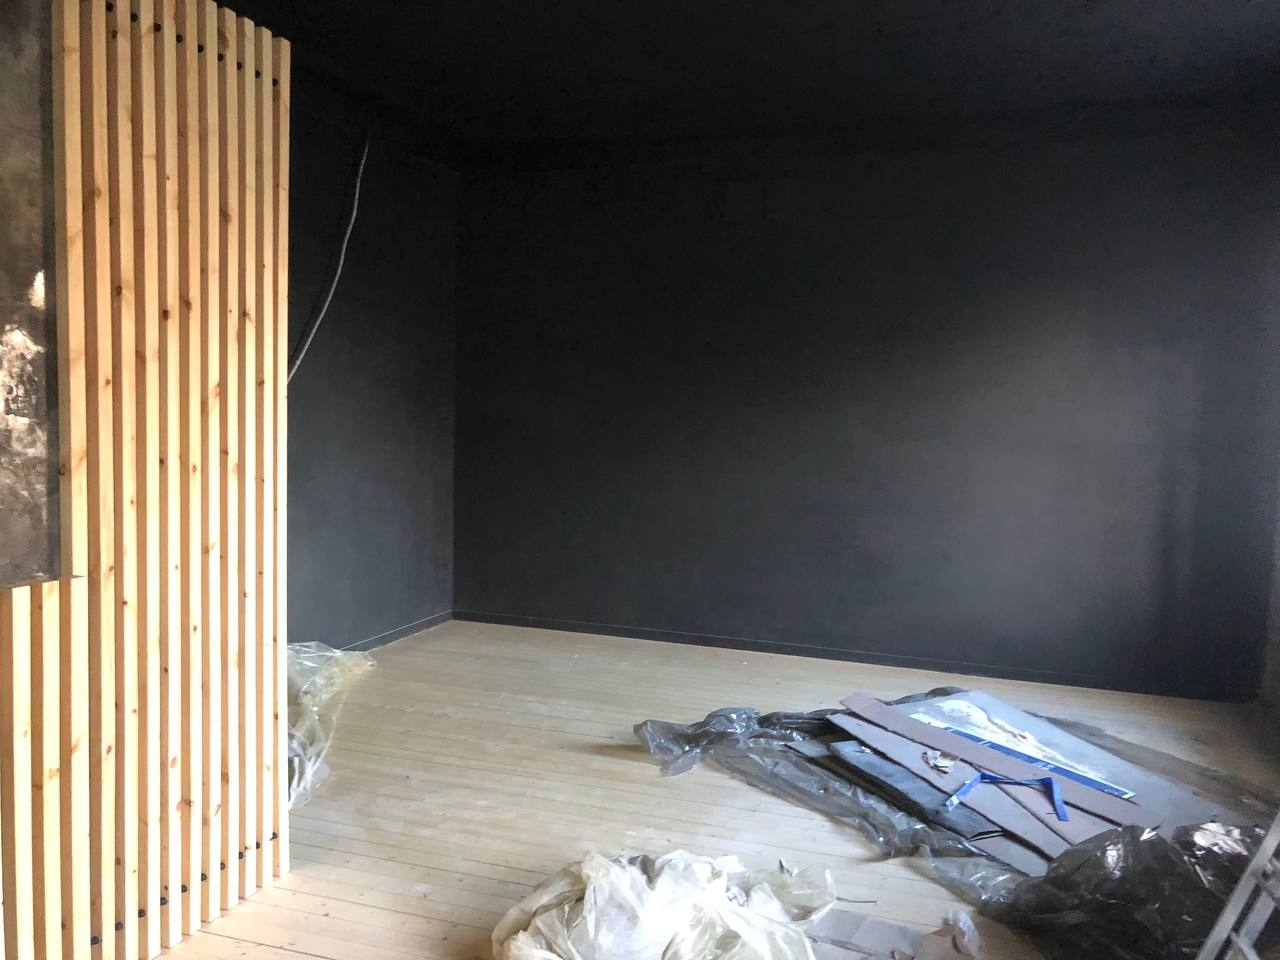
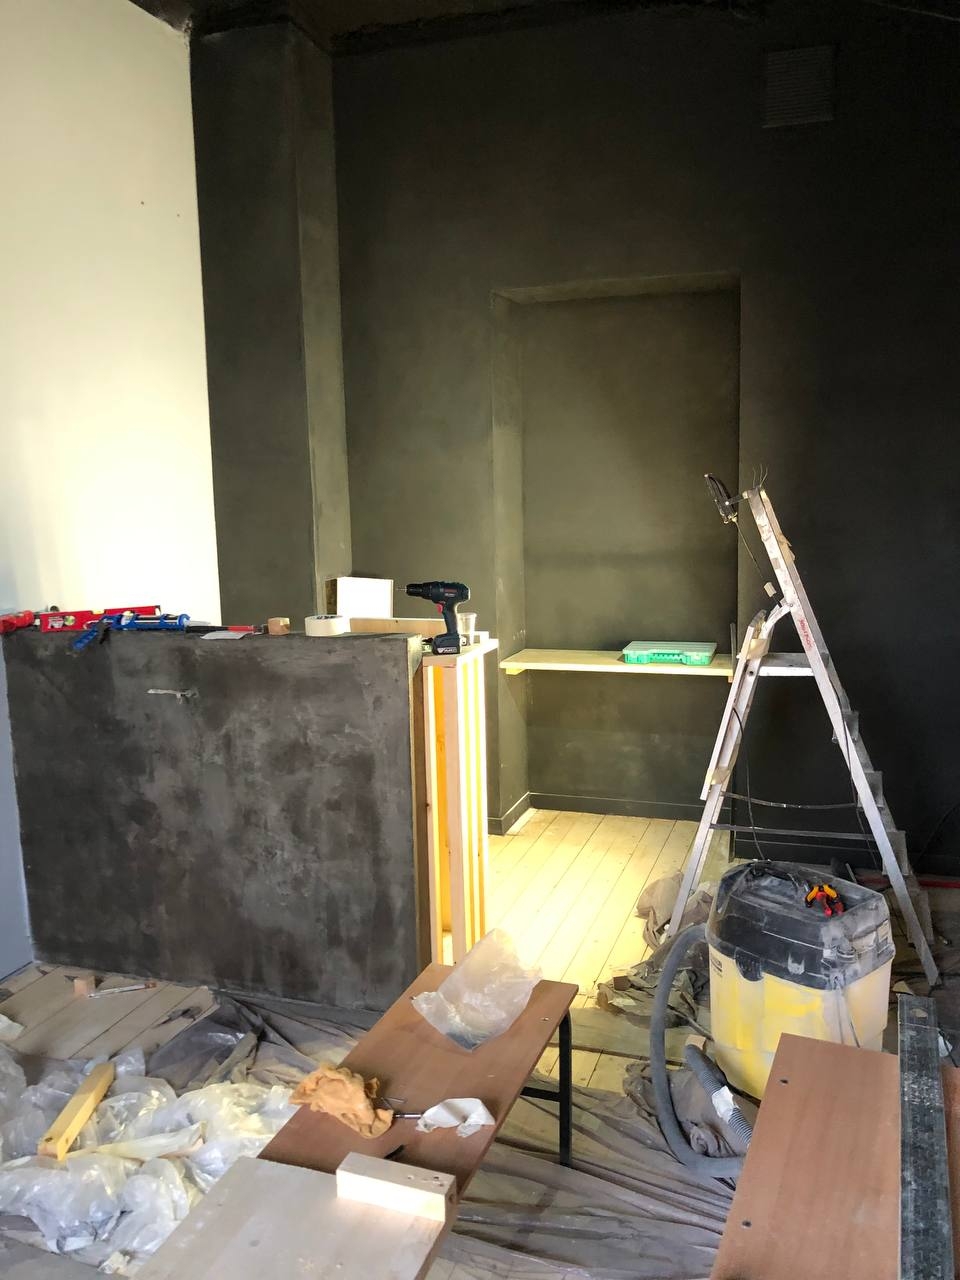
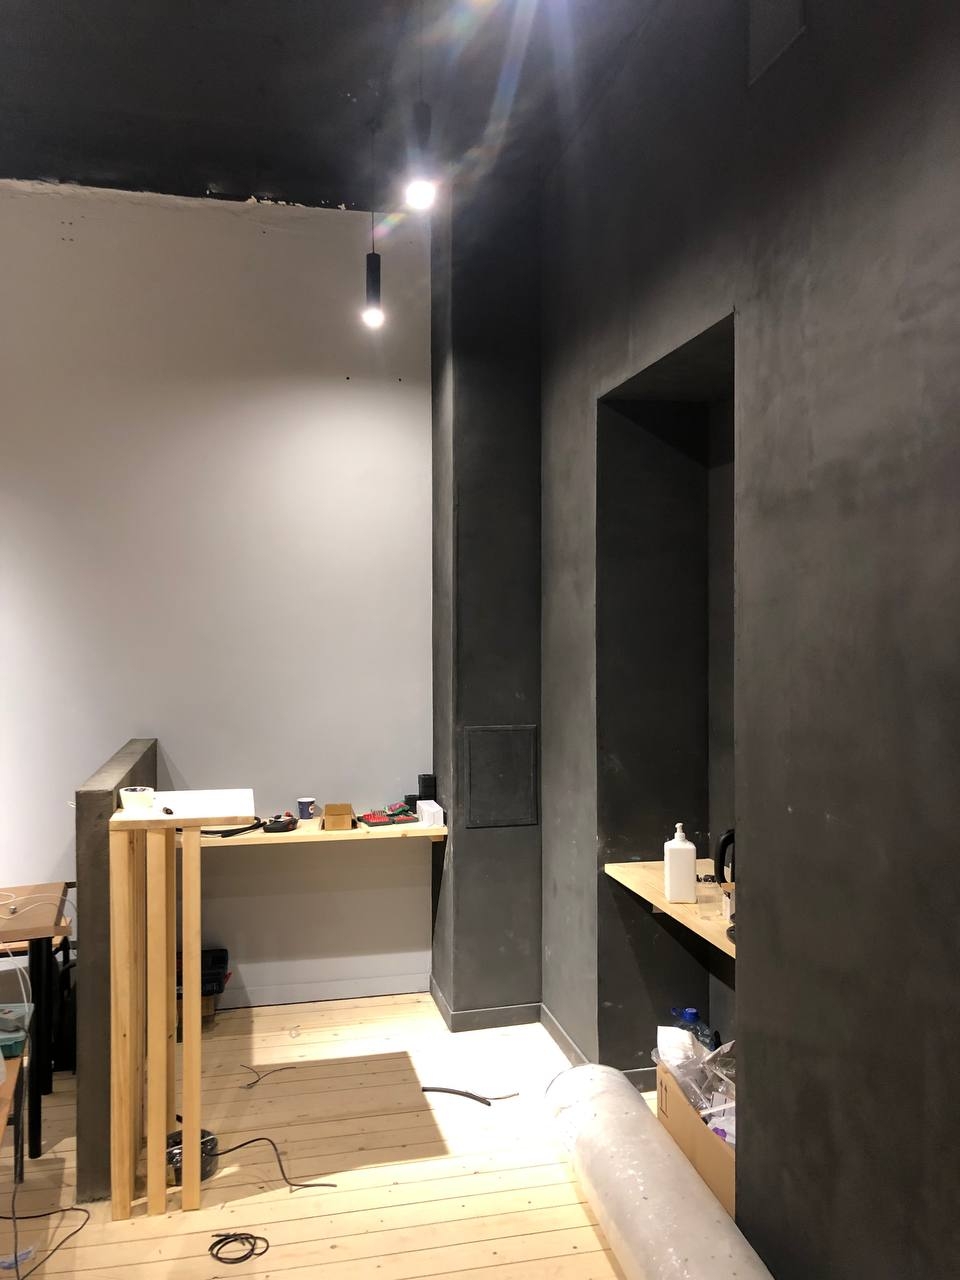
The main idea that allowed creating such zoning — is to build a decorative column at the center of the place. And the long low wall near it. They will be stylized for concrete.
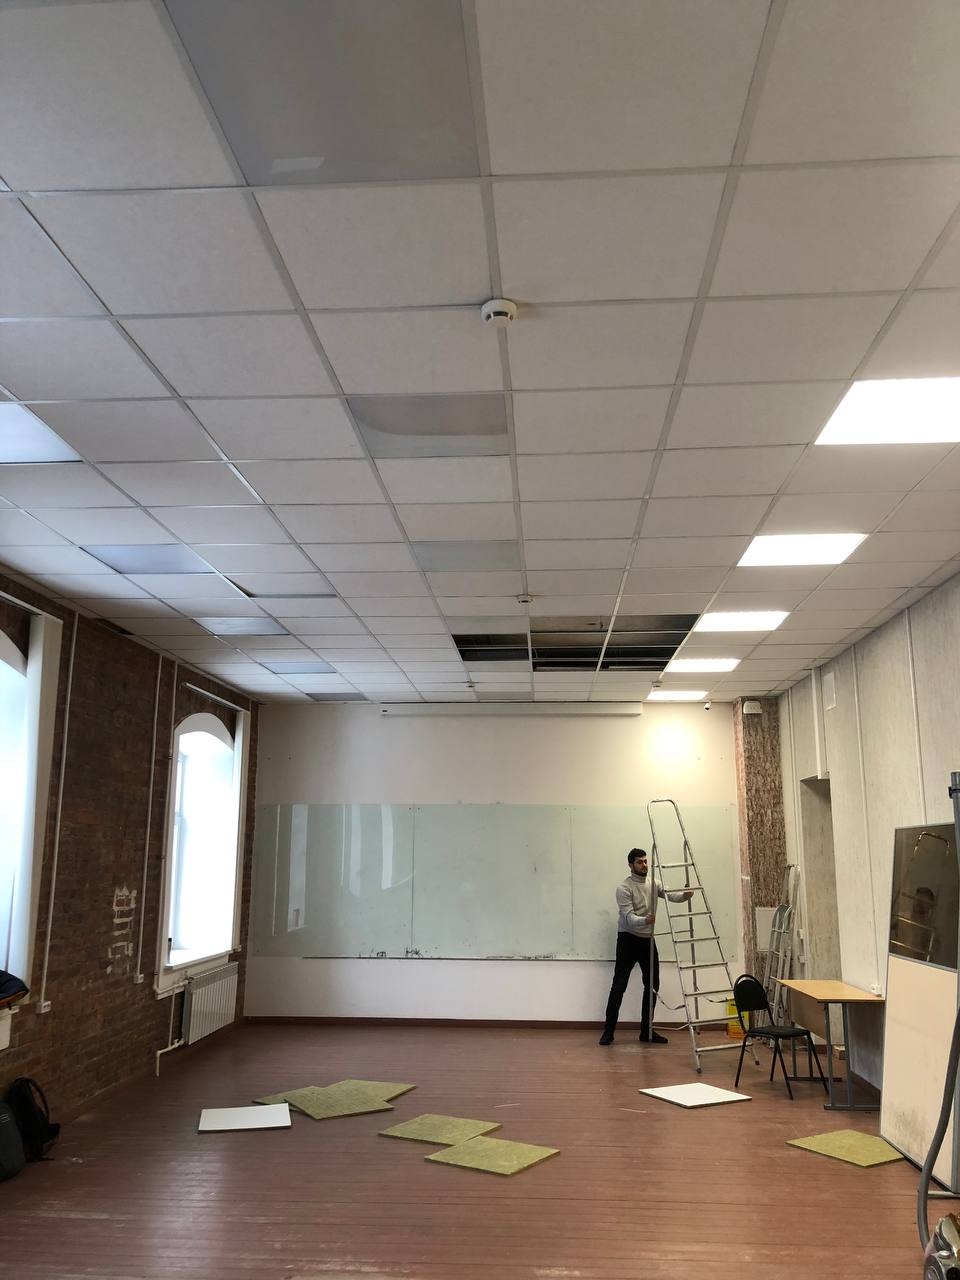
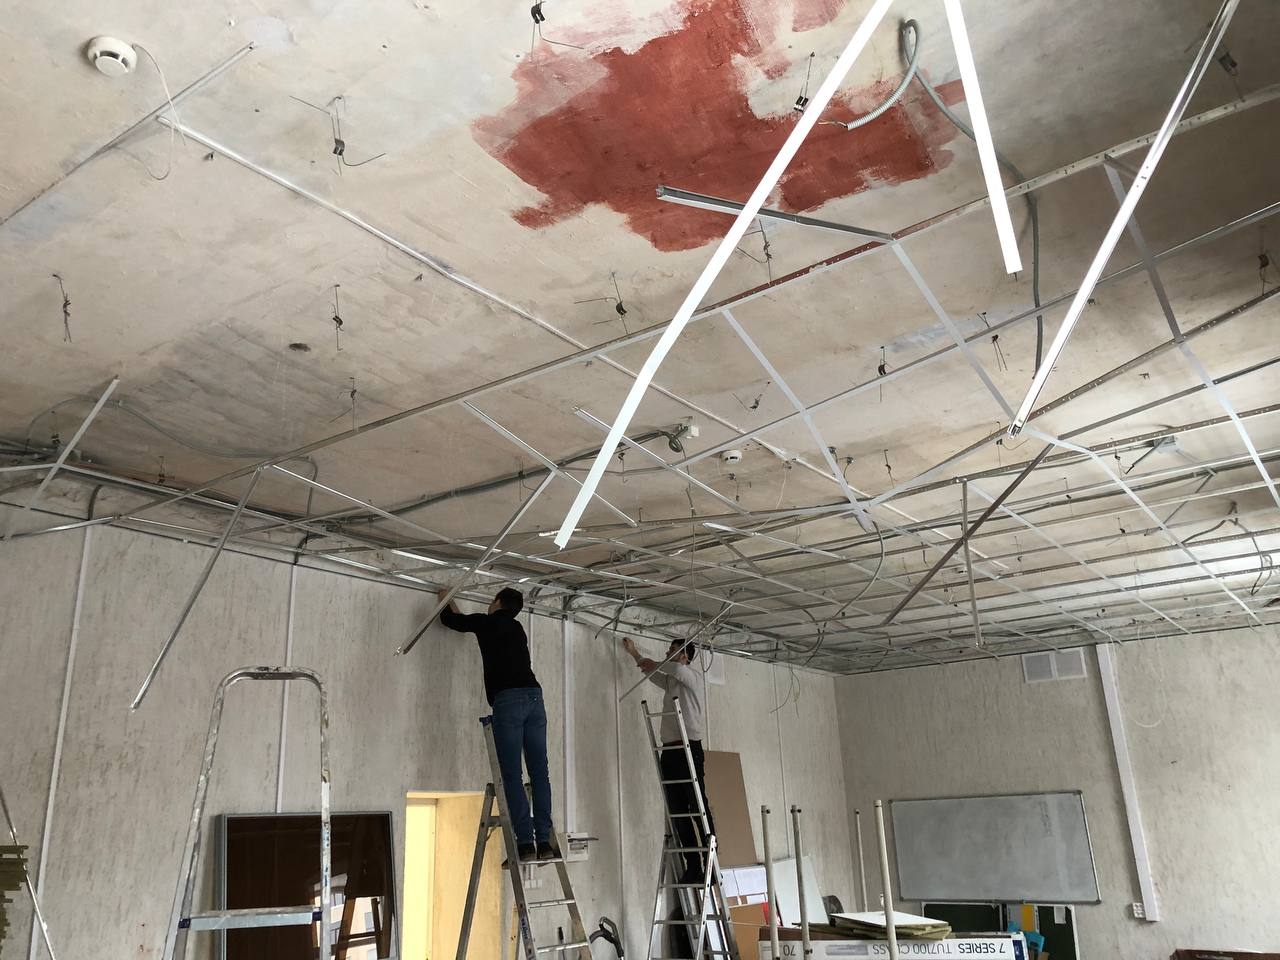
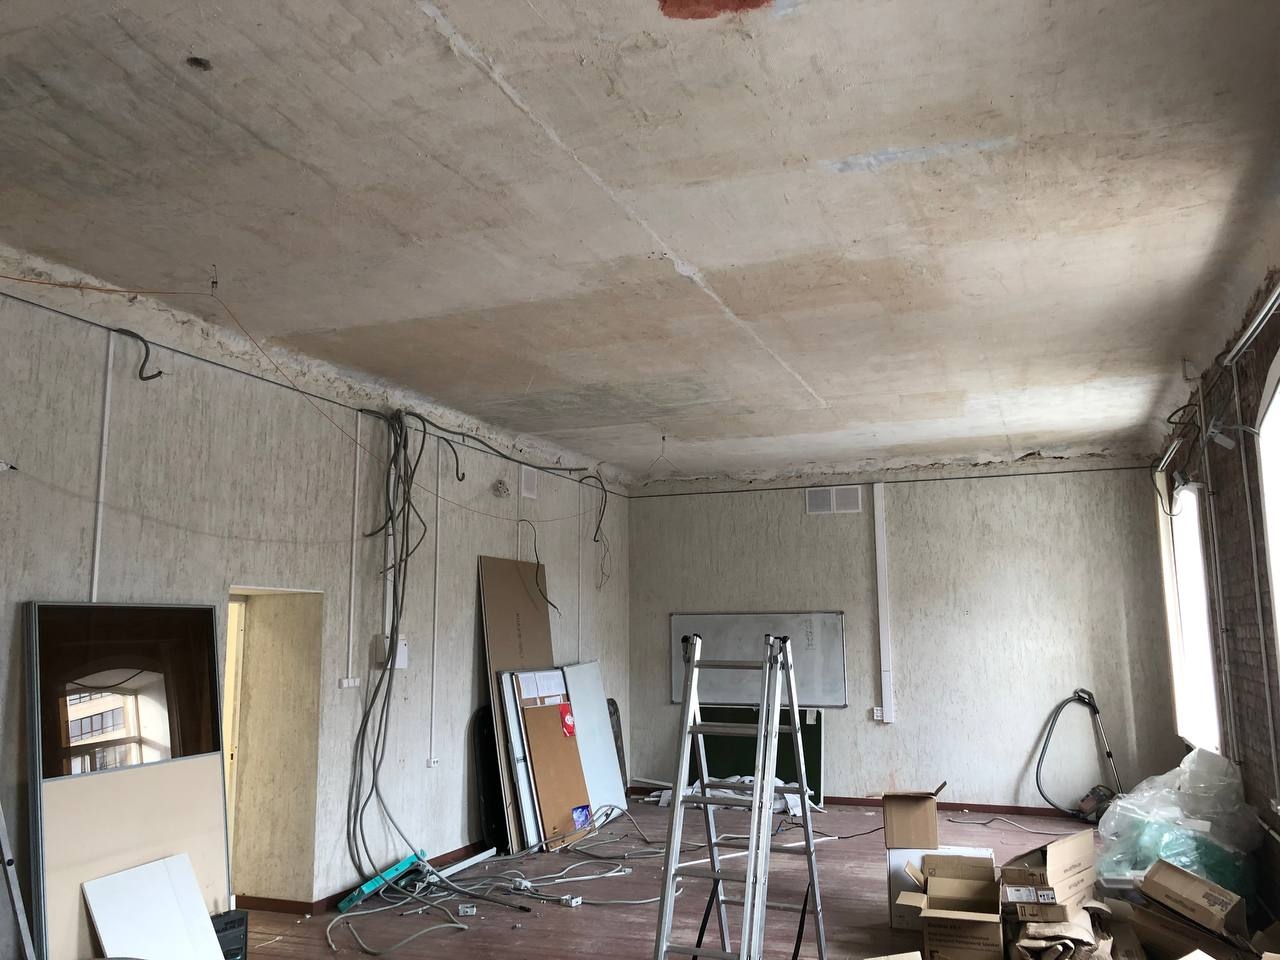
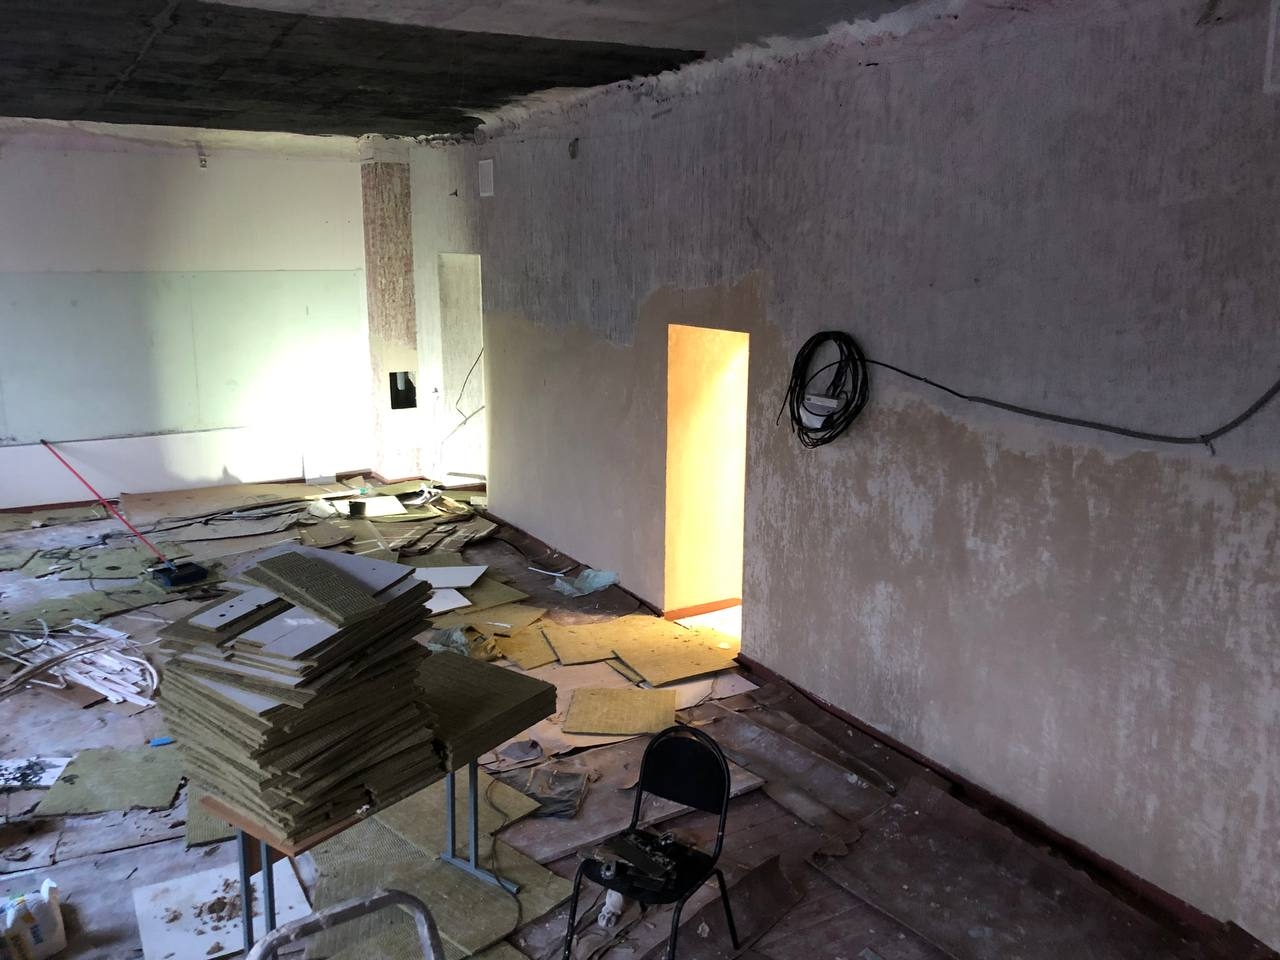
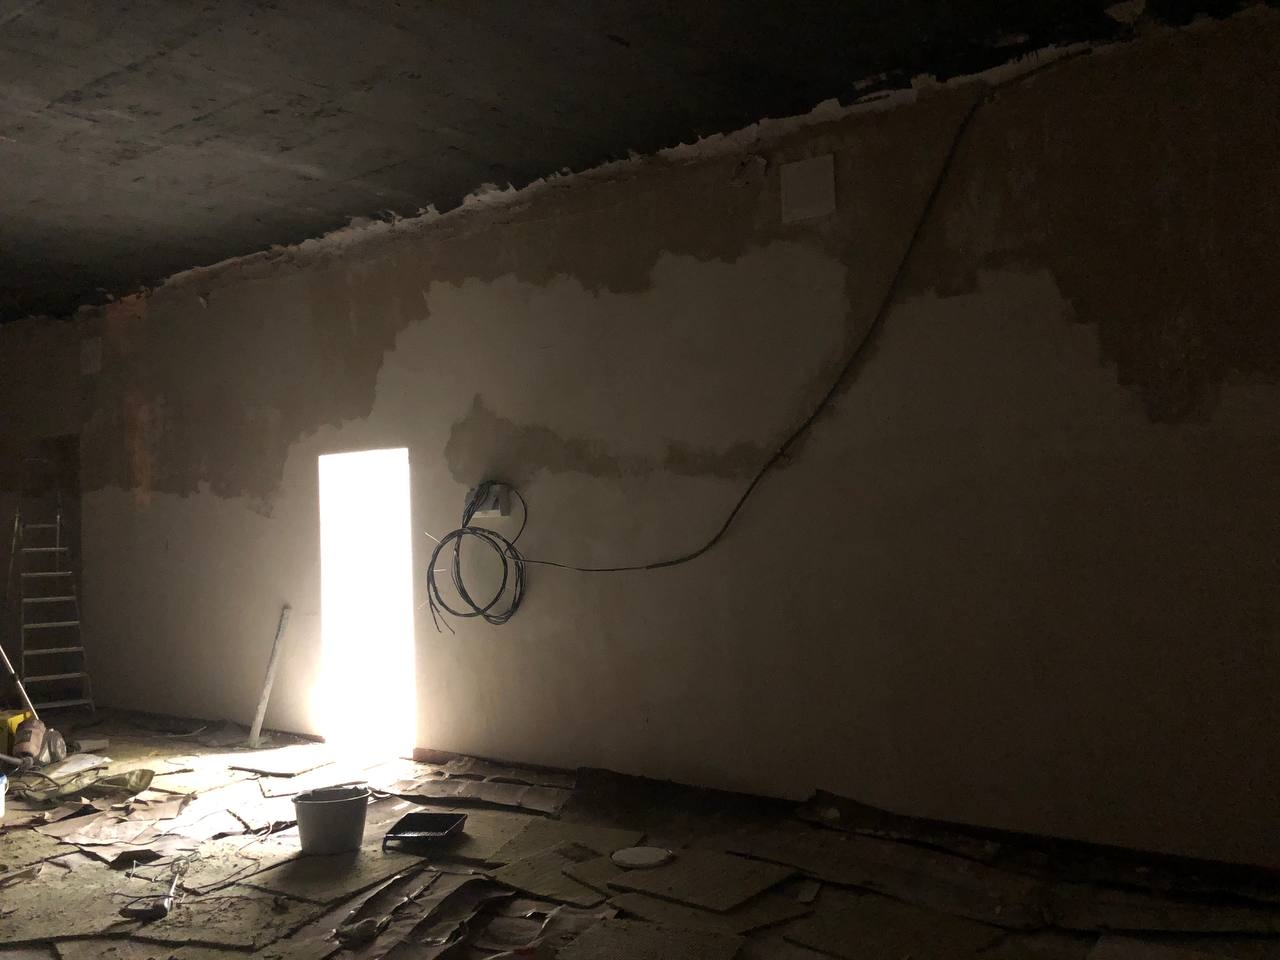
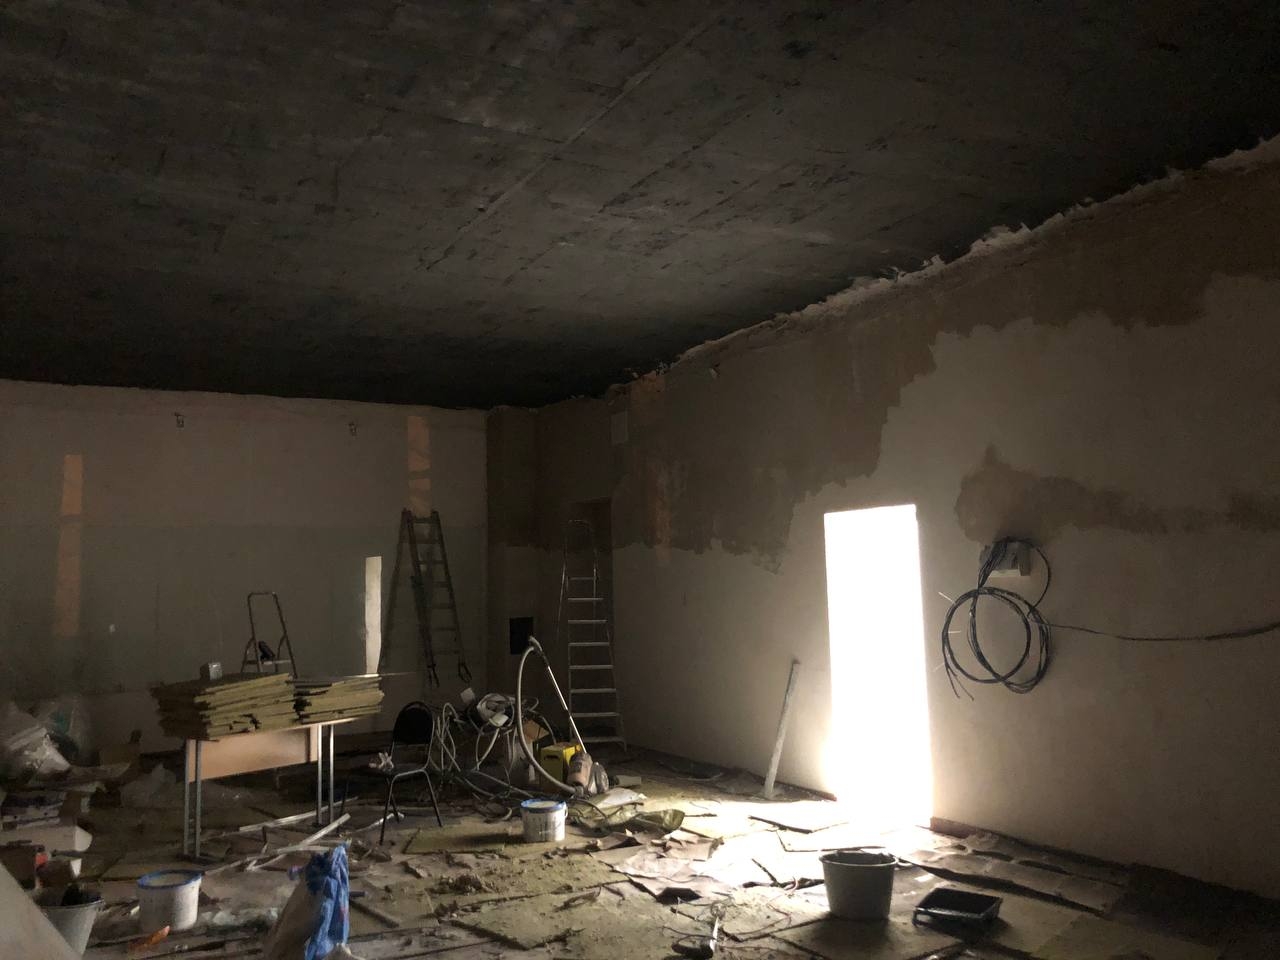
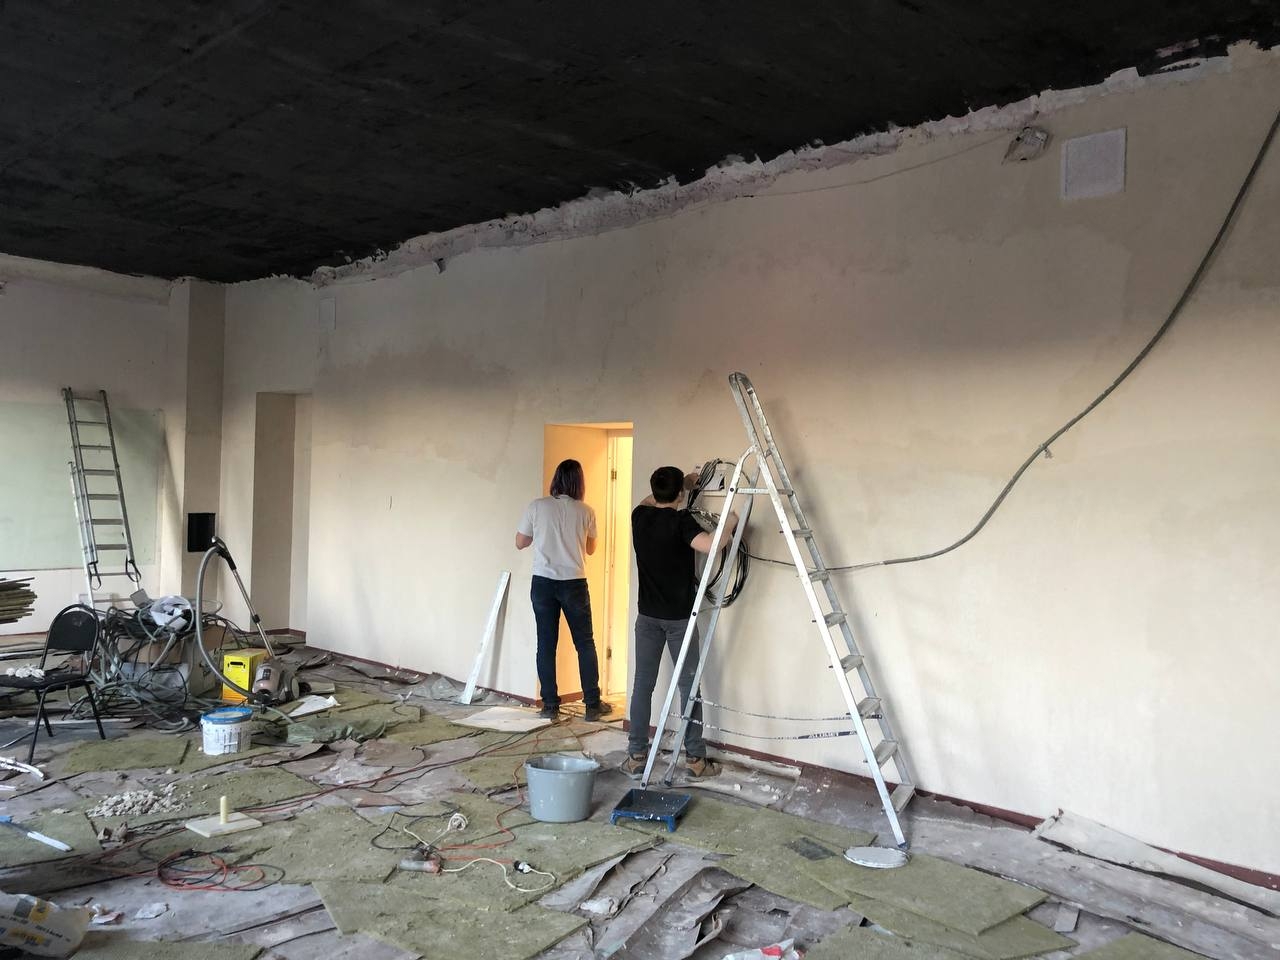
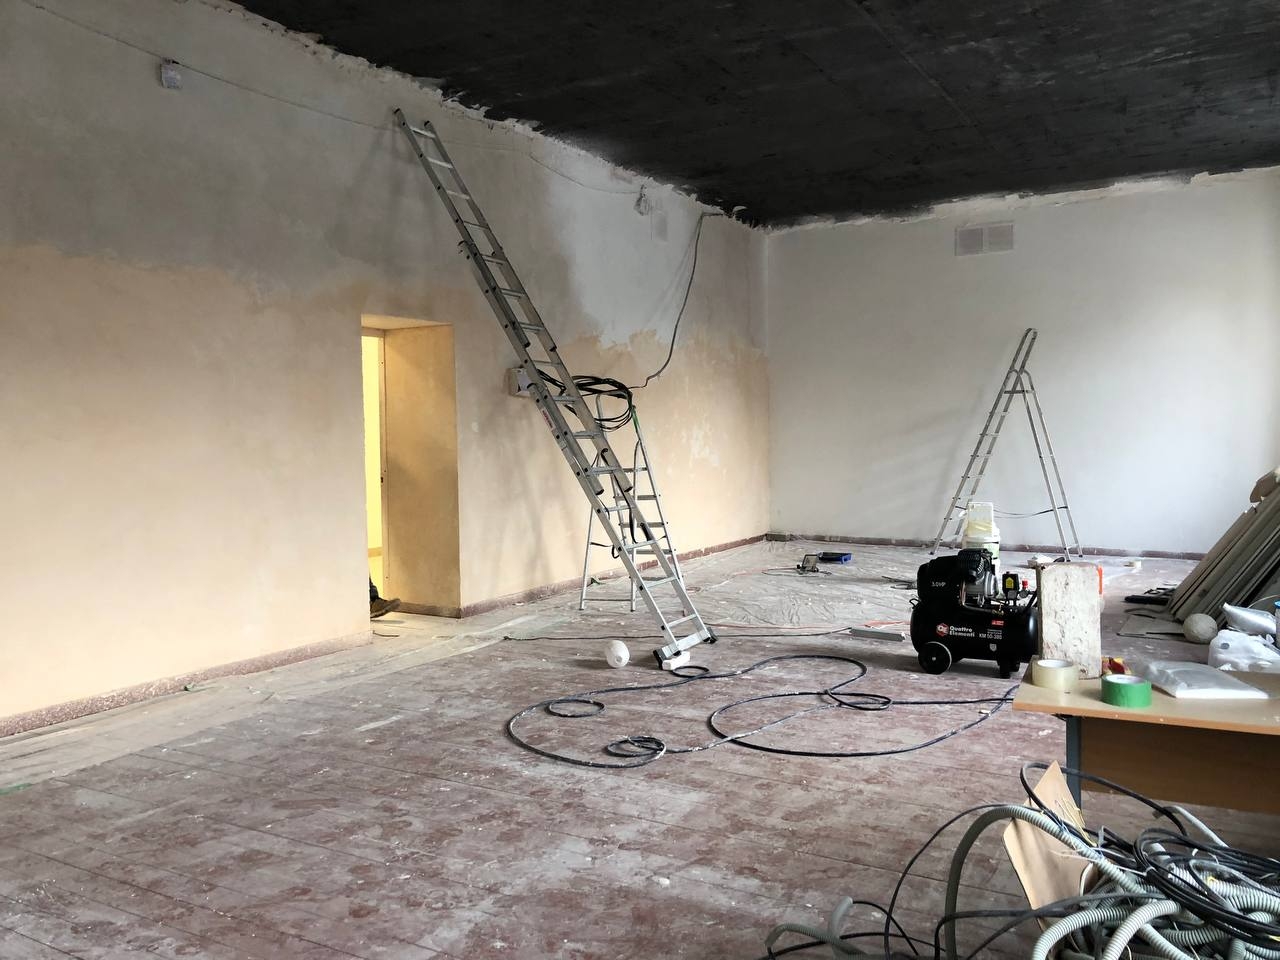
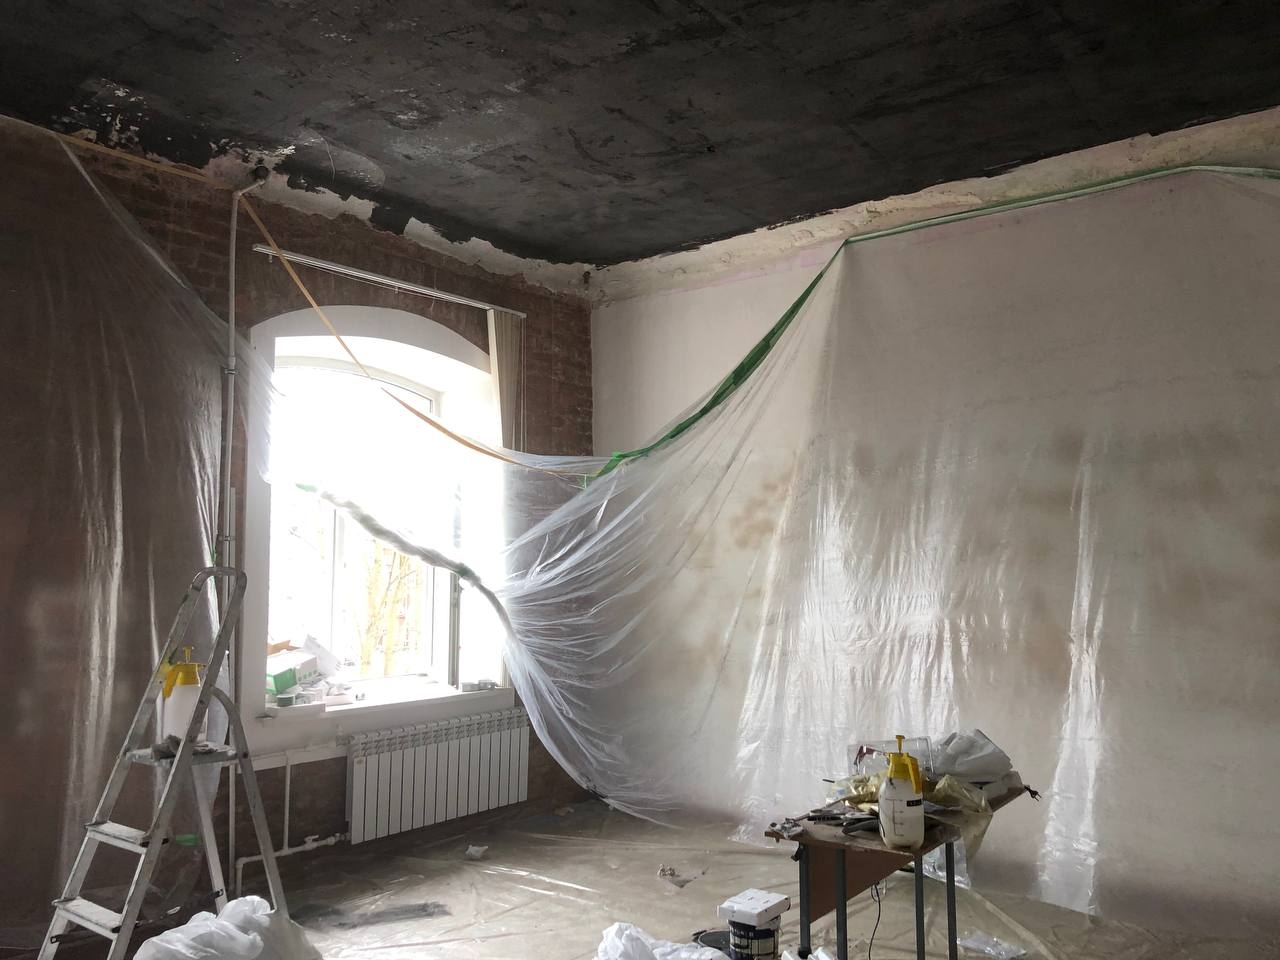
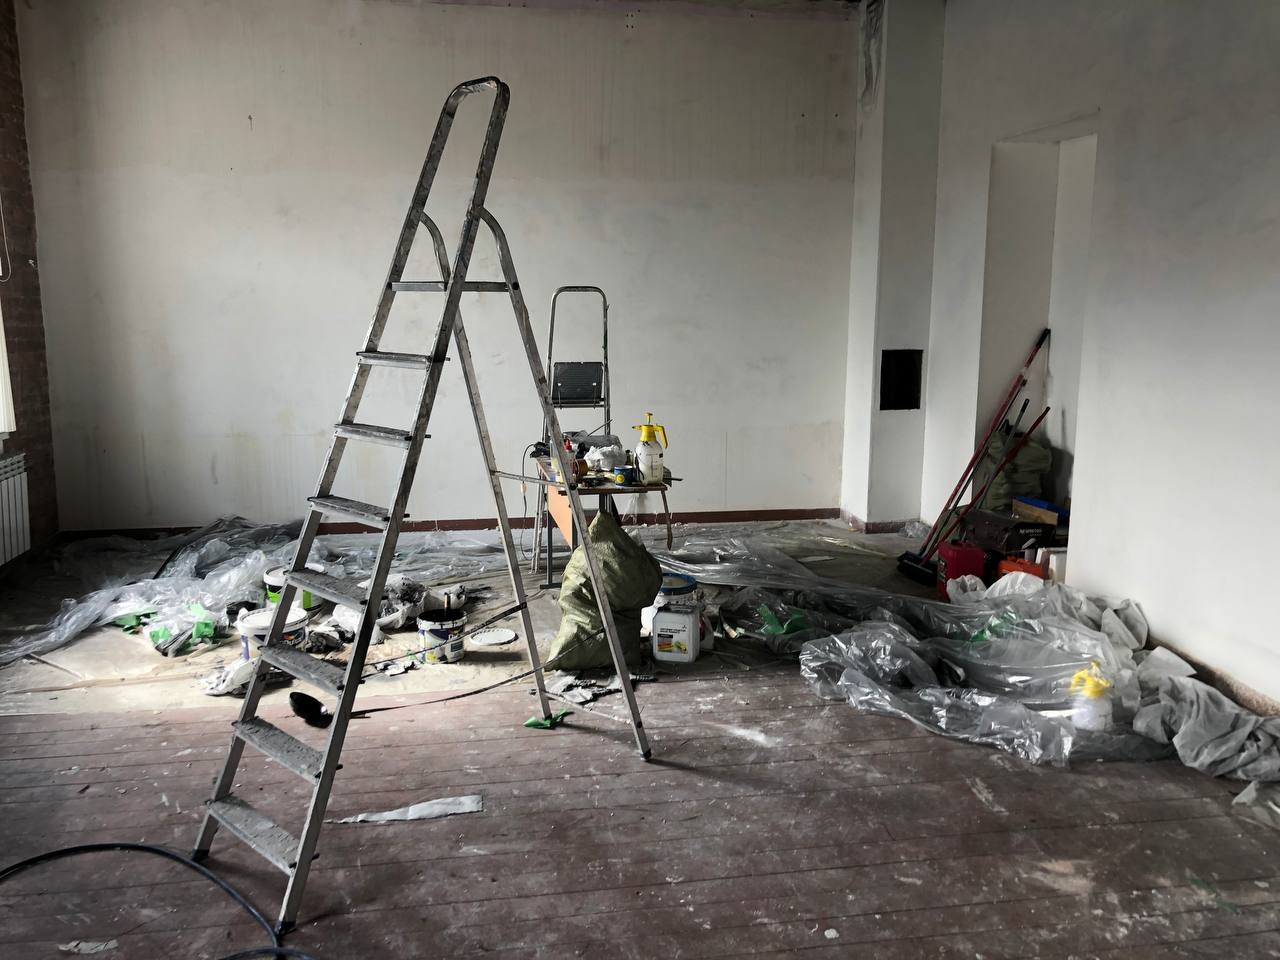
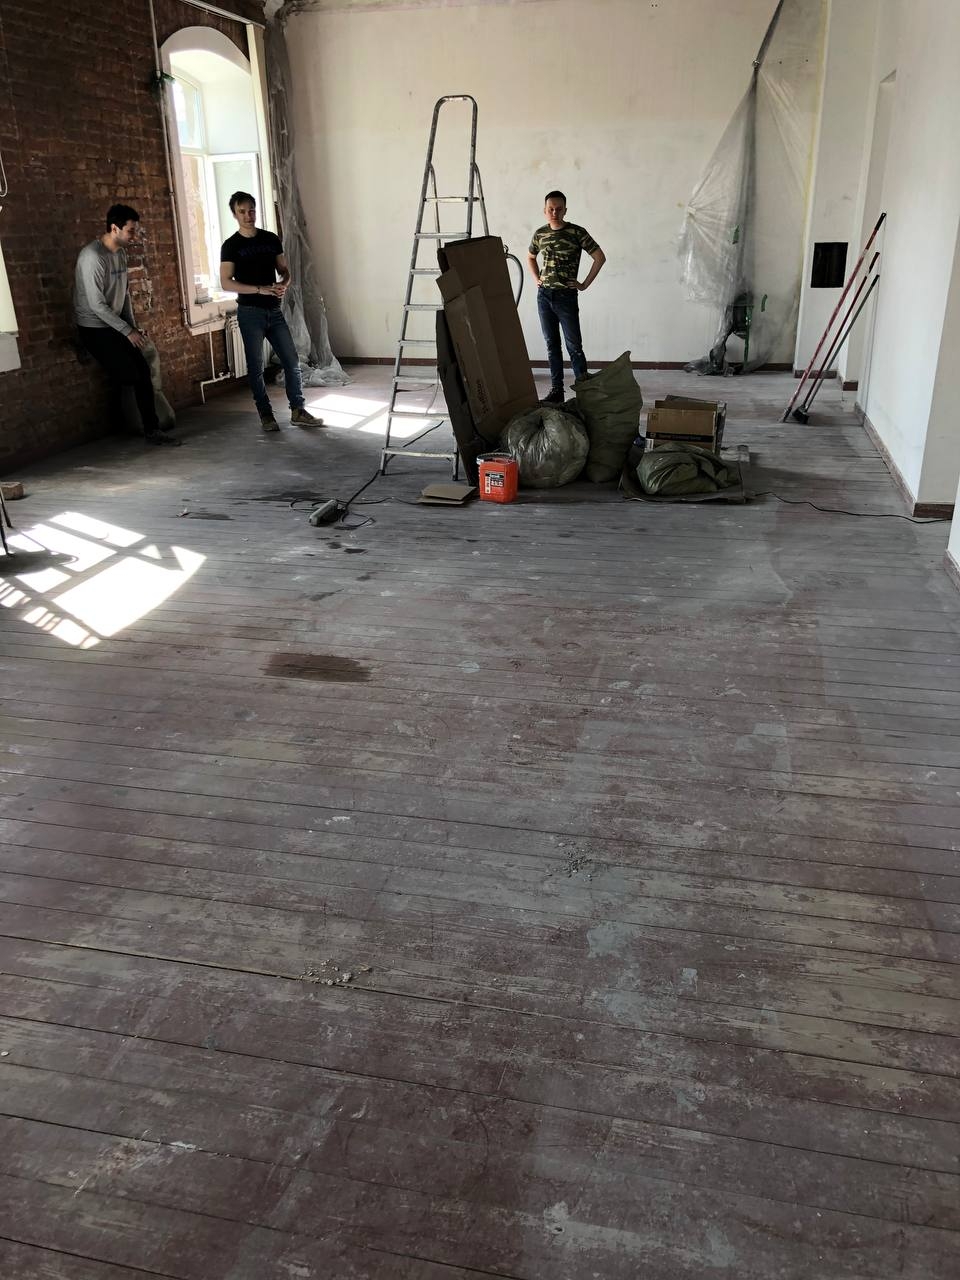
Feb 24 — Start
The first step of our journey is to completely remove the old ceiling.
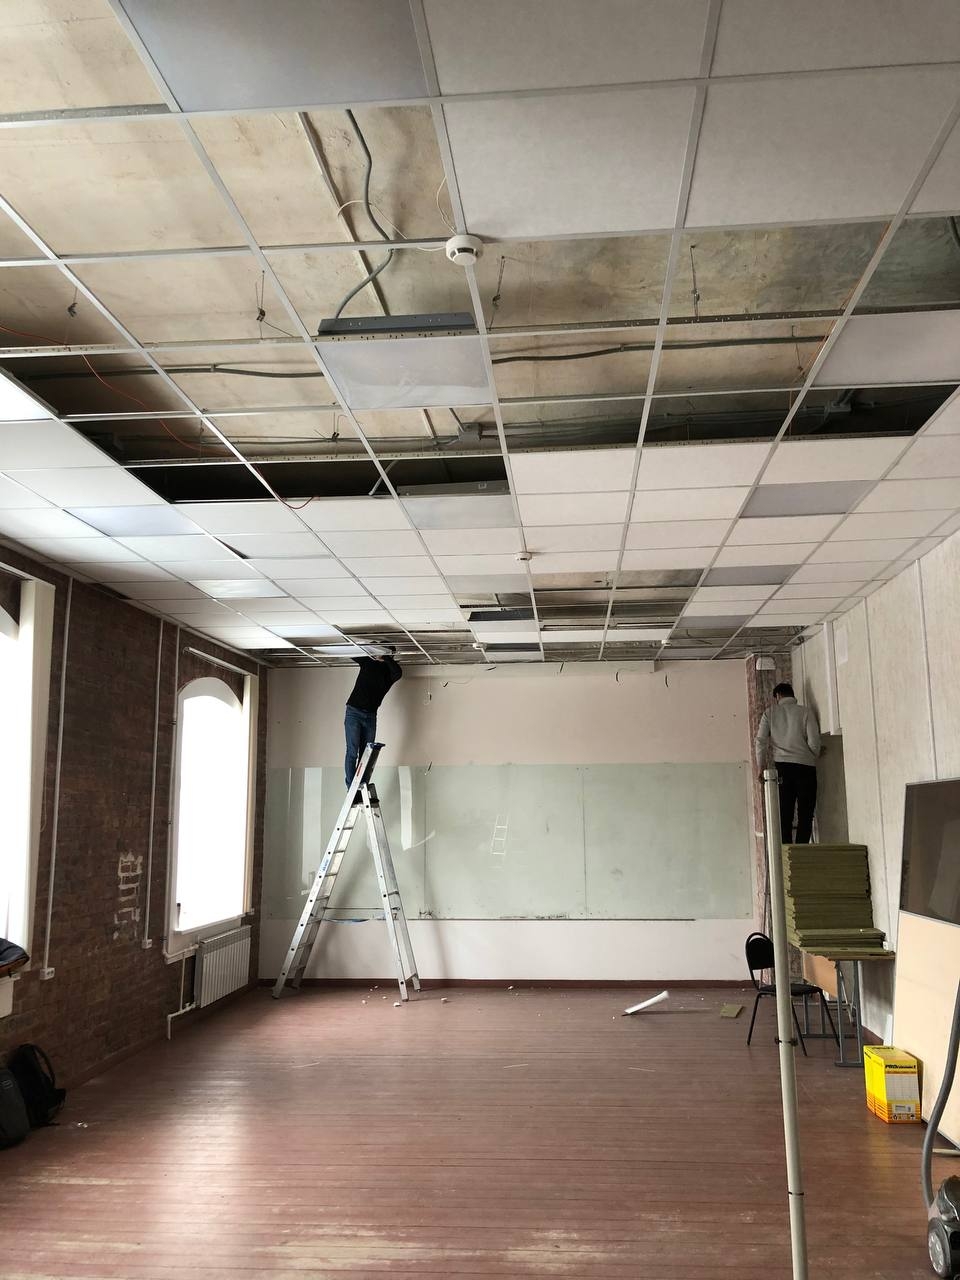
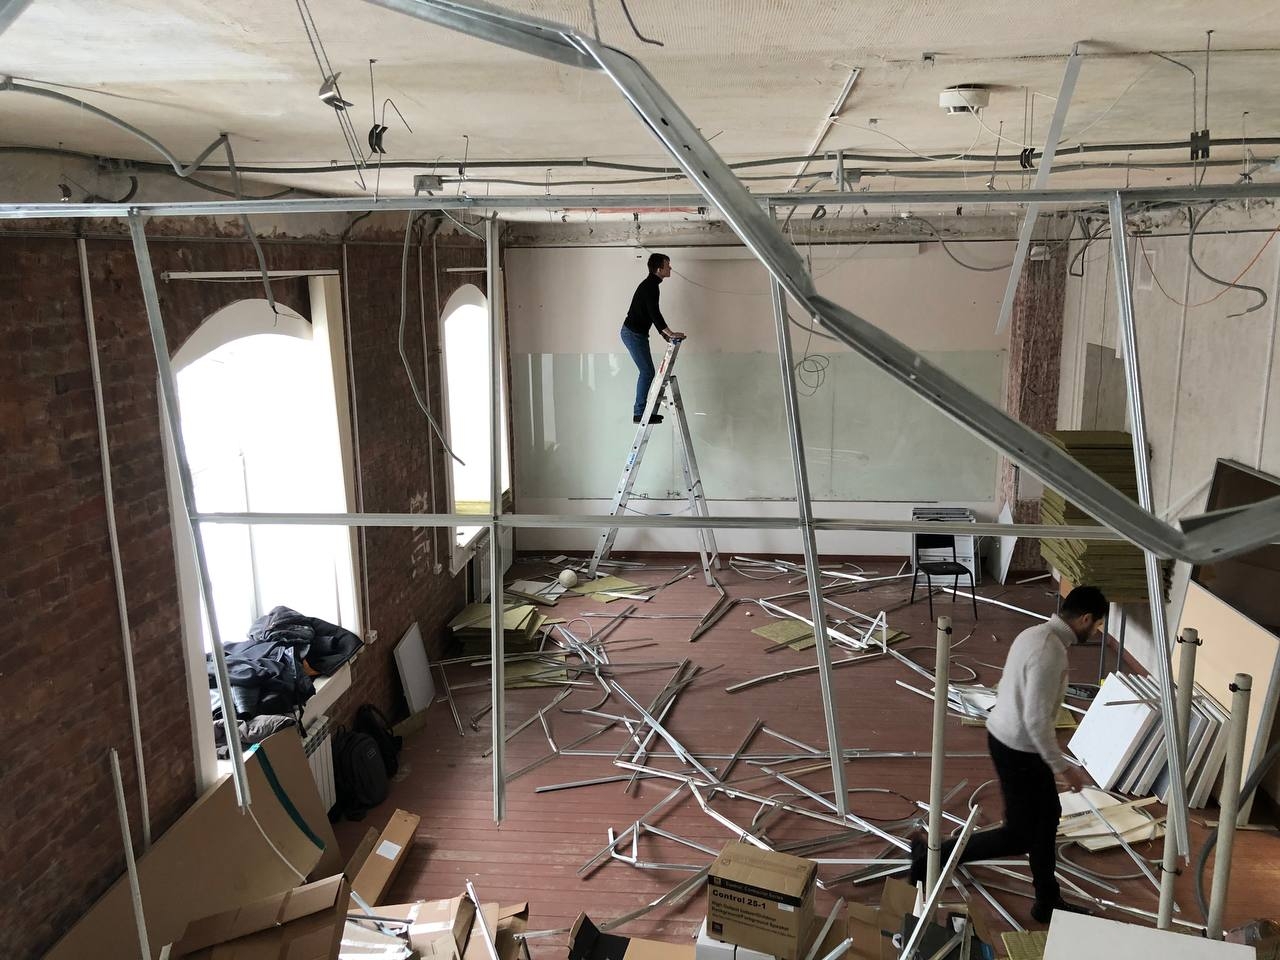
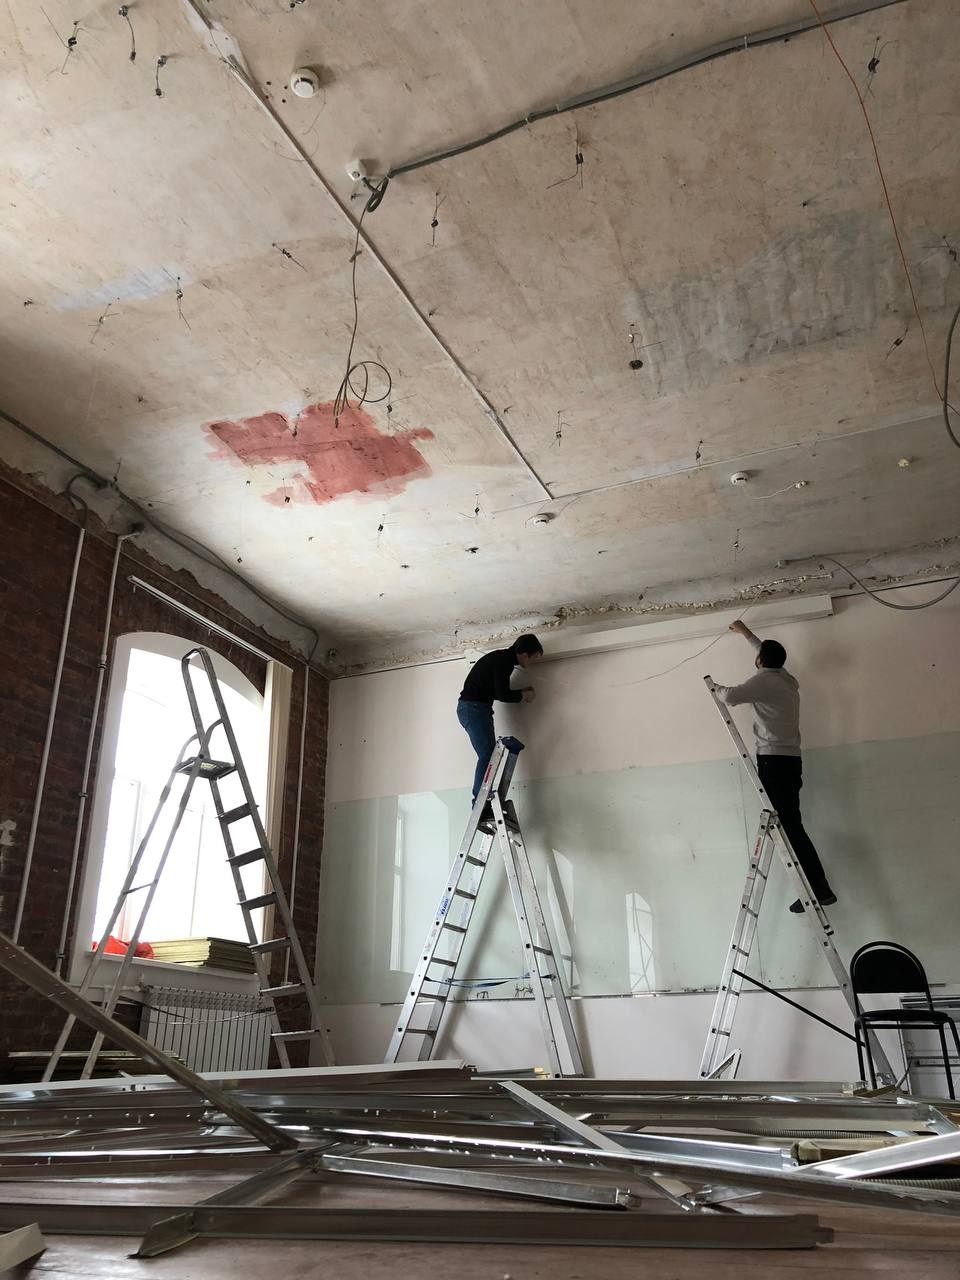
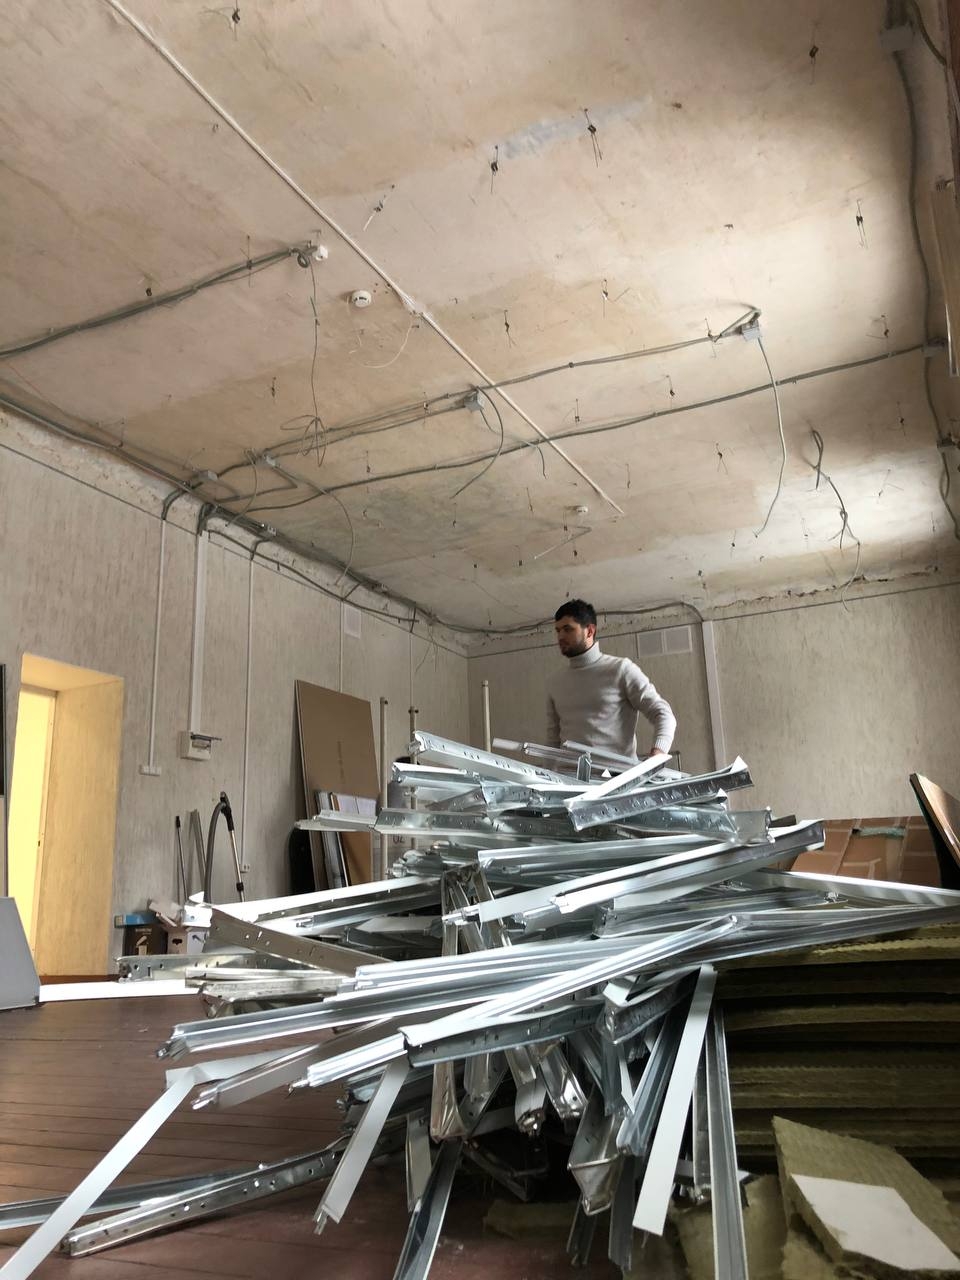
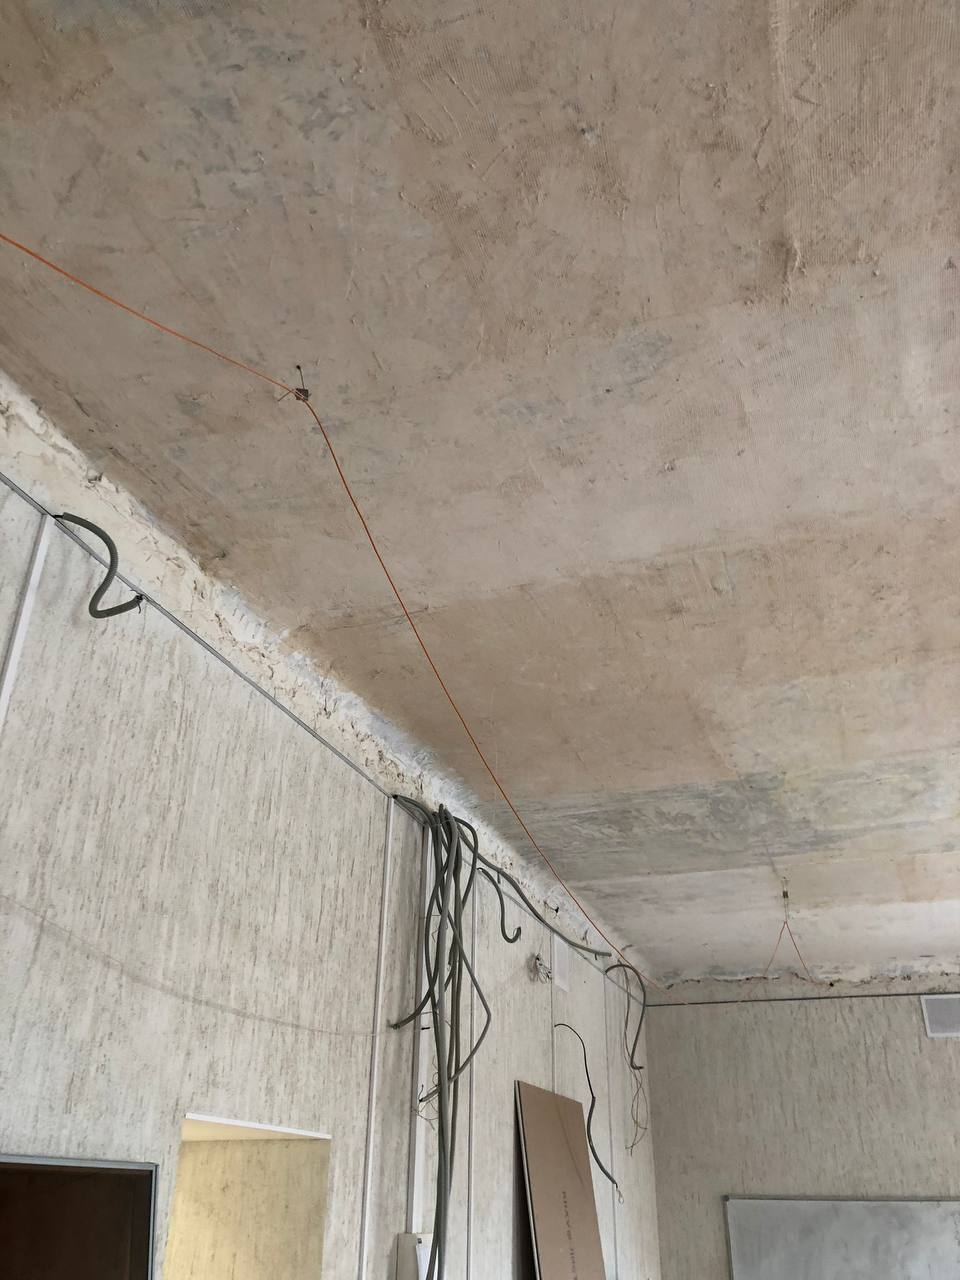
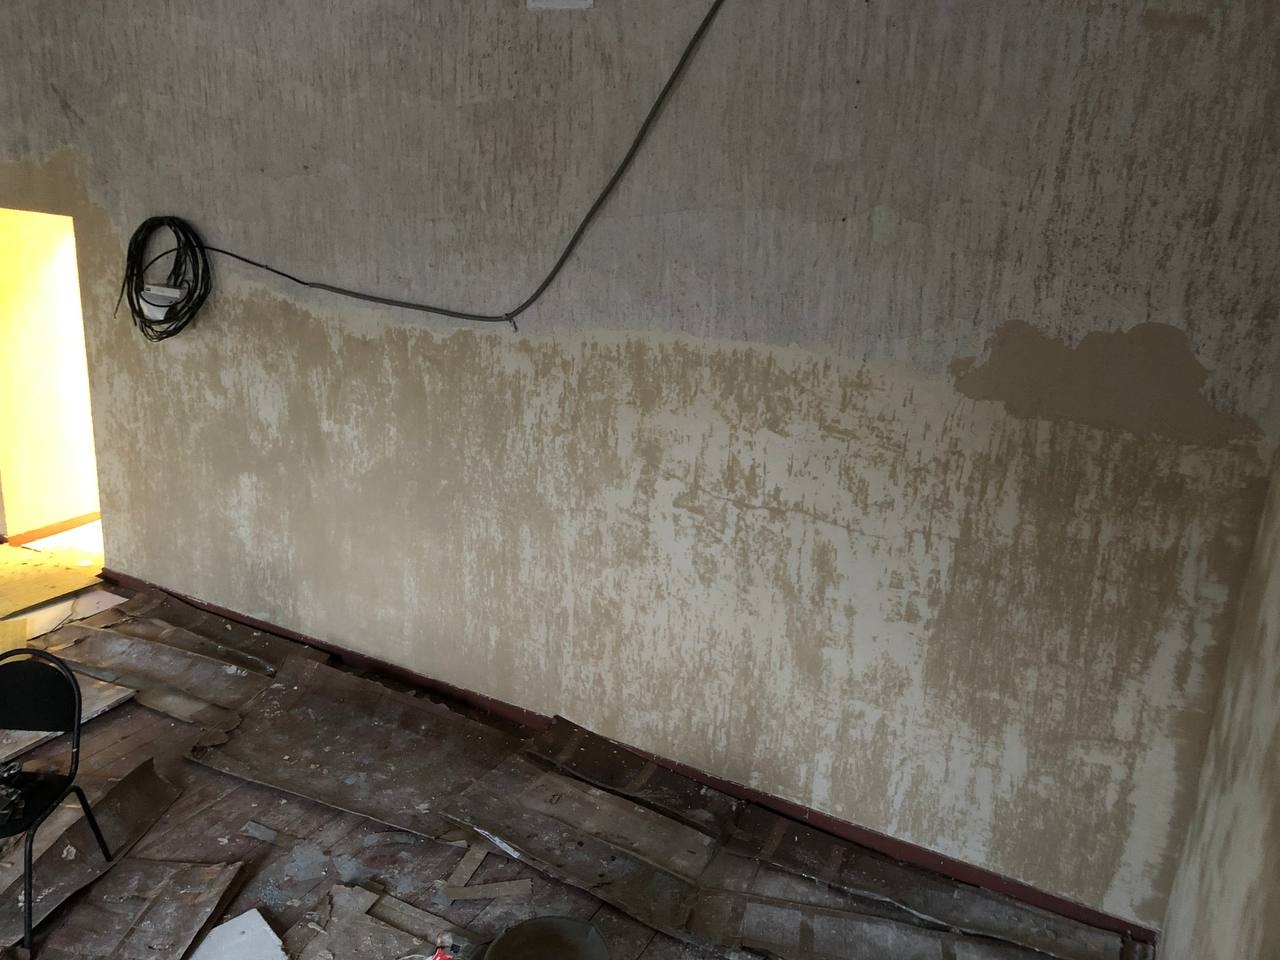
Mar 4
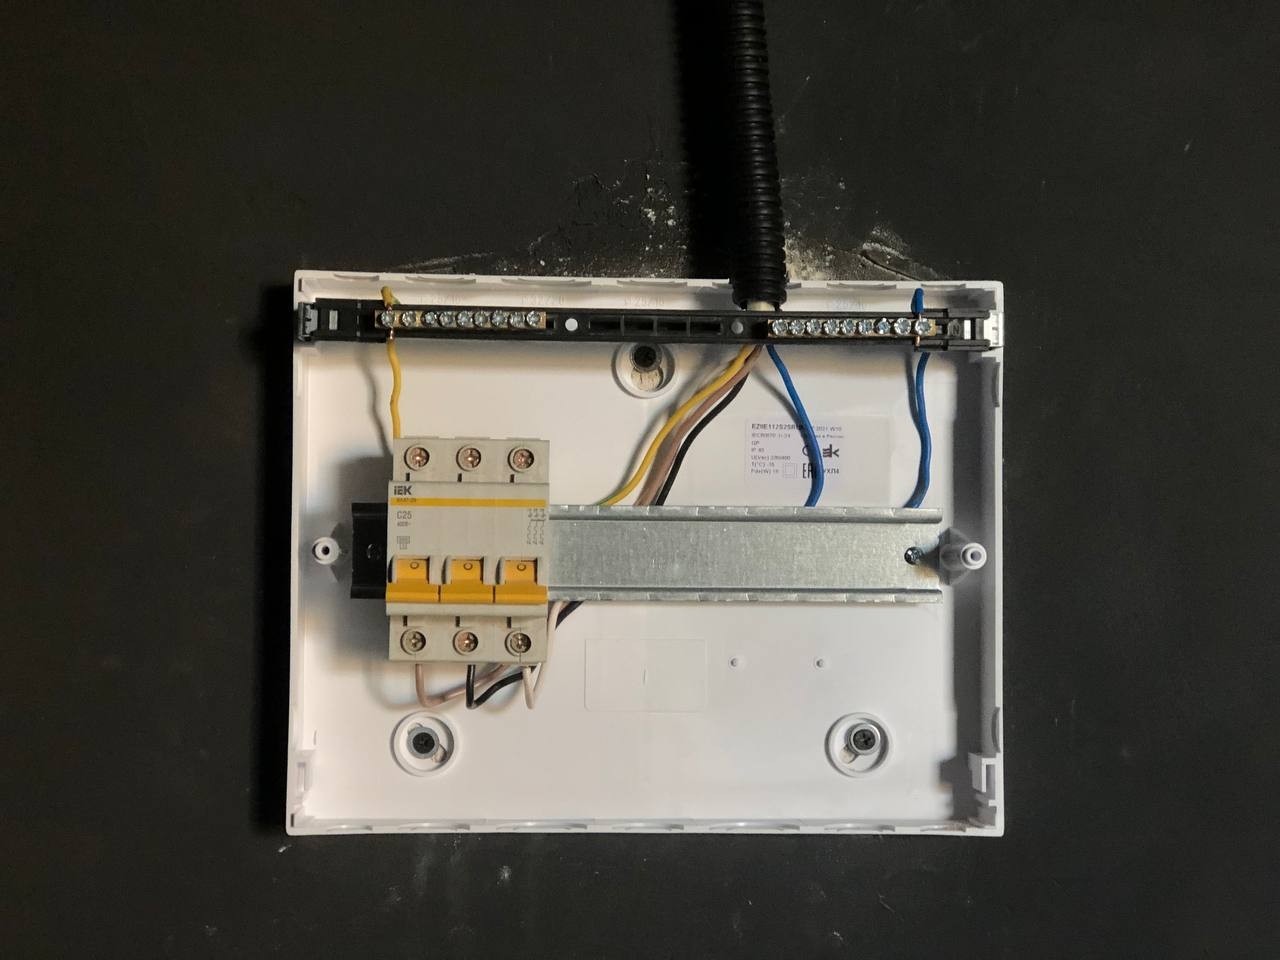
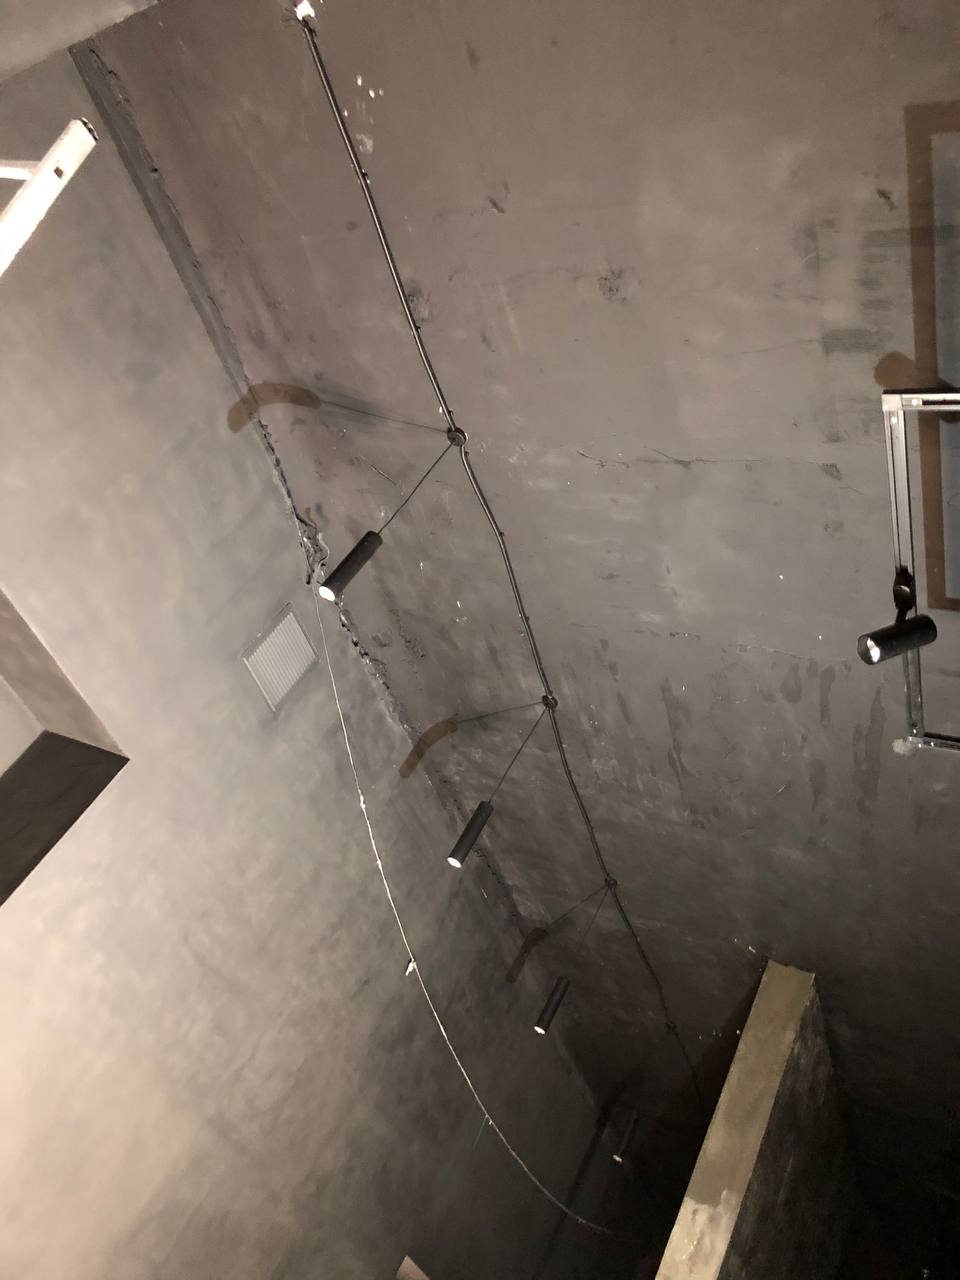
Then we need to remove all electricity cables.
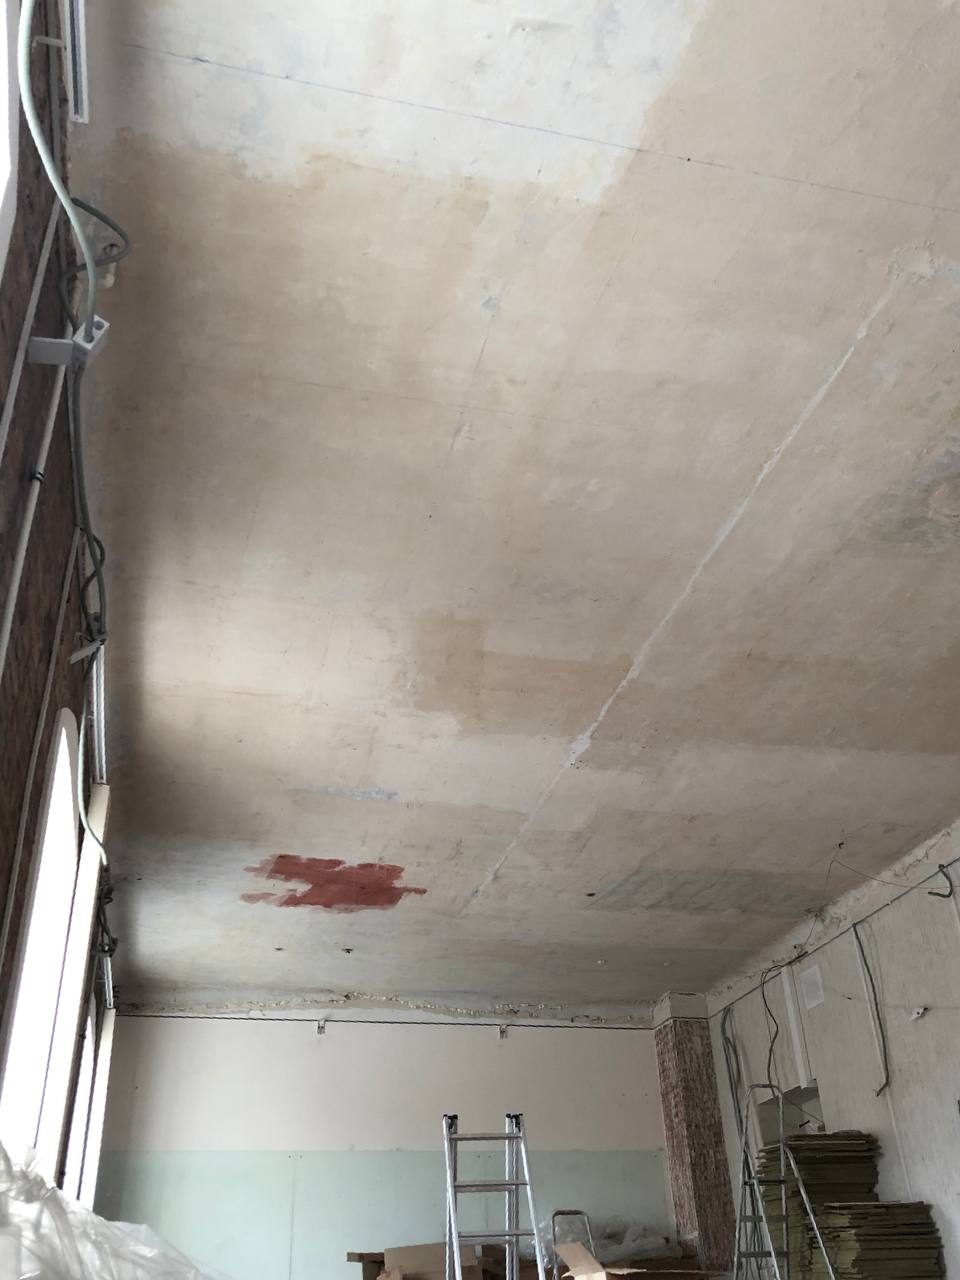
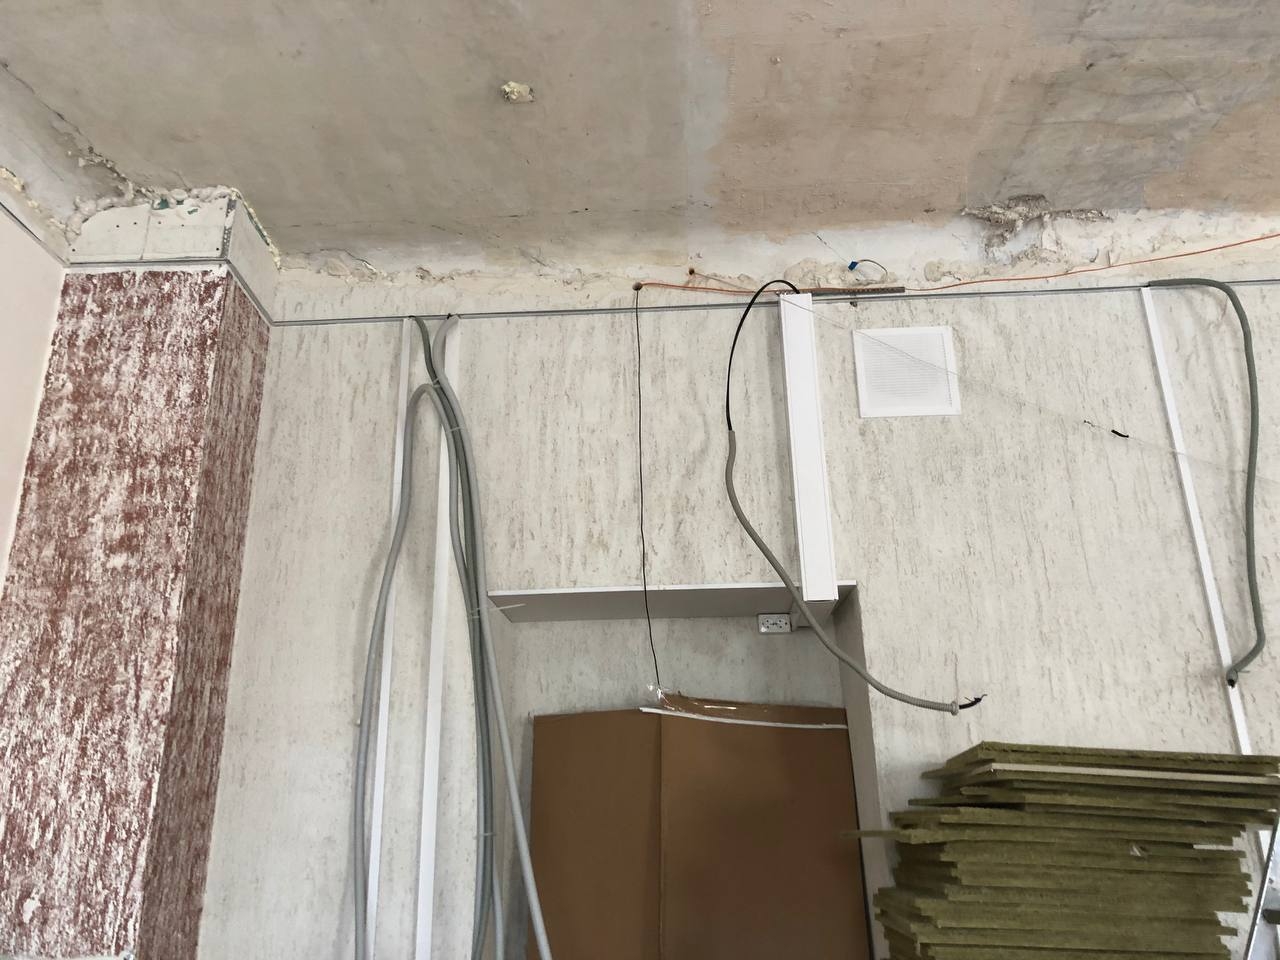
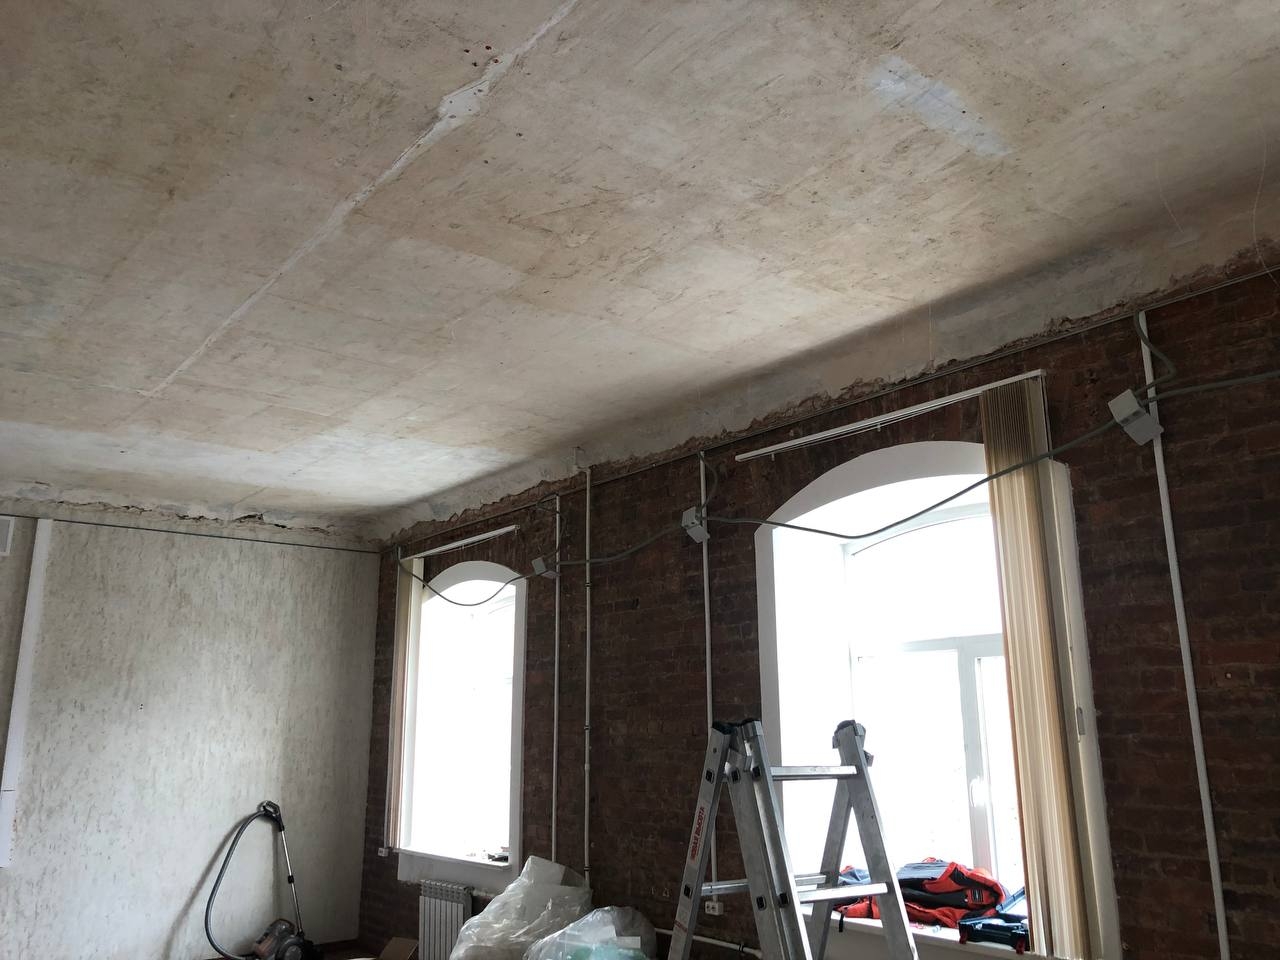
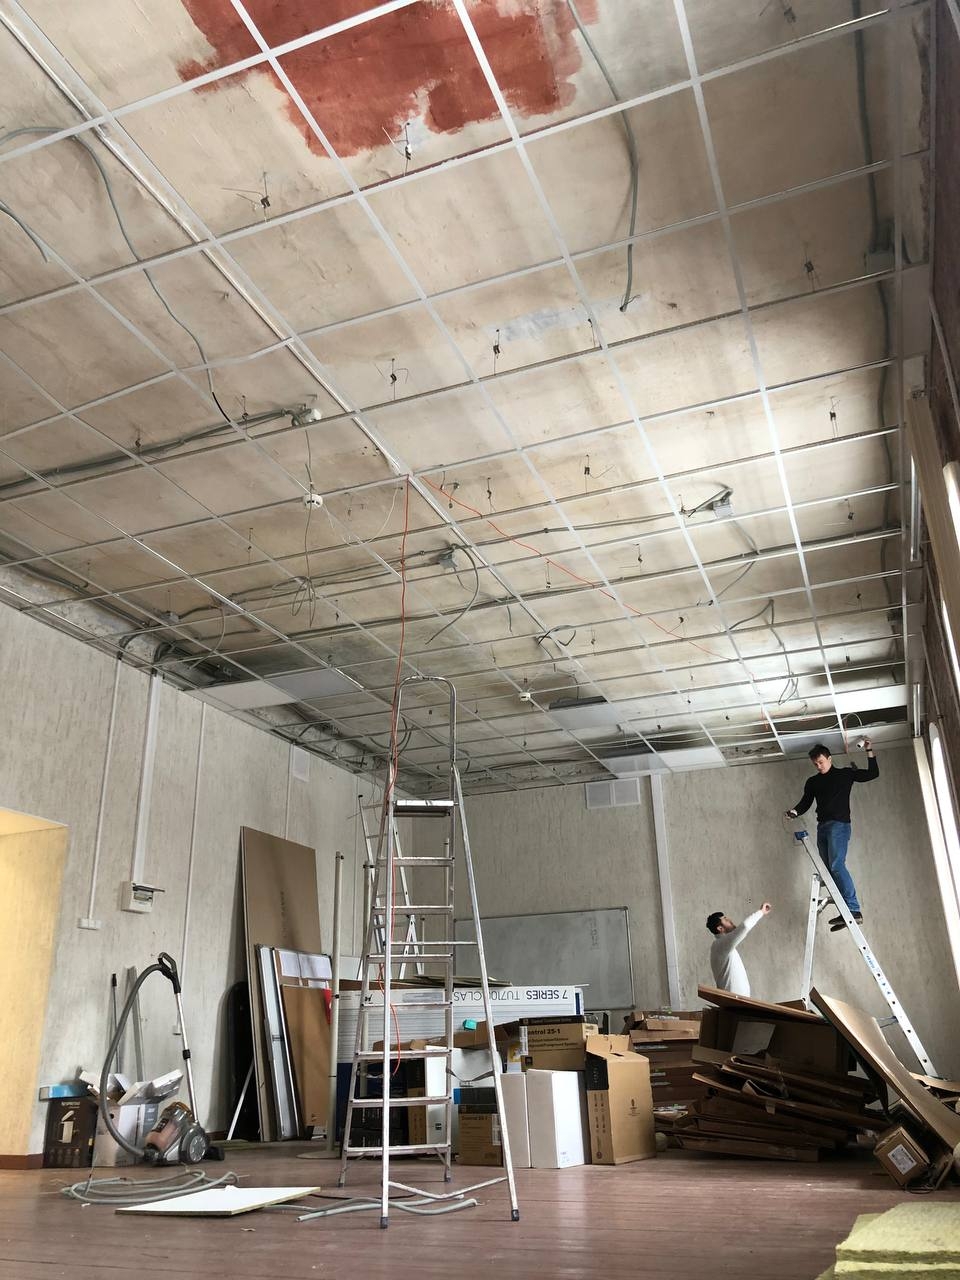
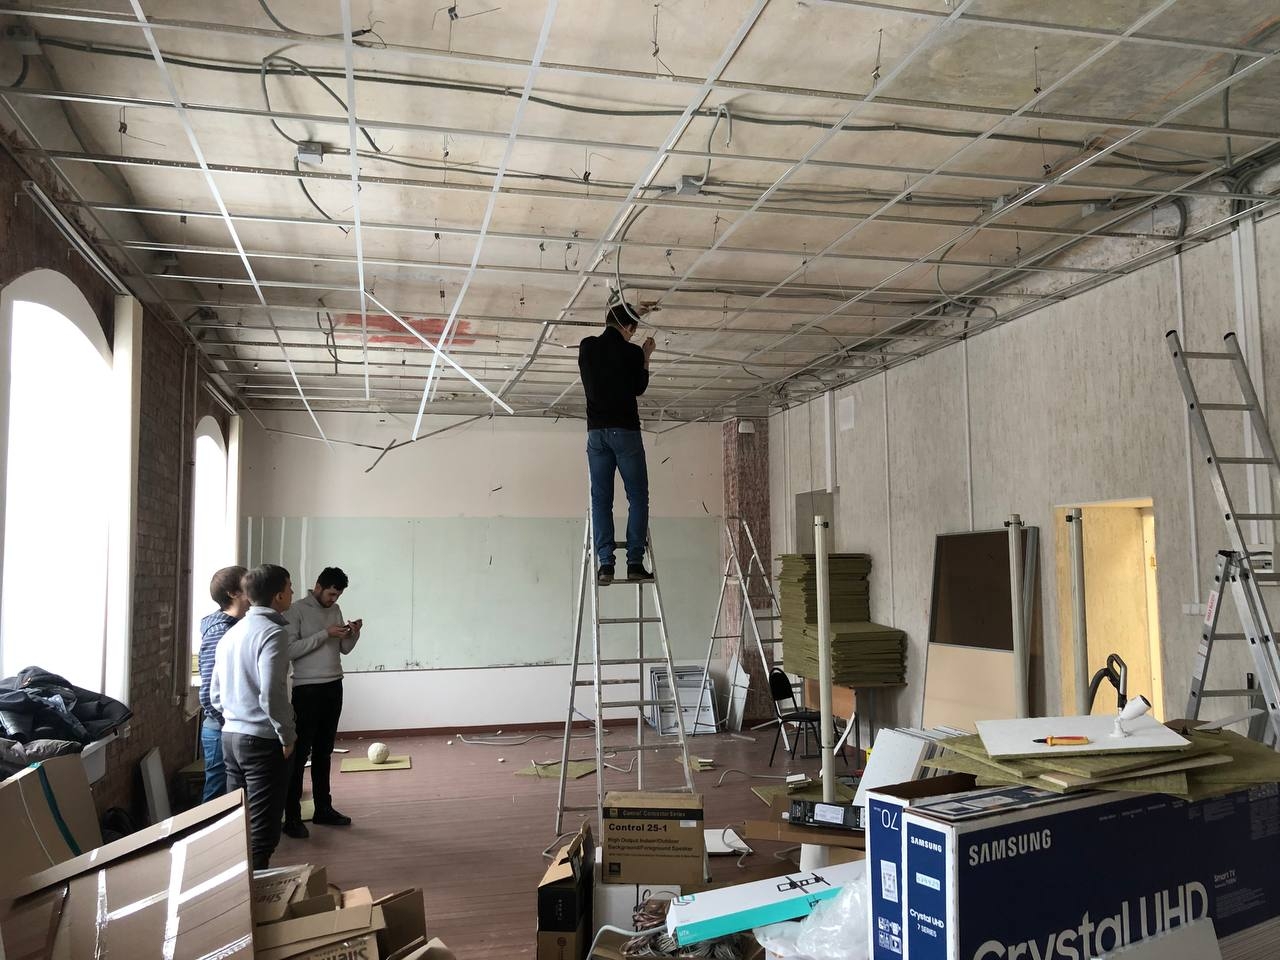
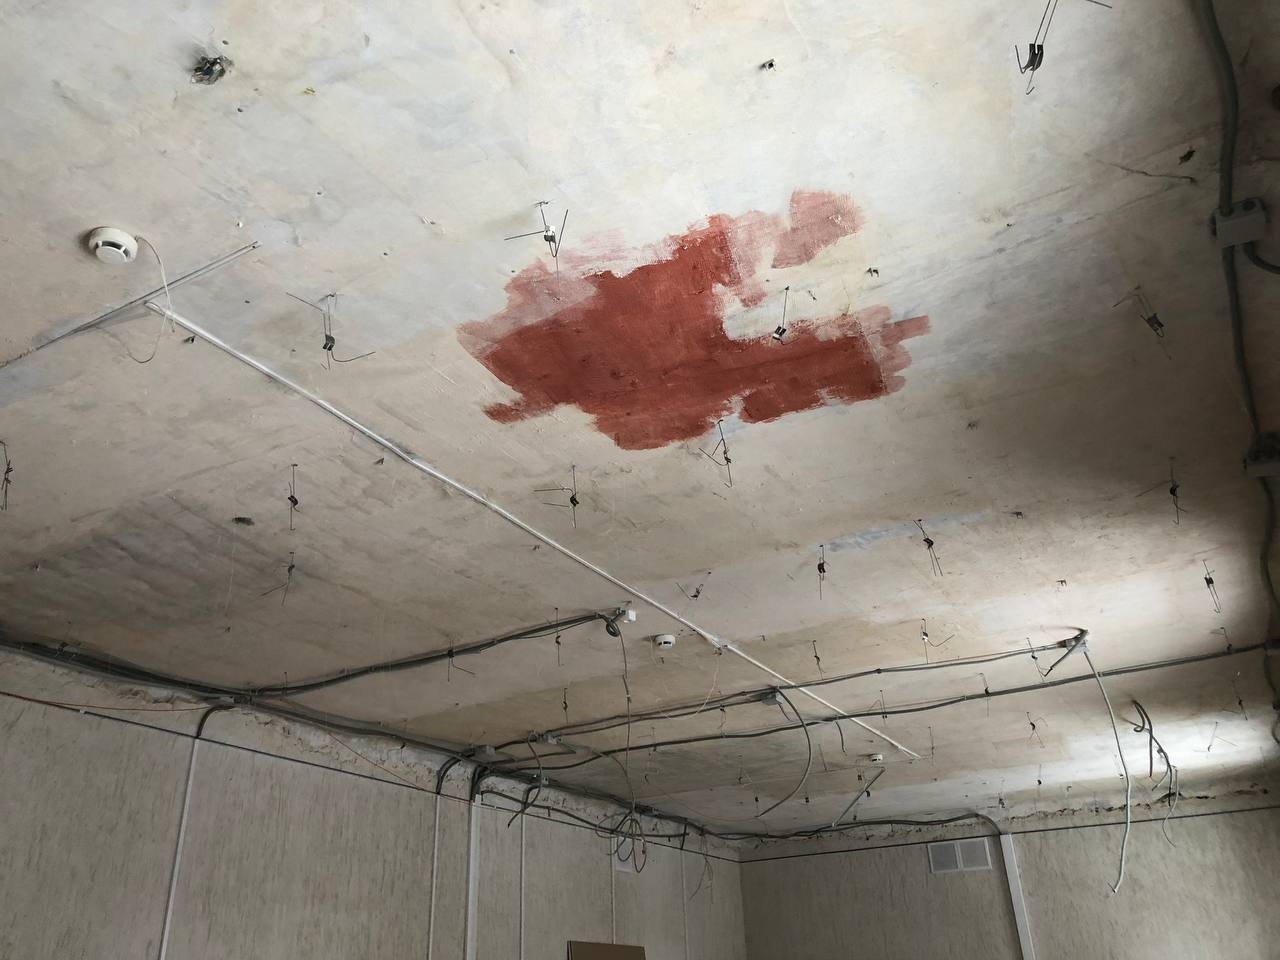
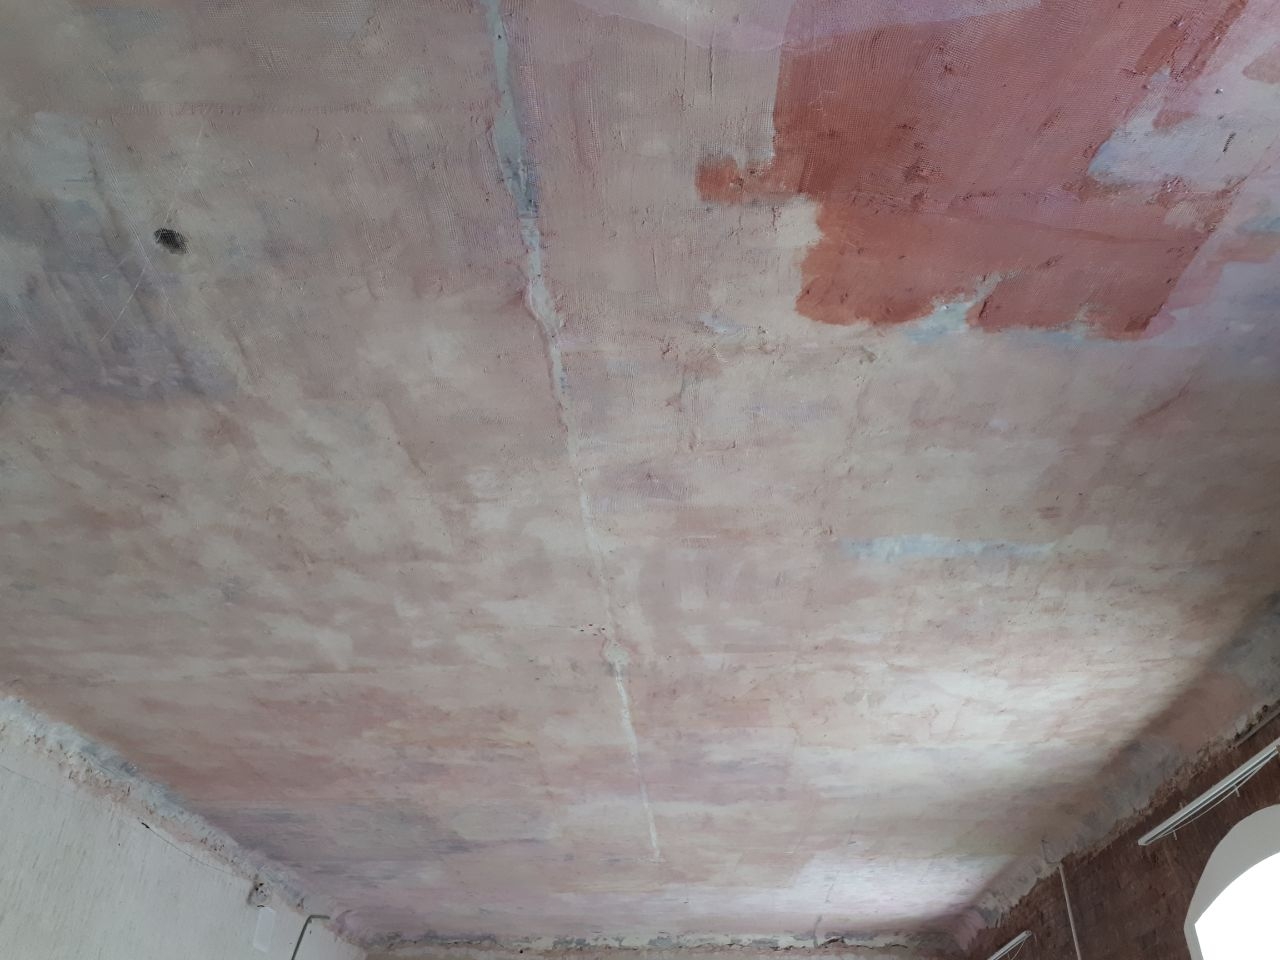
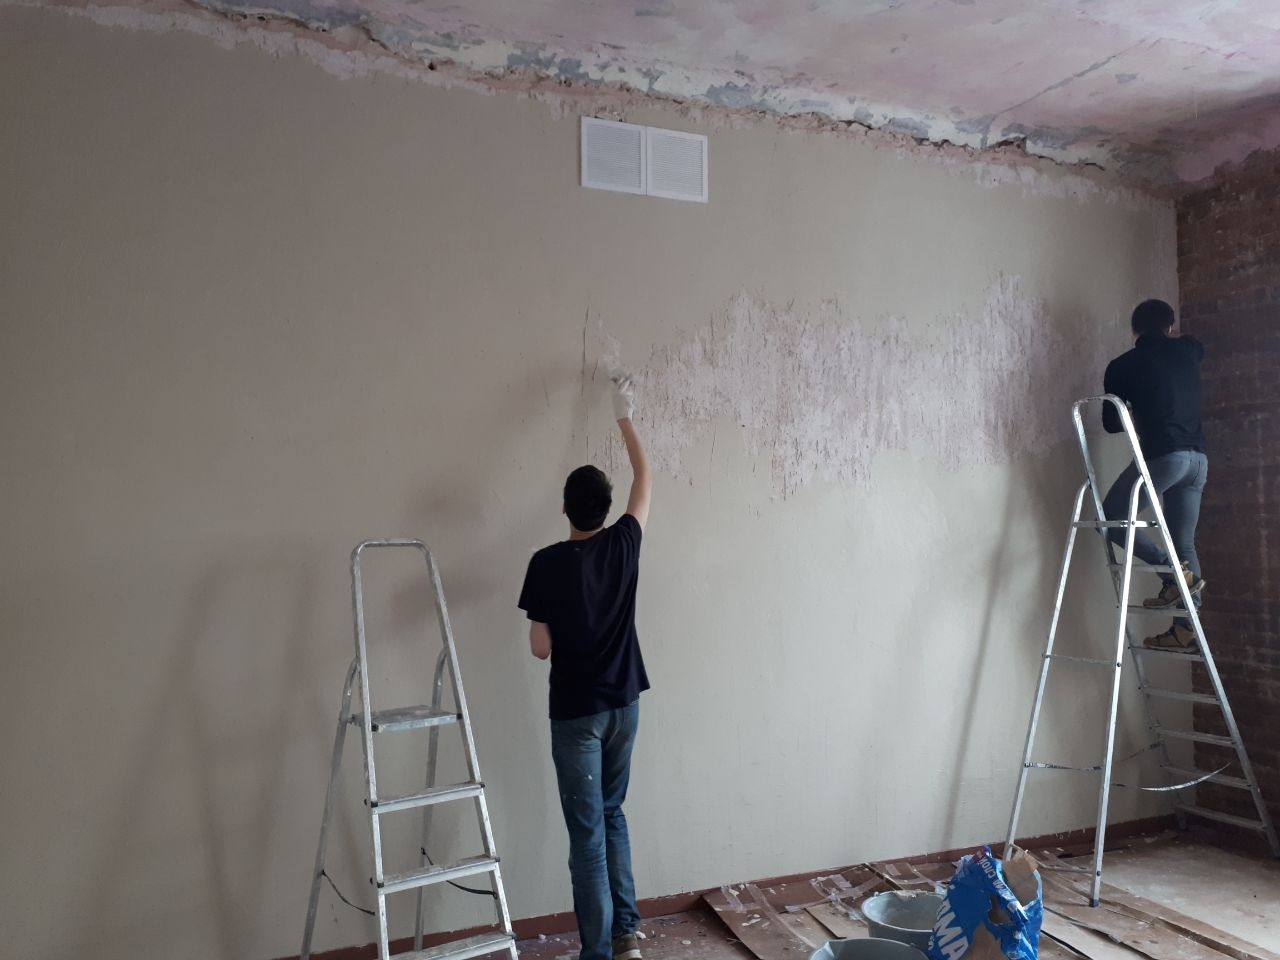
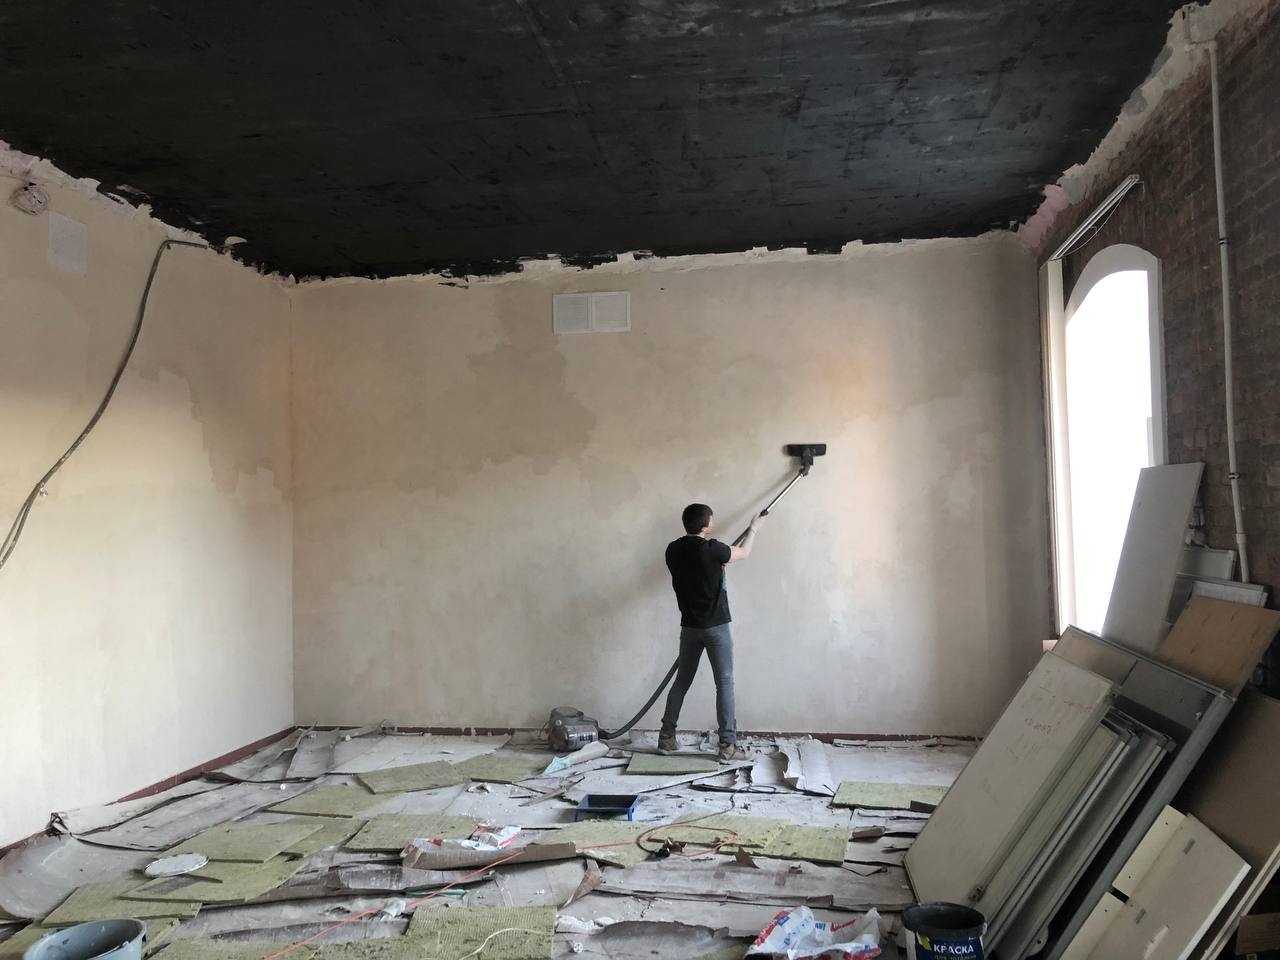
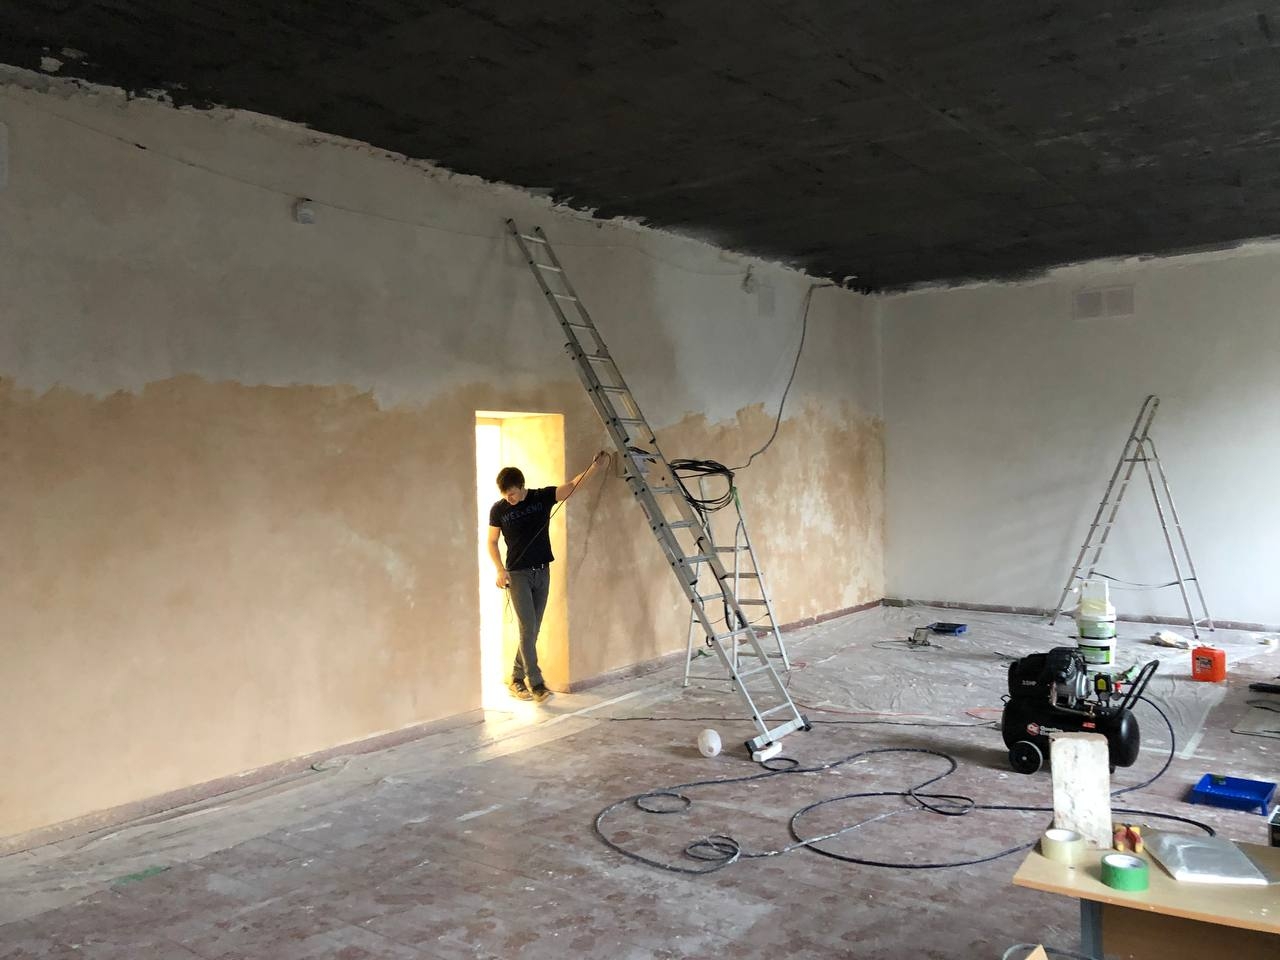
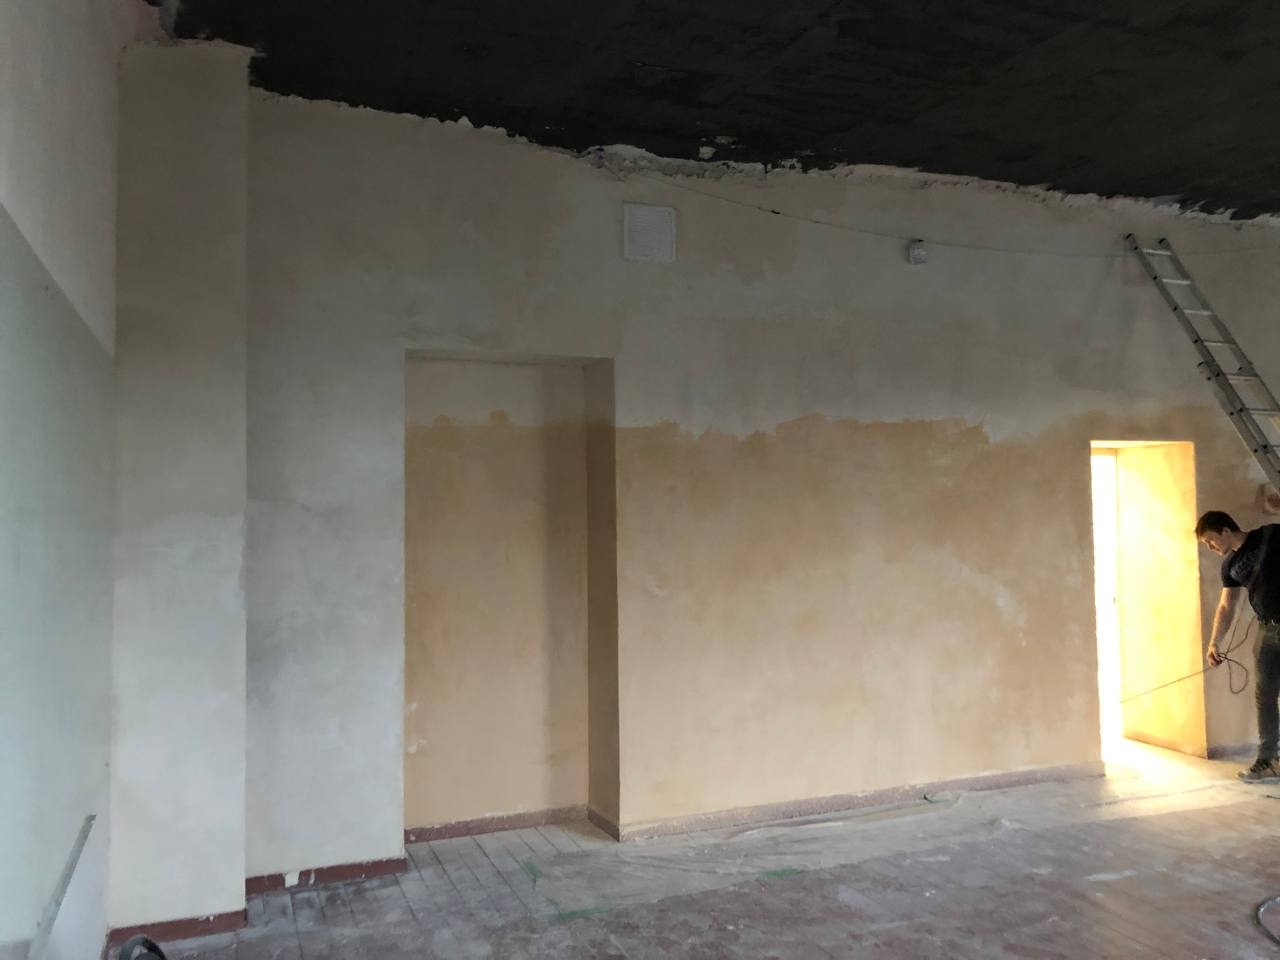
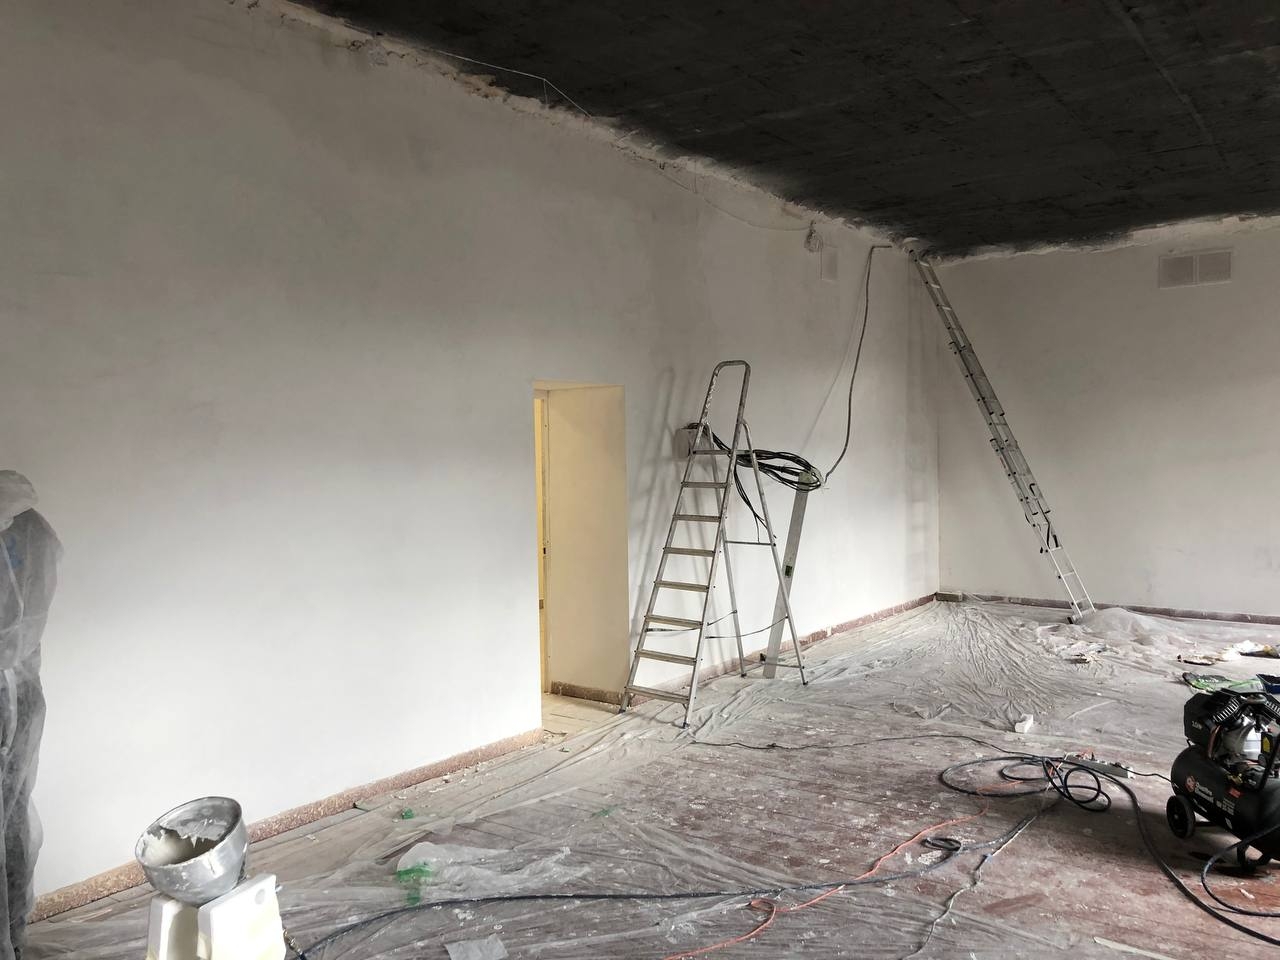
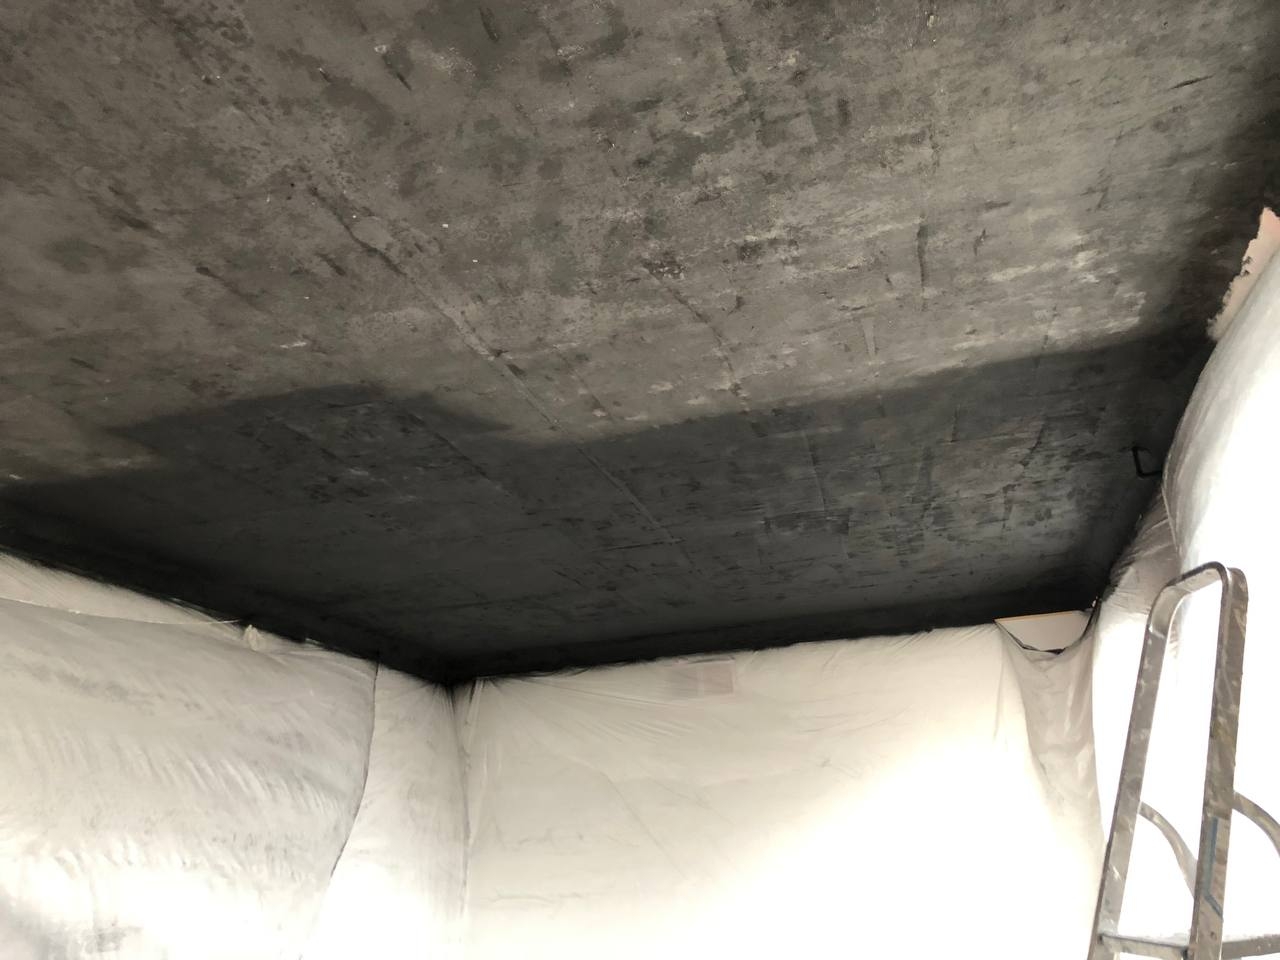
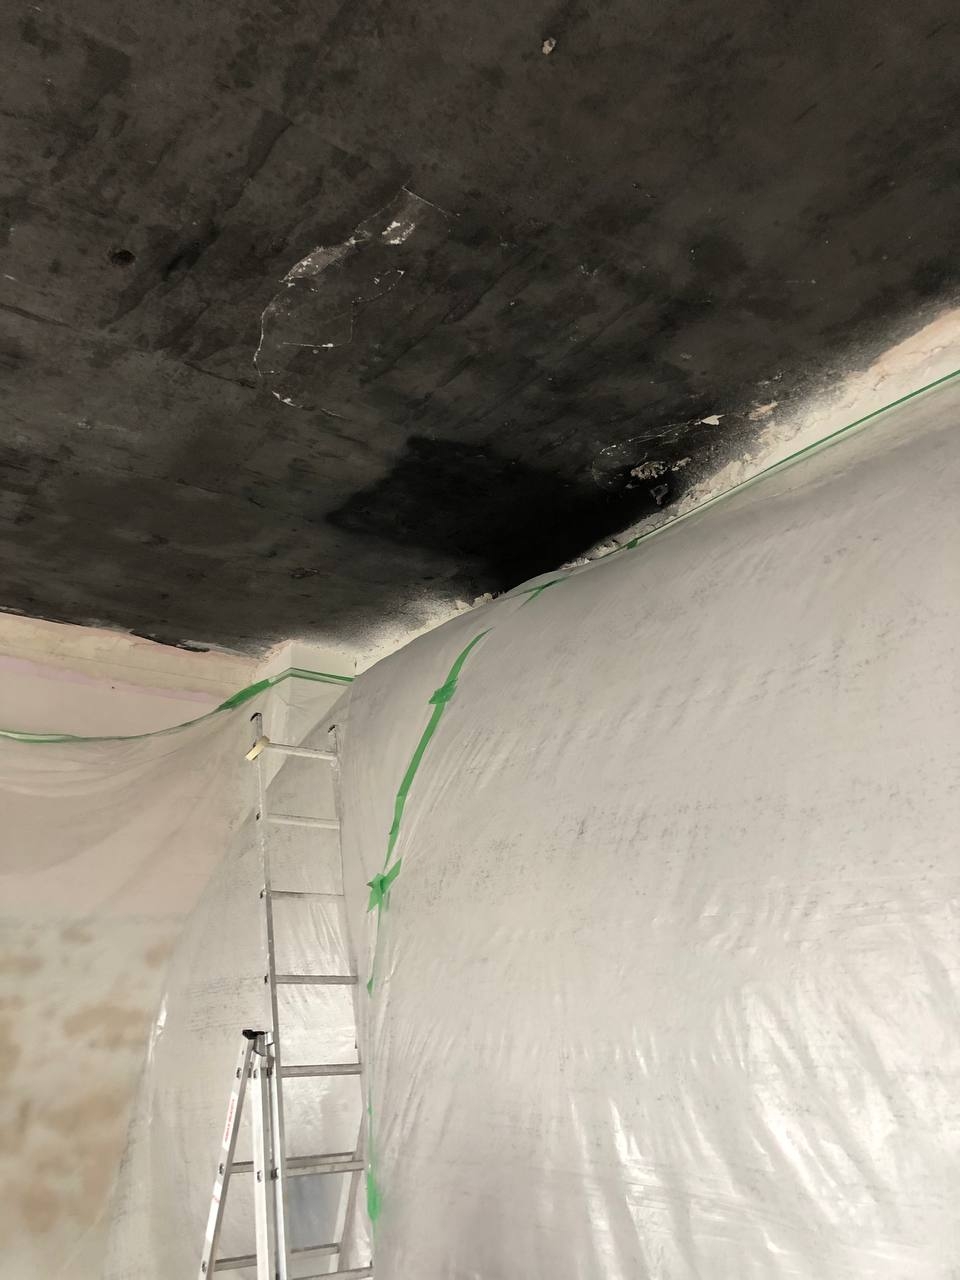
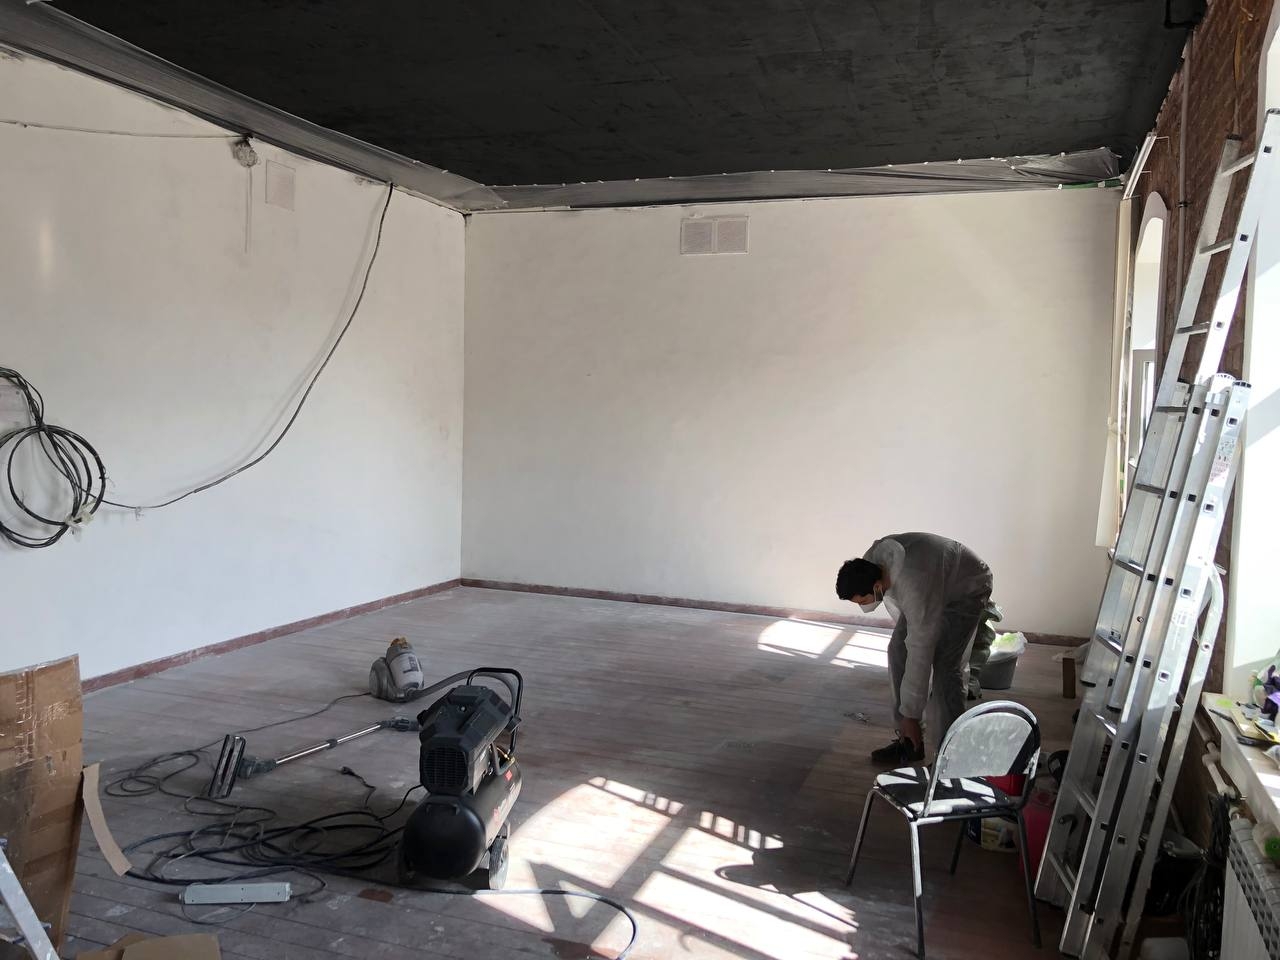
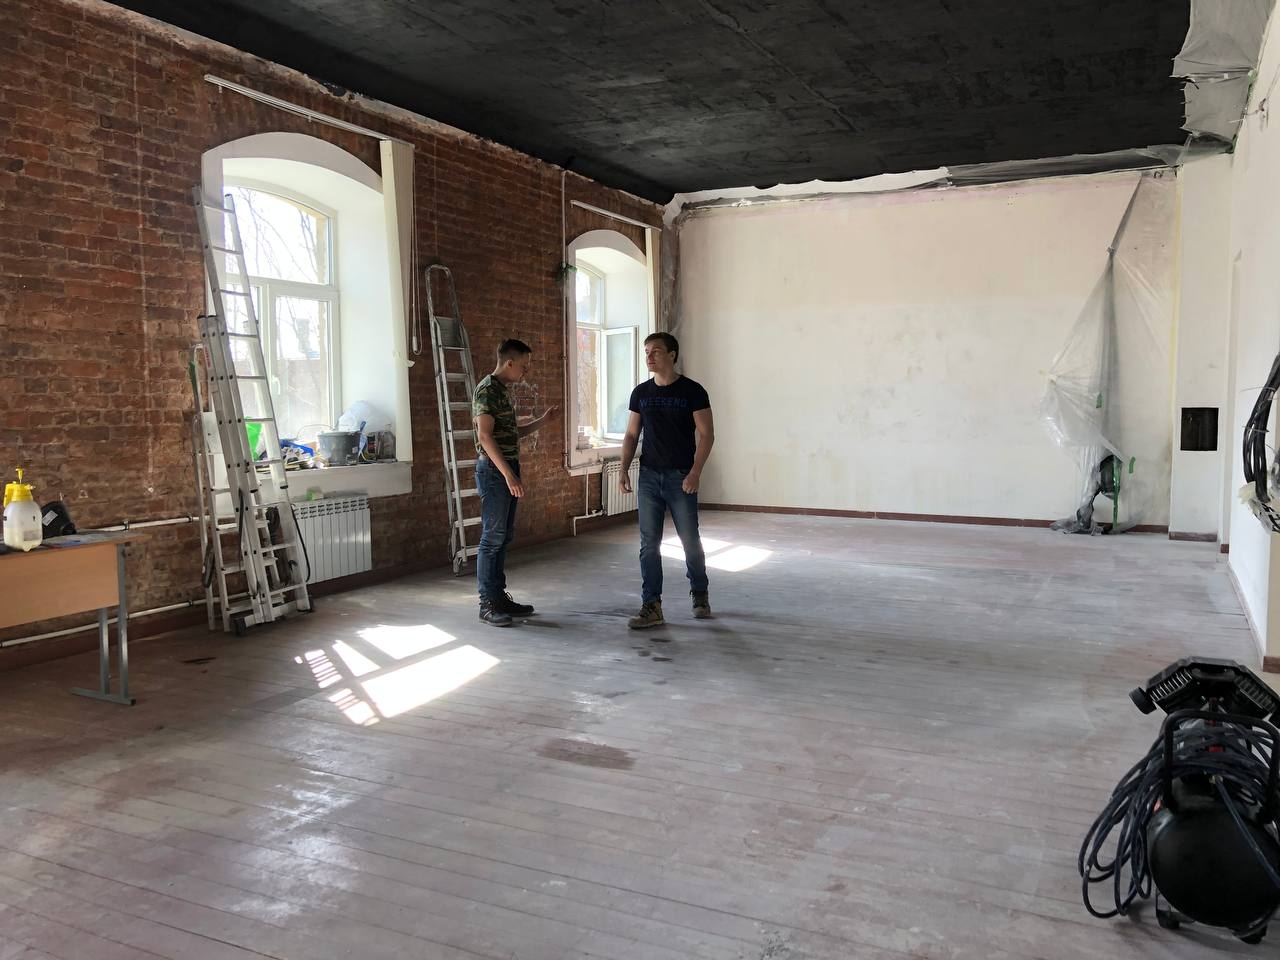
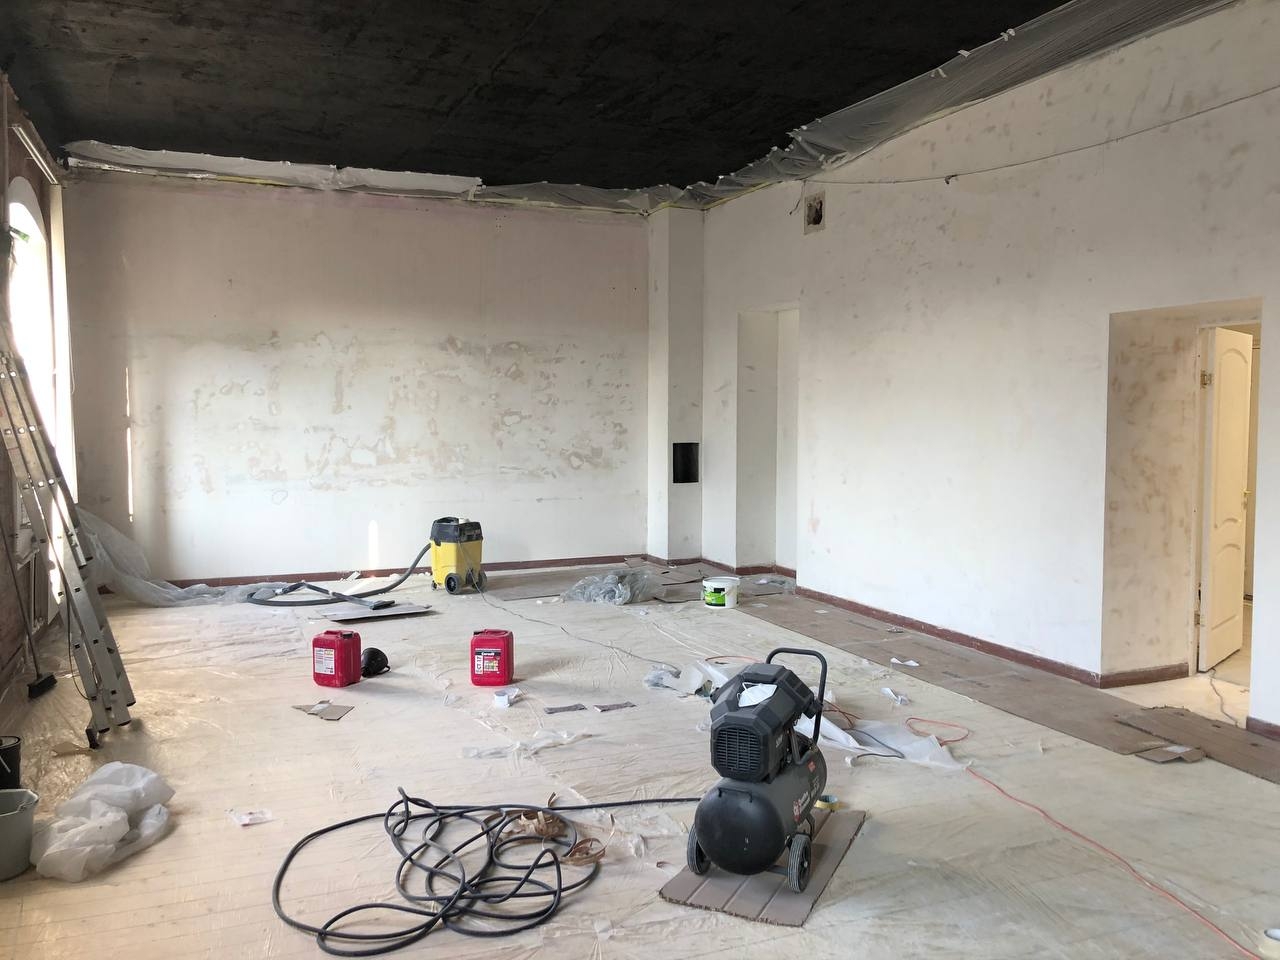
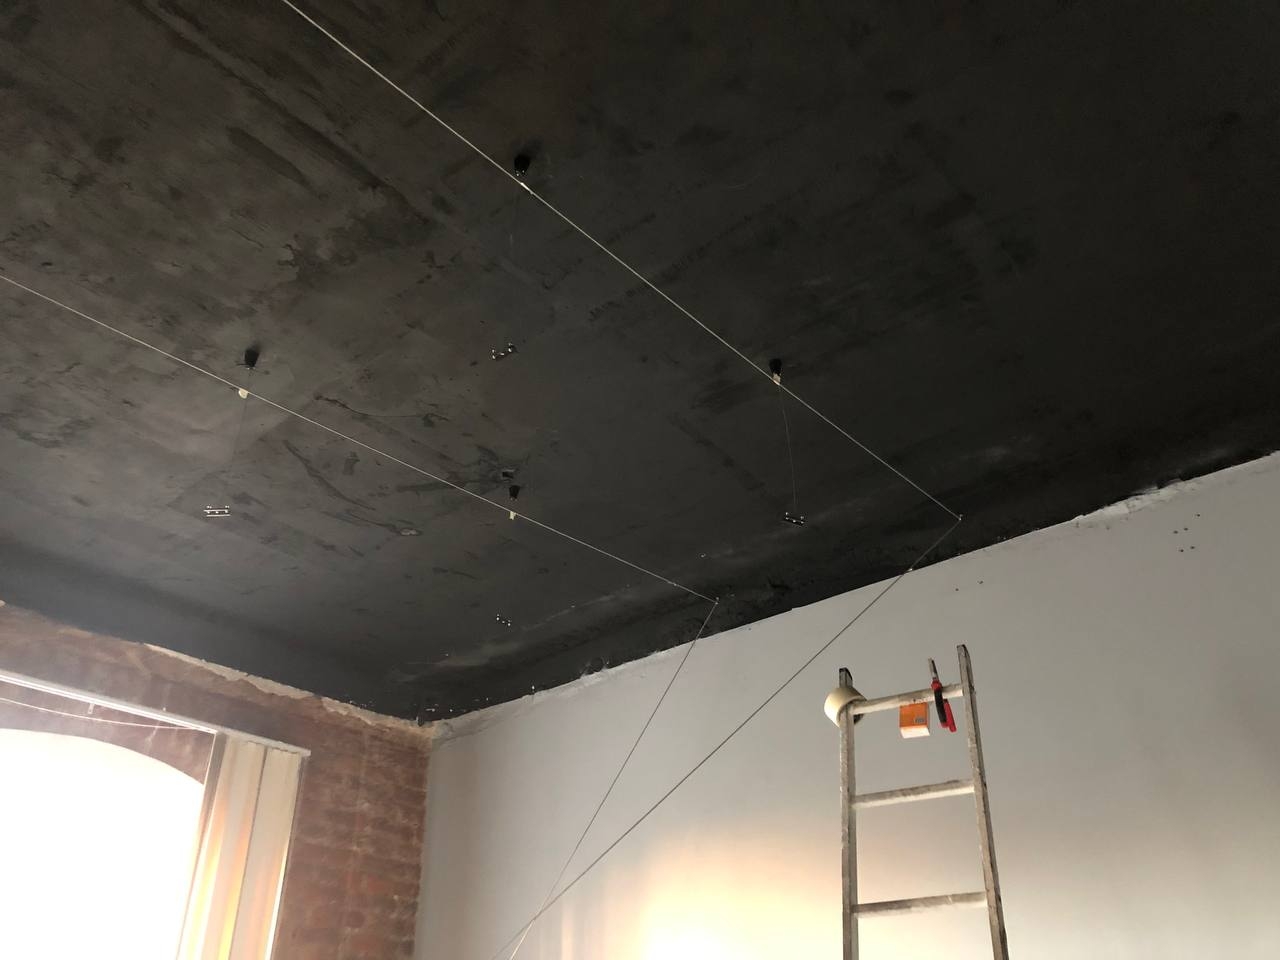
Mar 11
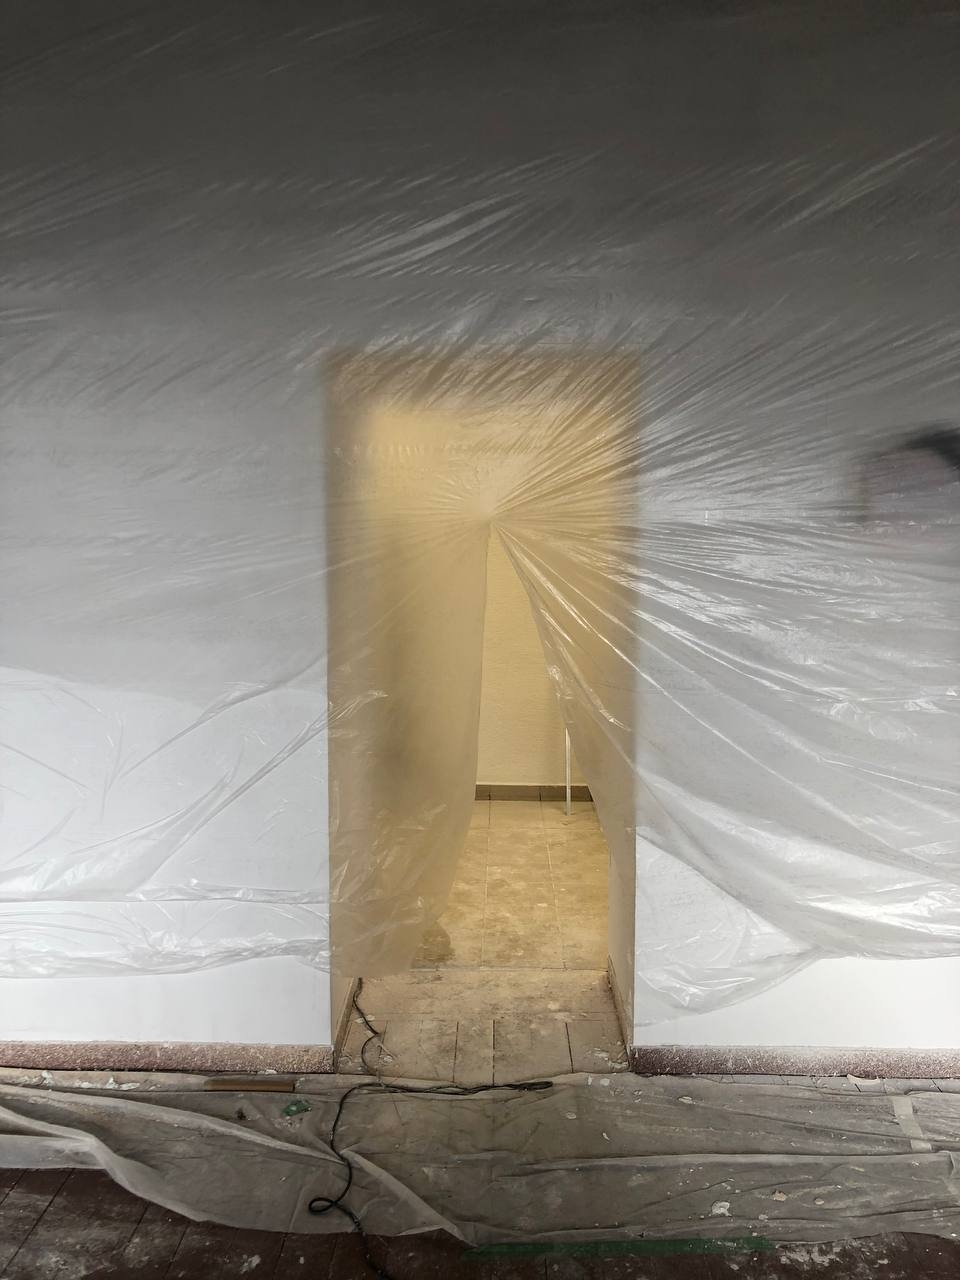
Let's start aligning the walls and prepare the ceil for painting.
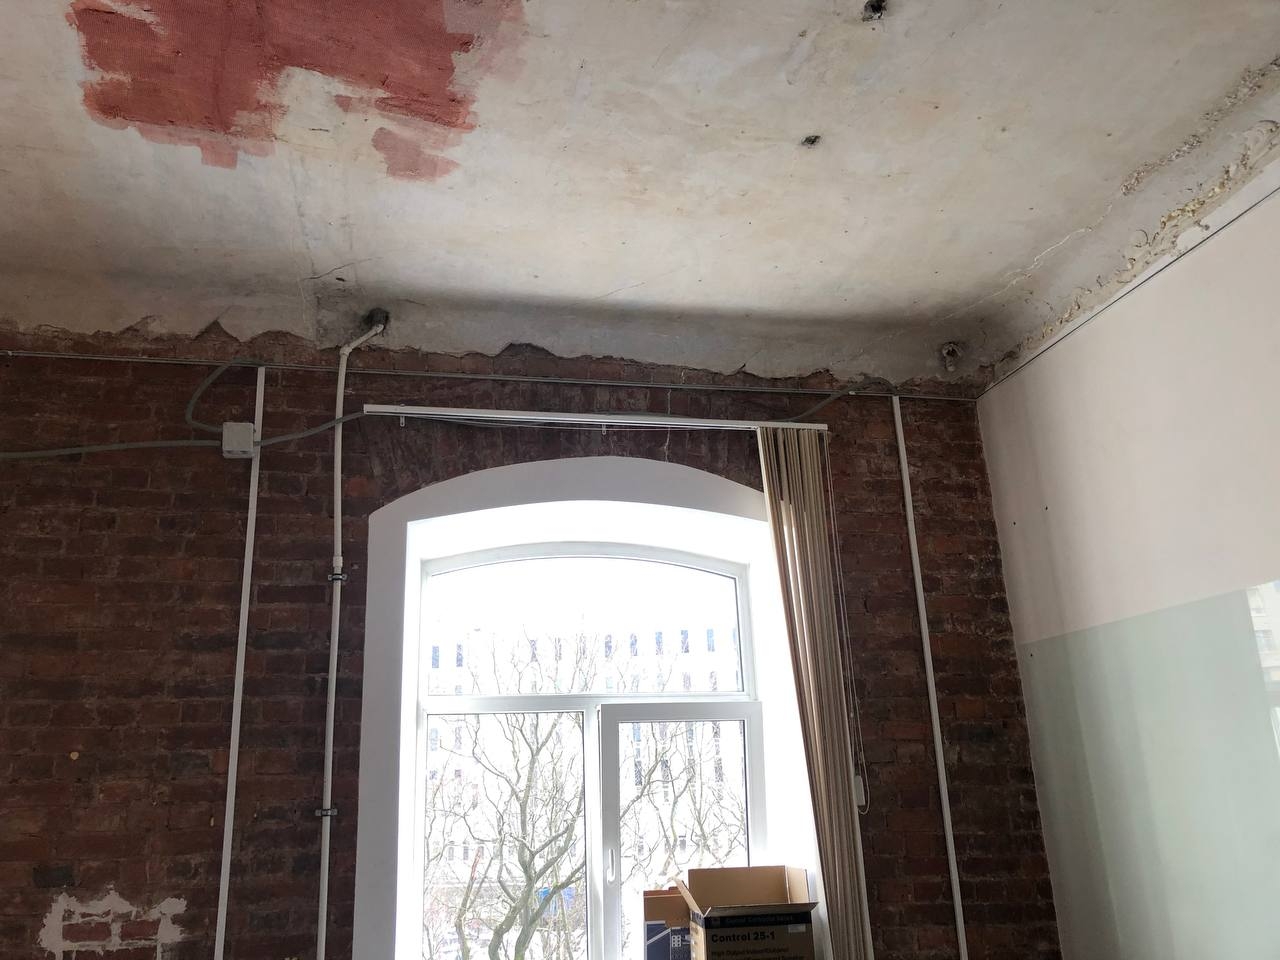
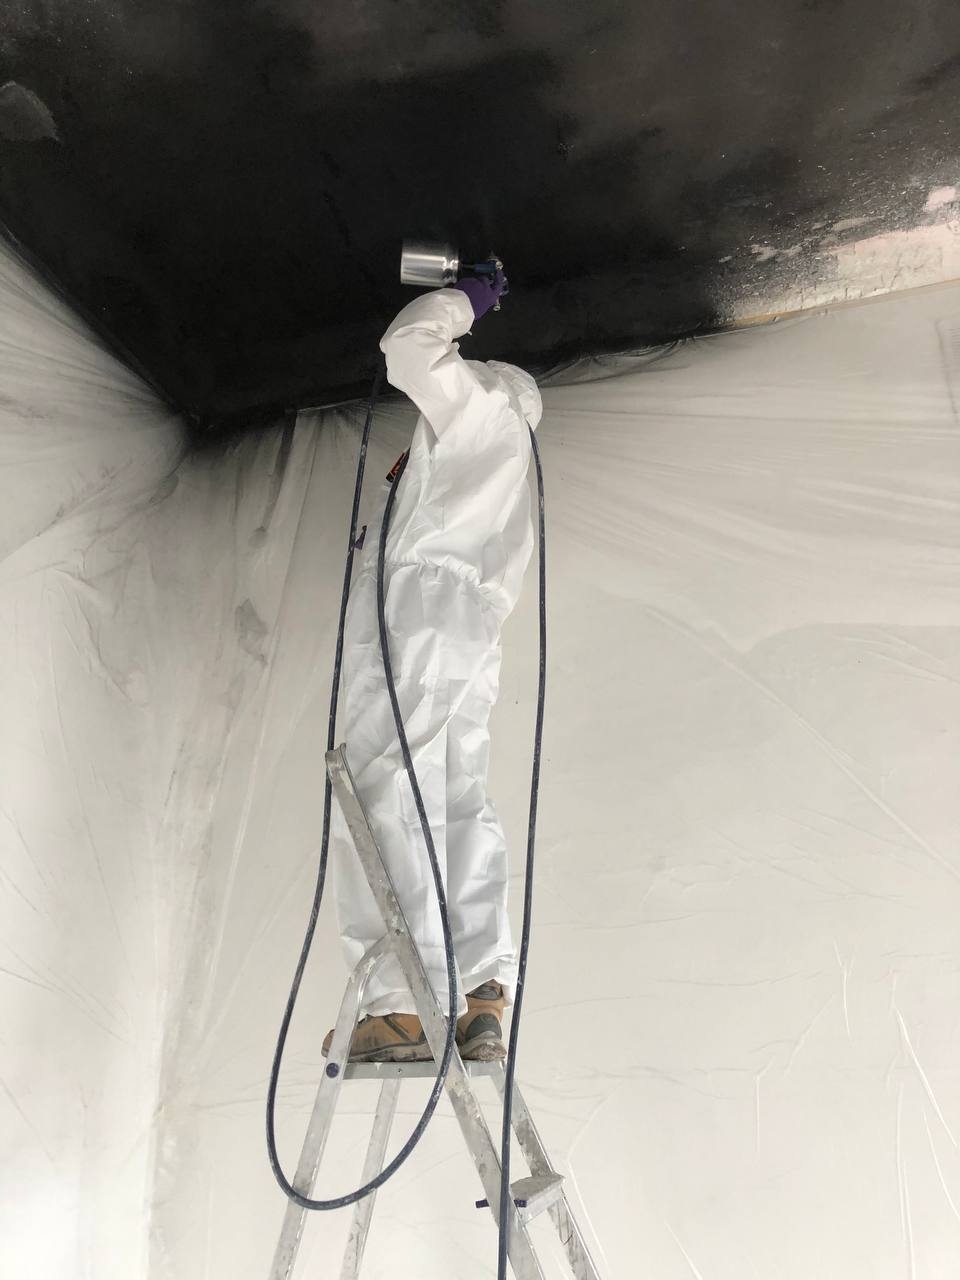
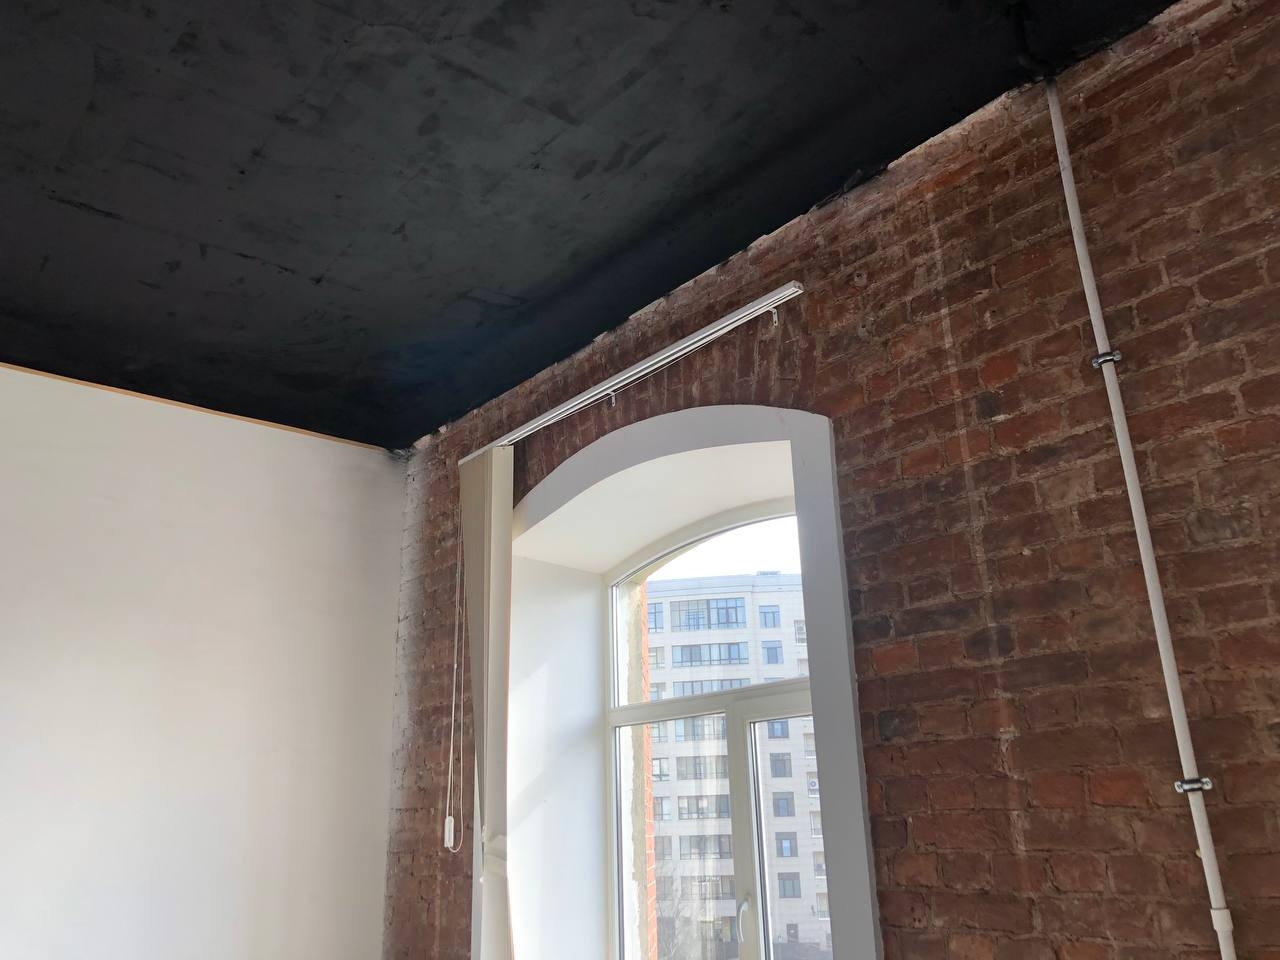
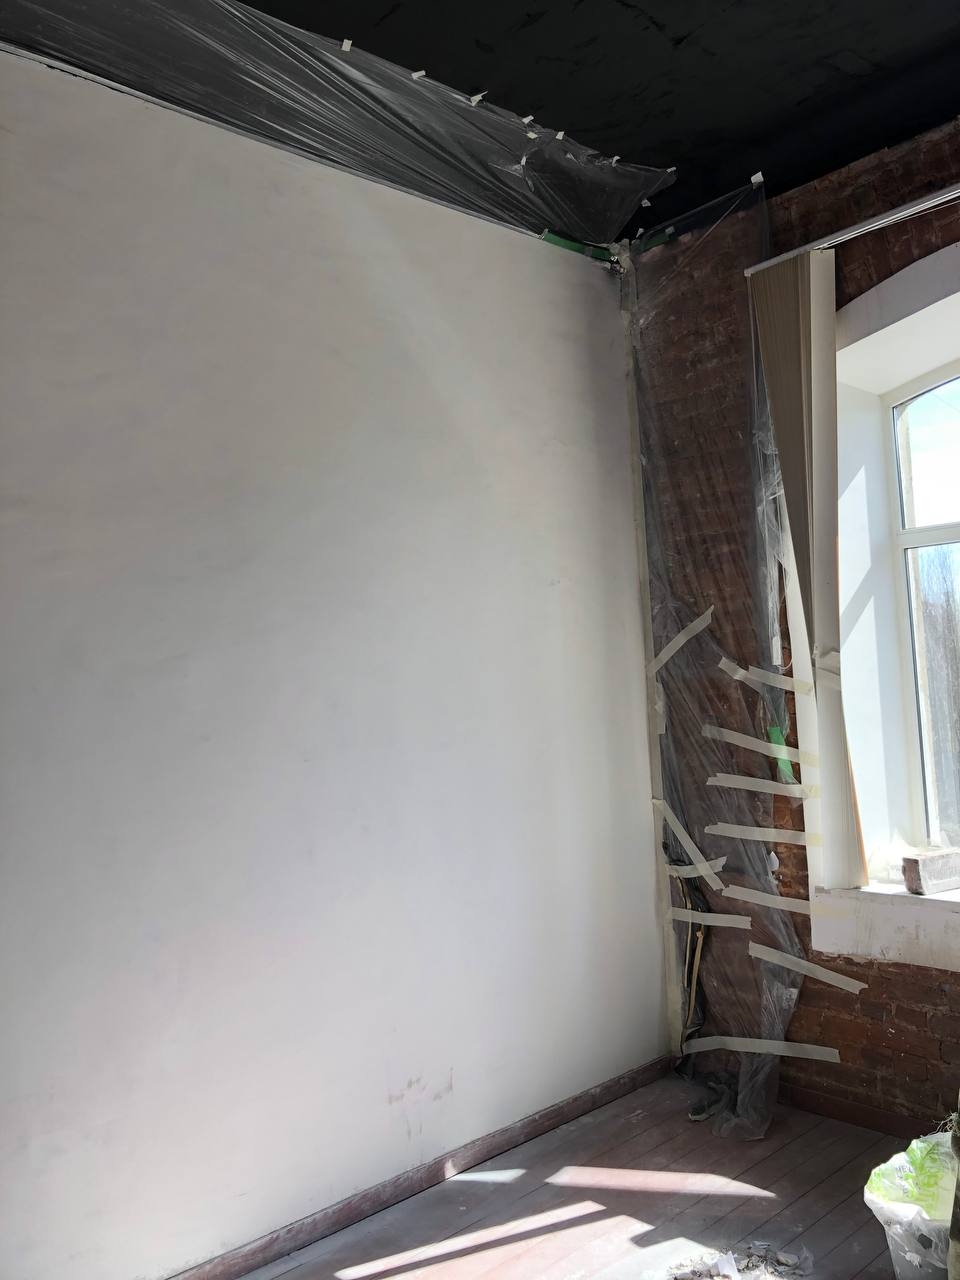
Mar 17
We started painting the ceiling.
Mar 20
Finished the first coat of paint.
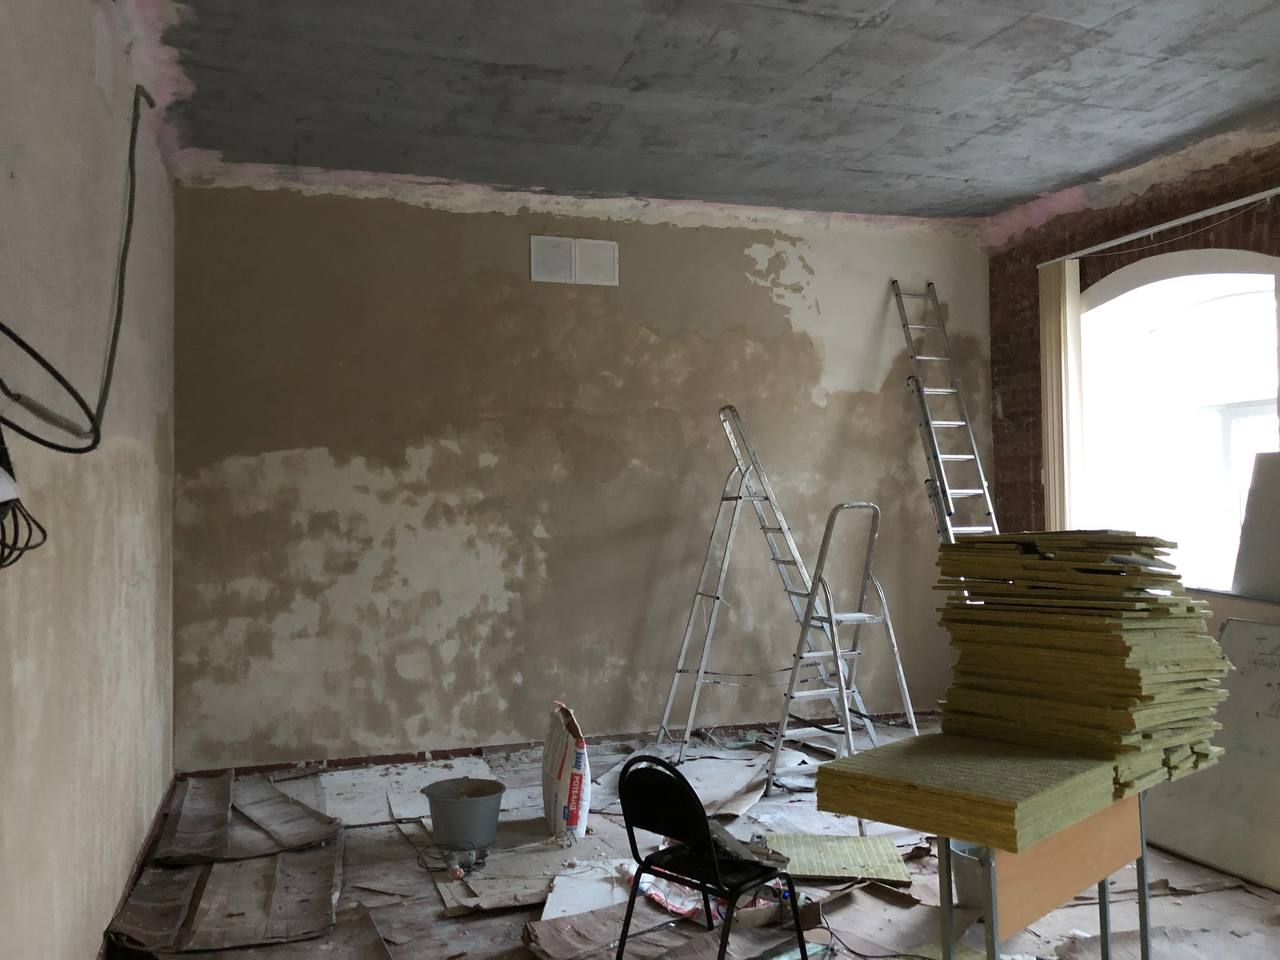
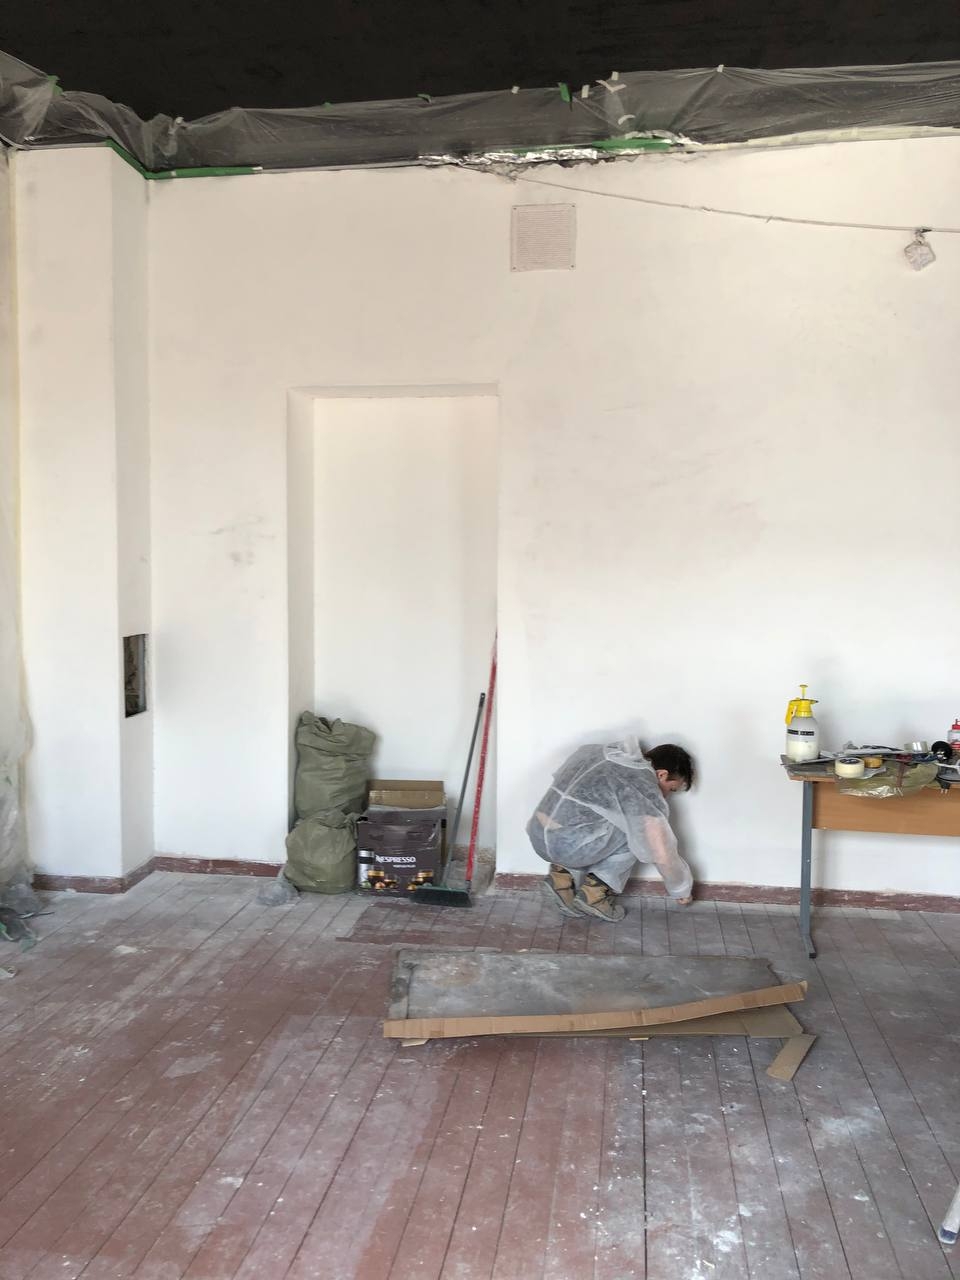
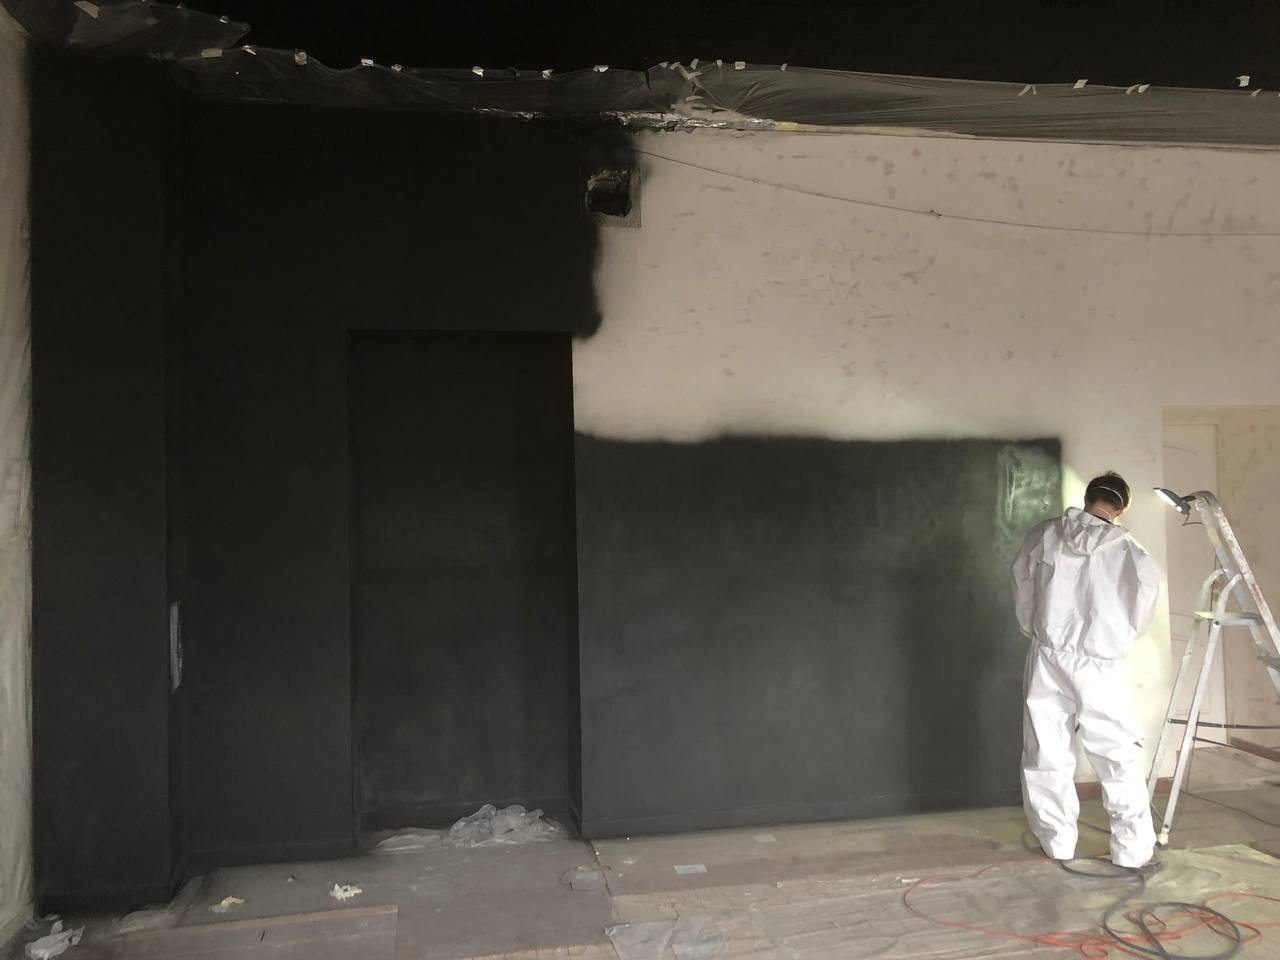
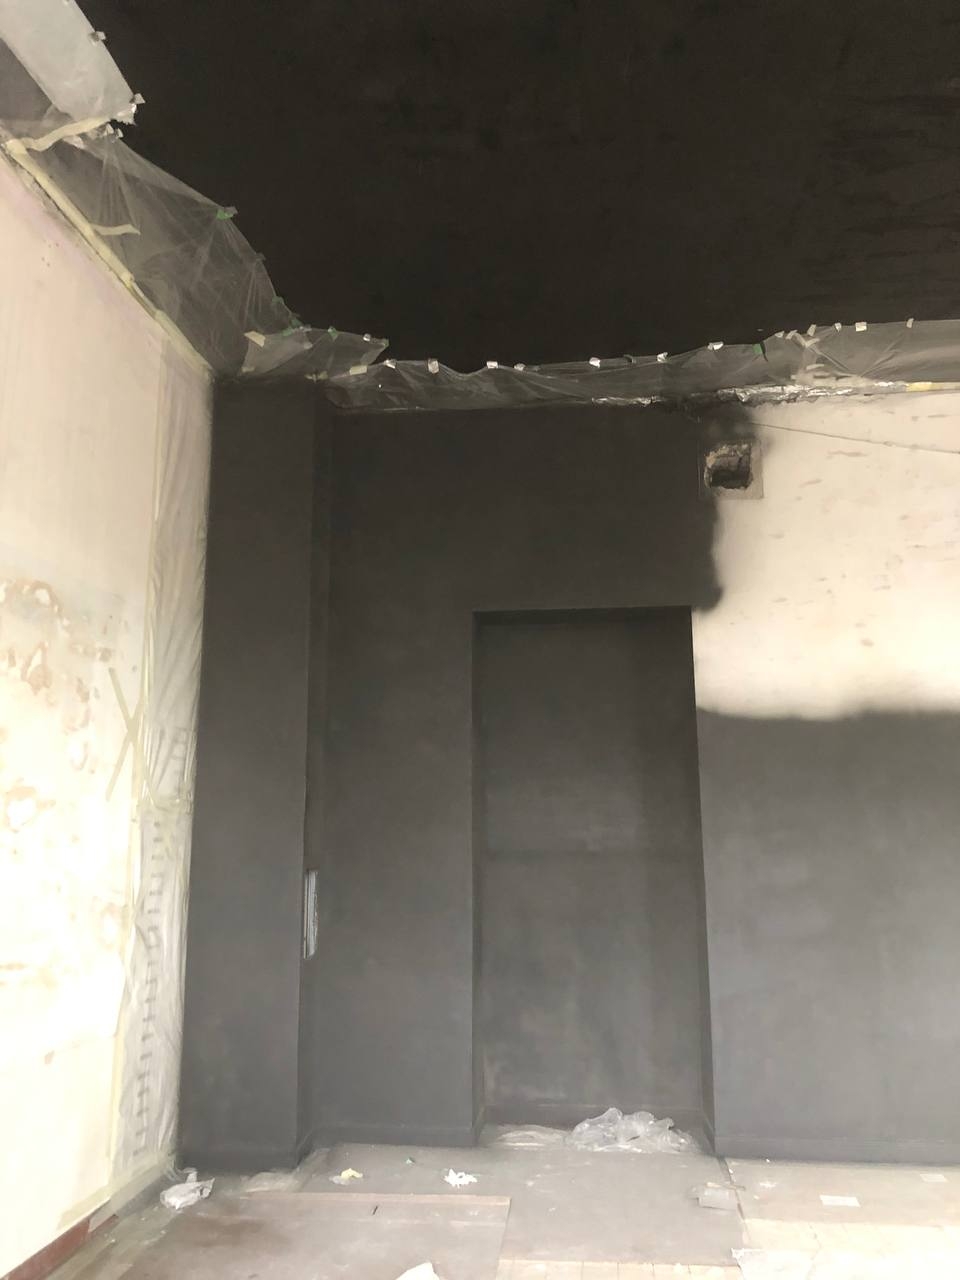
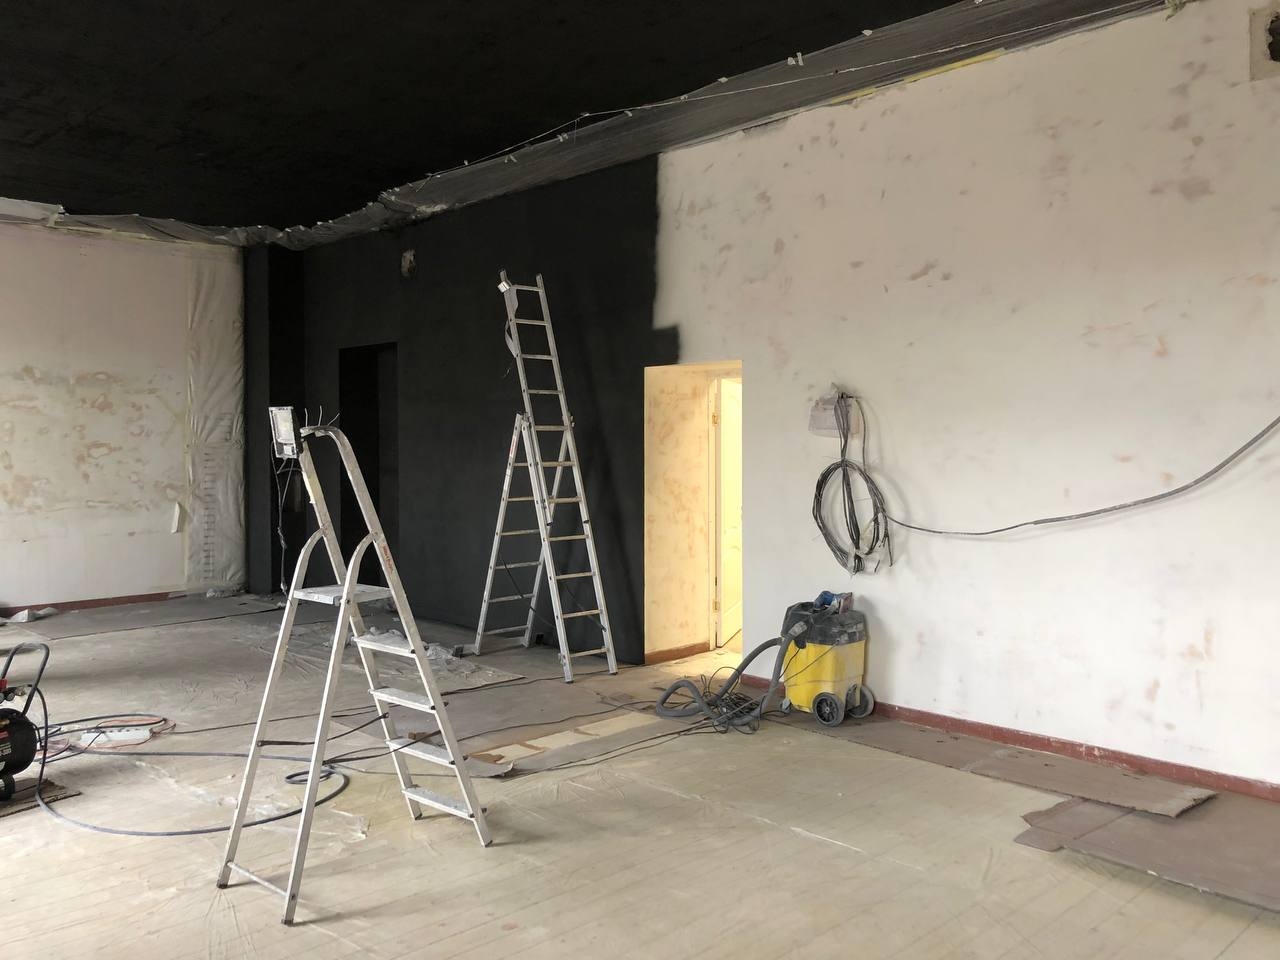
Mar 24
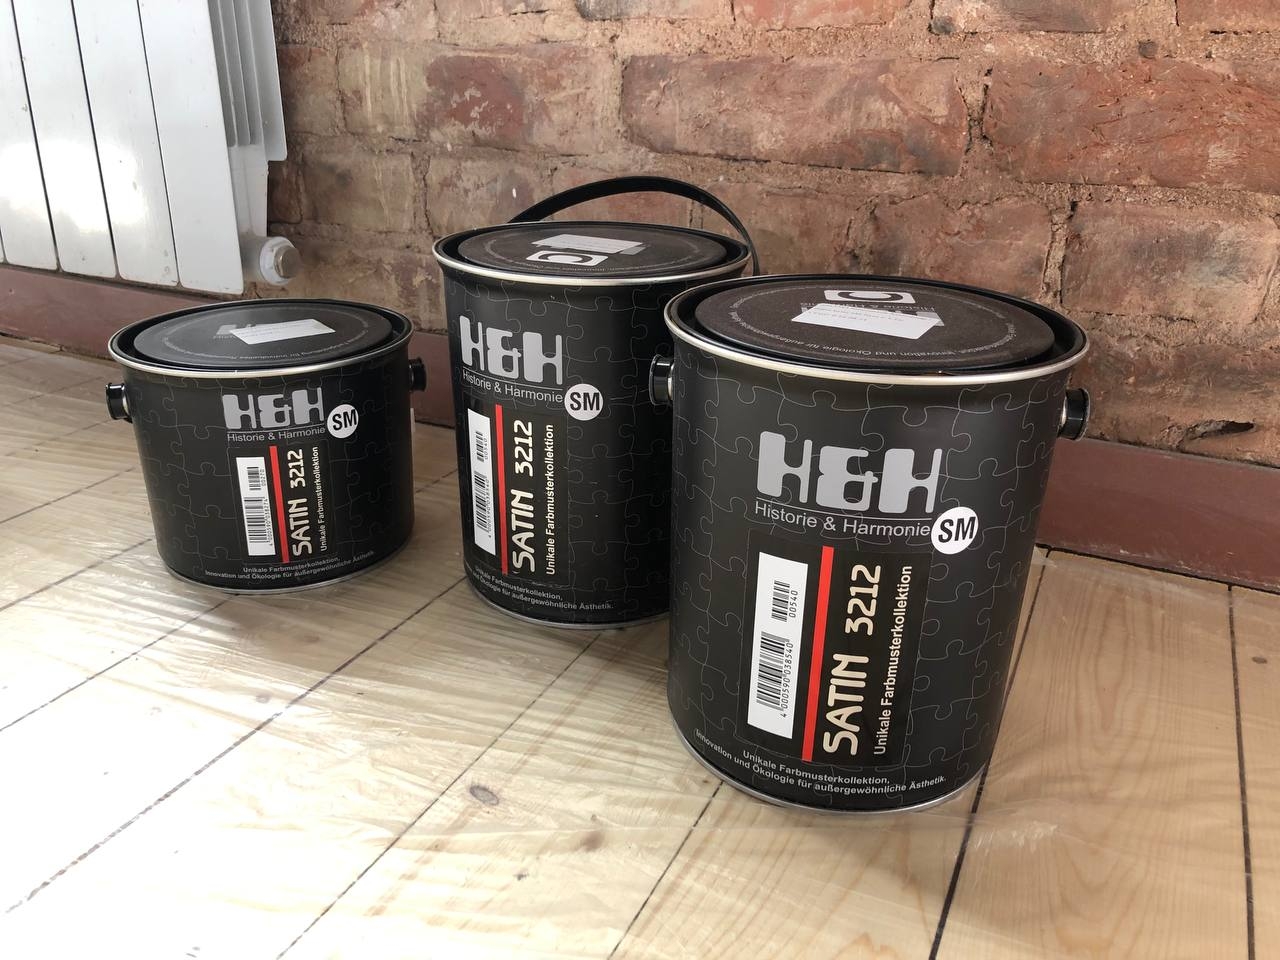
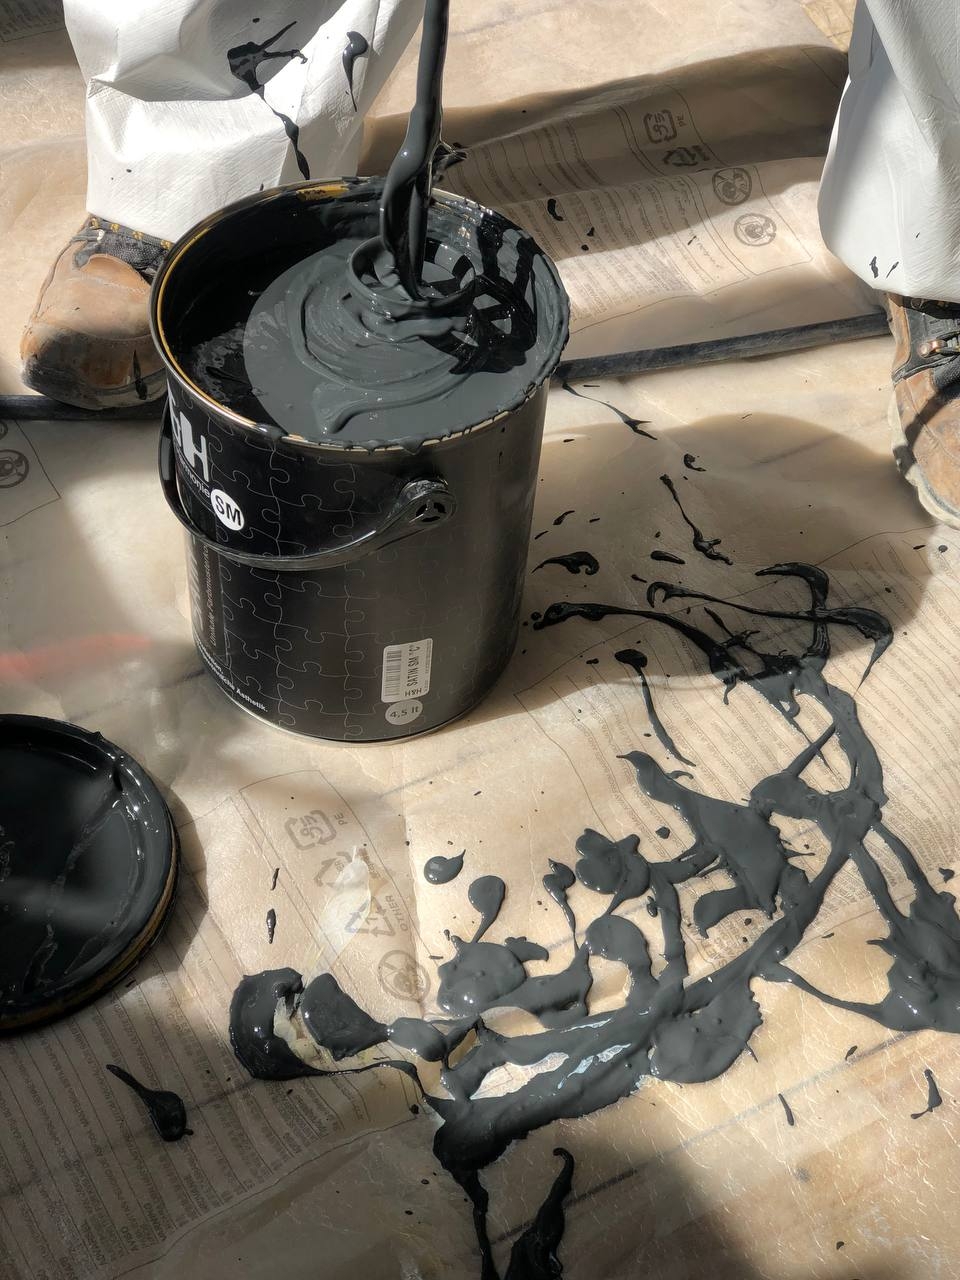
Walls.
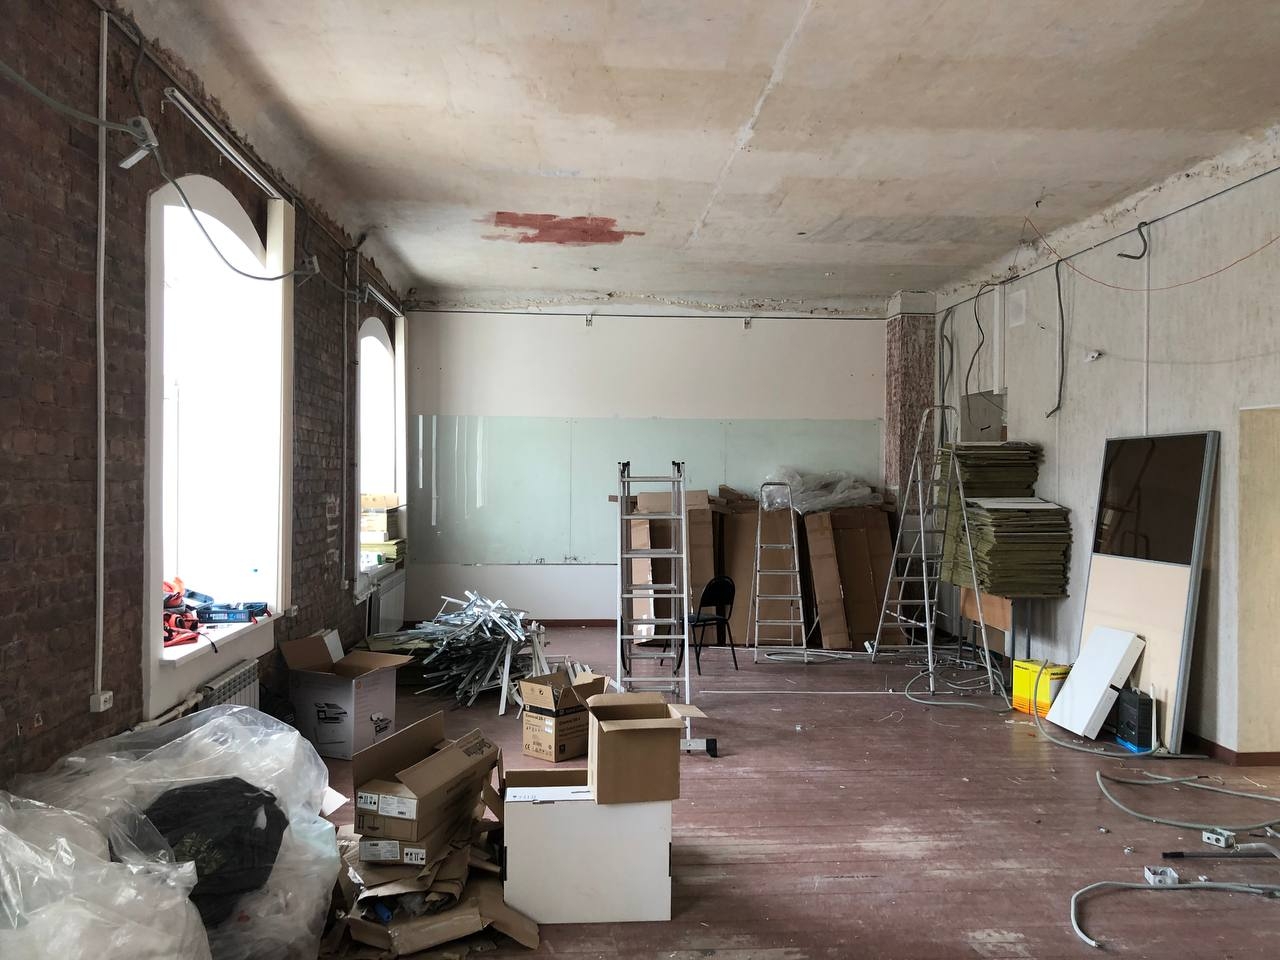
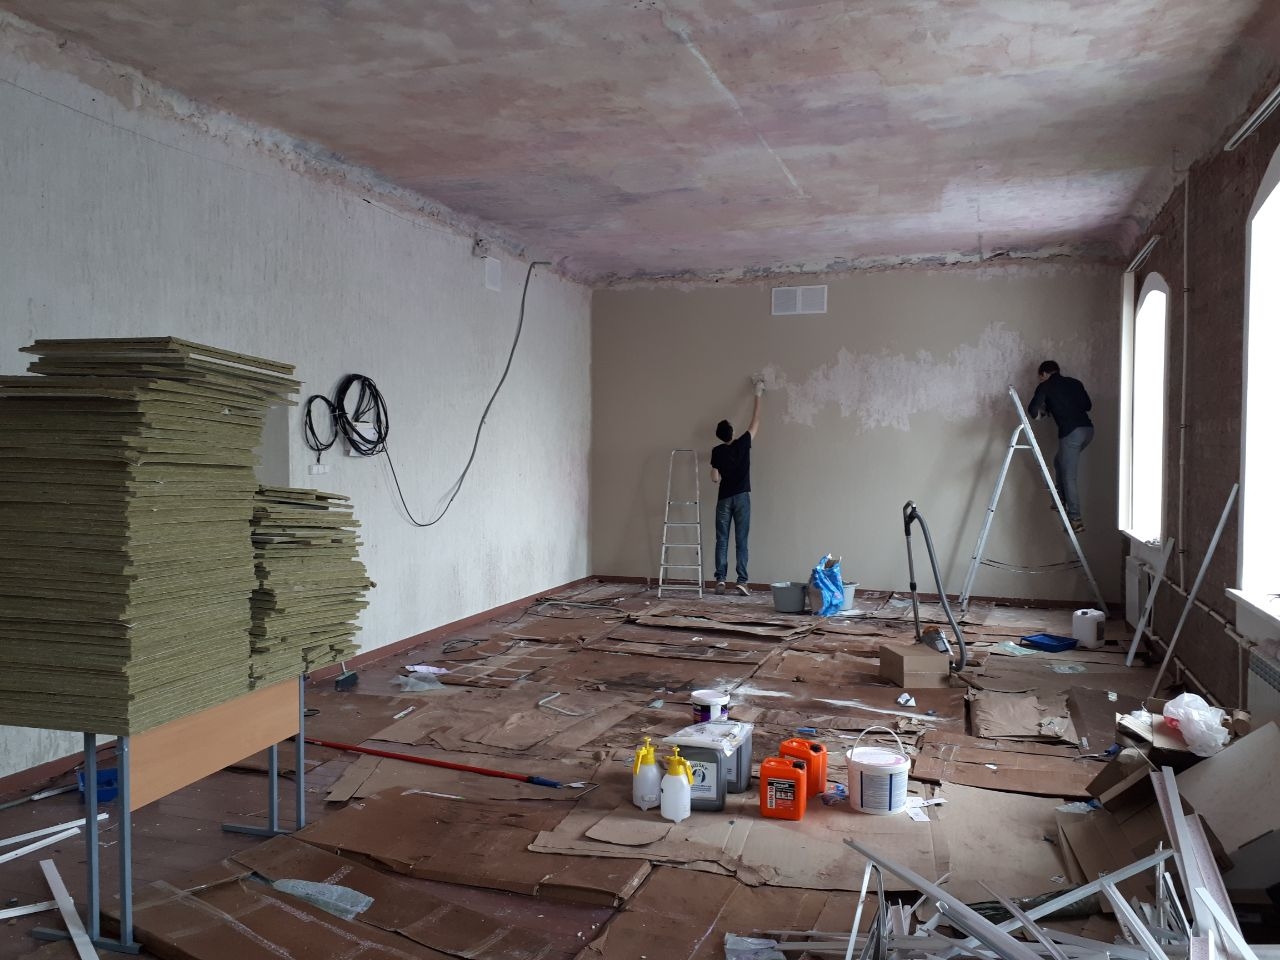
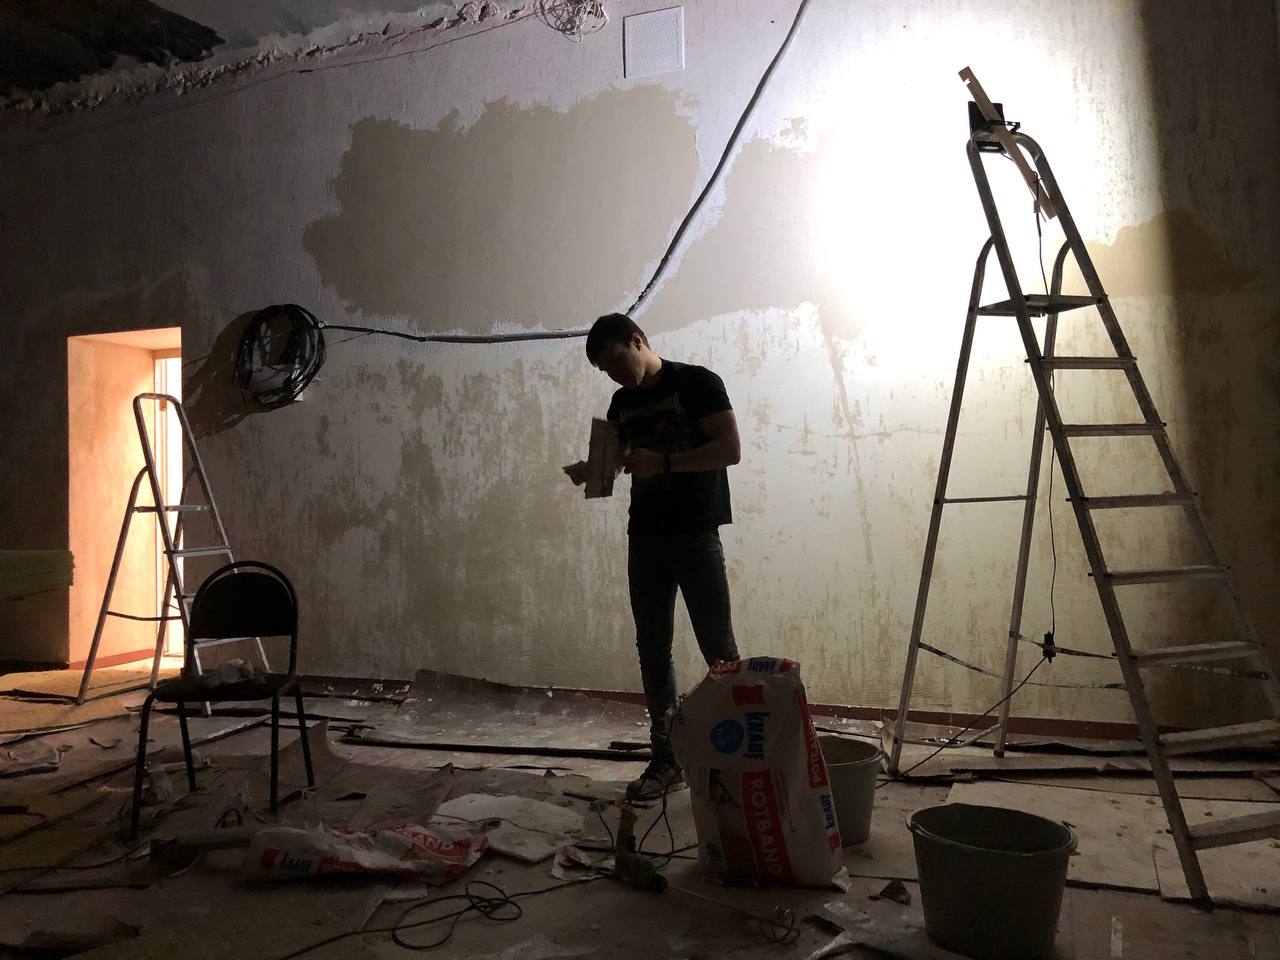
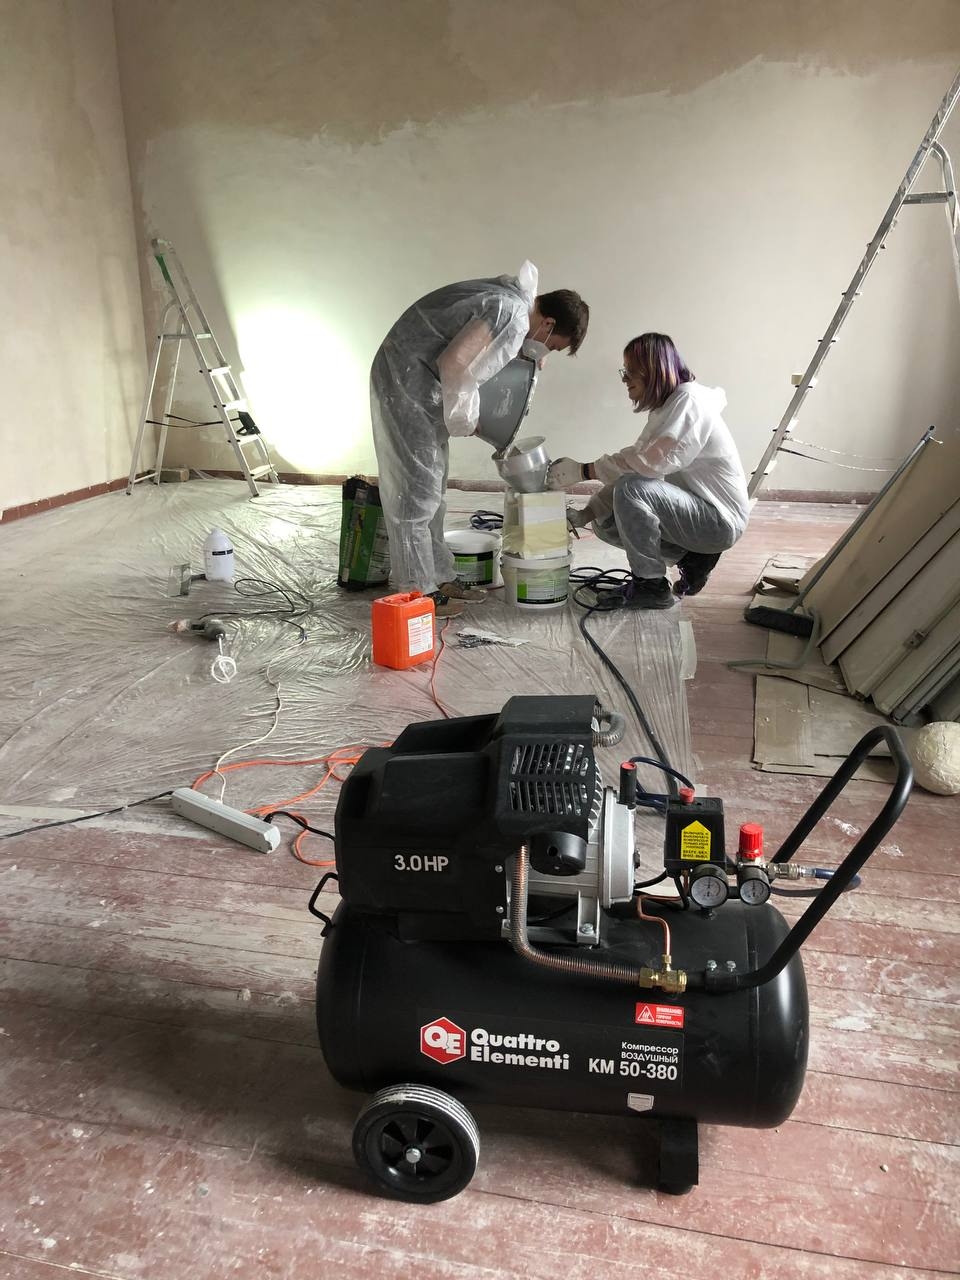
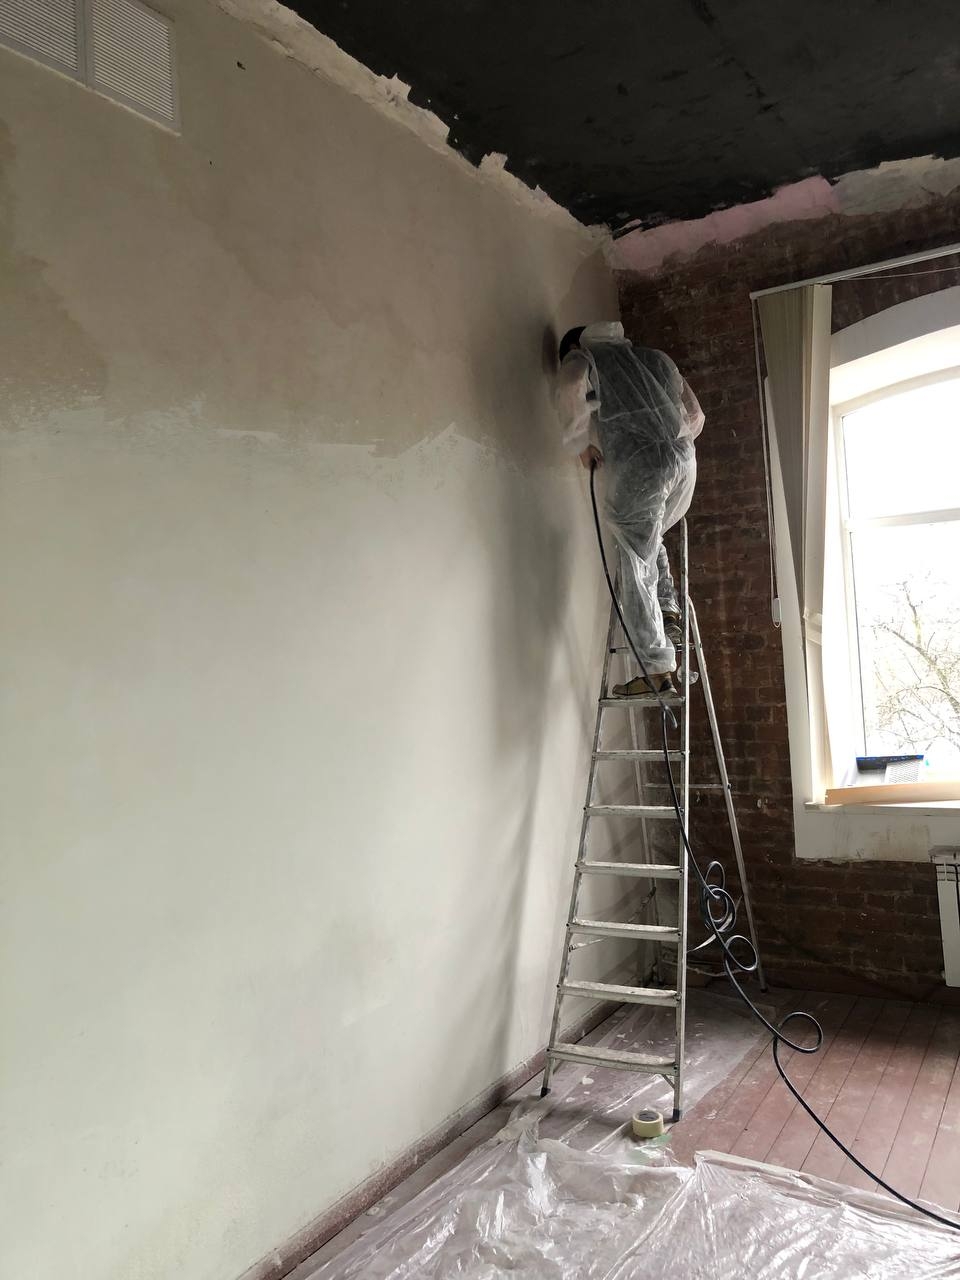
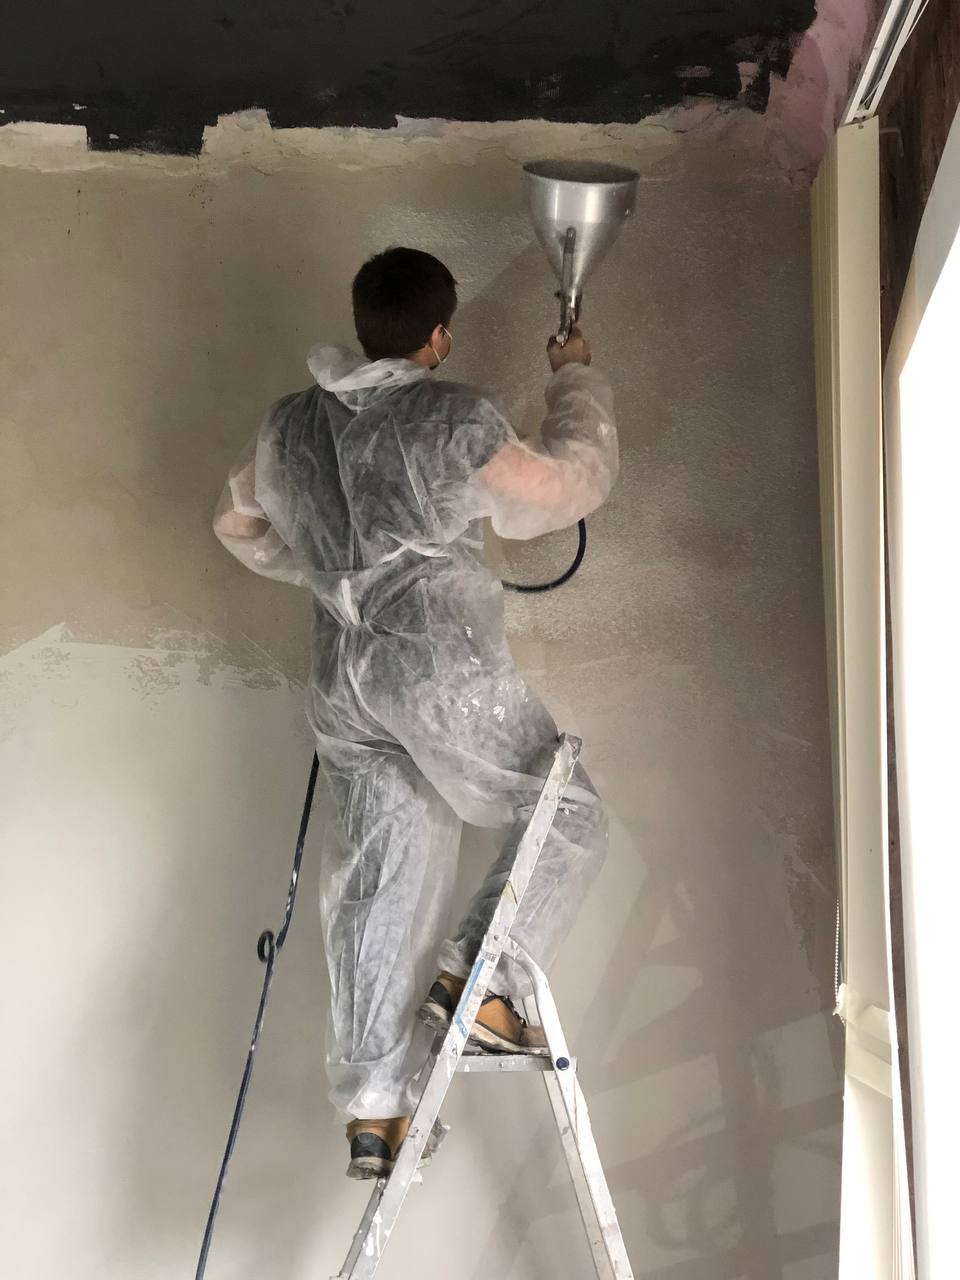
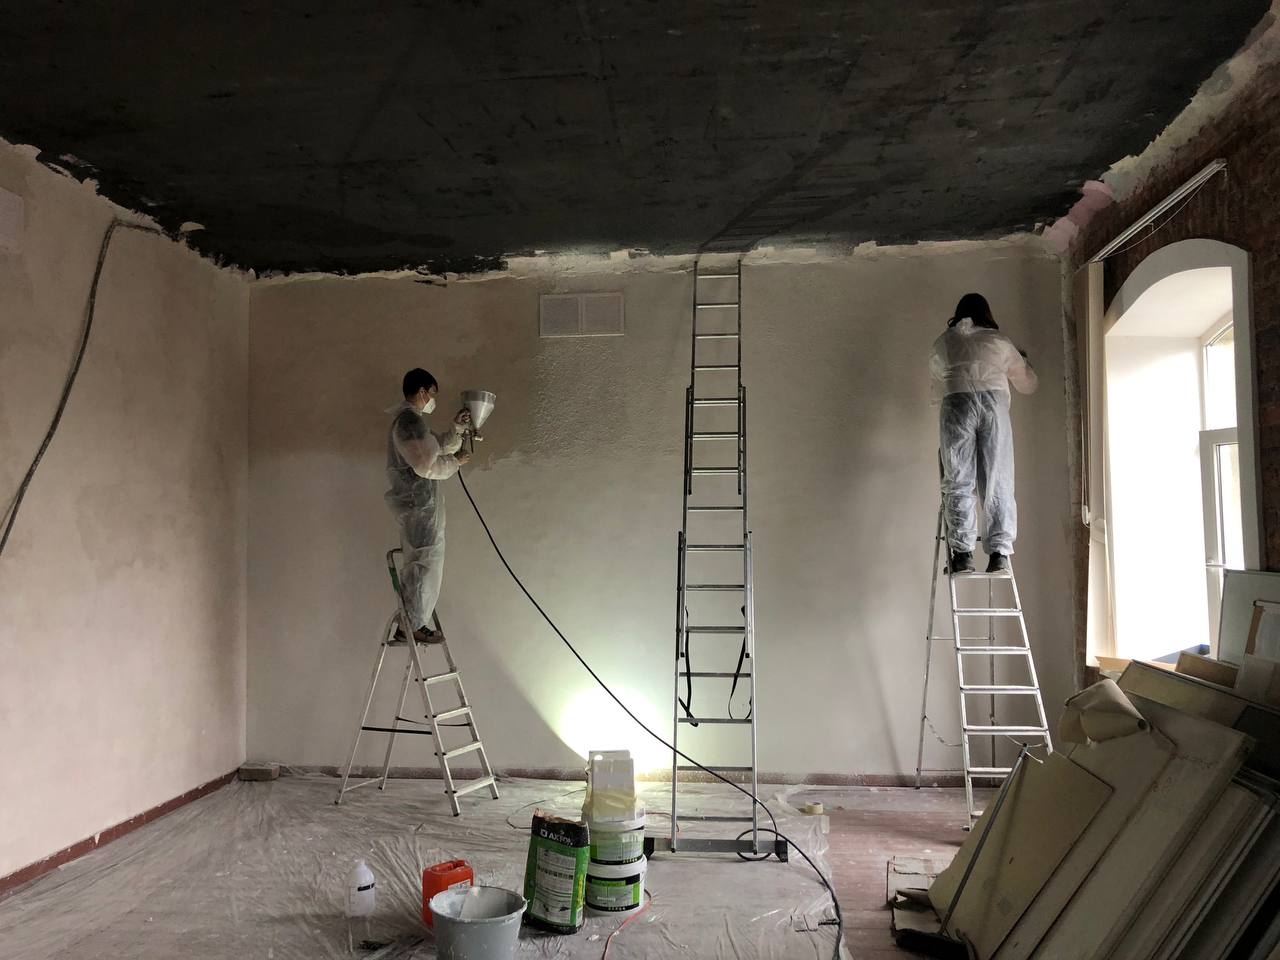
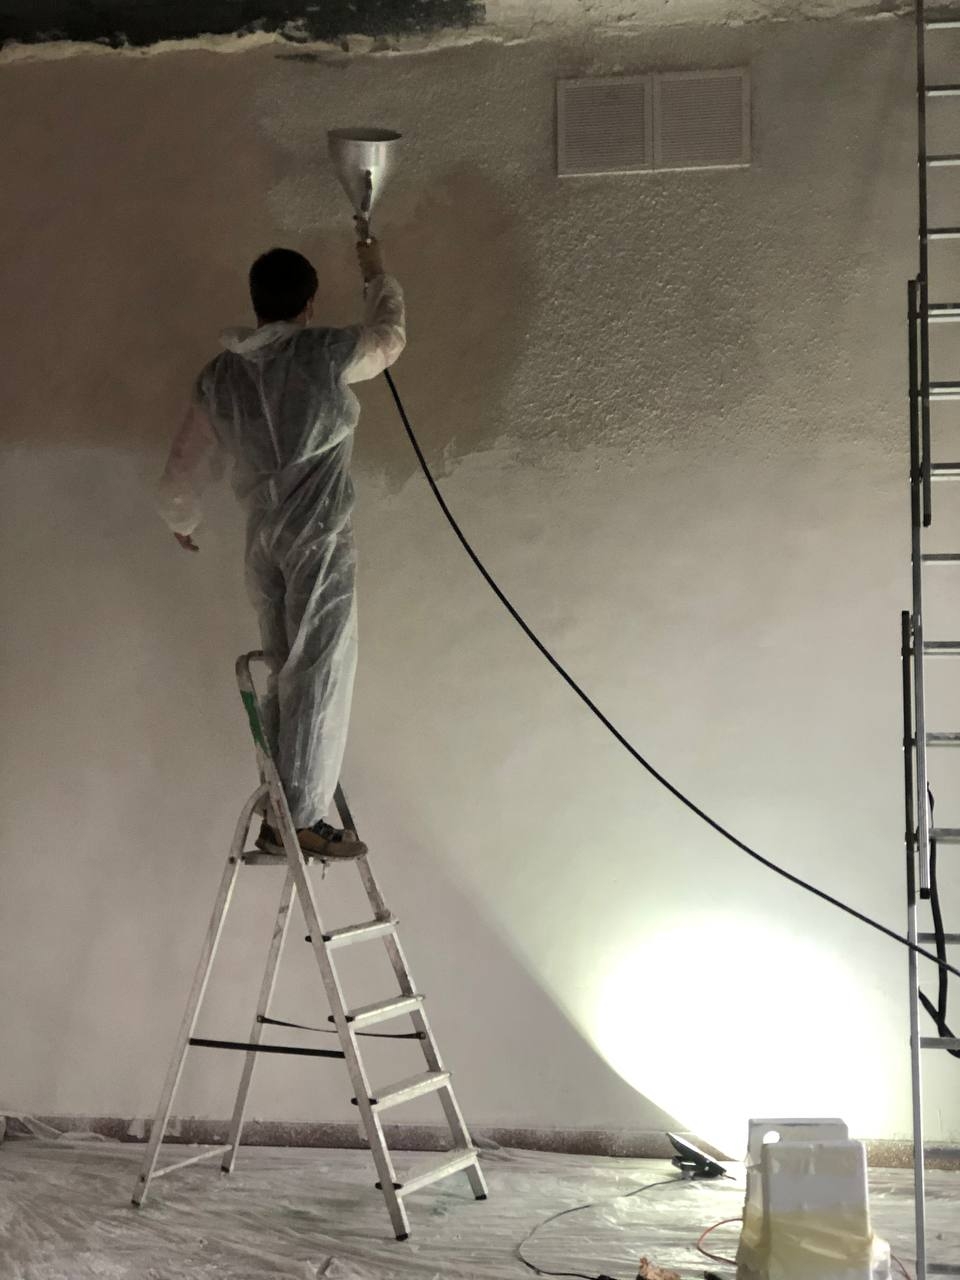
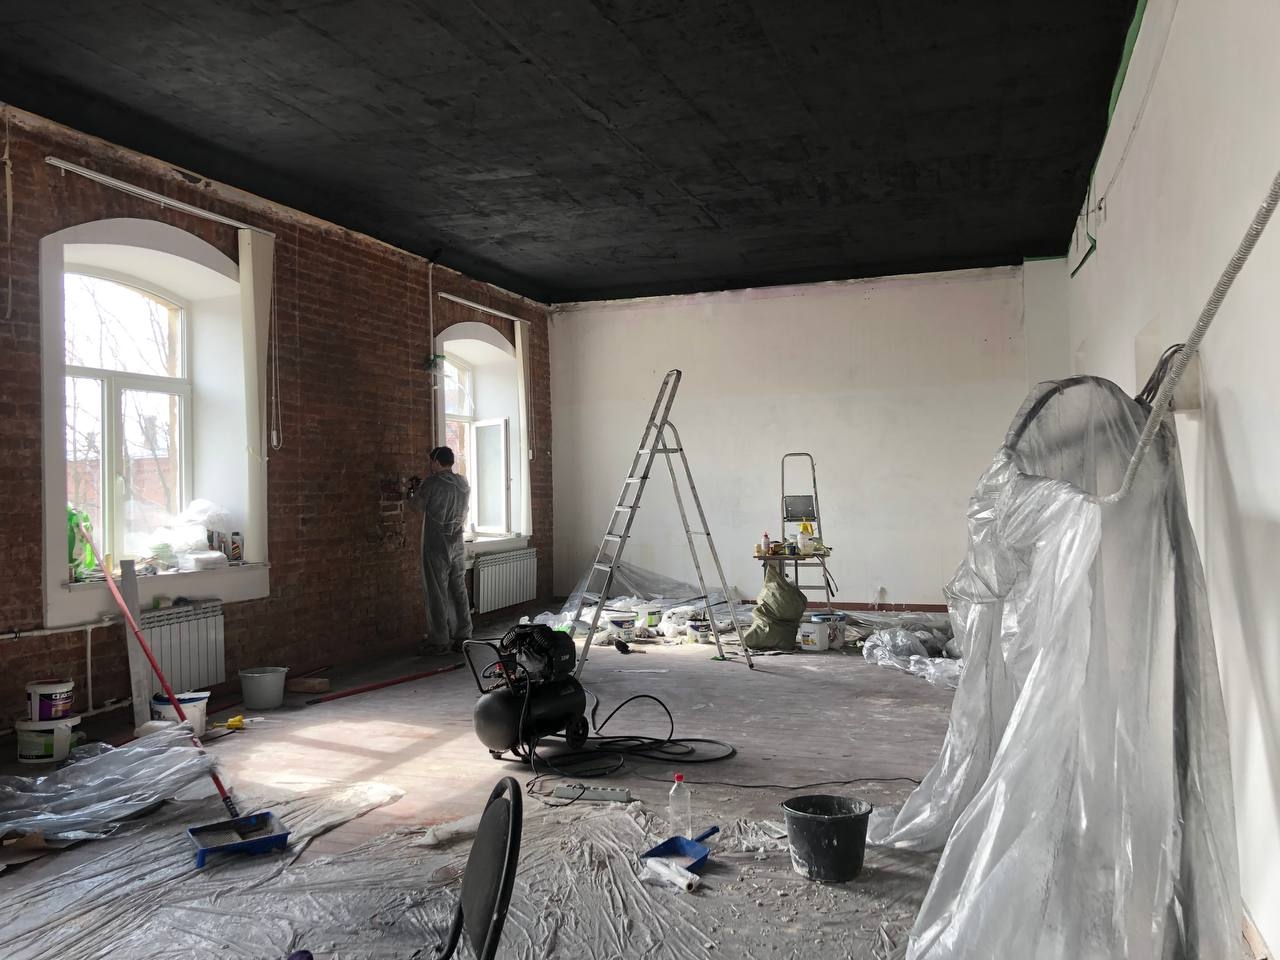
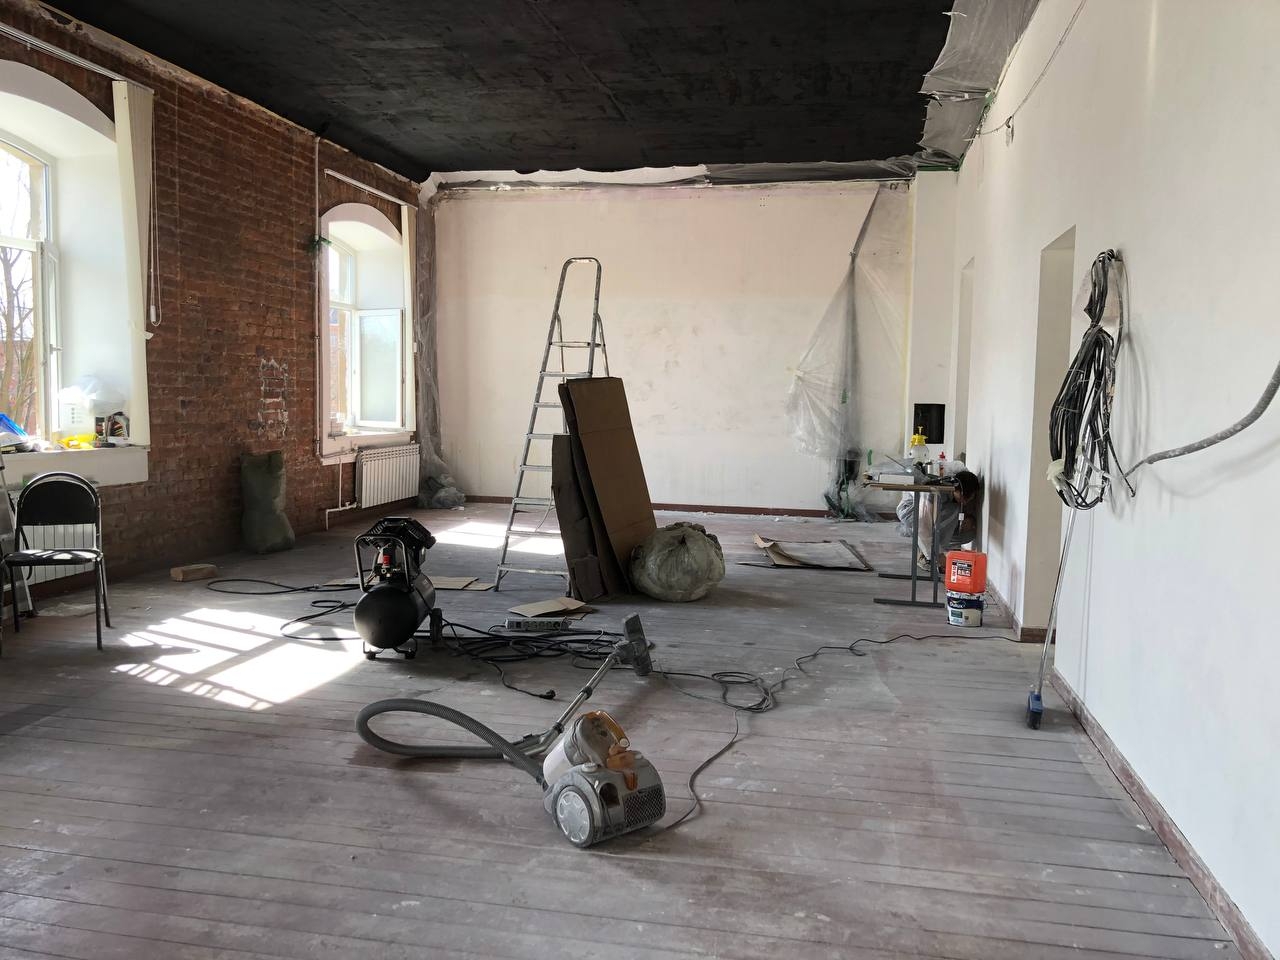
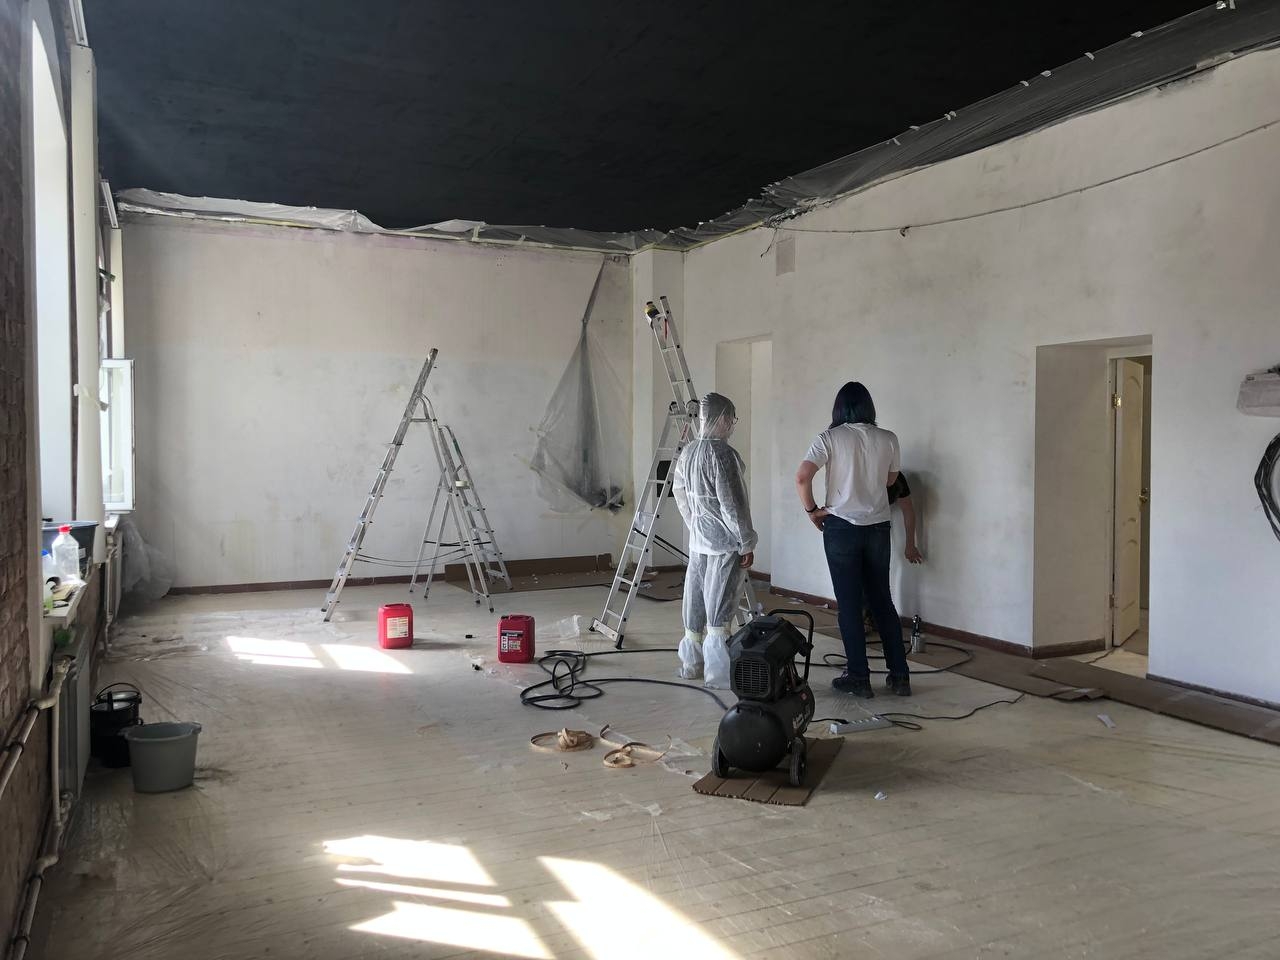
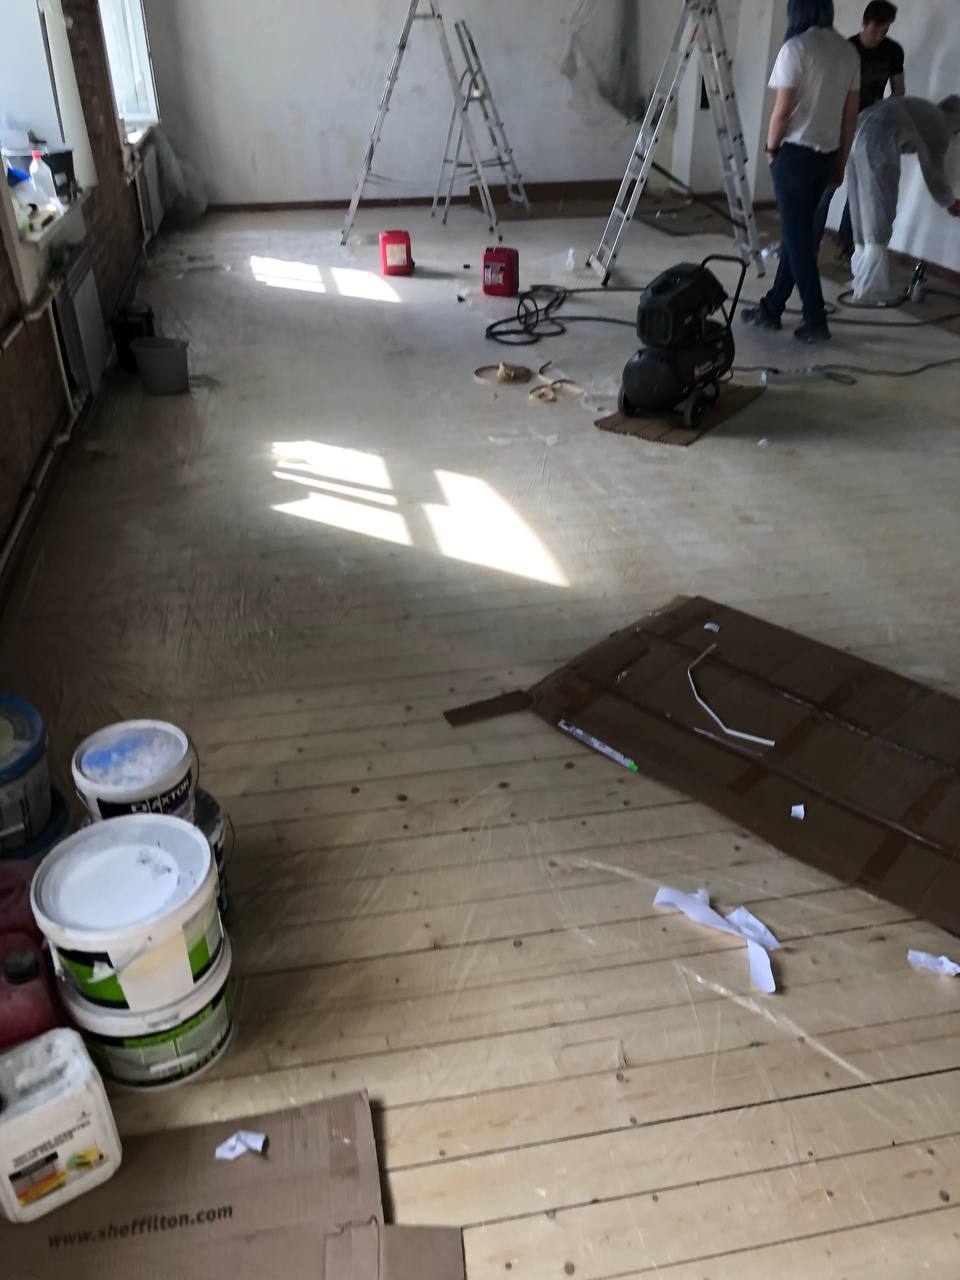
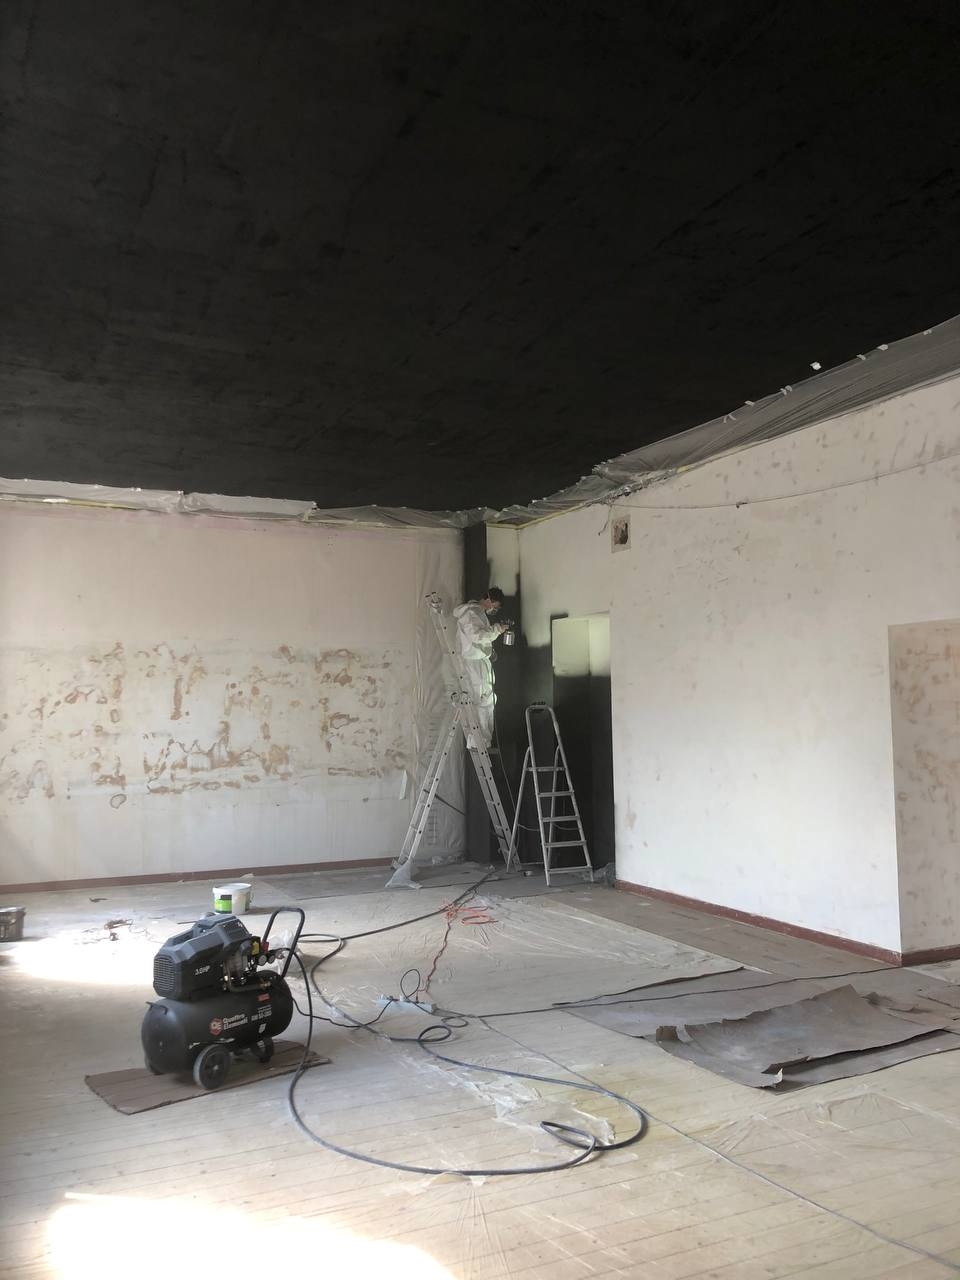
Mar 30
We now have a compressor — almost universal tool for repairing.
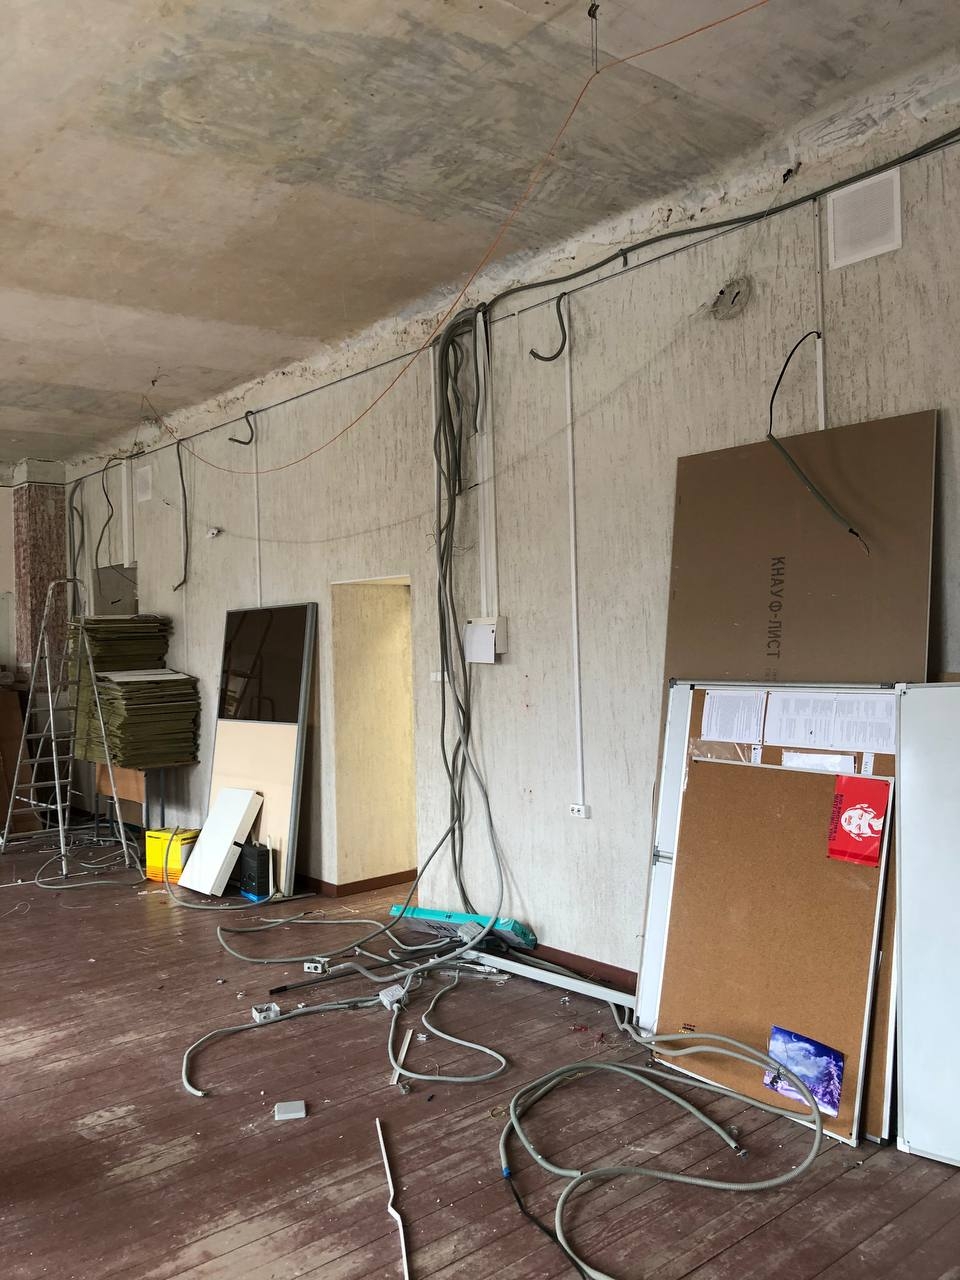
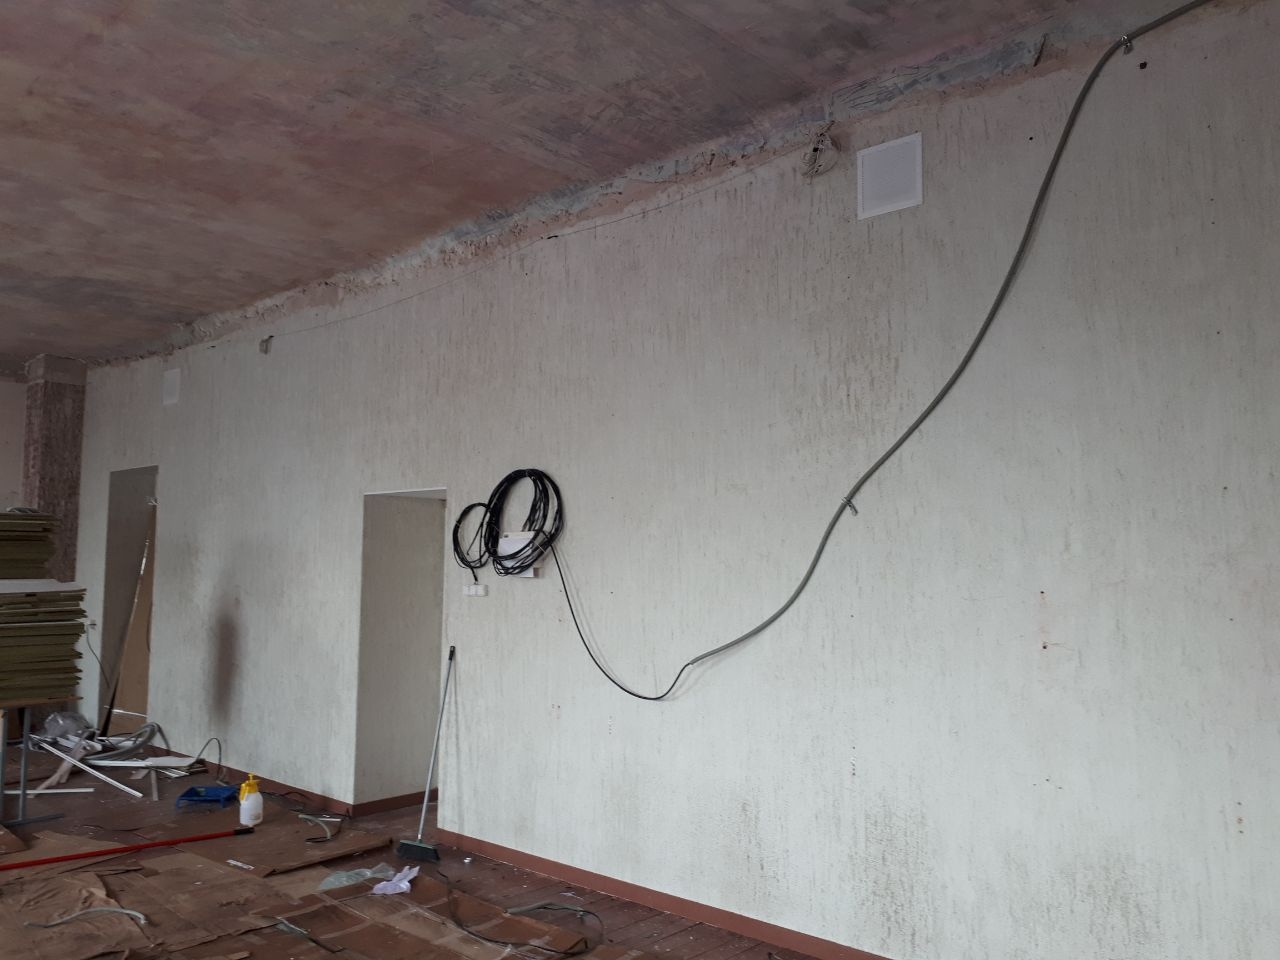
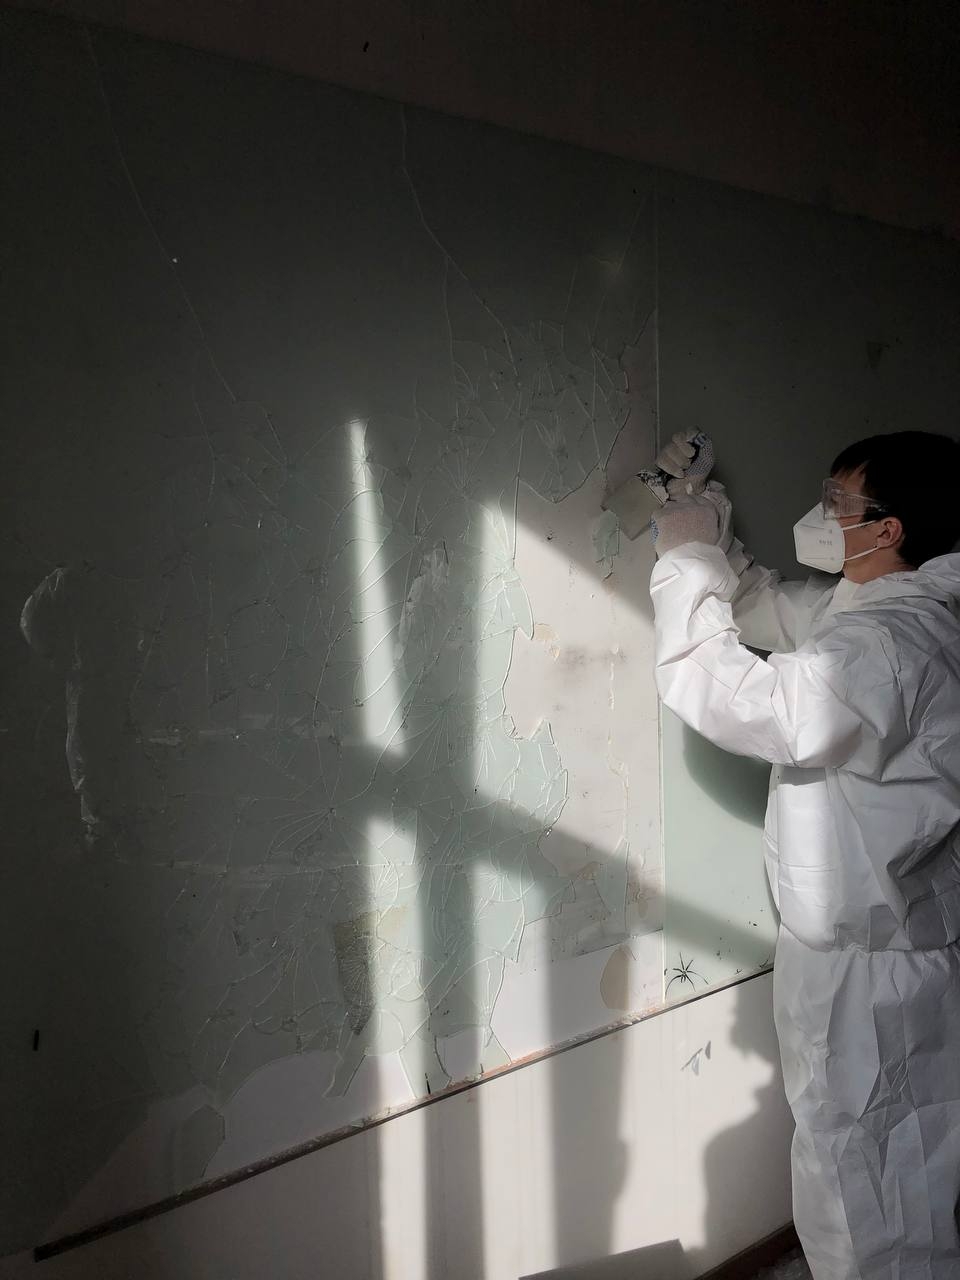
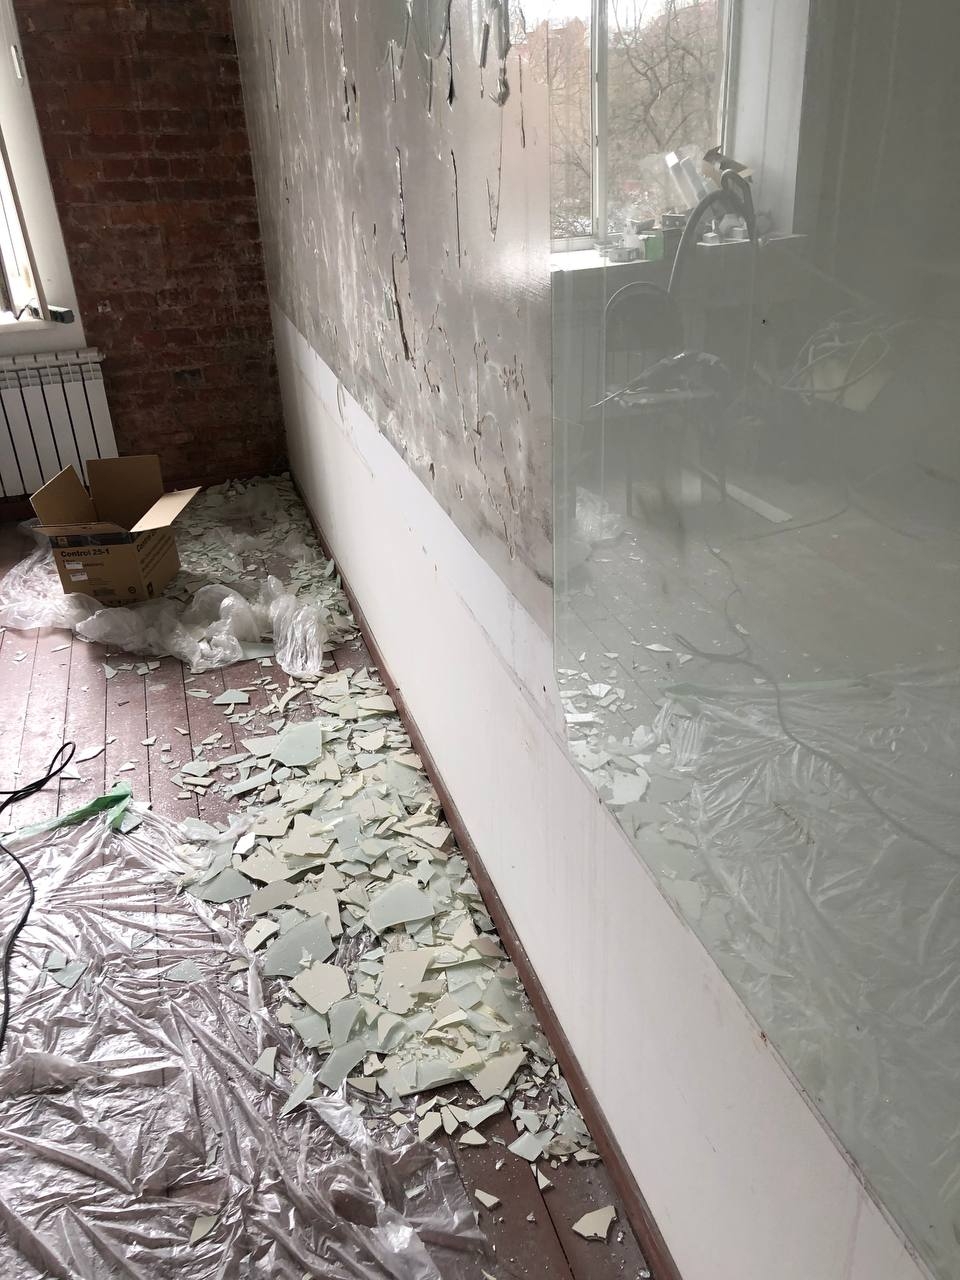
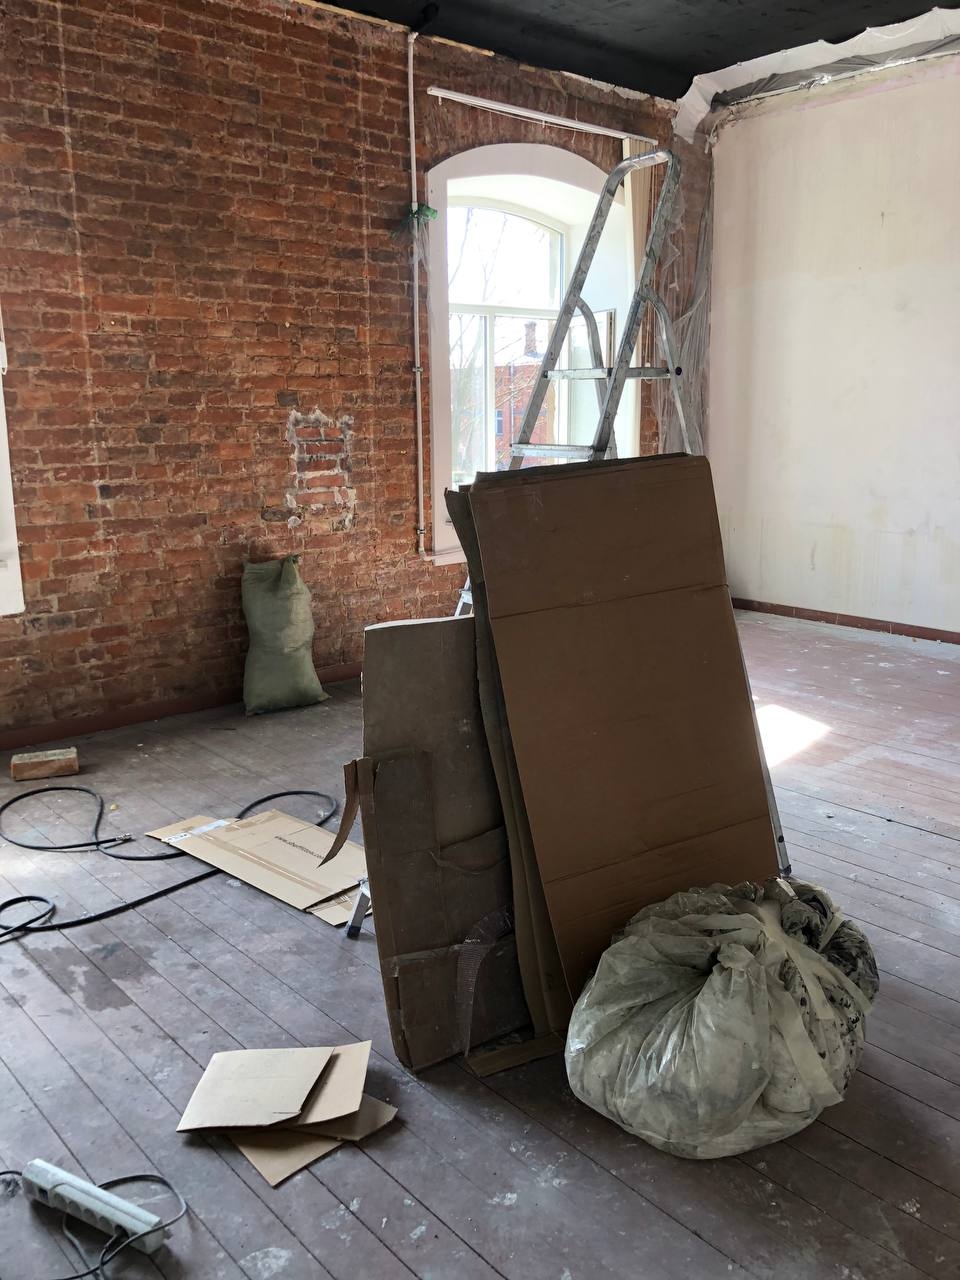
Apr 6
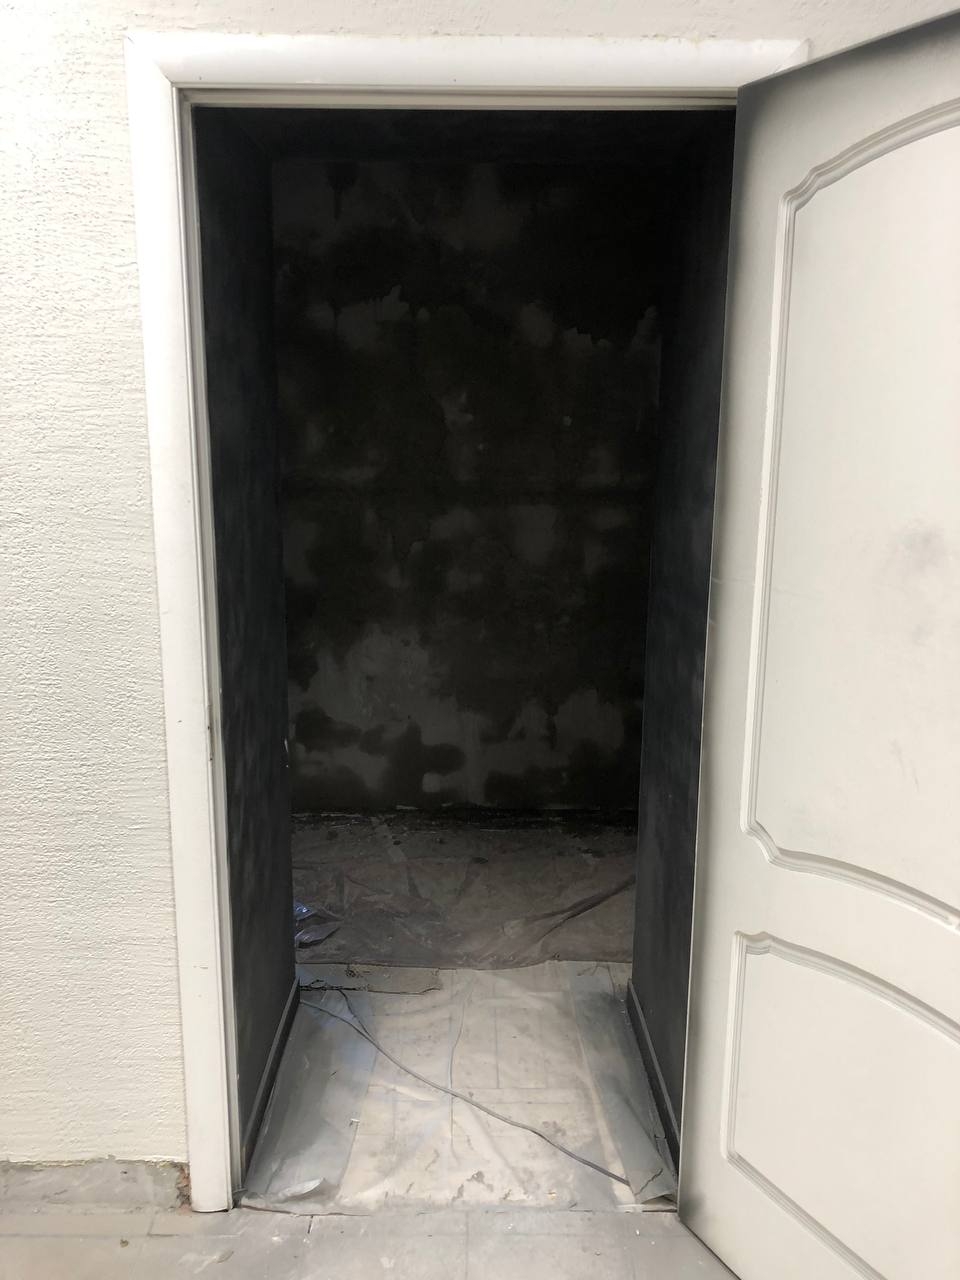
Removing the old glass and finish walls.

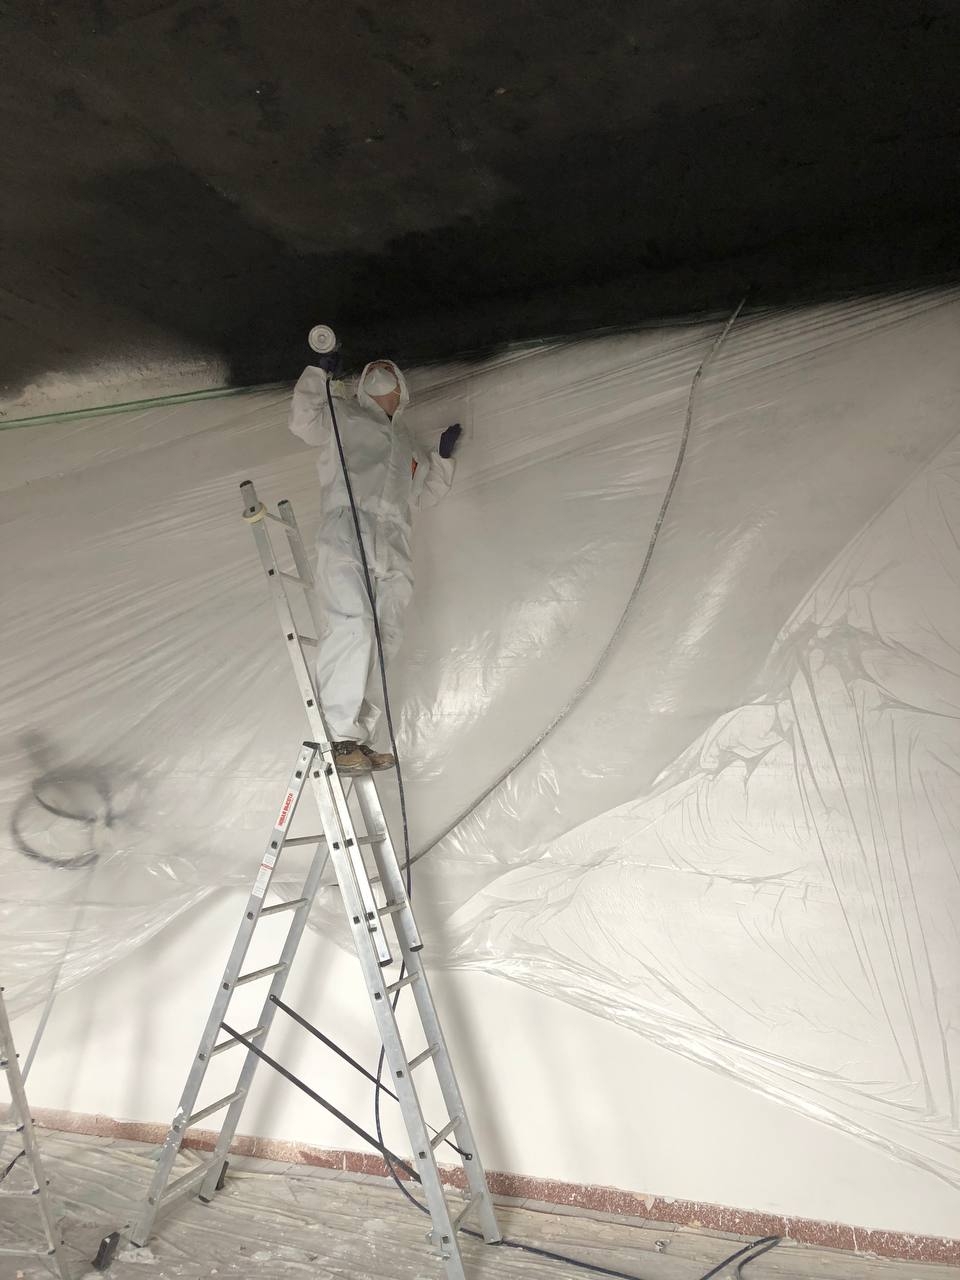
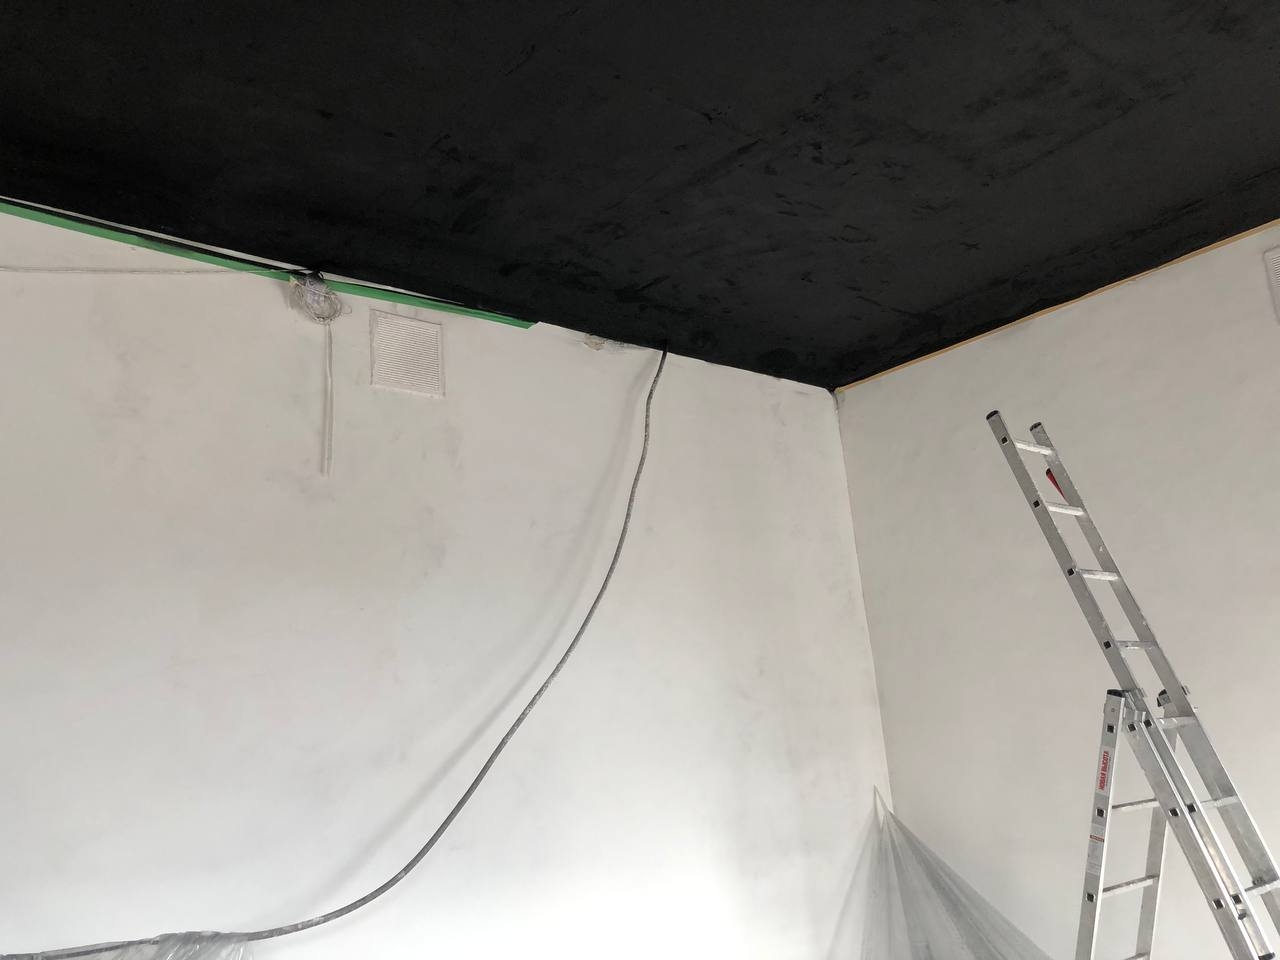
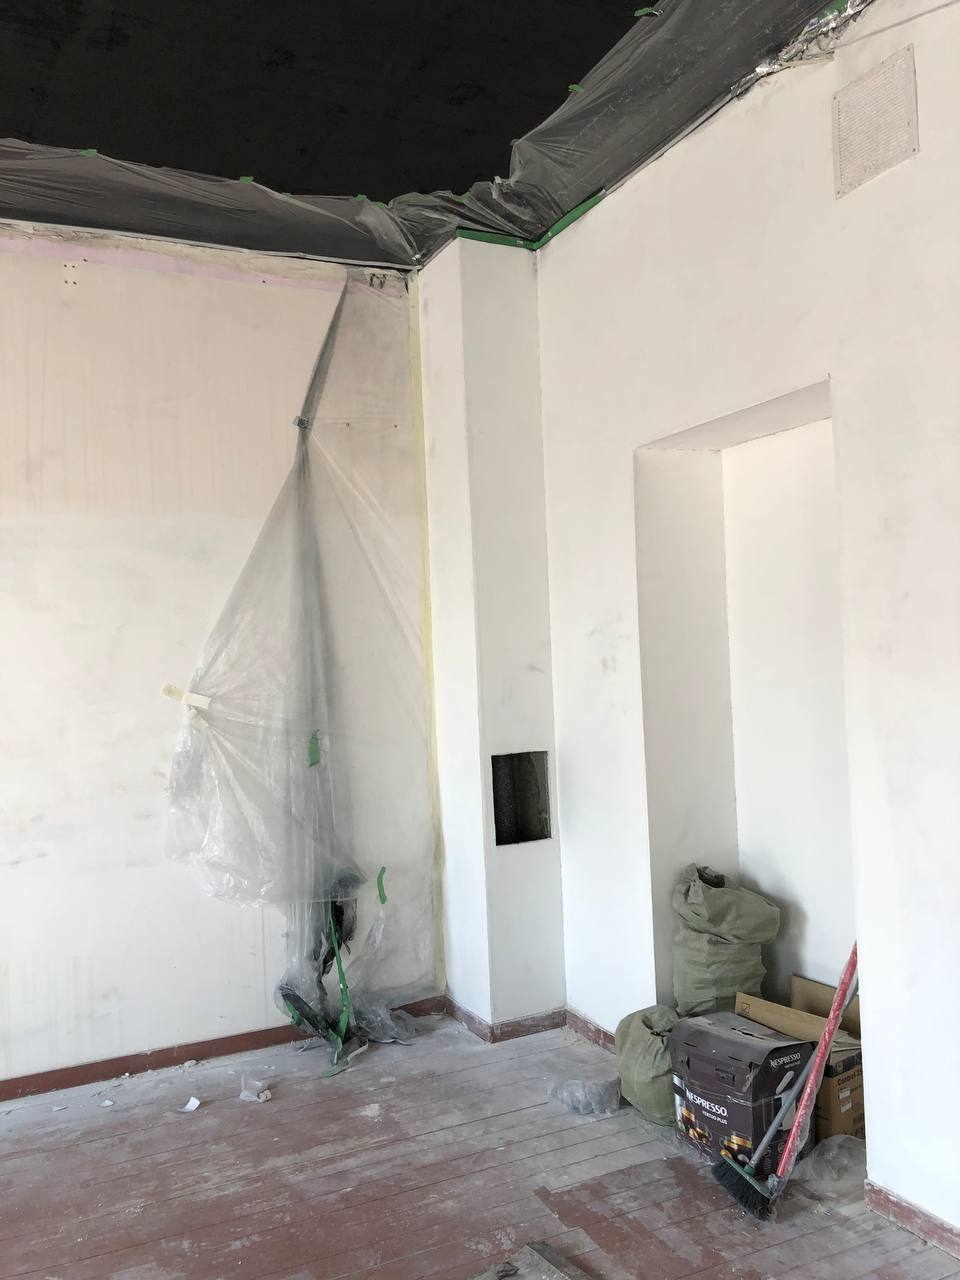
Apr 8
Second paint layer for the ceil.

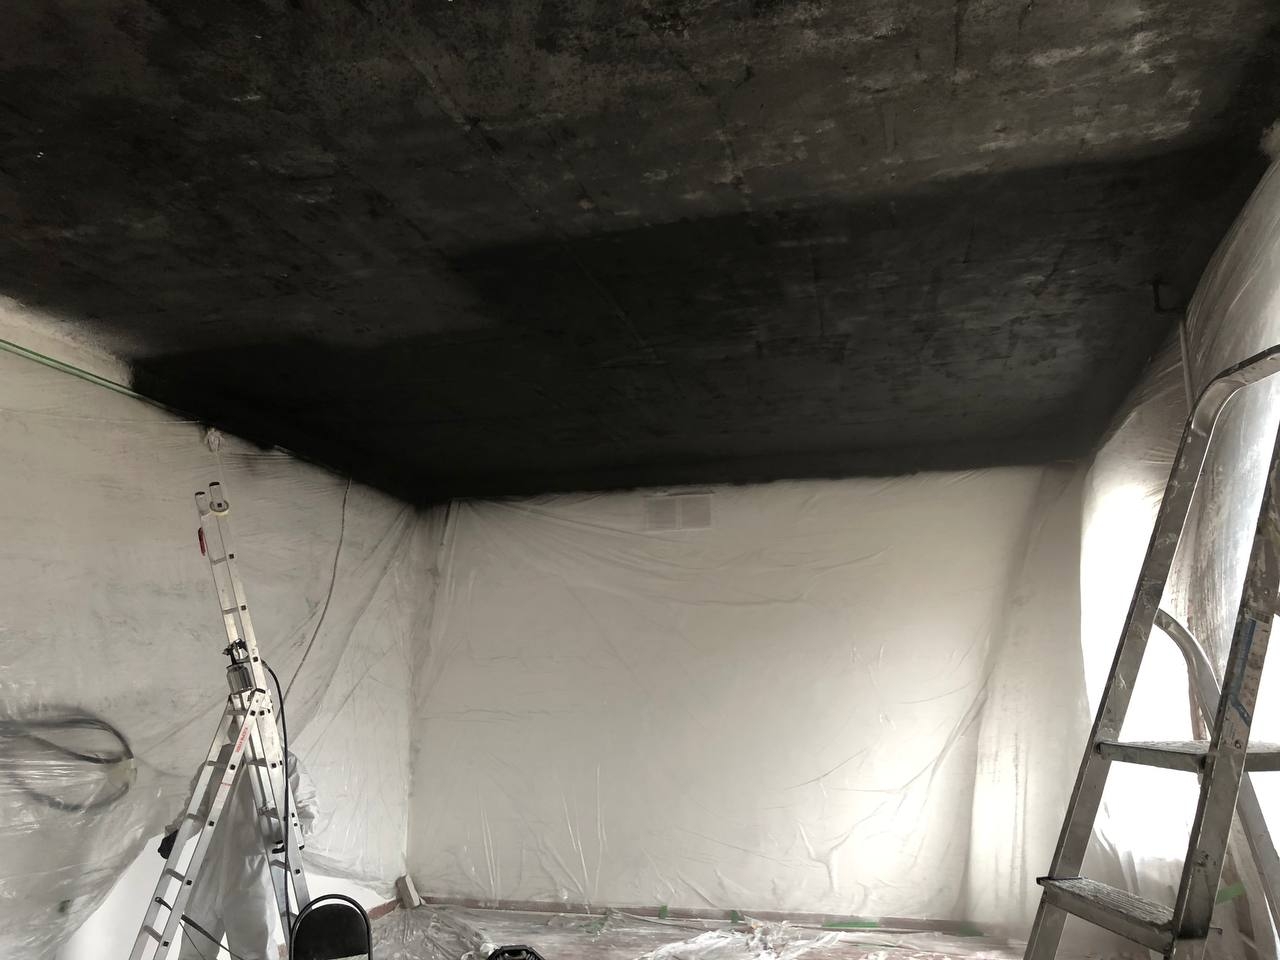
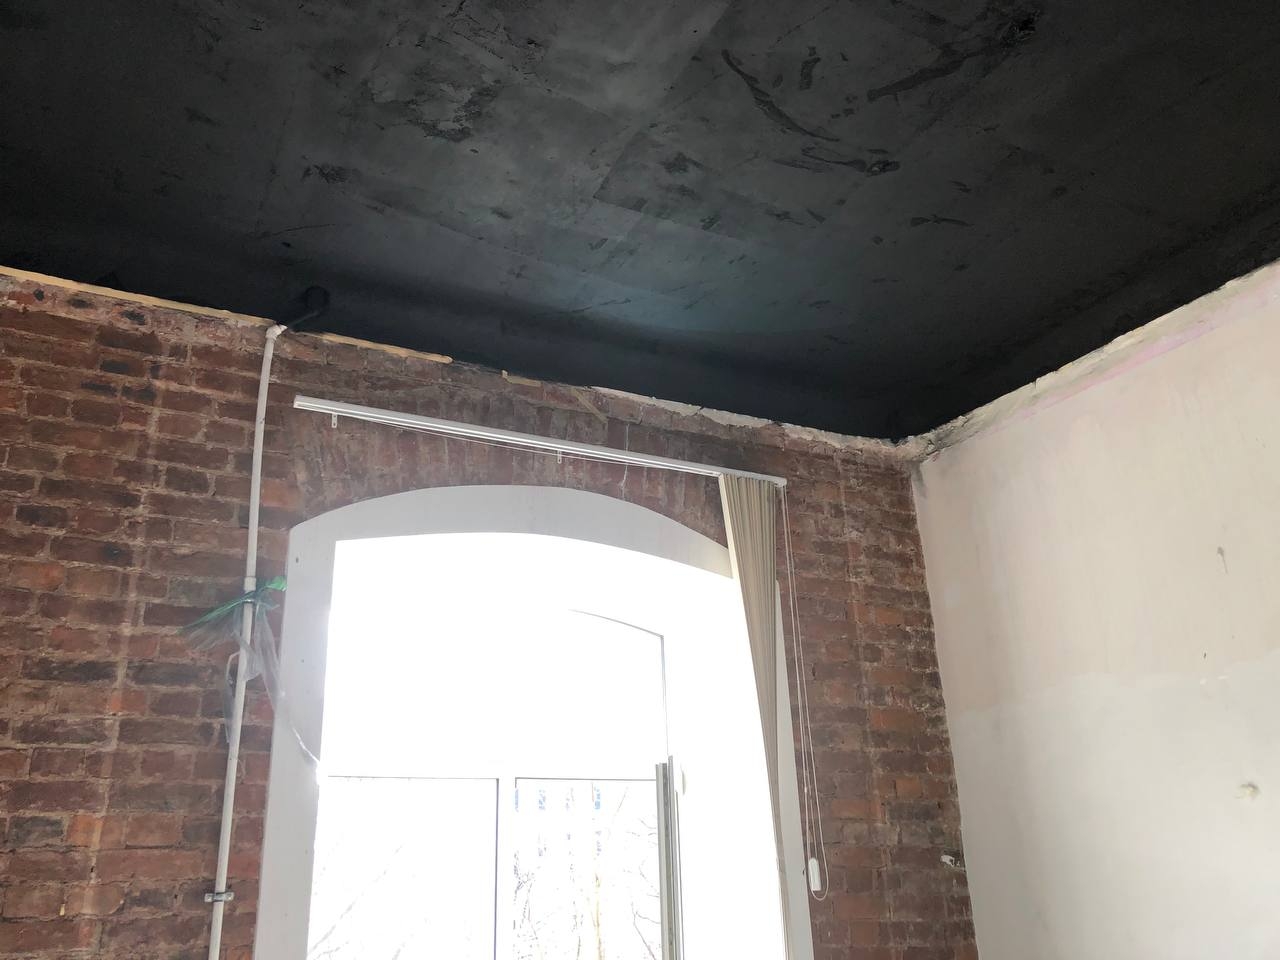
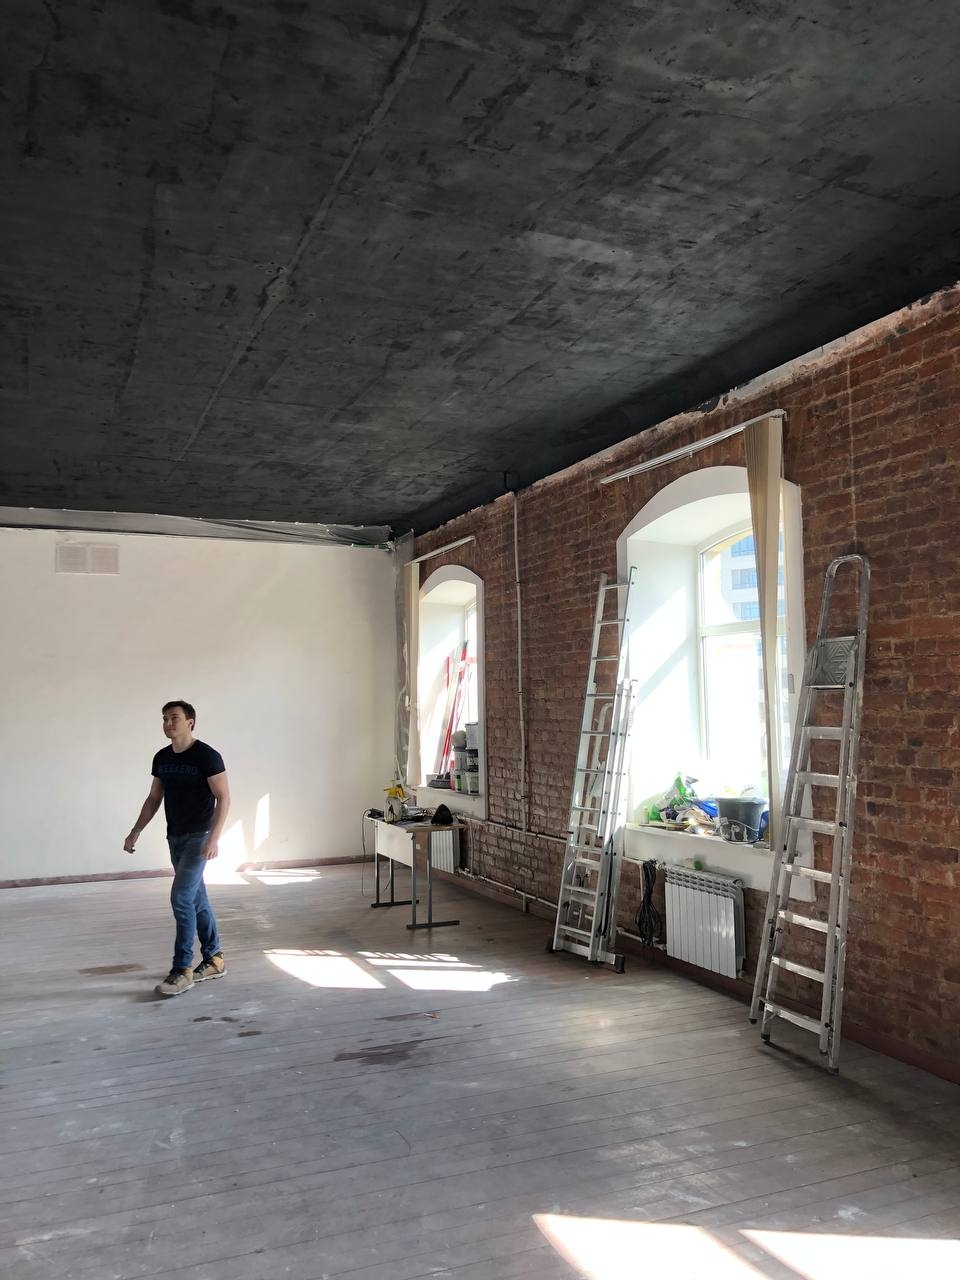
Apr 13
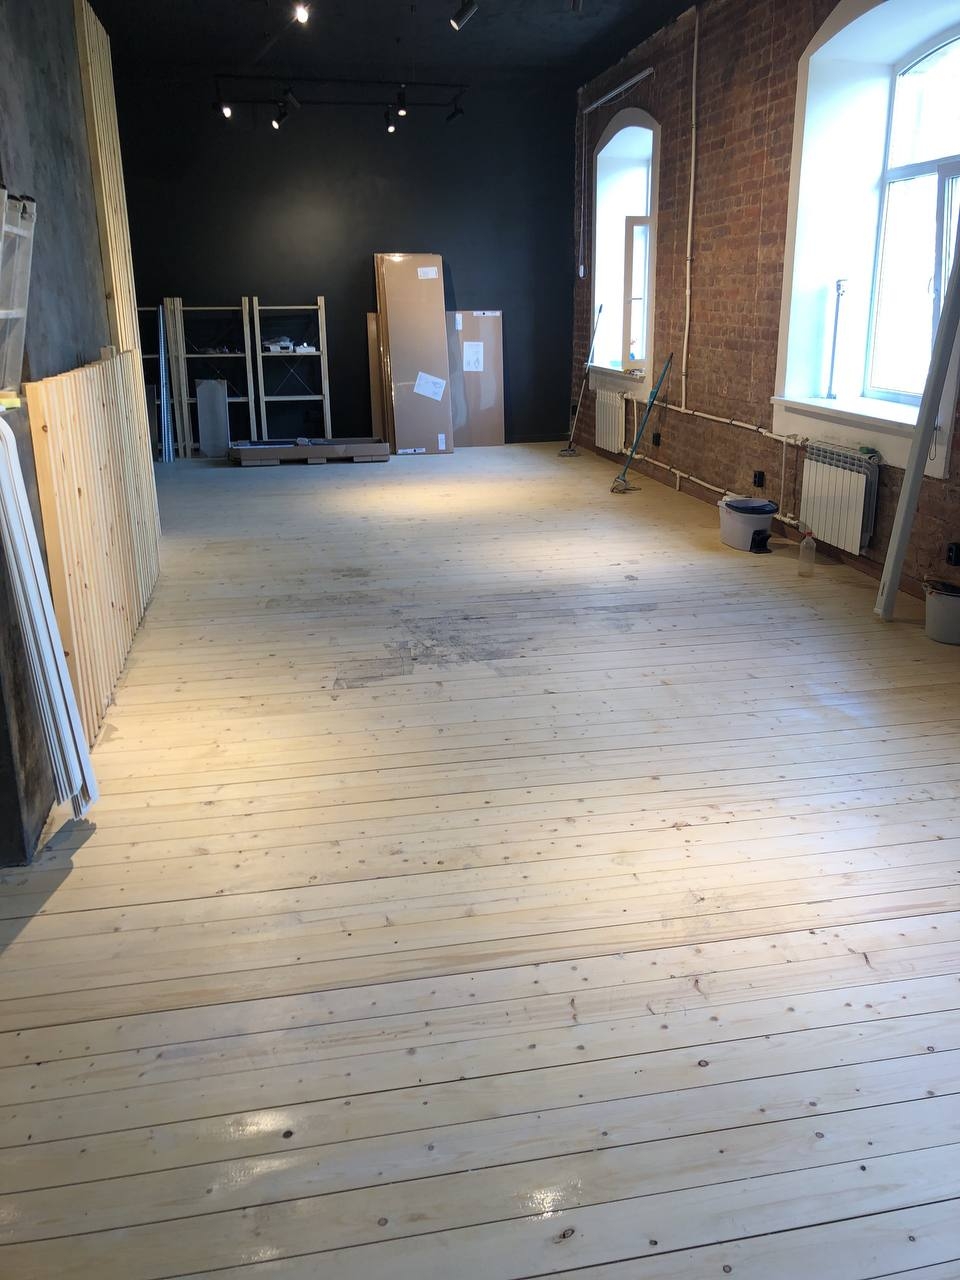
The ceil is finished.
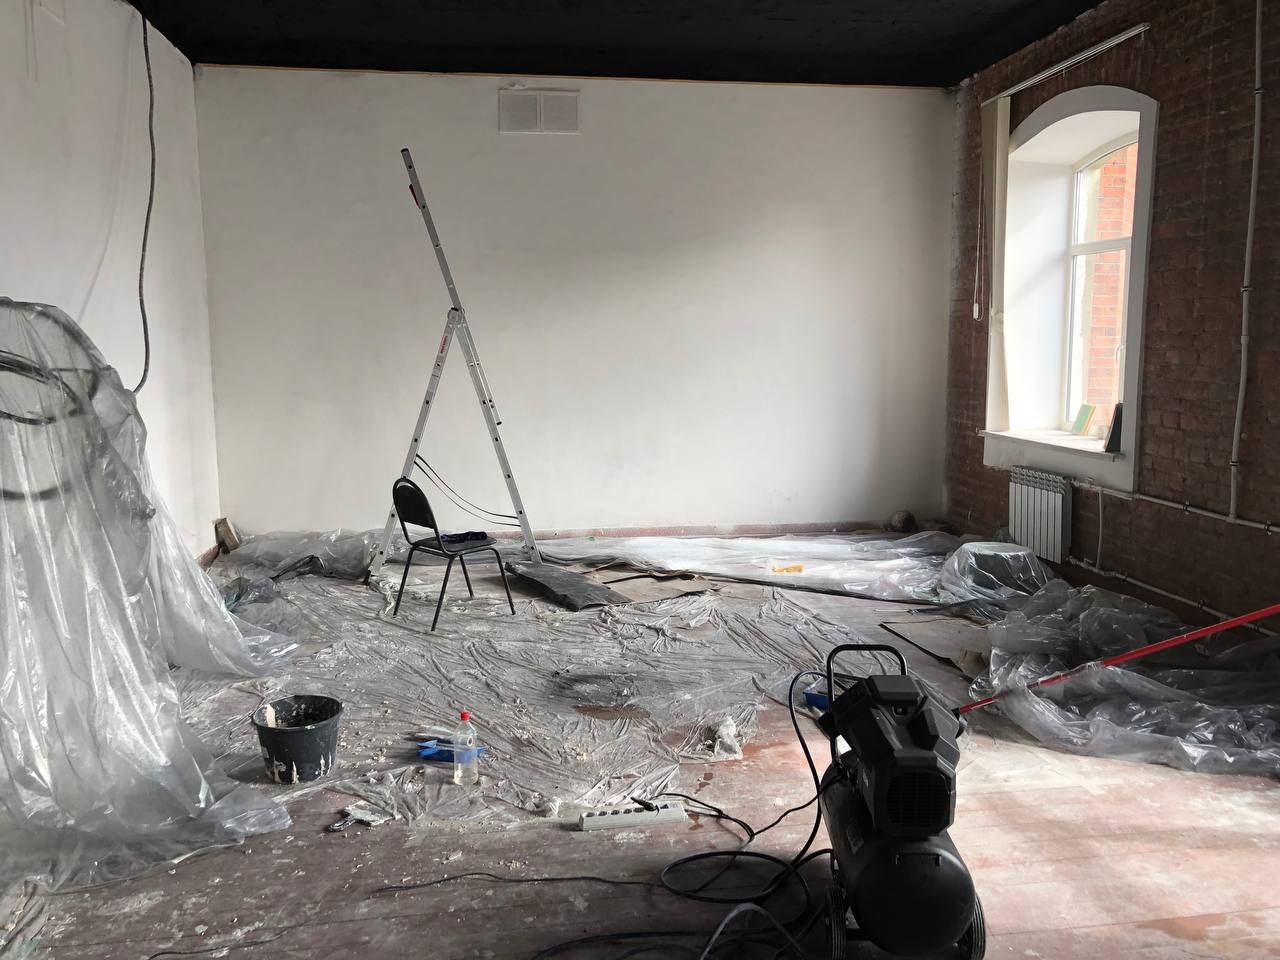
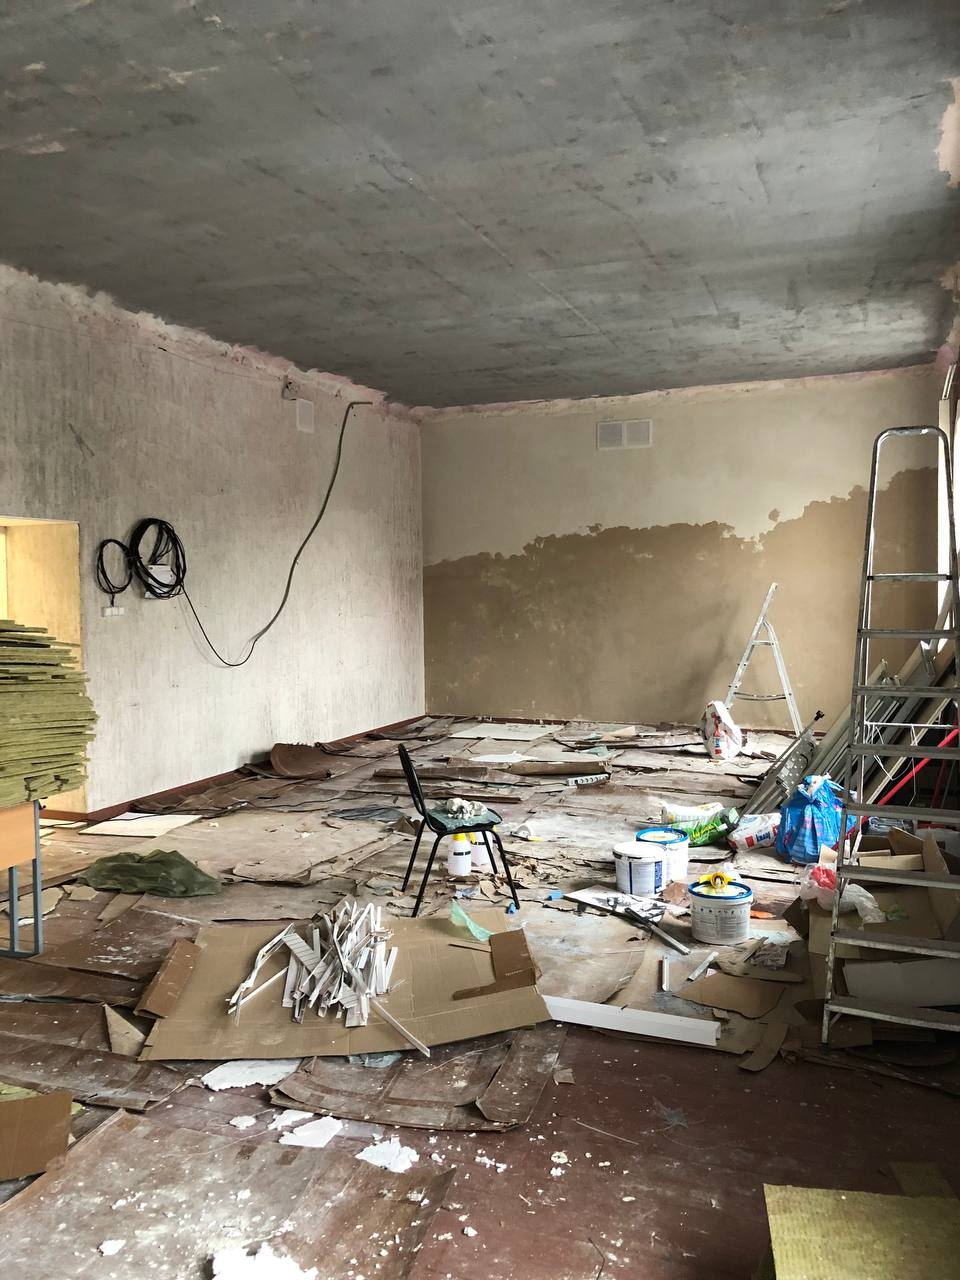
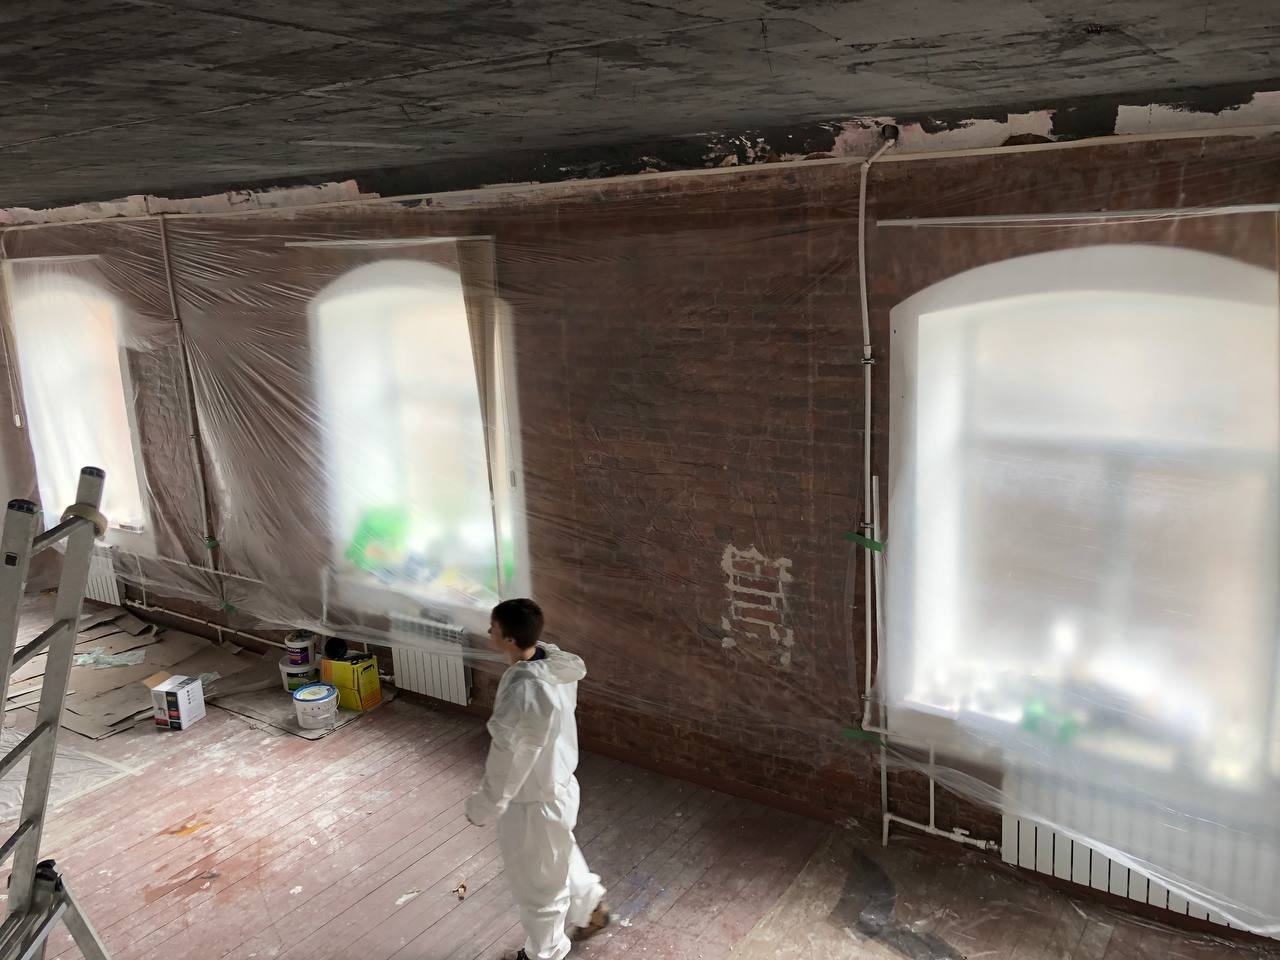
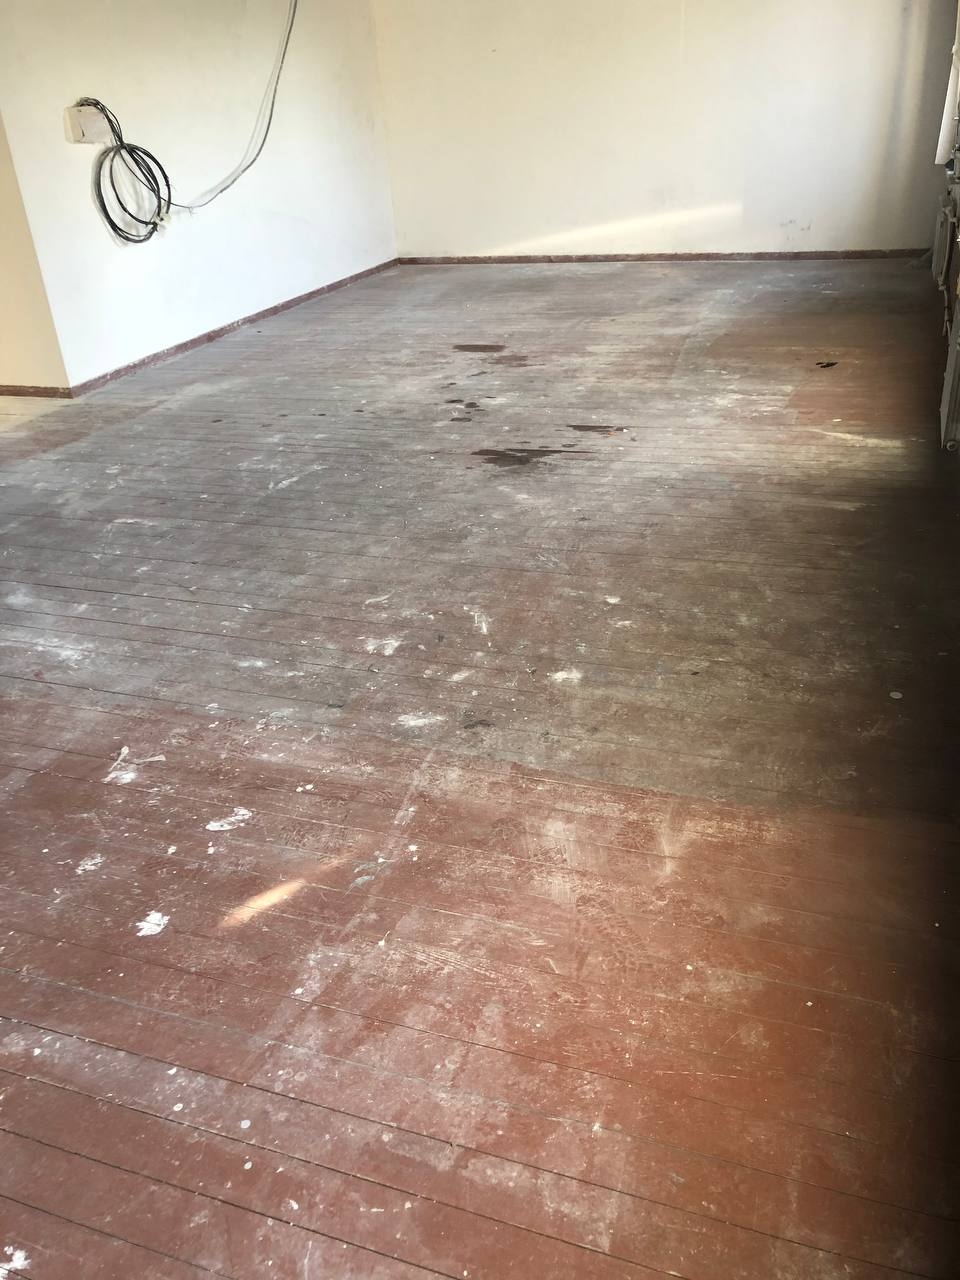
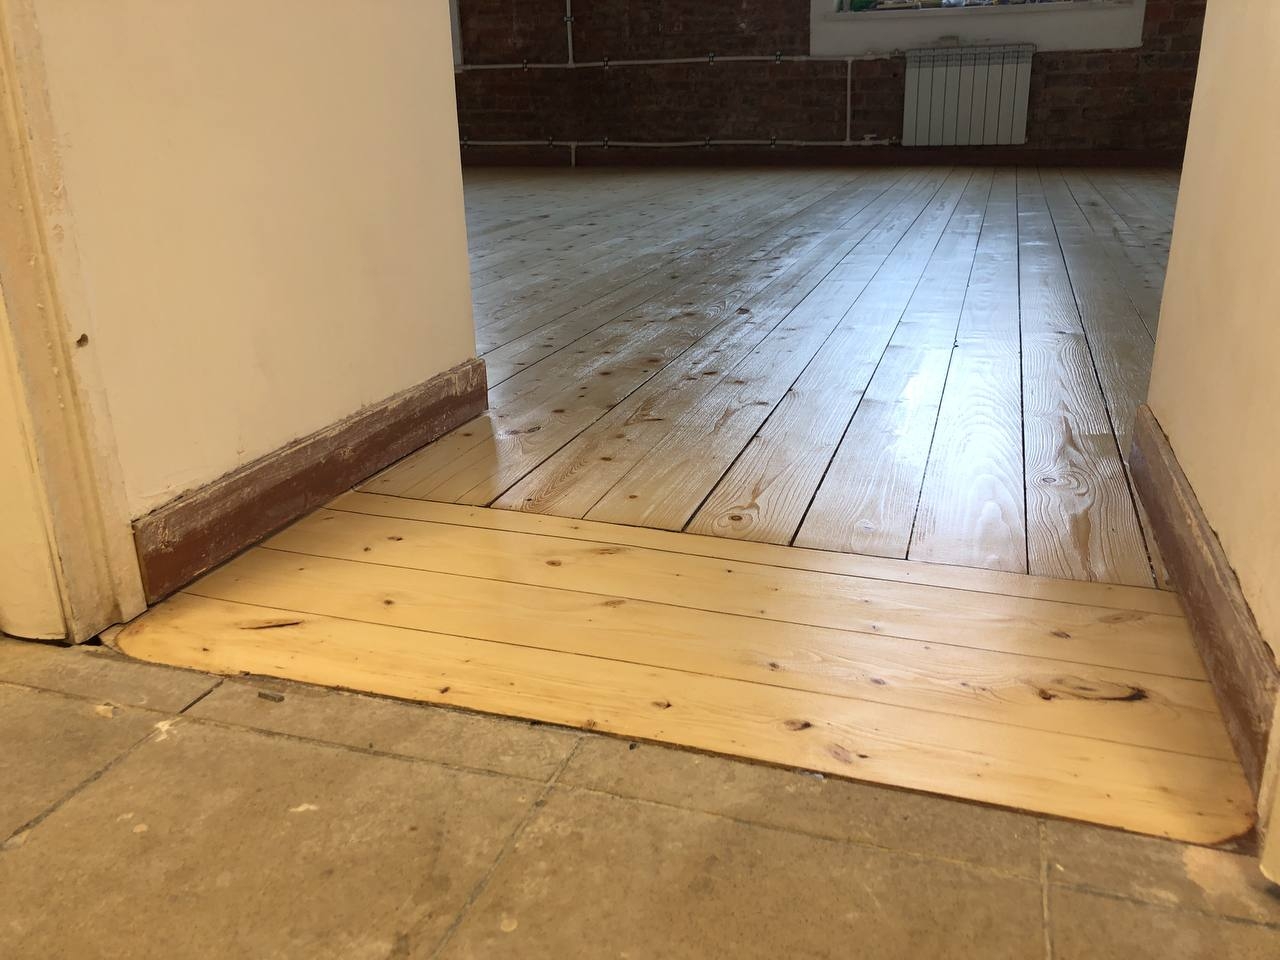
Apr 15
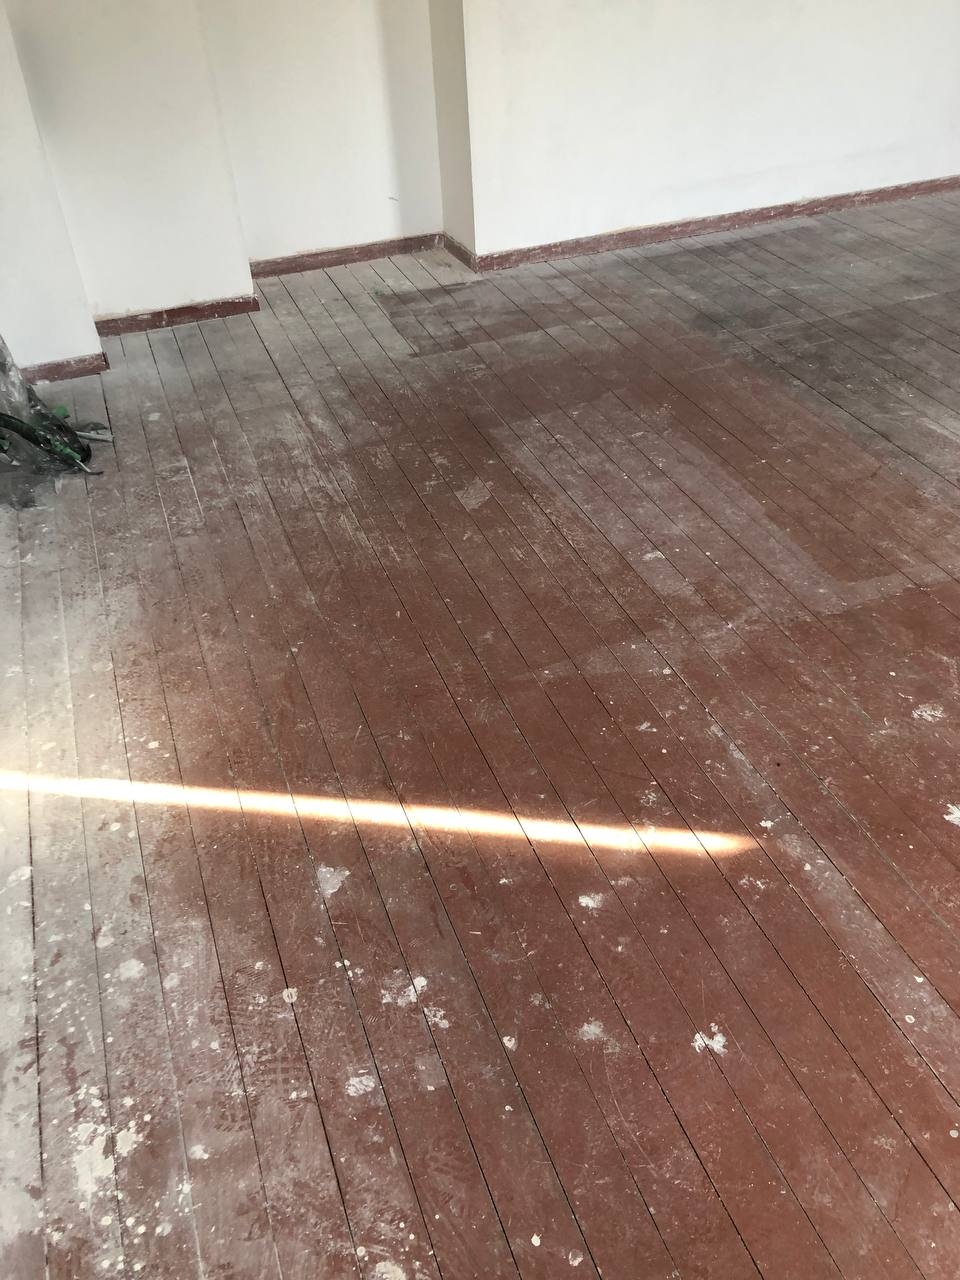
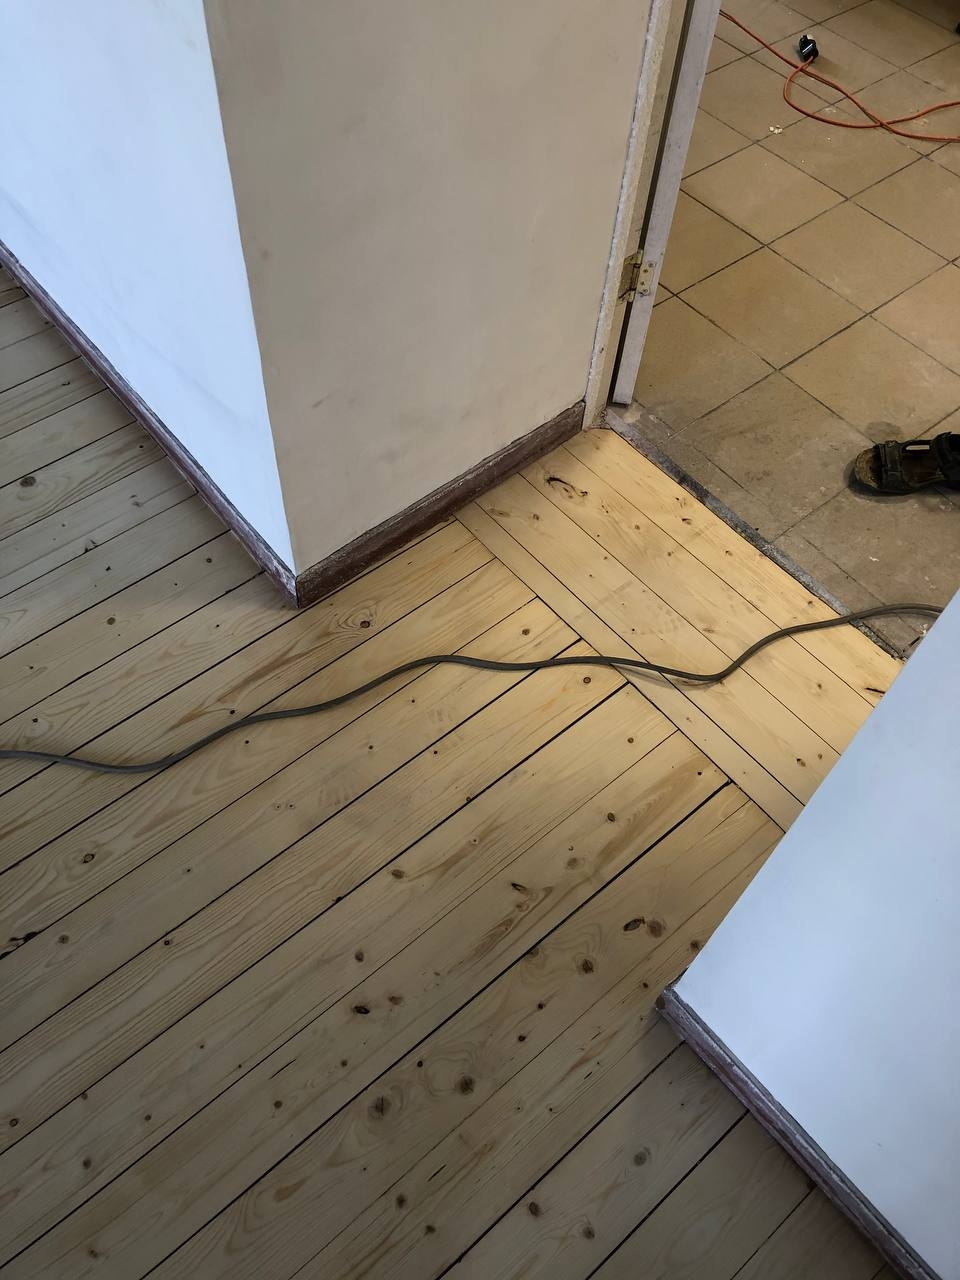
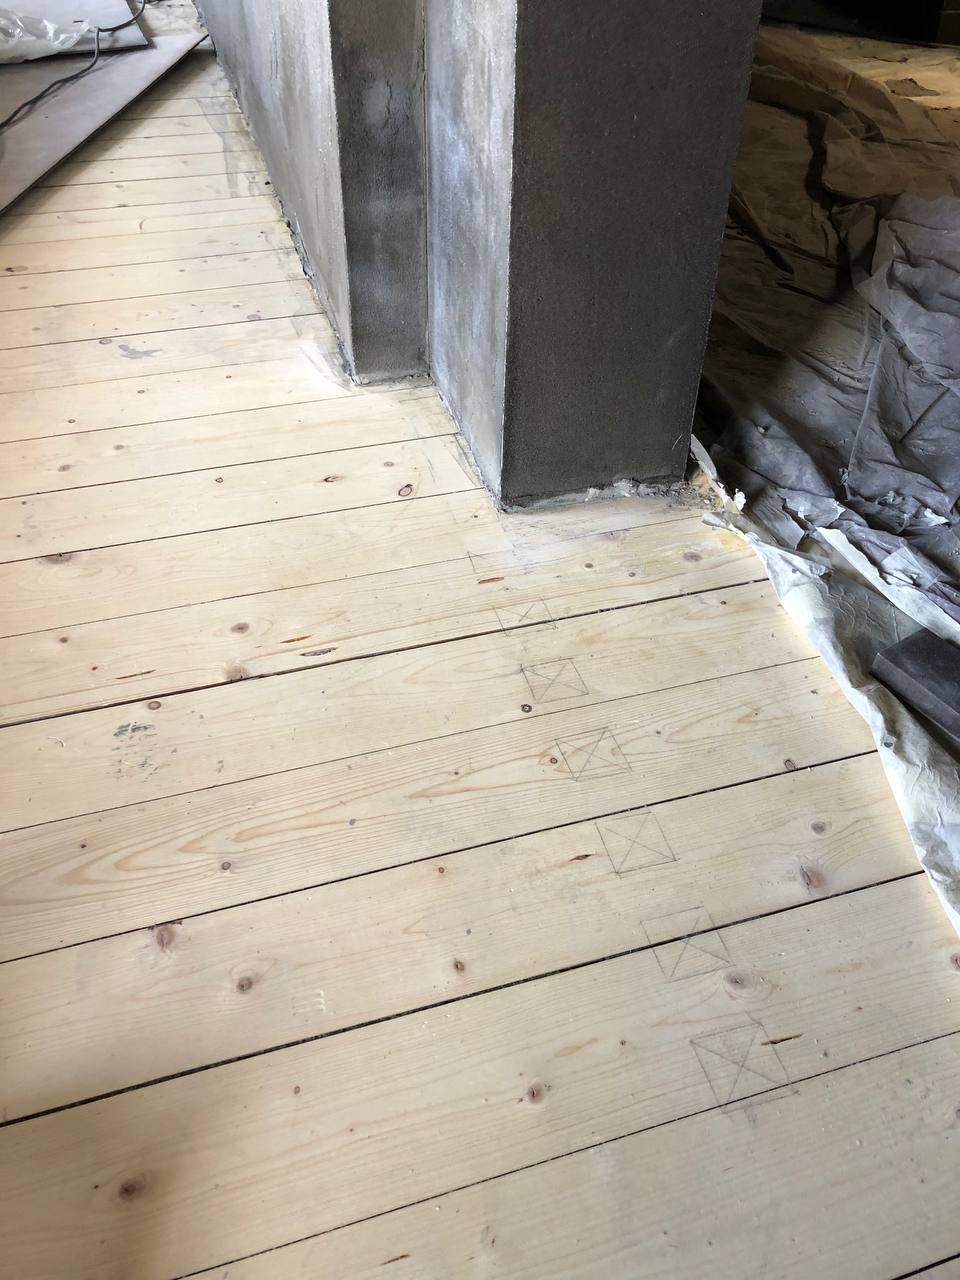
Before painting the walls, we will make the floor. Therefore, we remove everything from the floor.
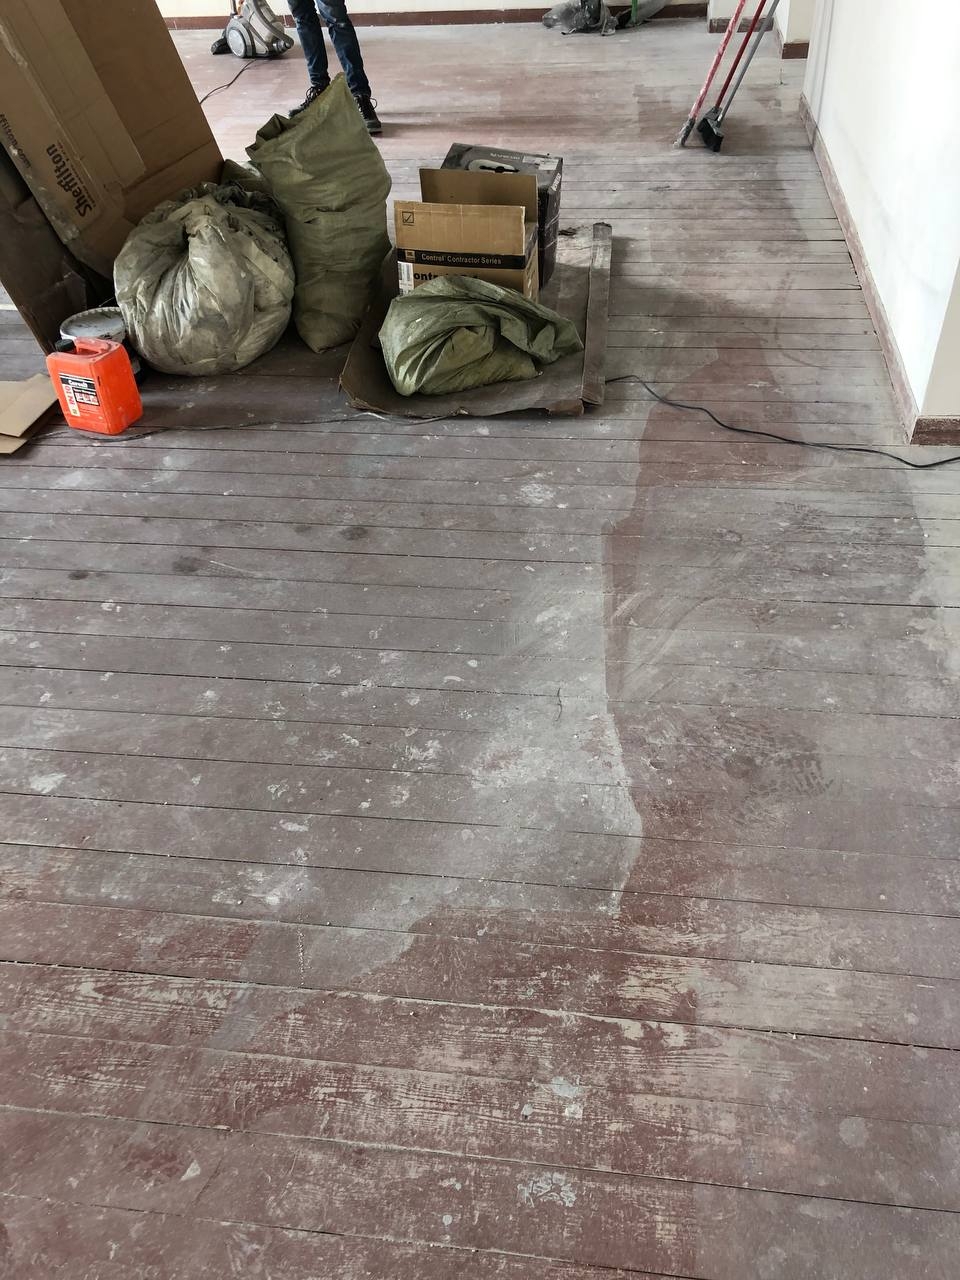
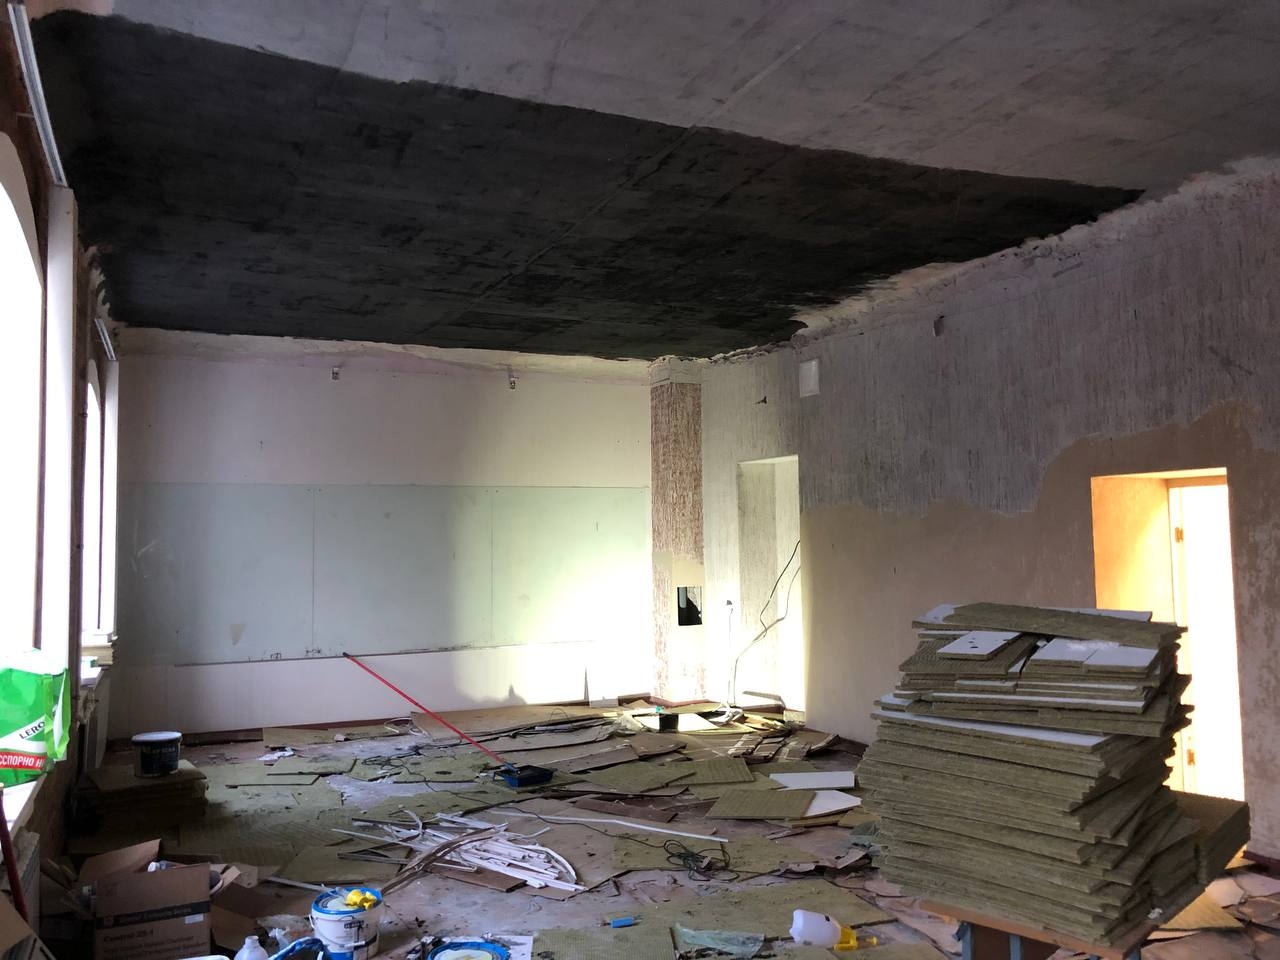
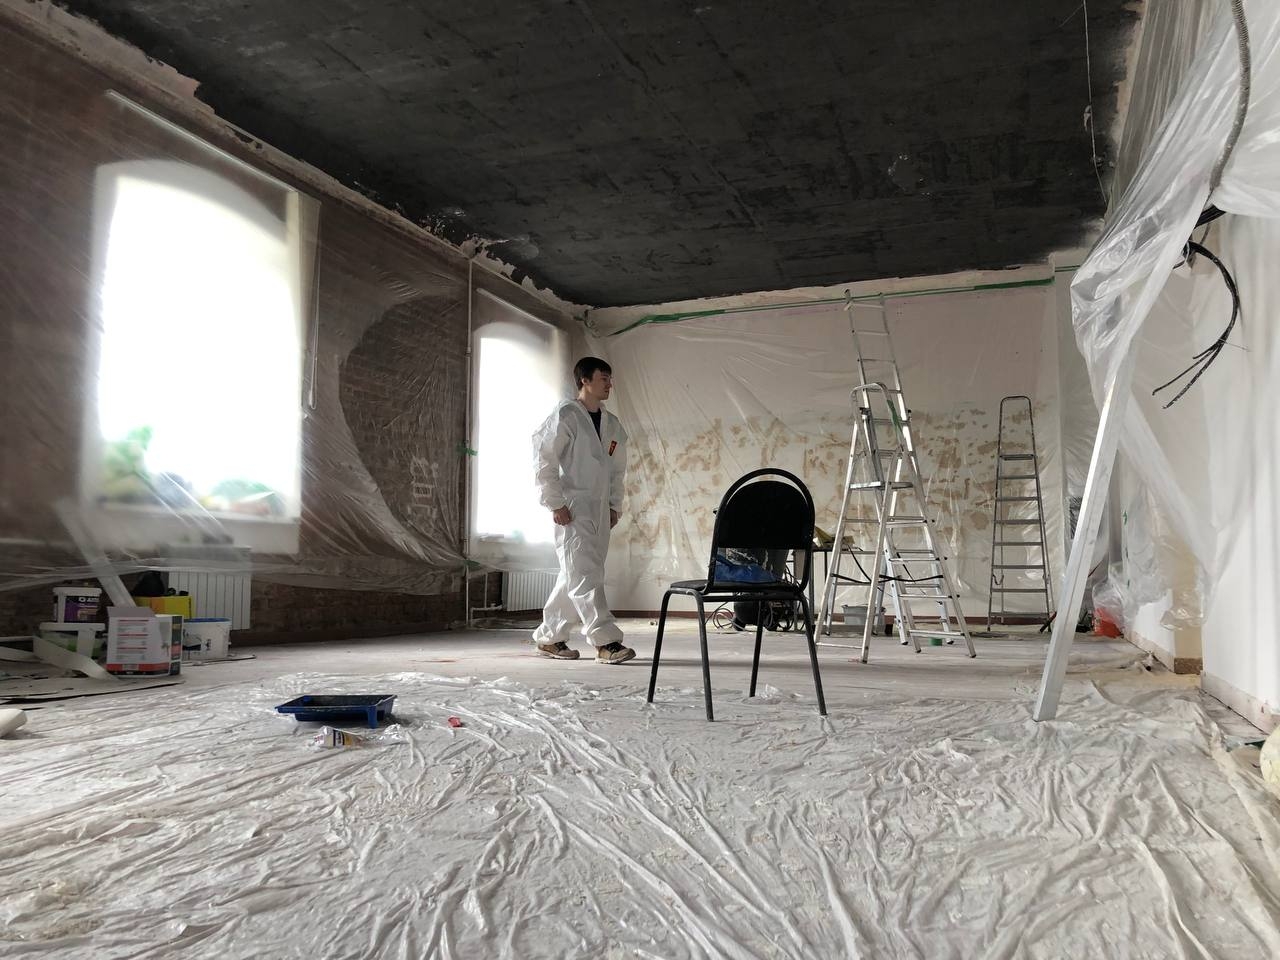
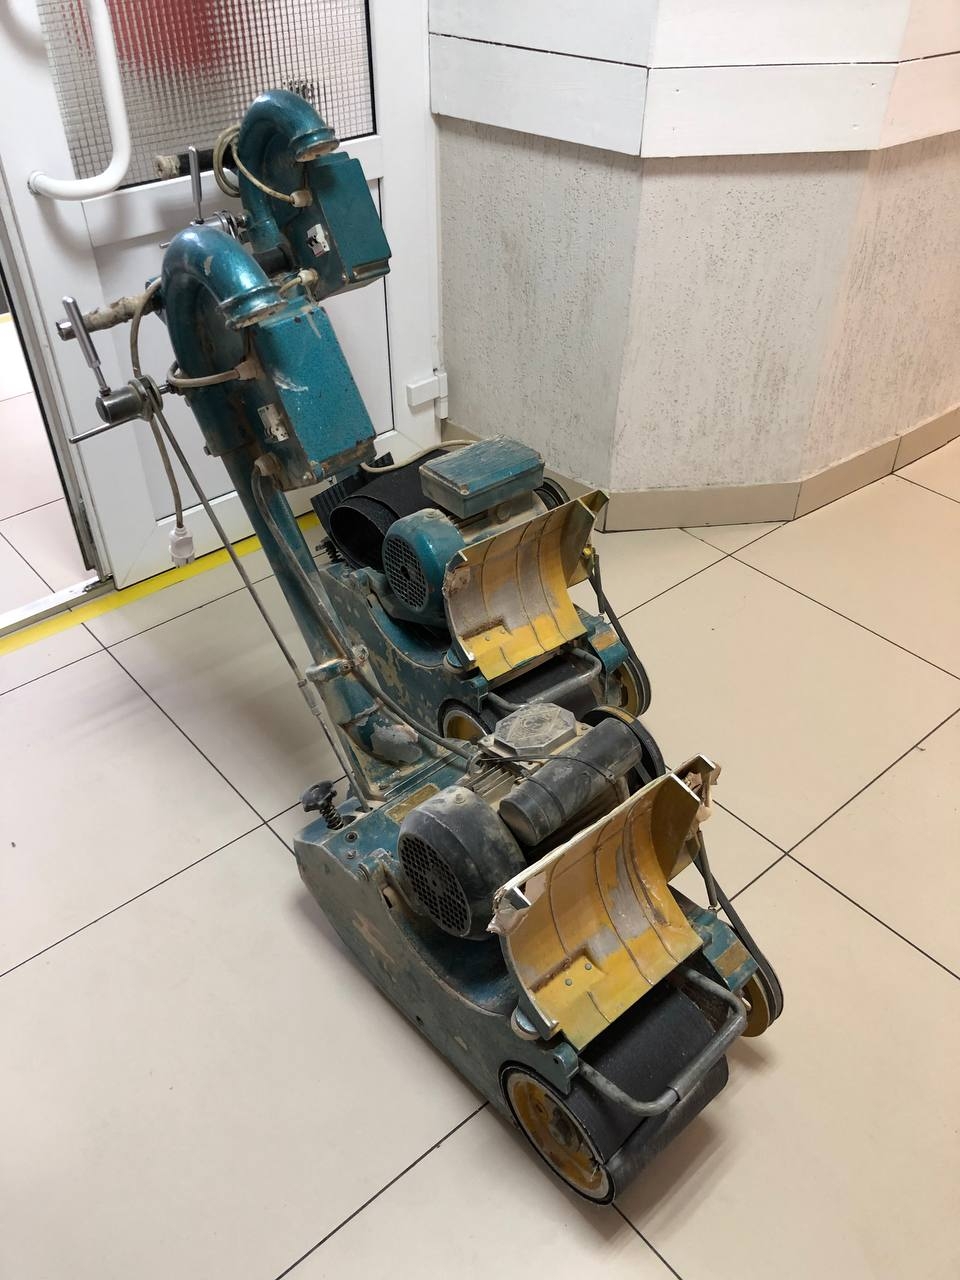
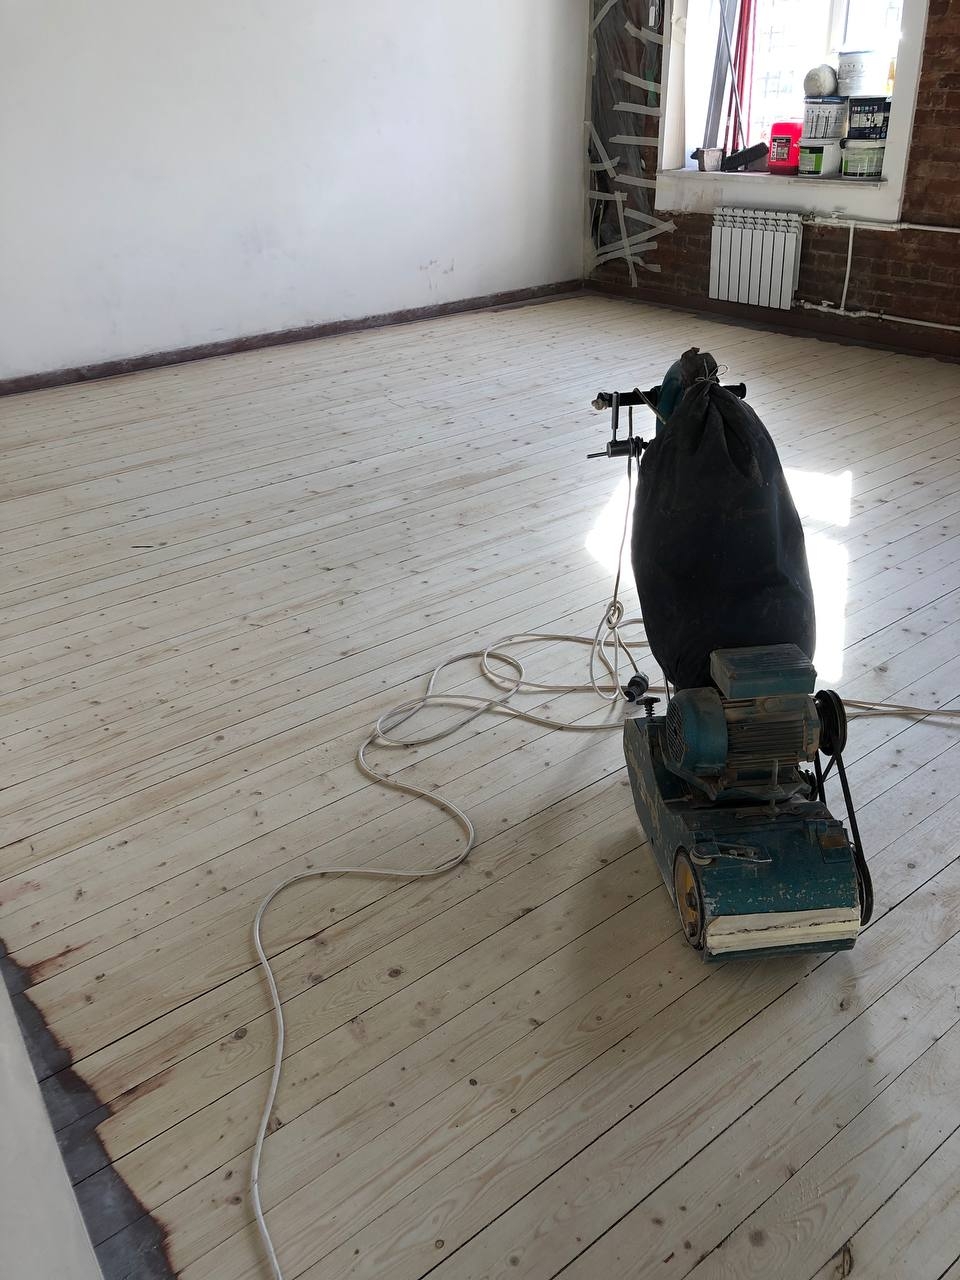
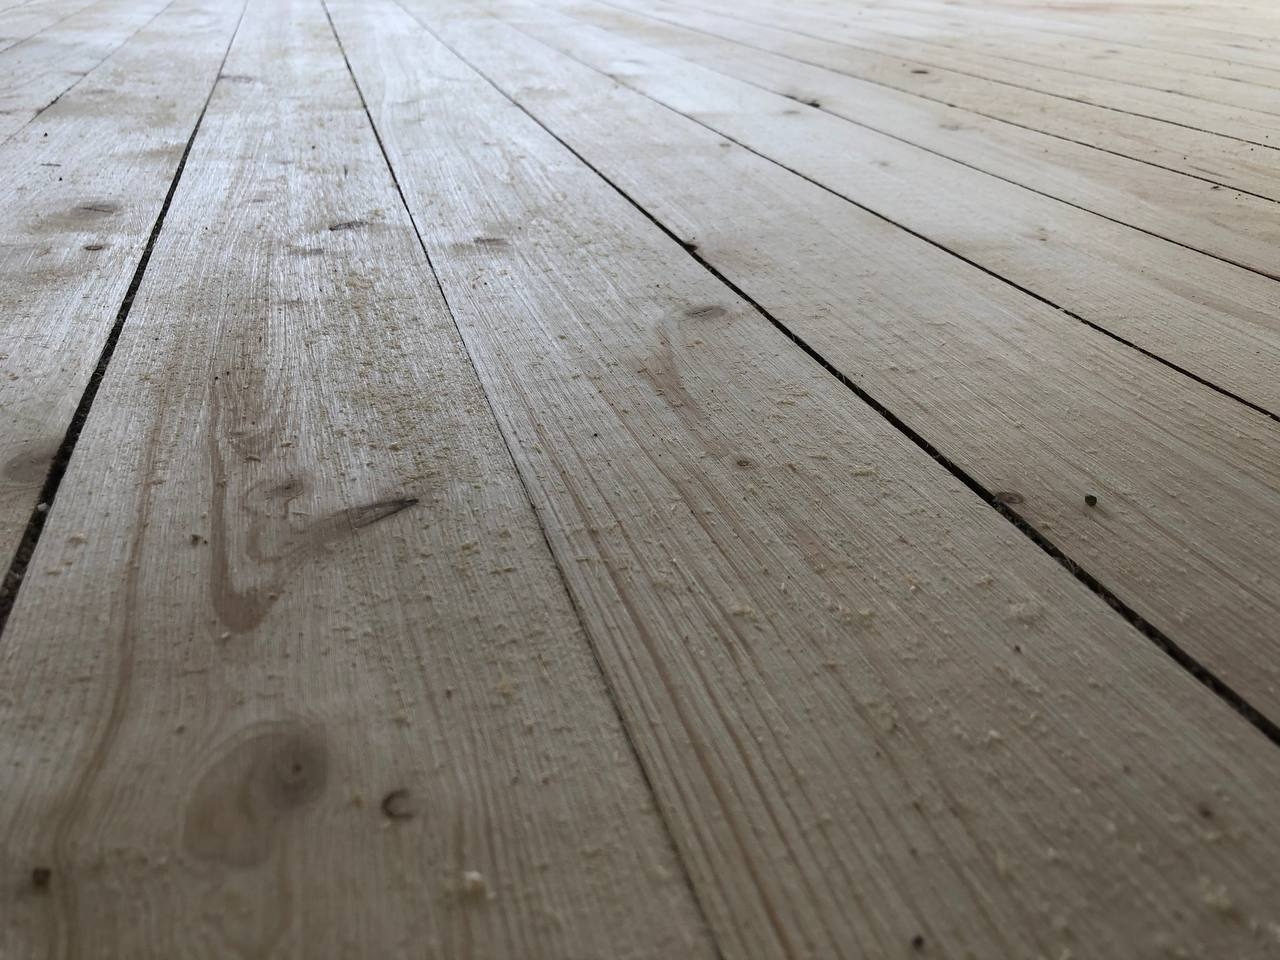
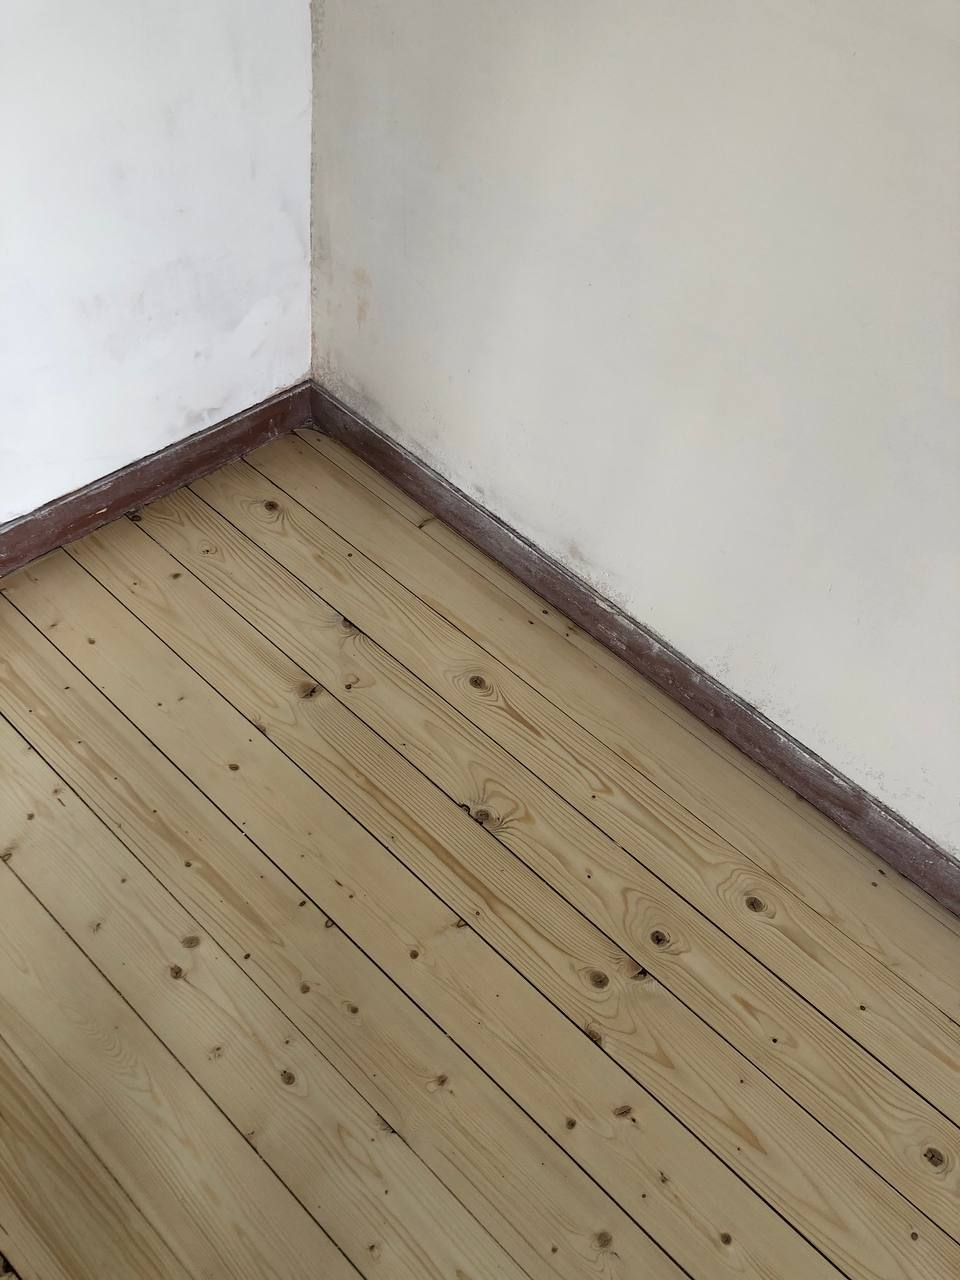
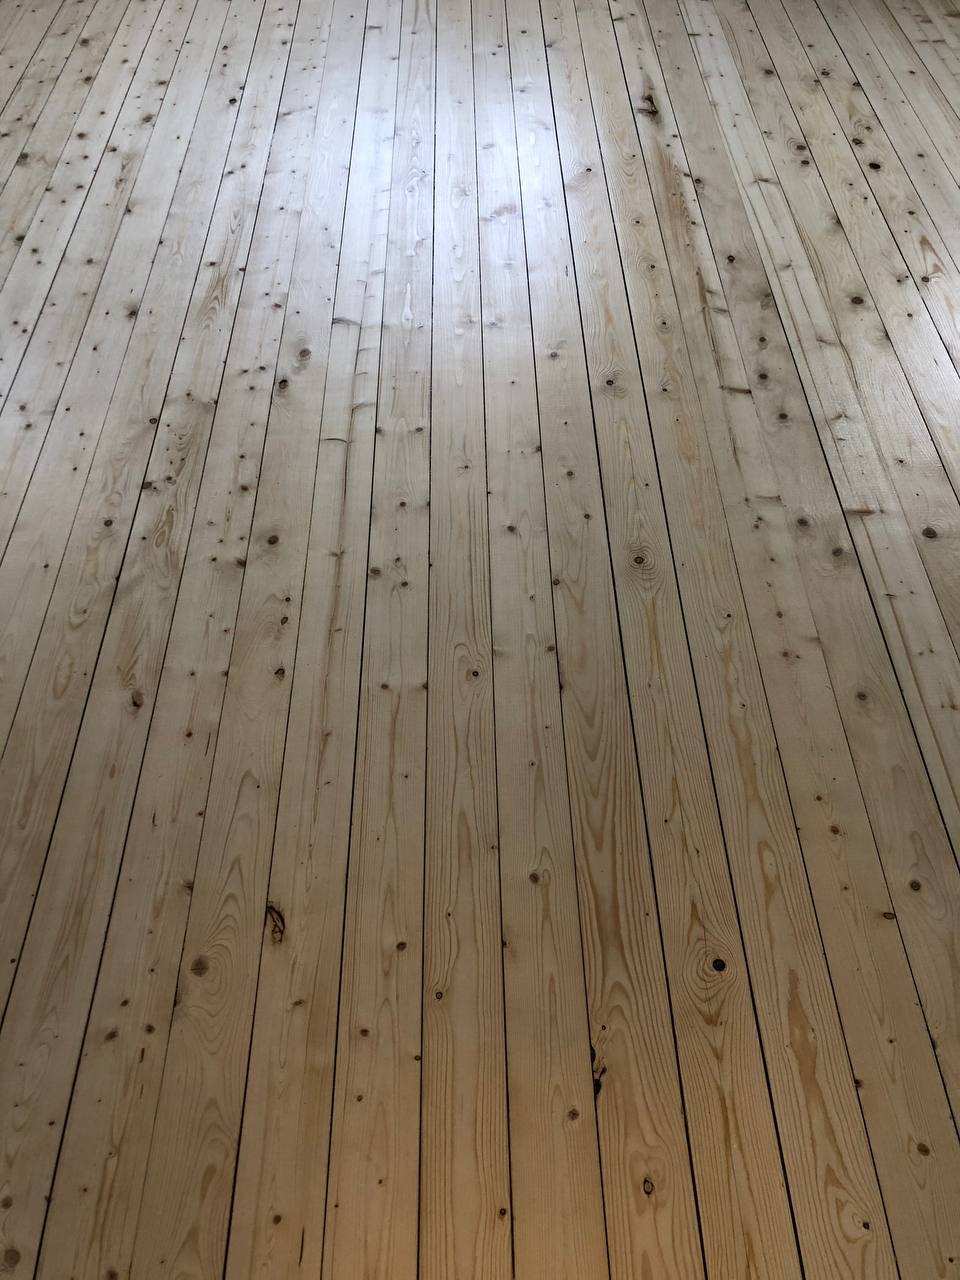
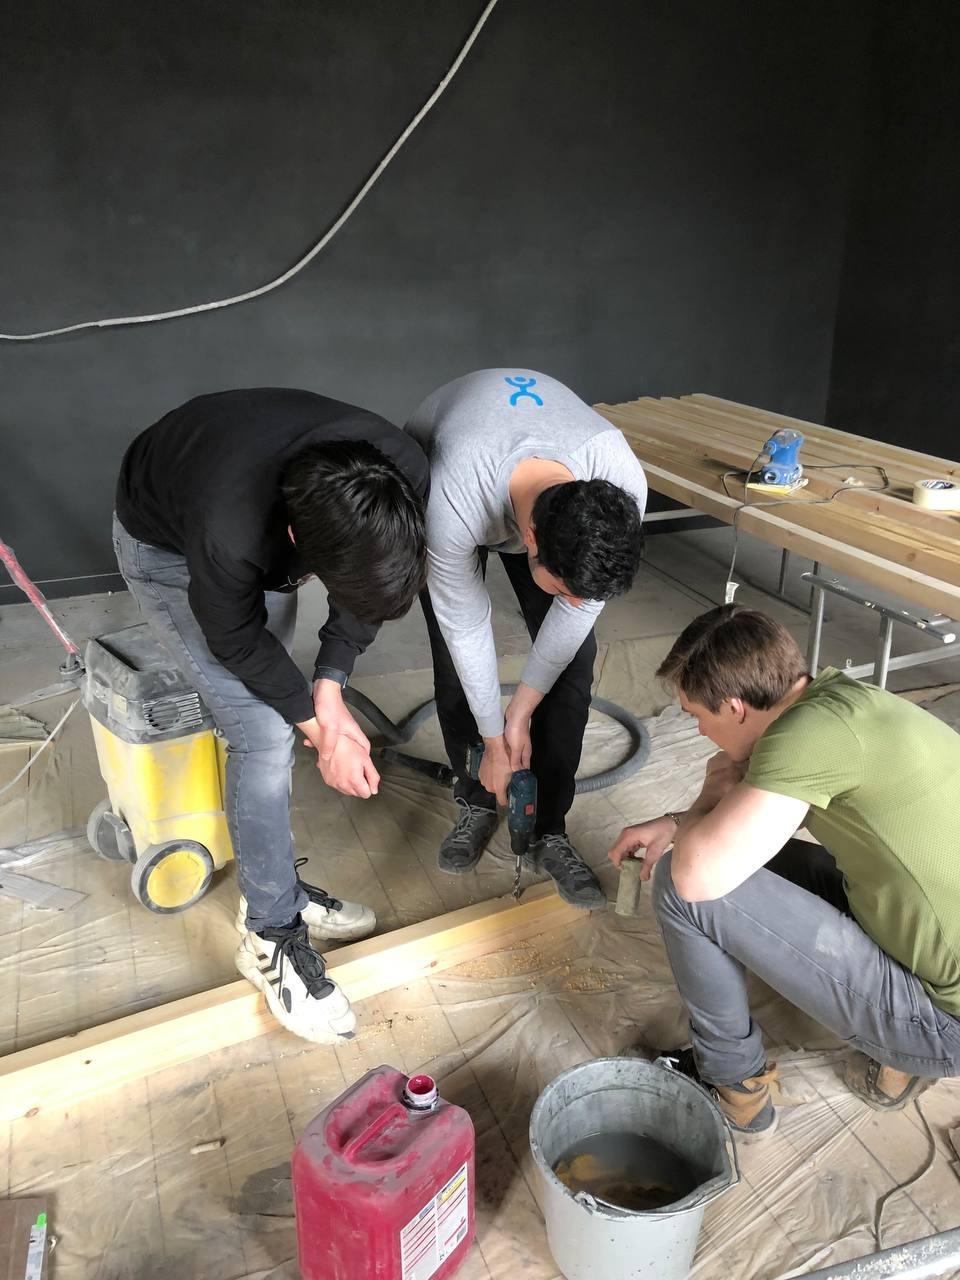
Apr 16
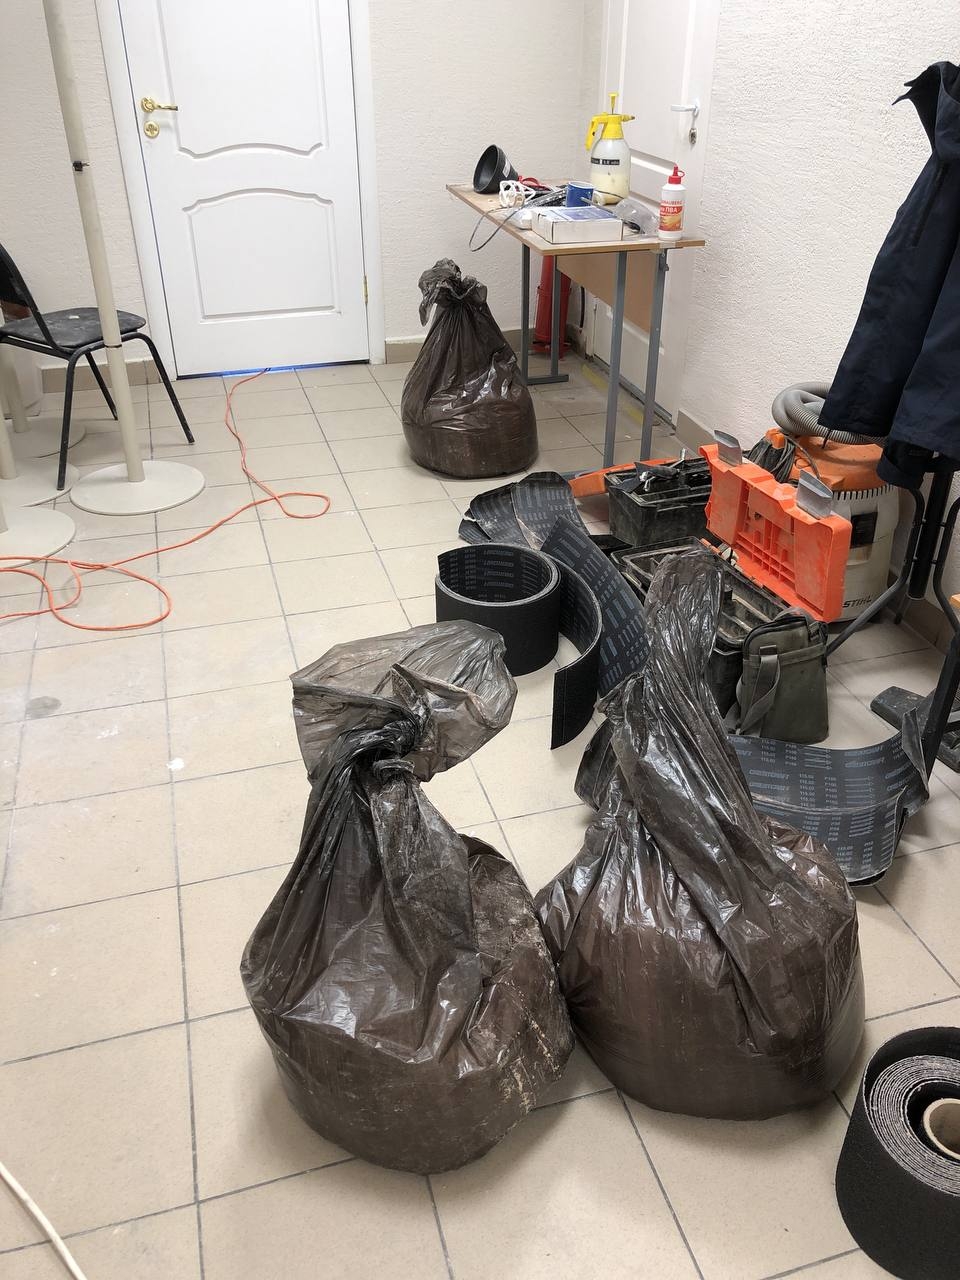
Floorboard scrapping, polishing, varnishing. We have no tools then call for masters.

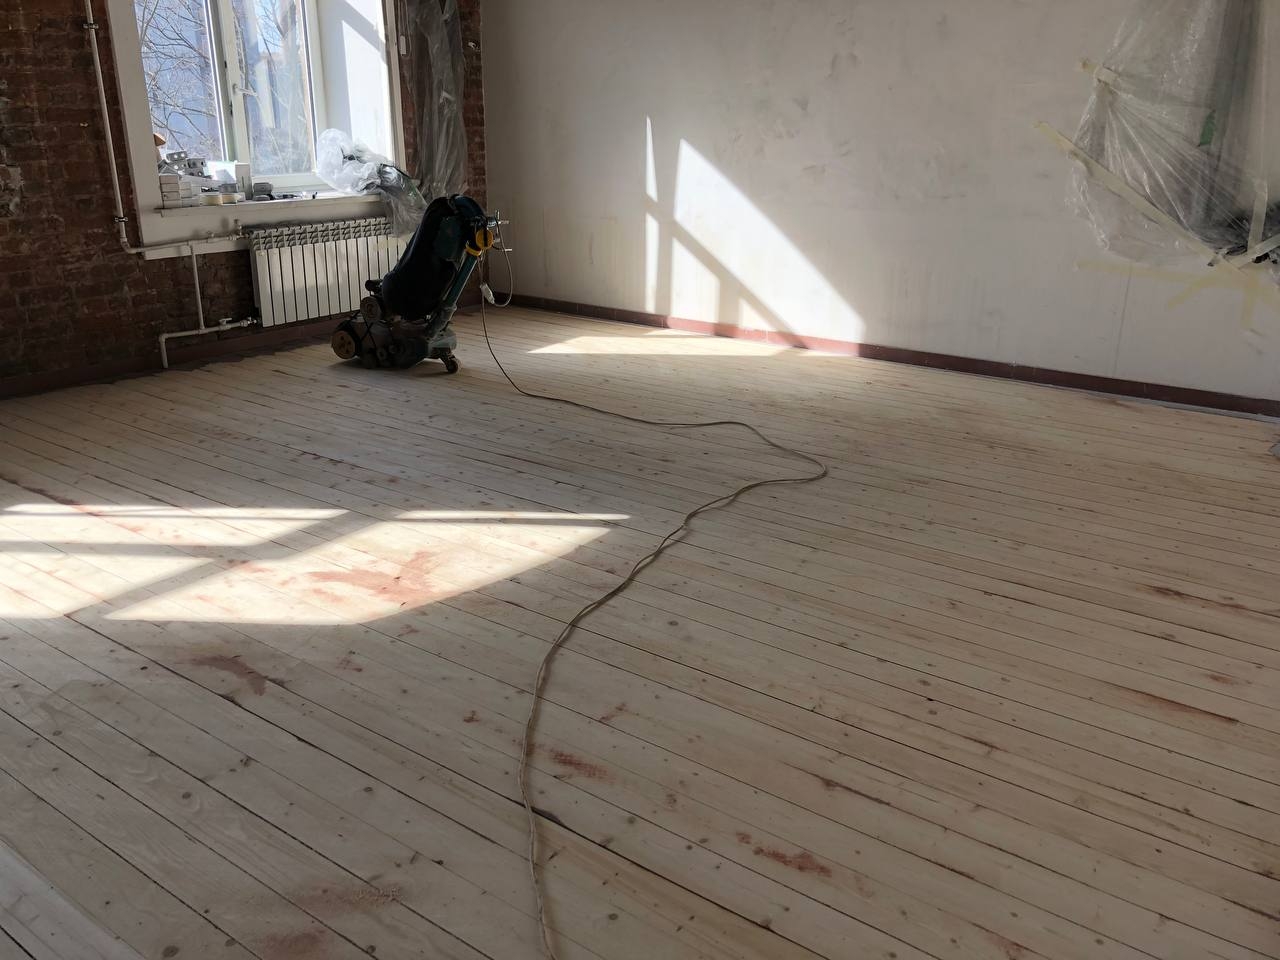
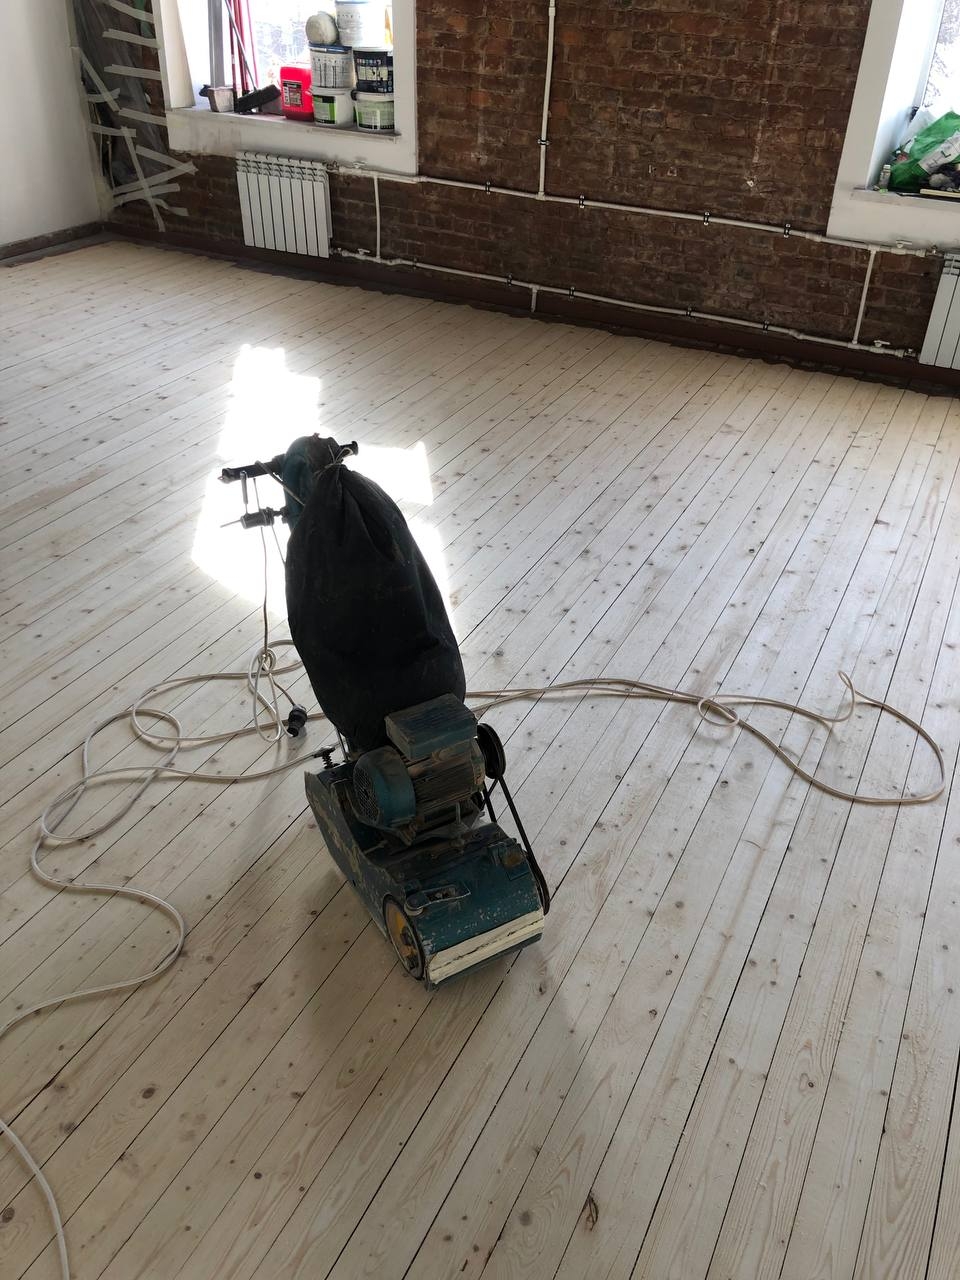

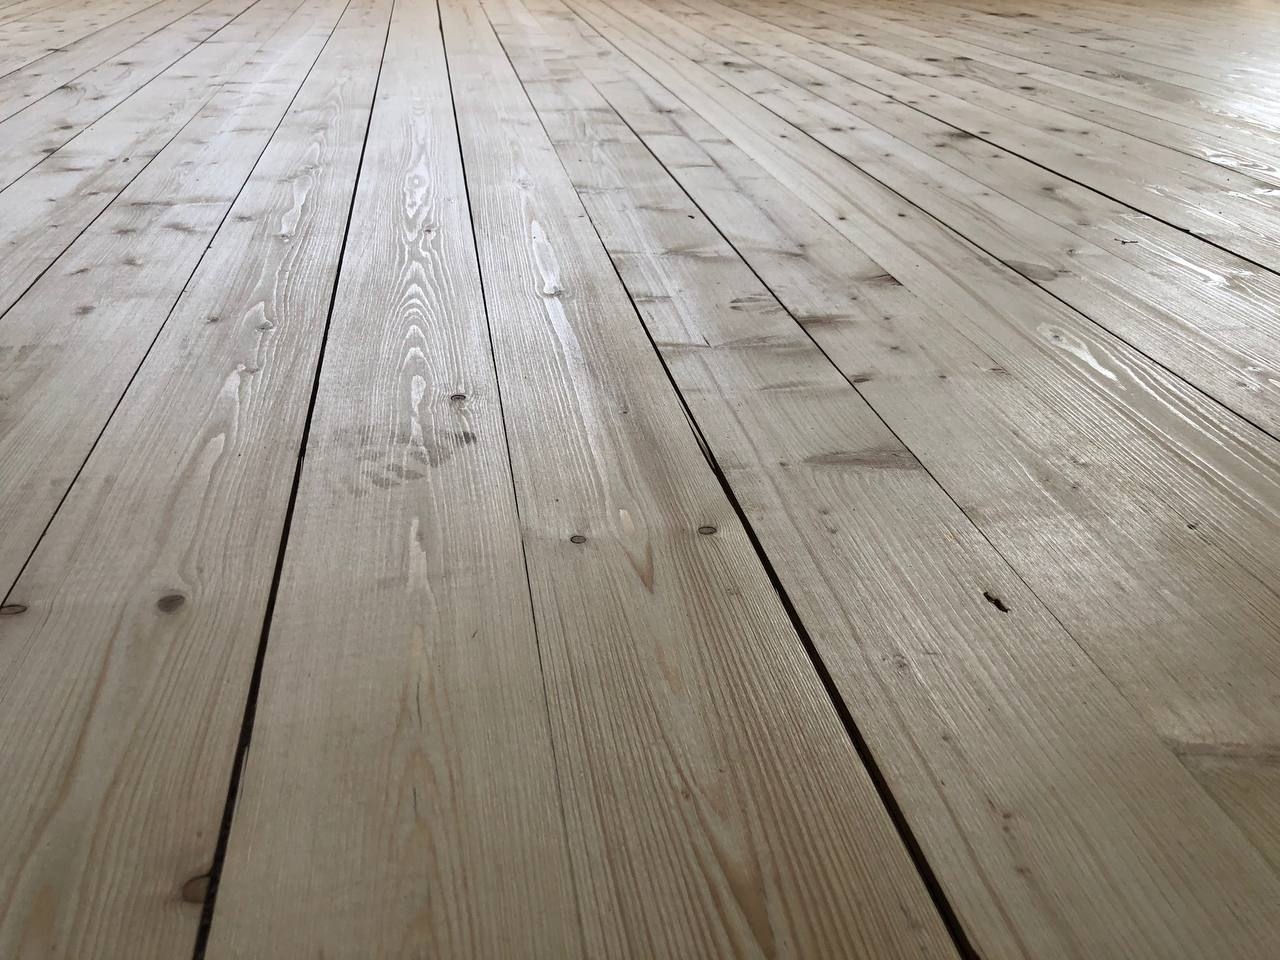
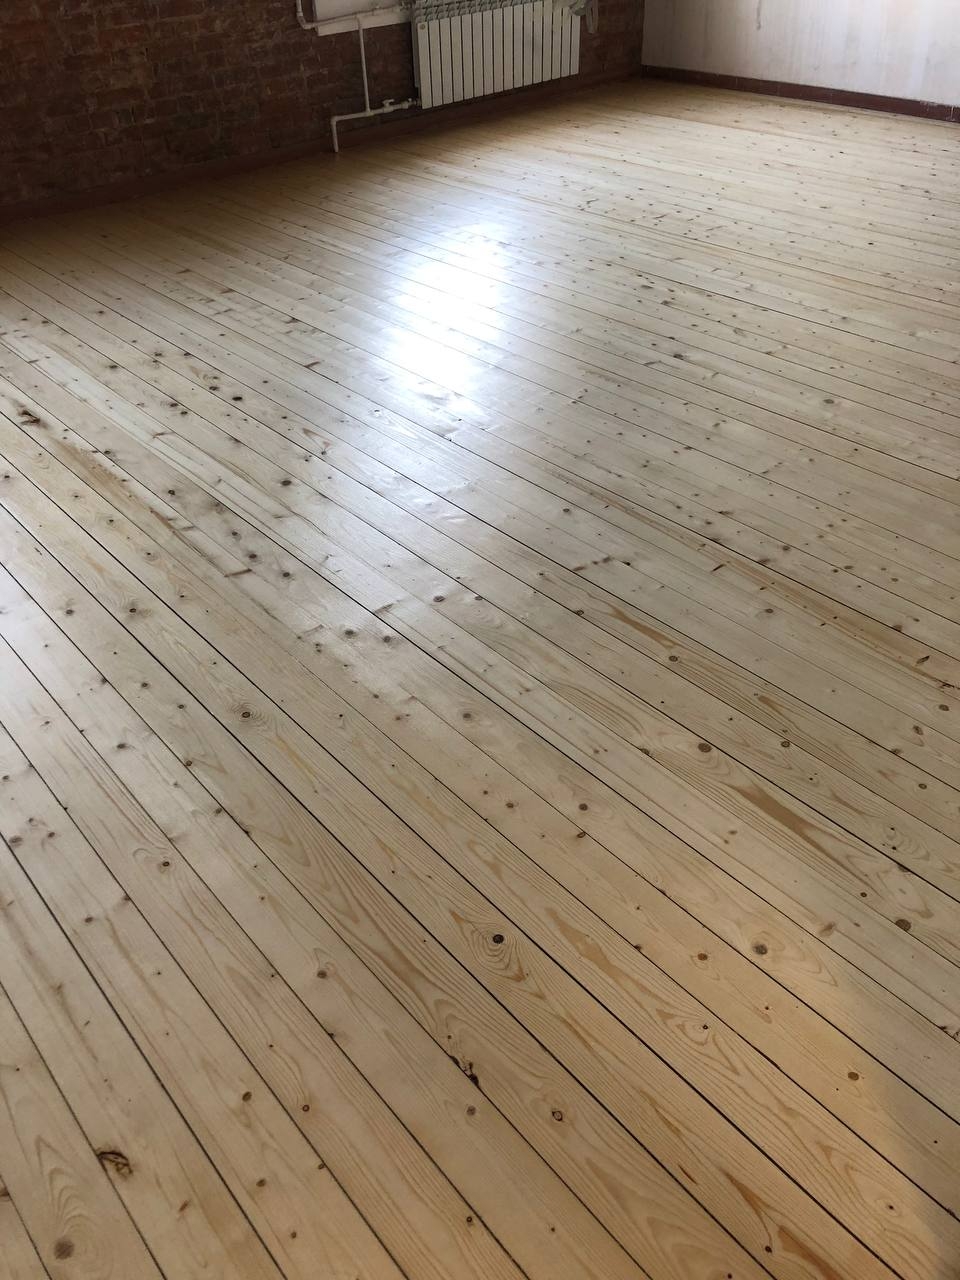
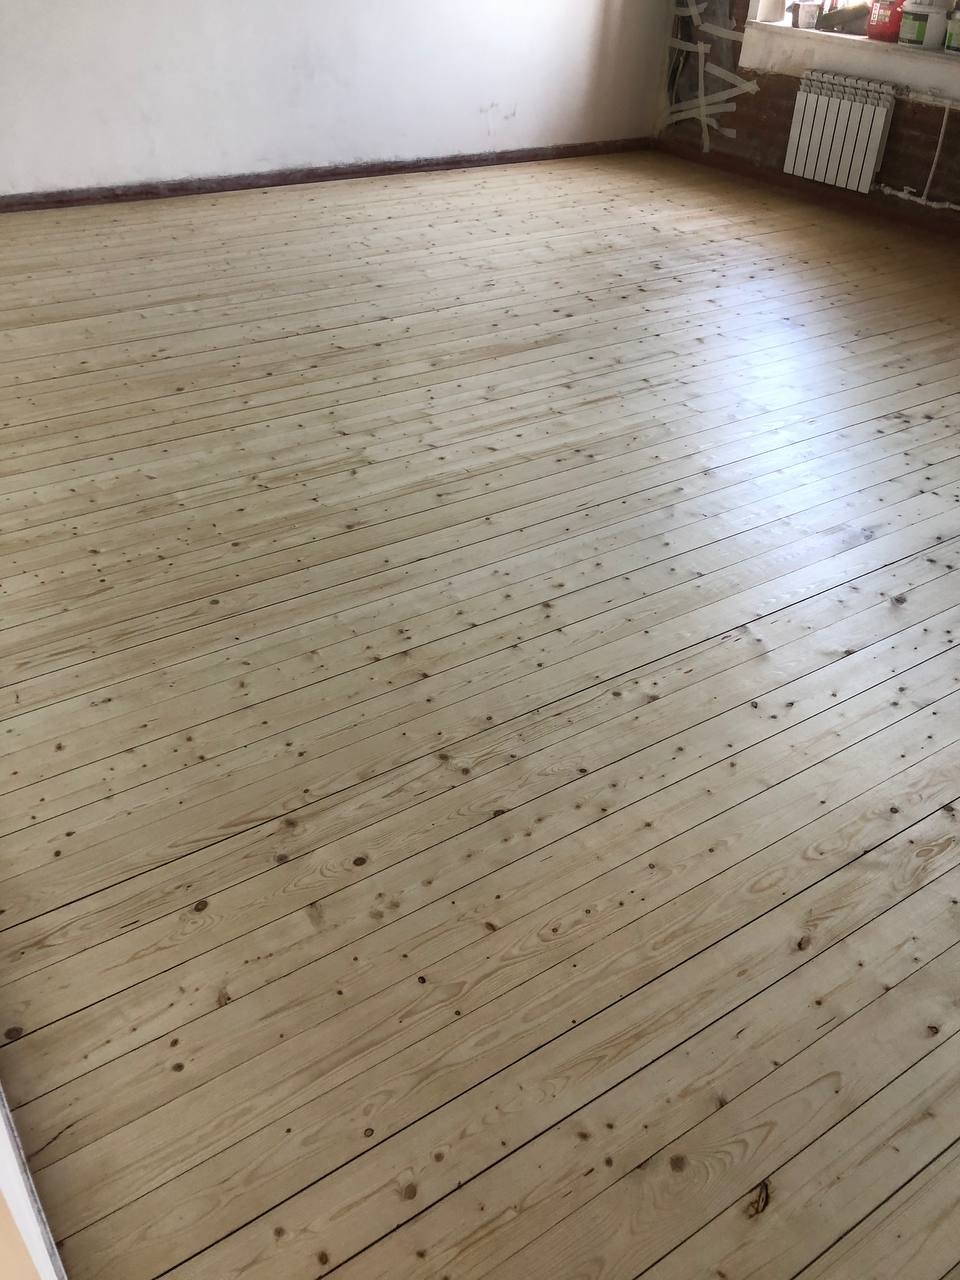
Apr 20
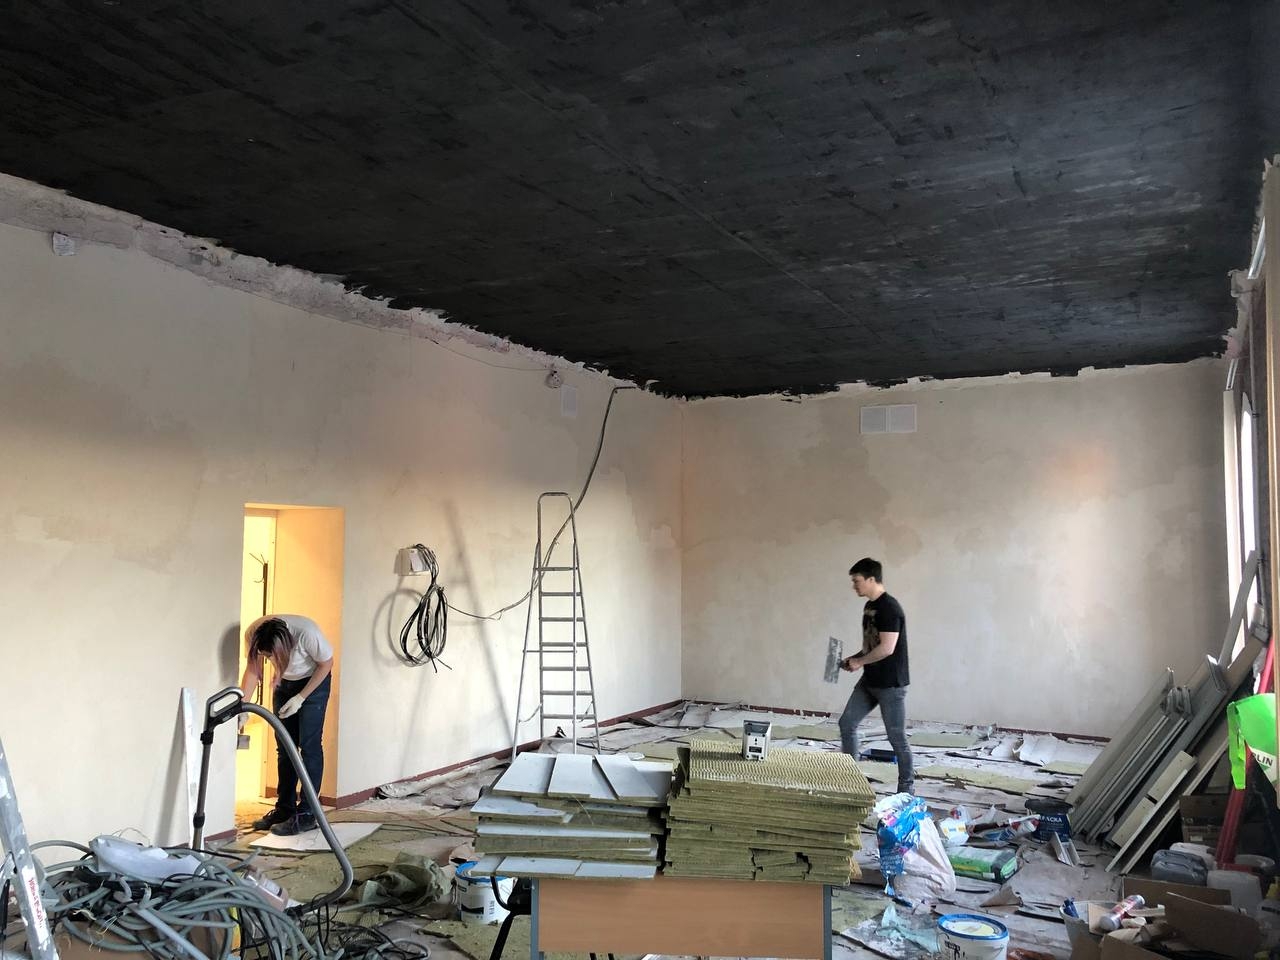
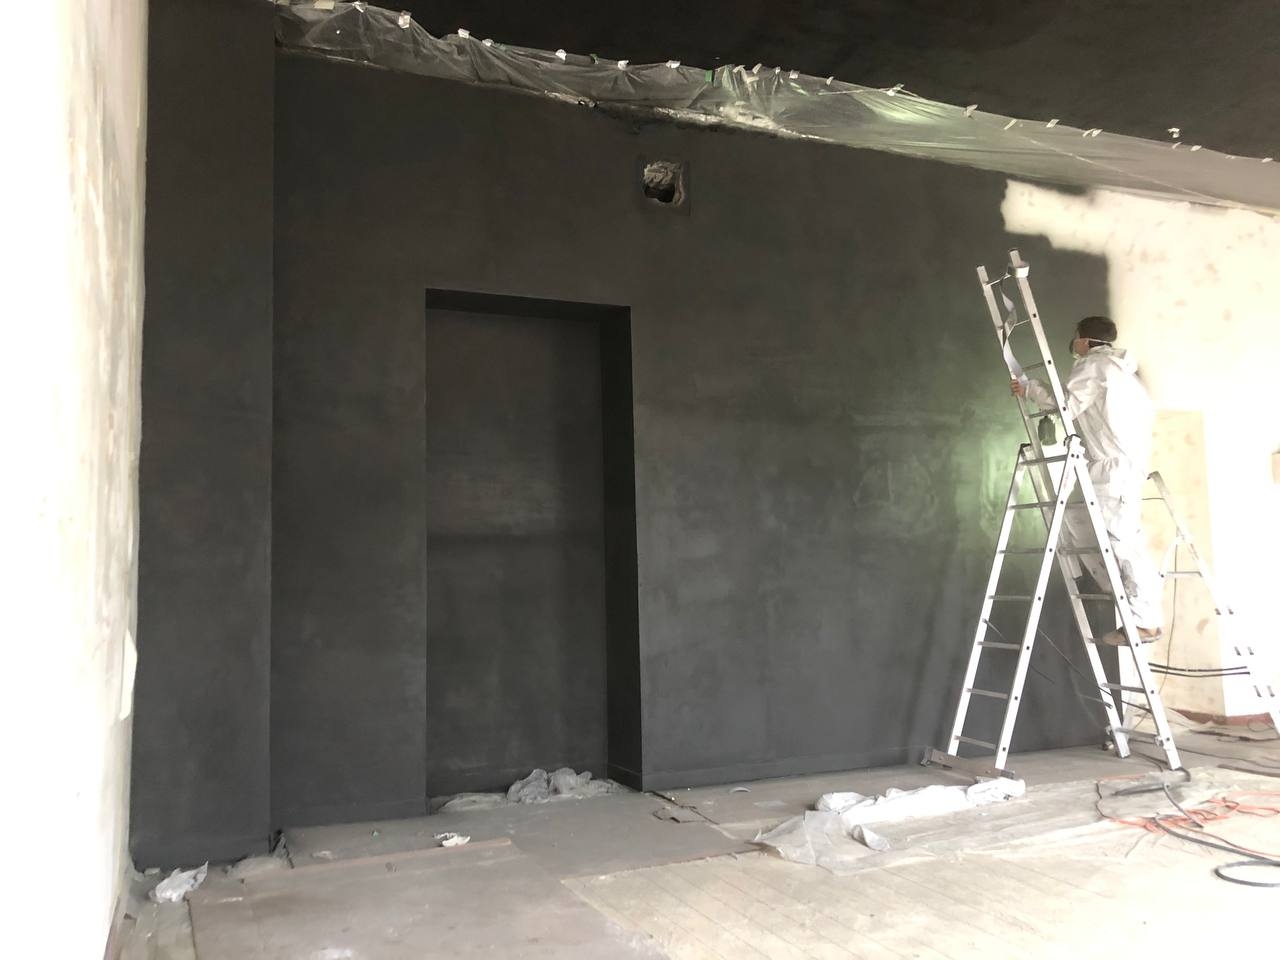
Prepare for painting walls.
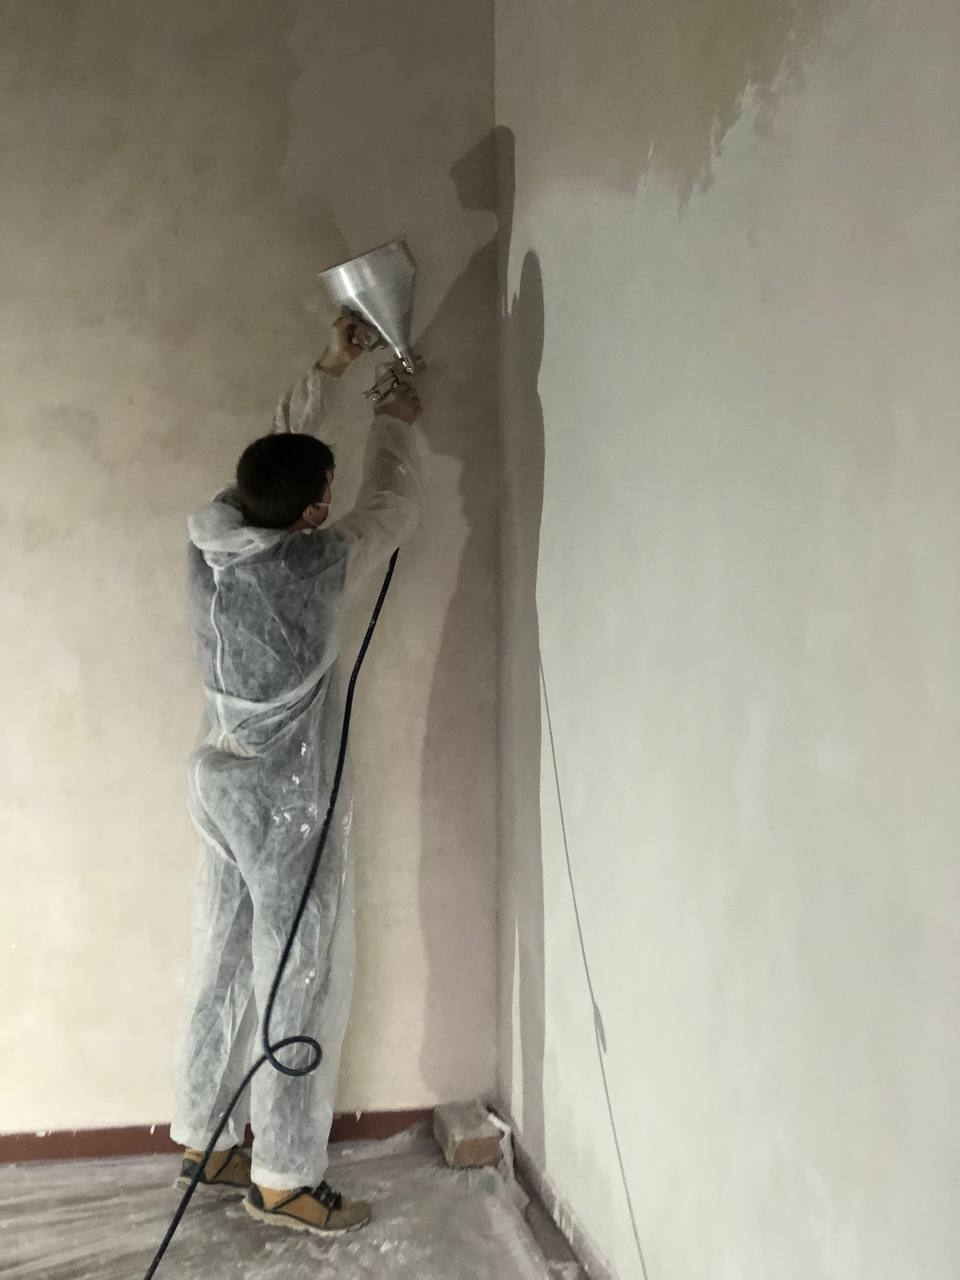
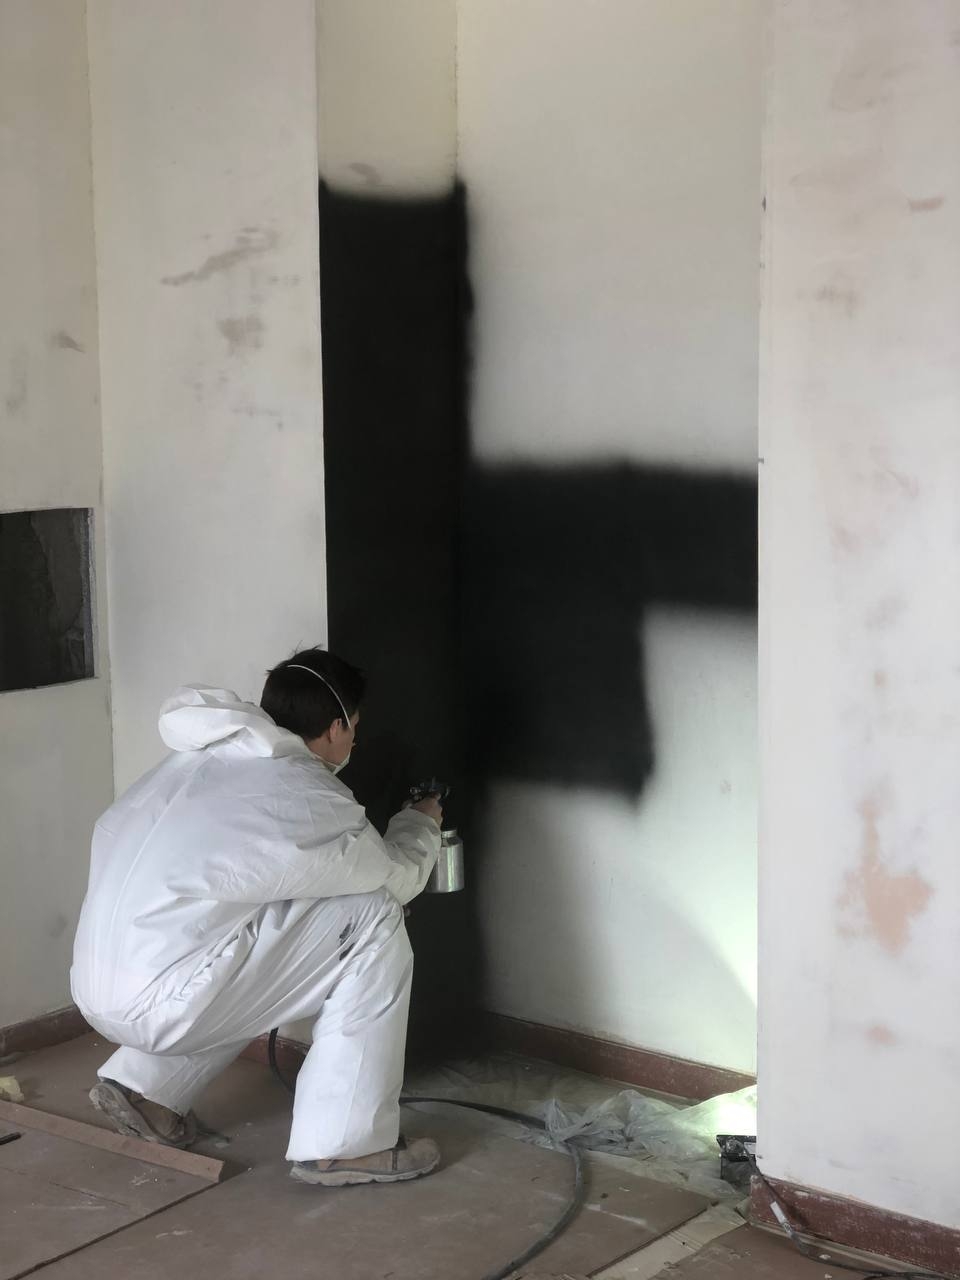
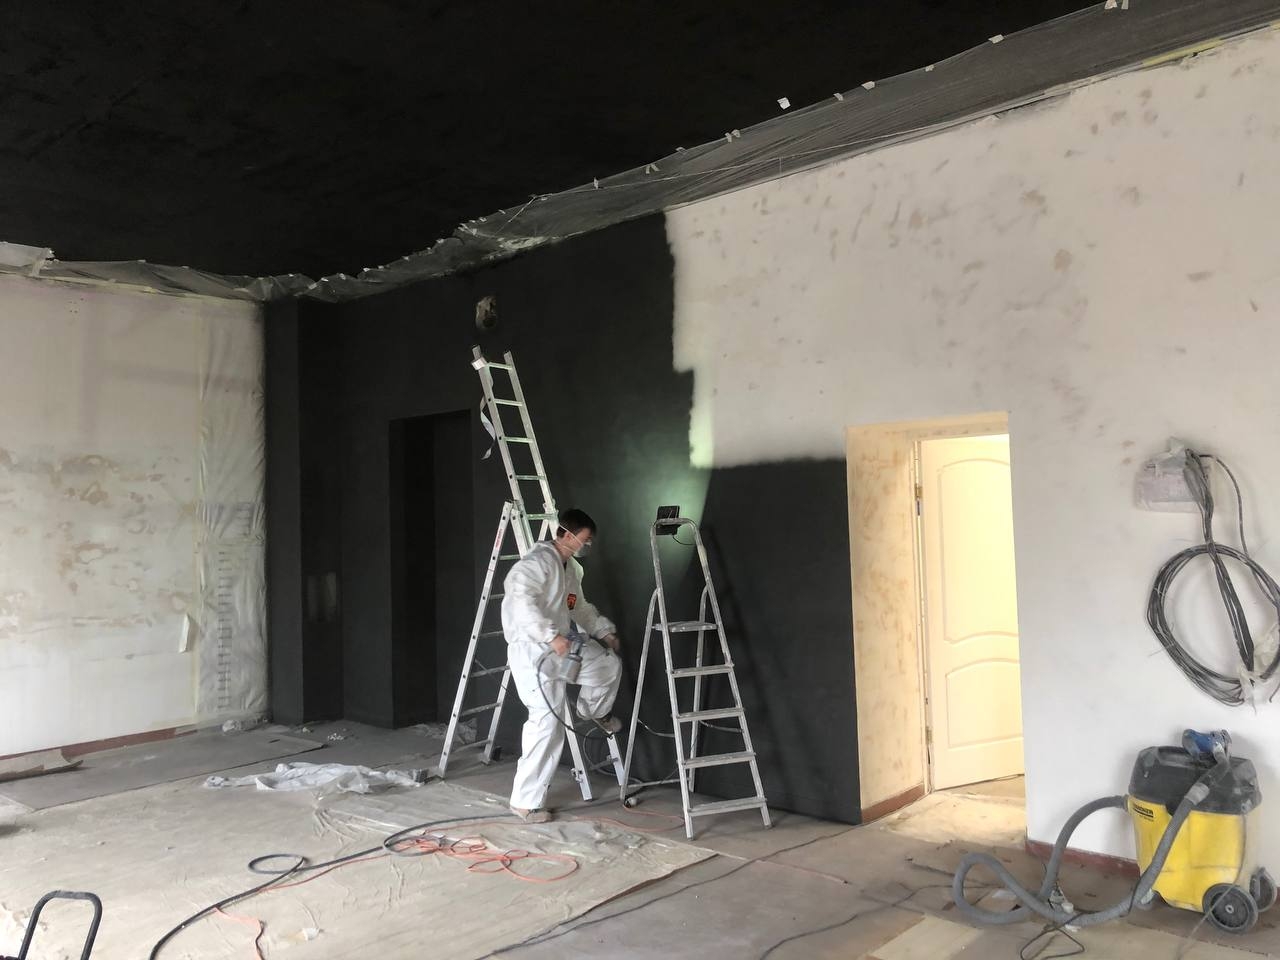
Apr 22
Painting.
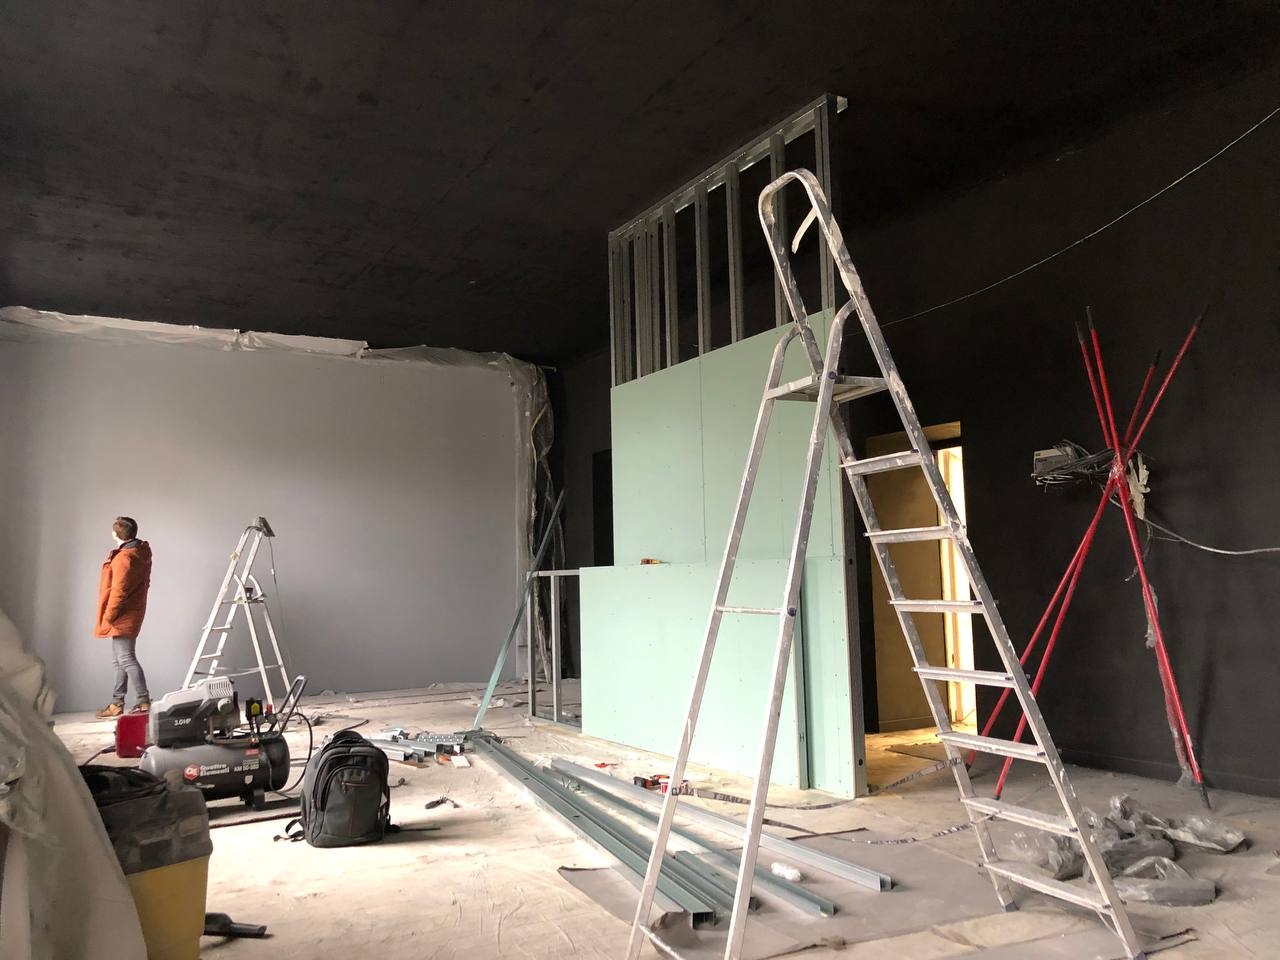
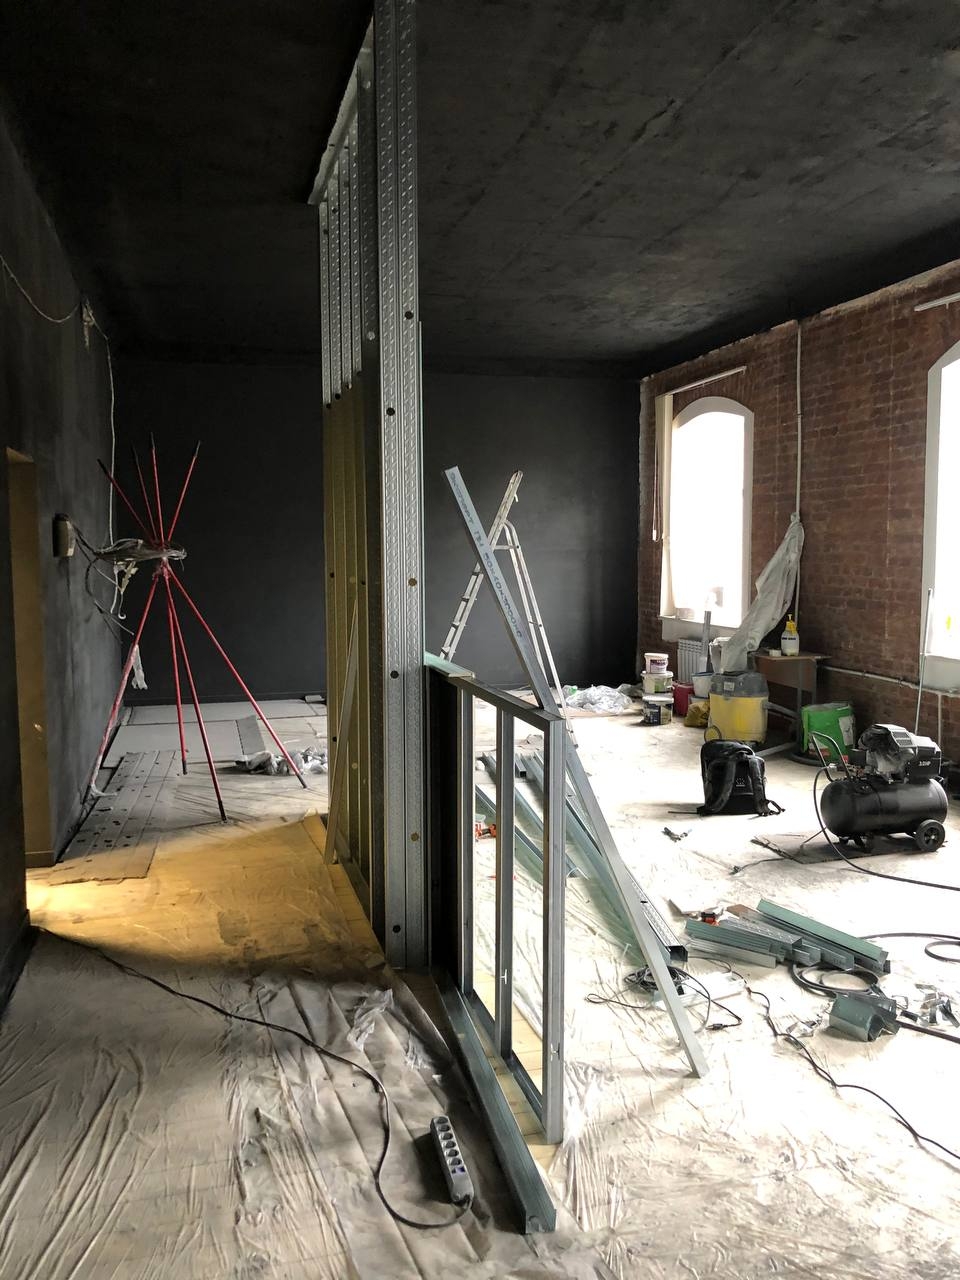
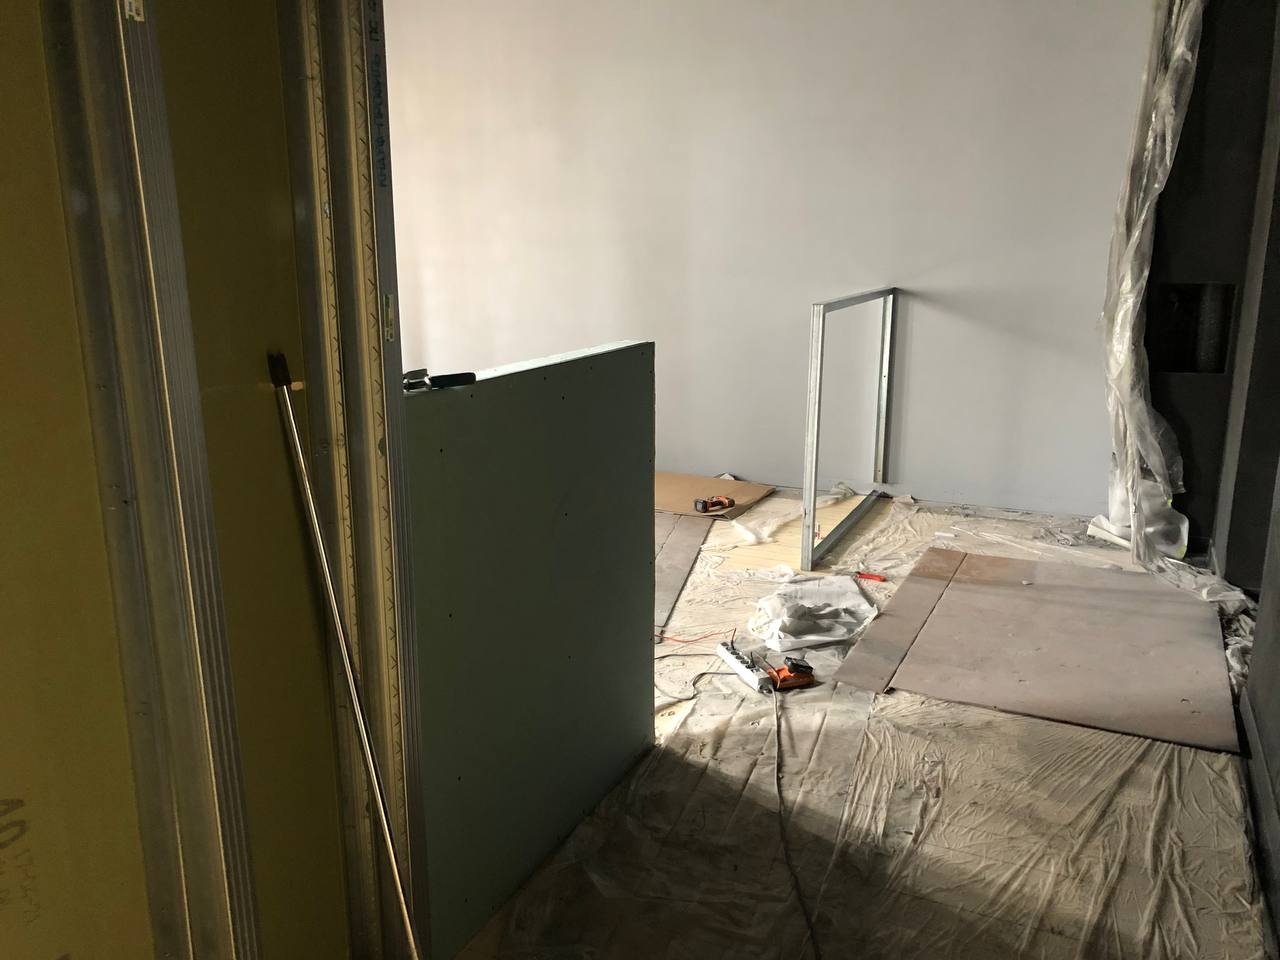
Apr 27
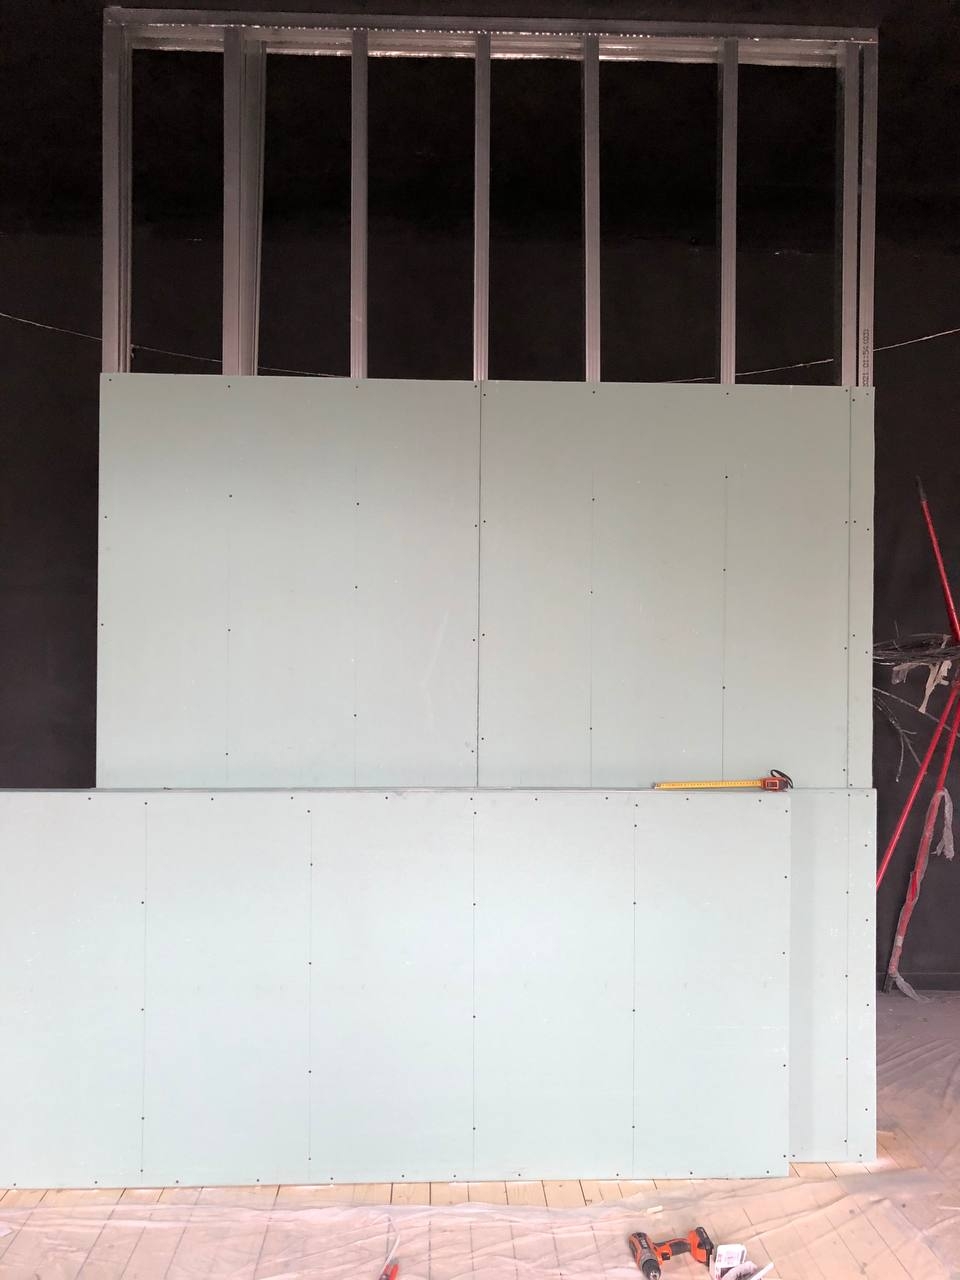
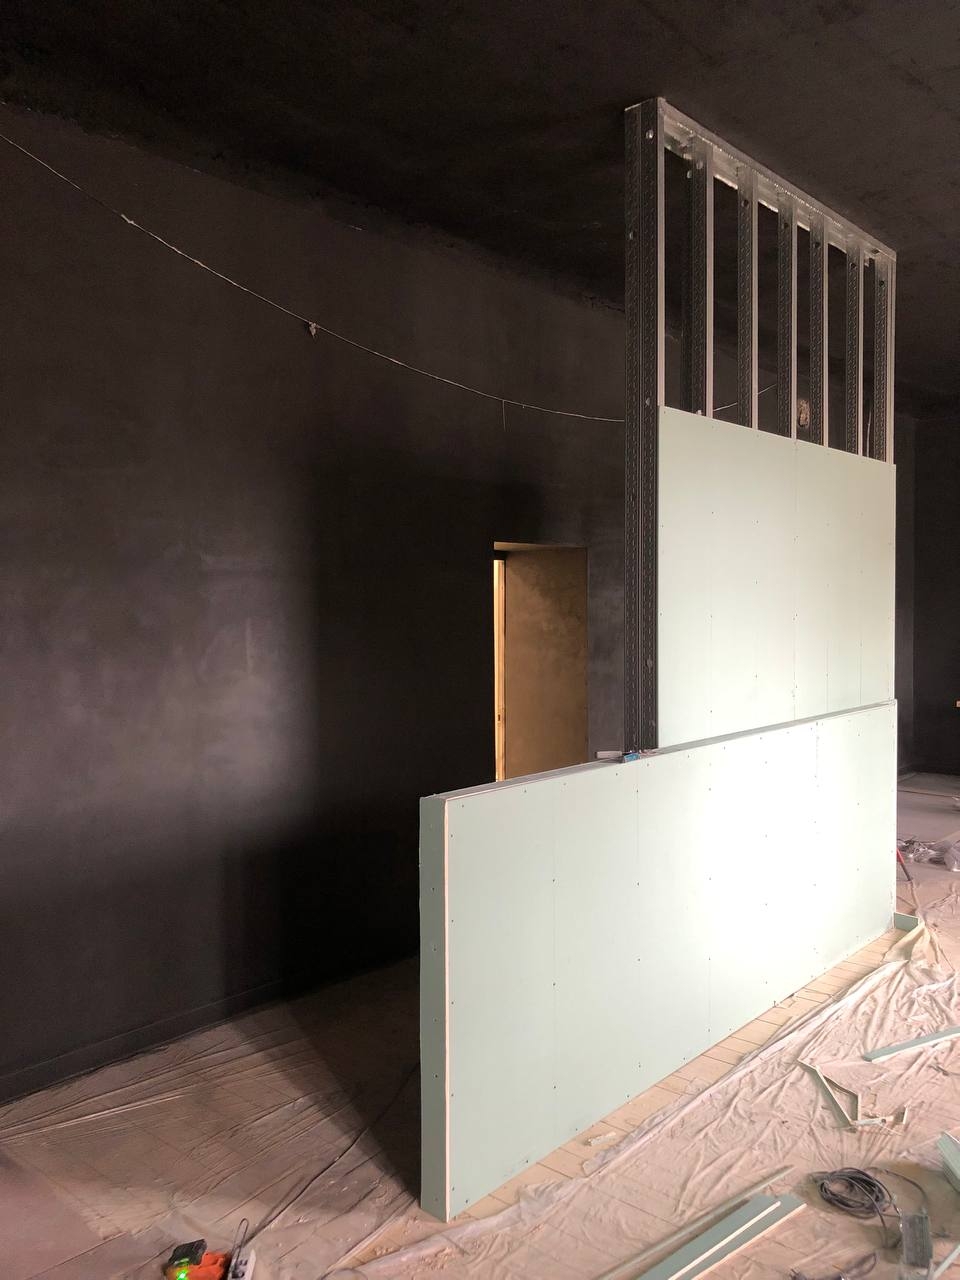
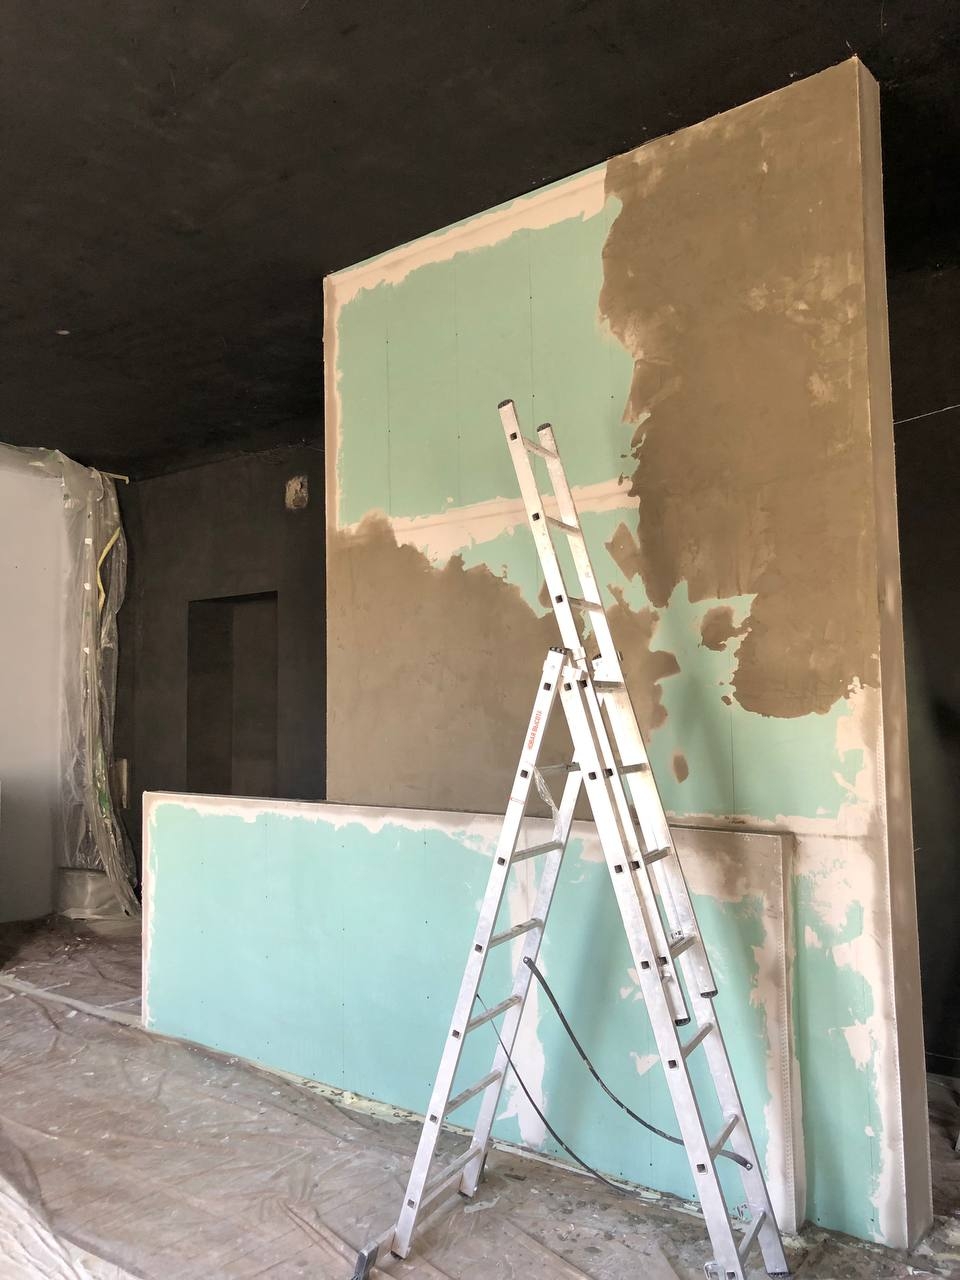
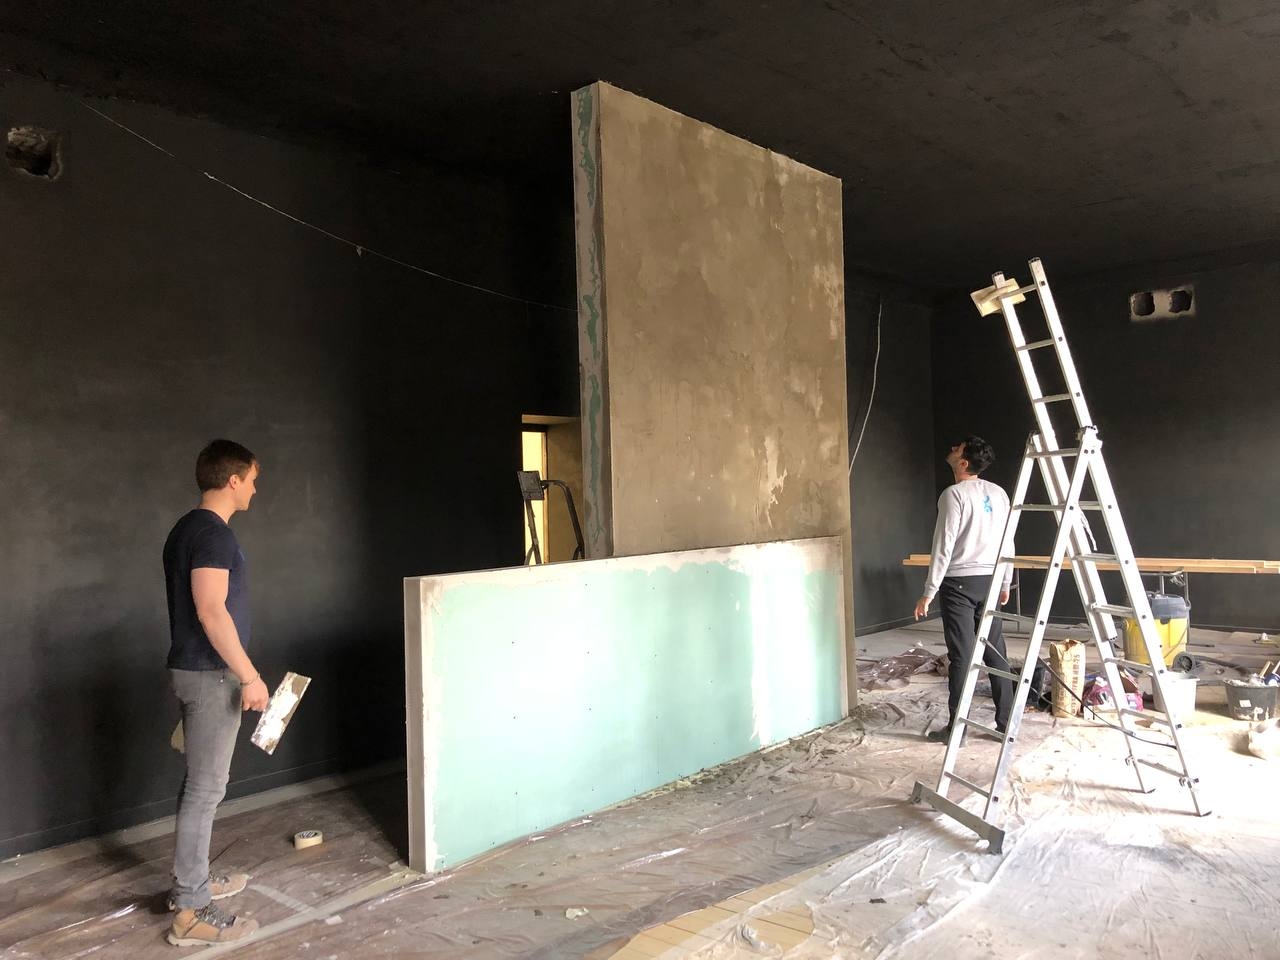
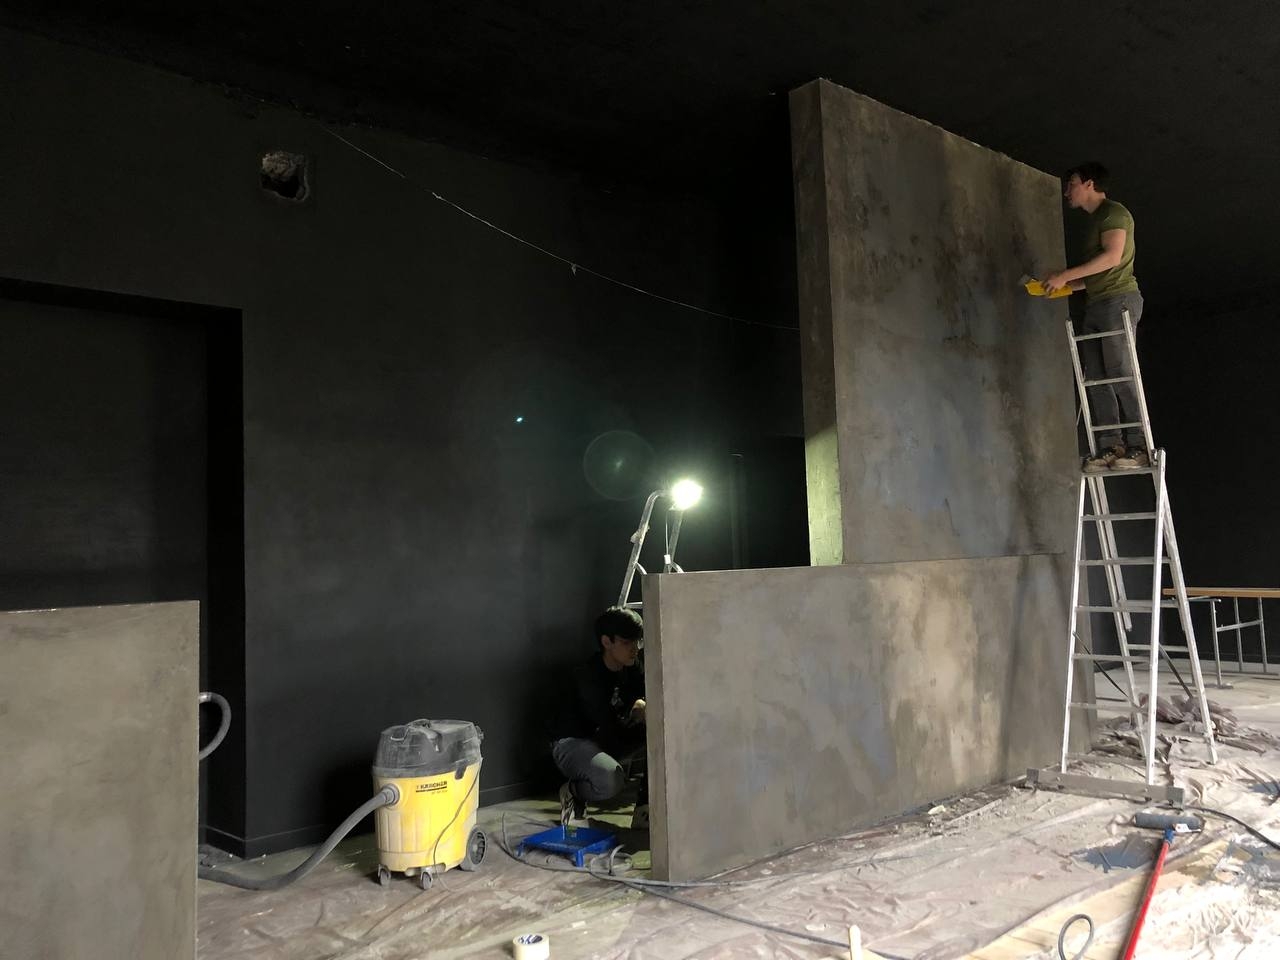
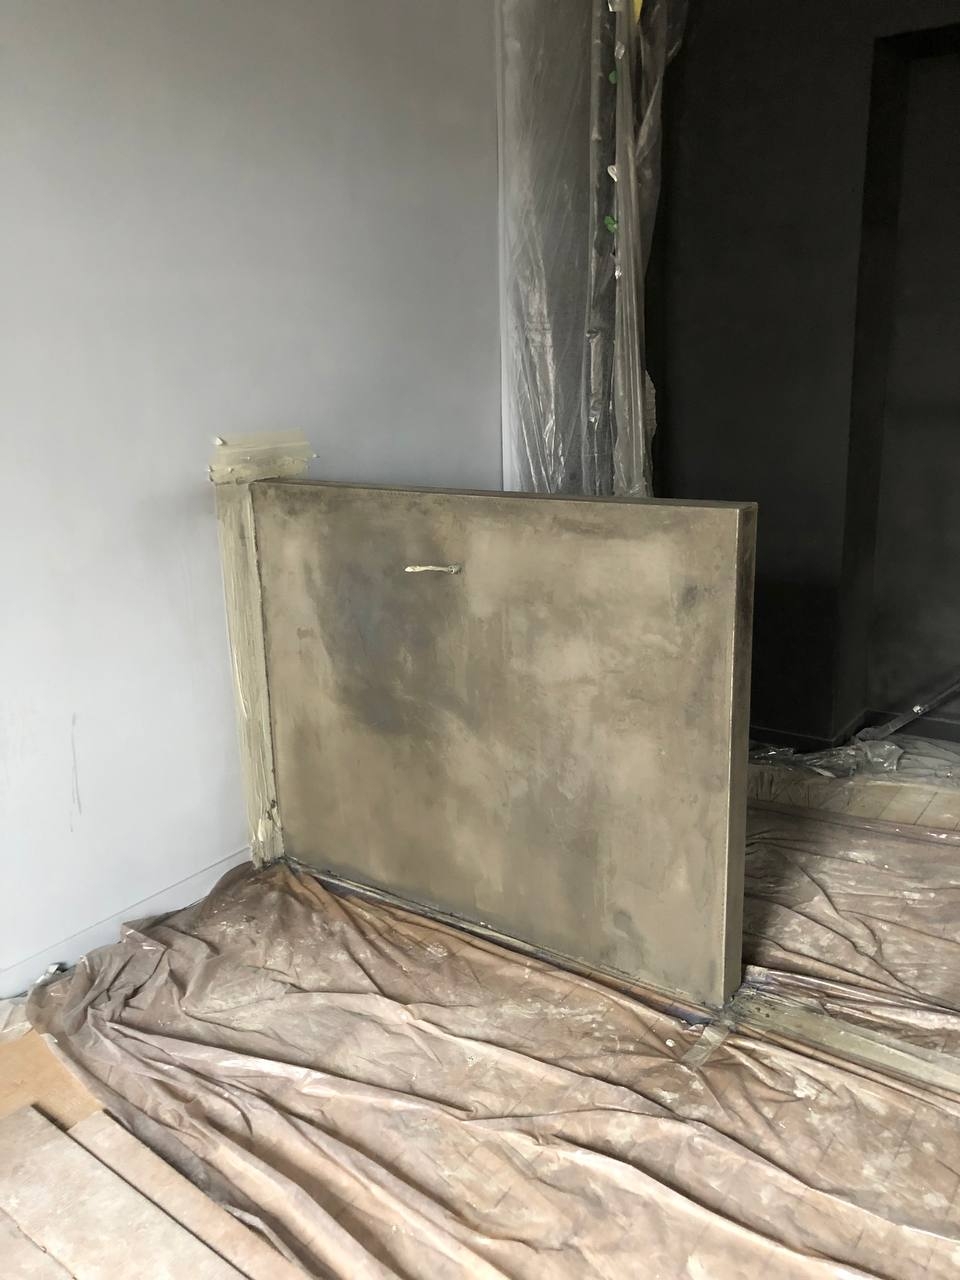
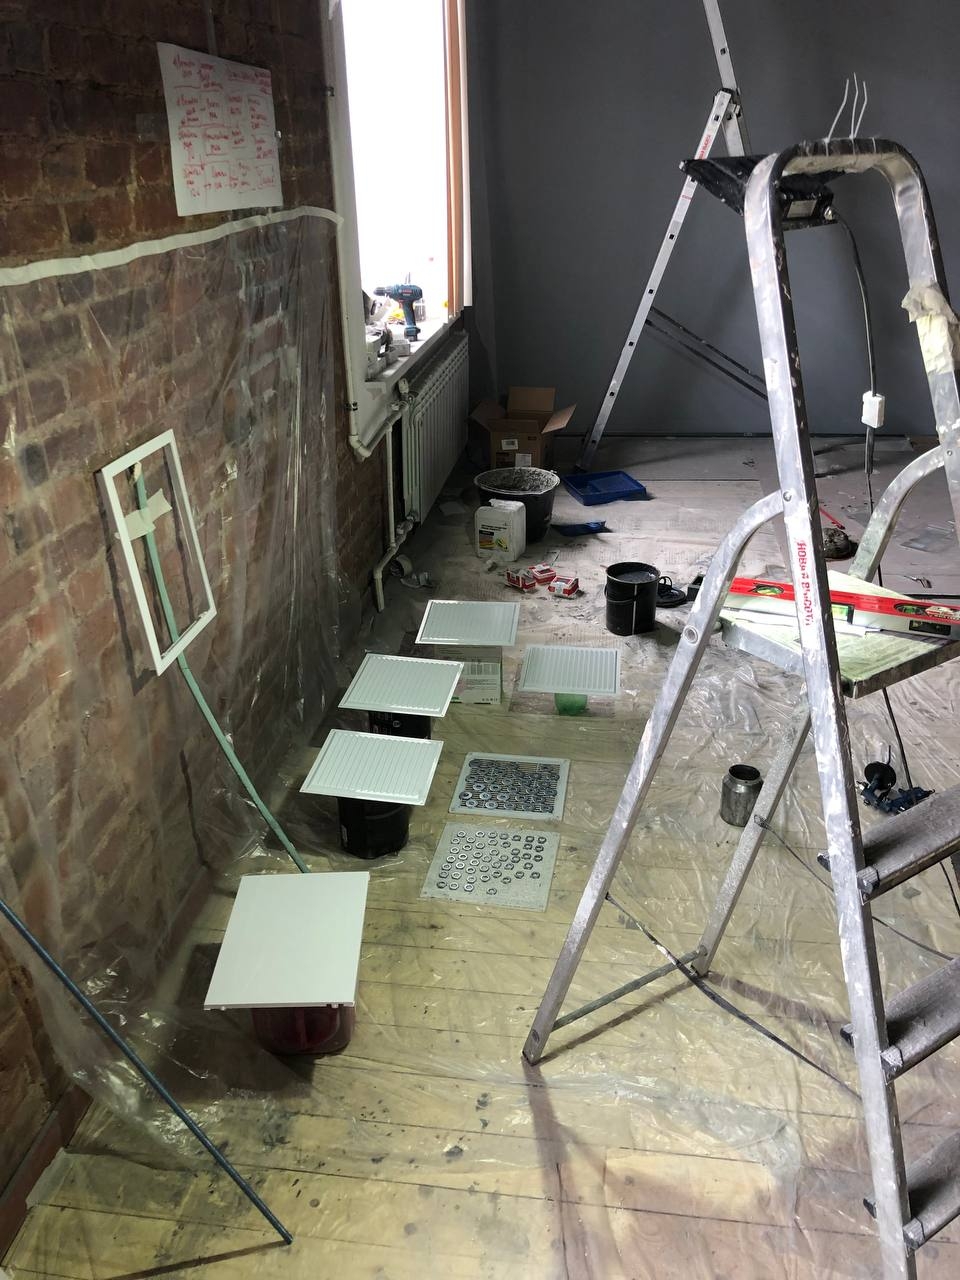
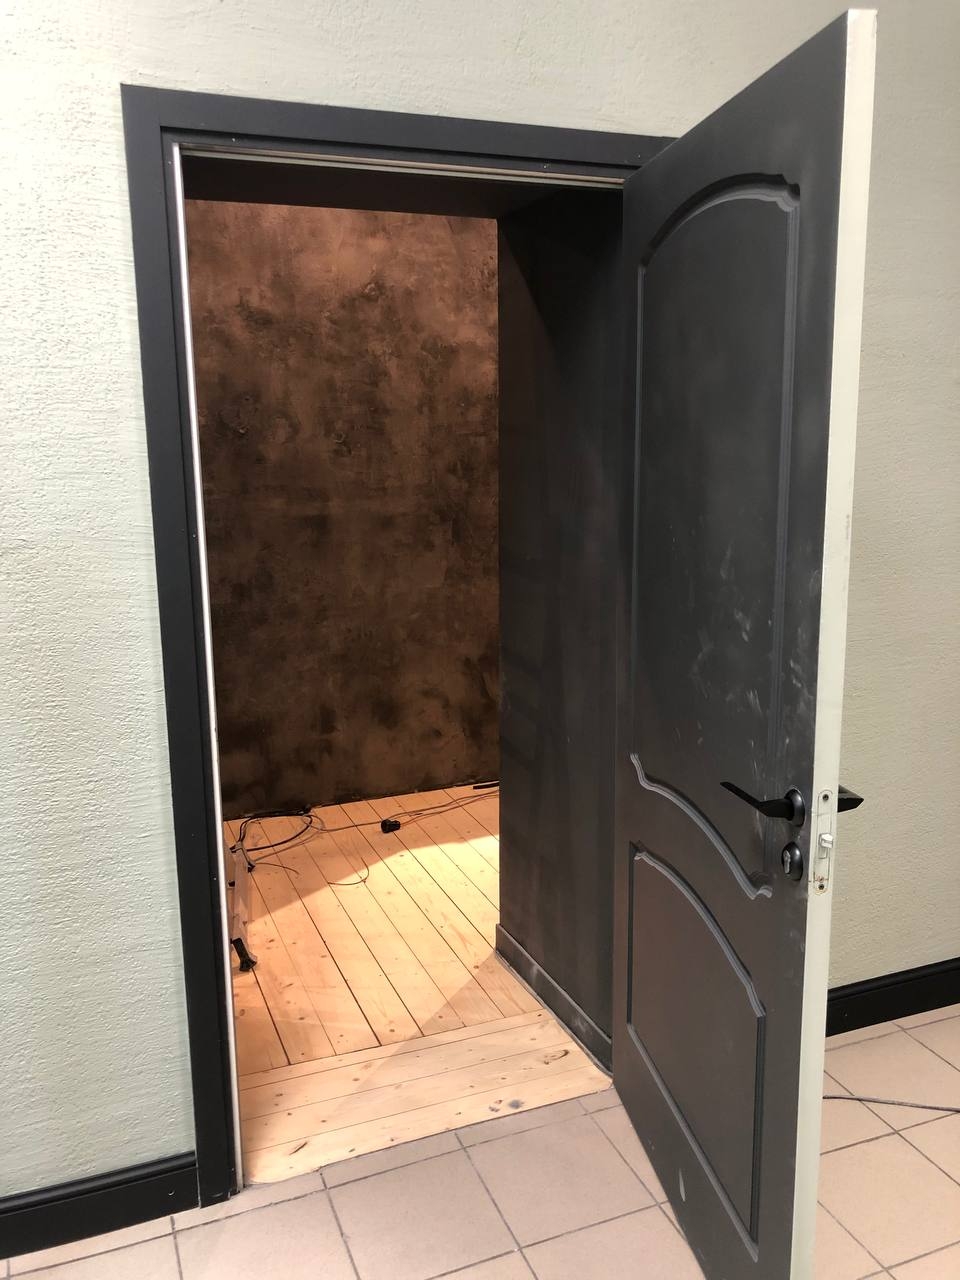
The design project requires the installation of a pair of columns.
Apr 29
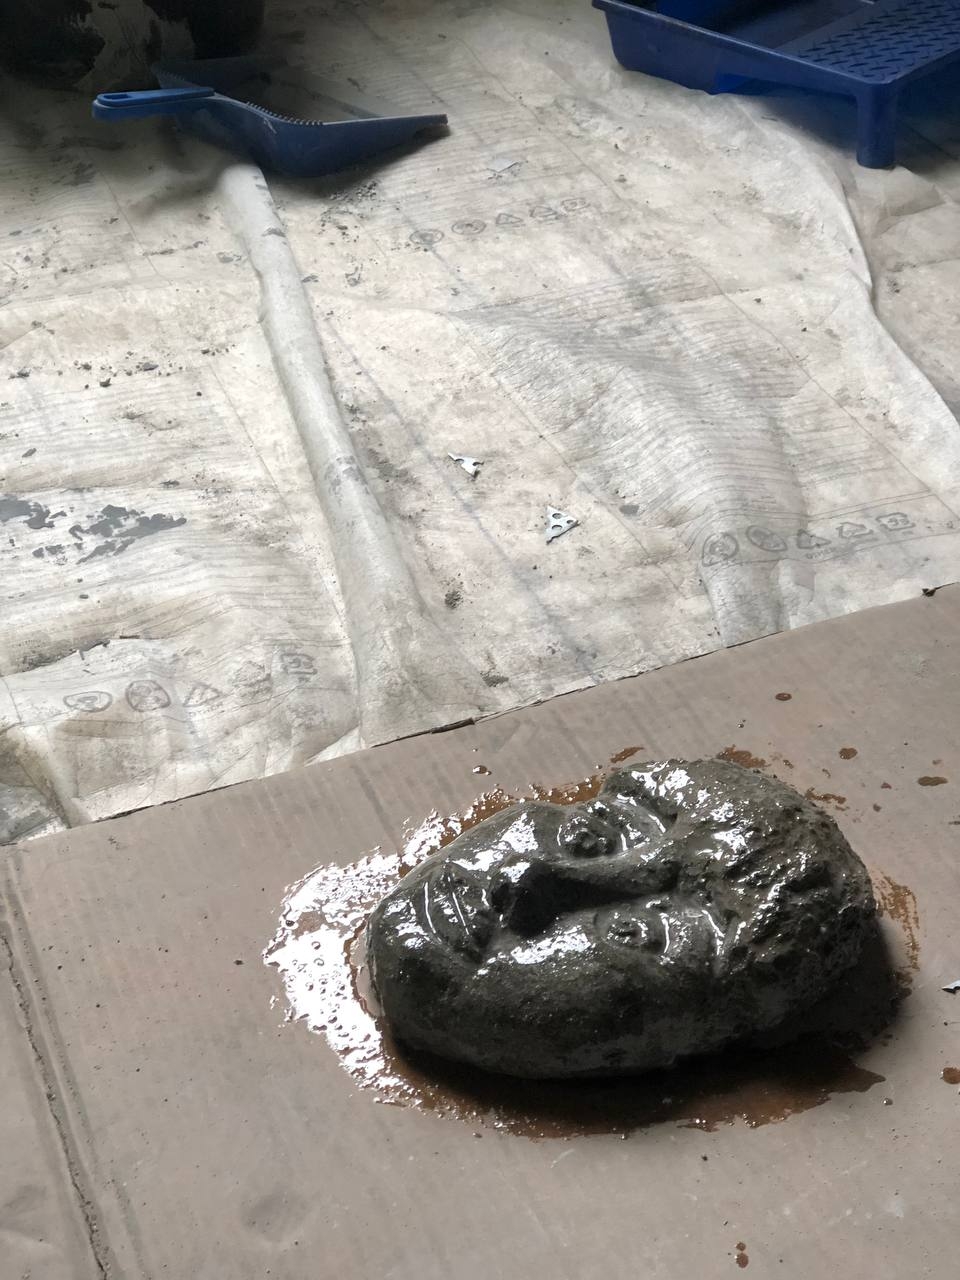
The column decorating.

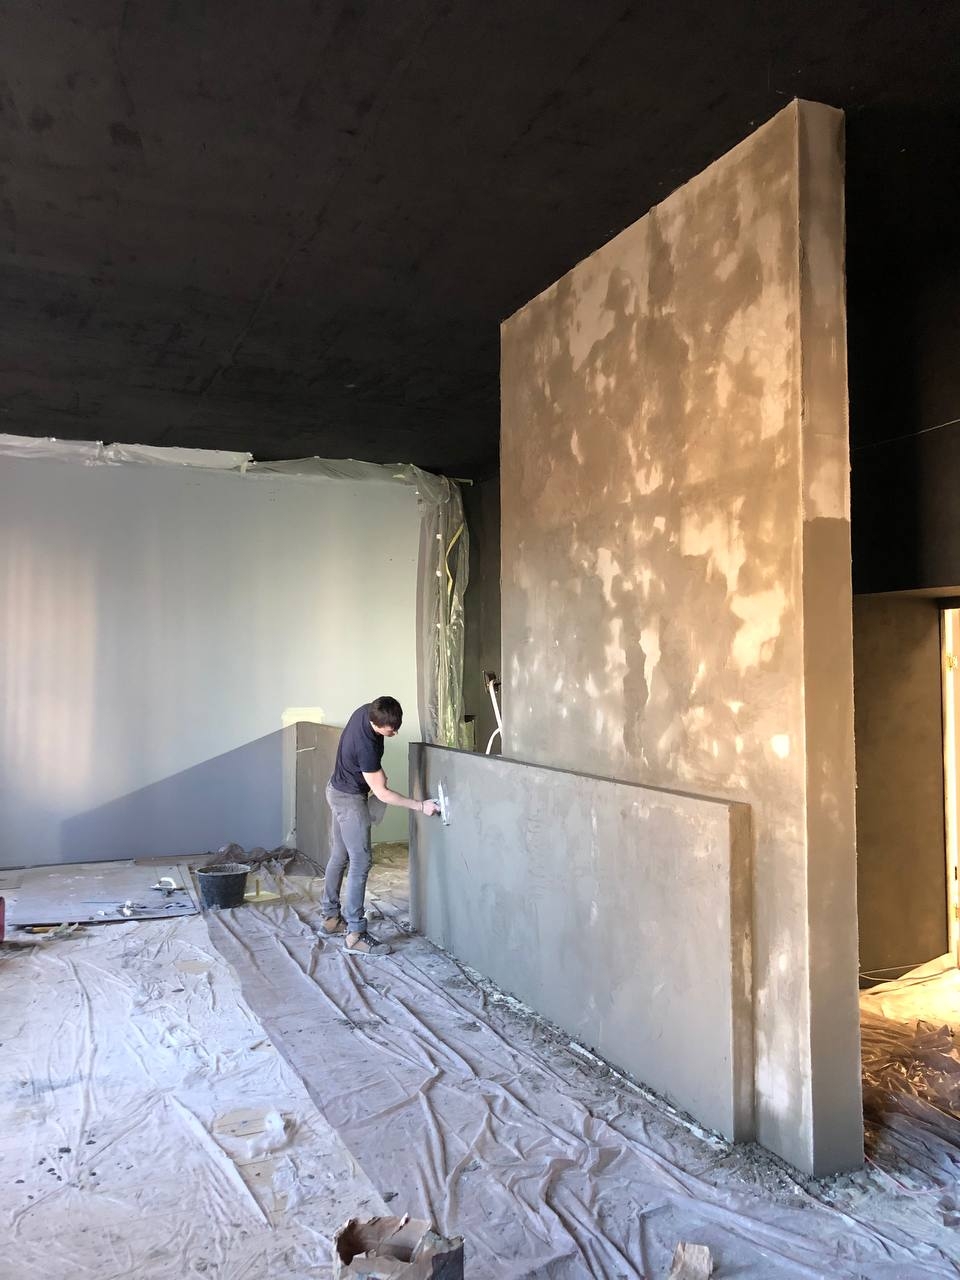
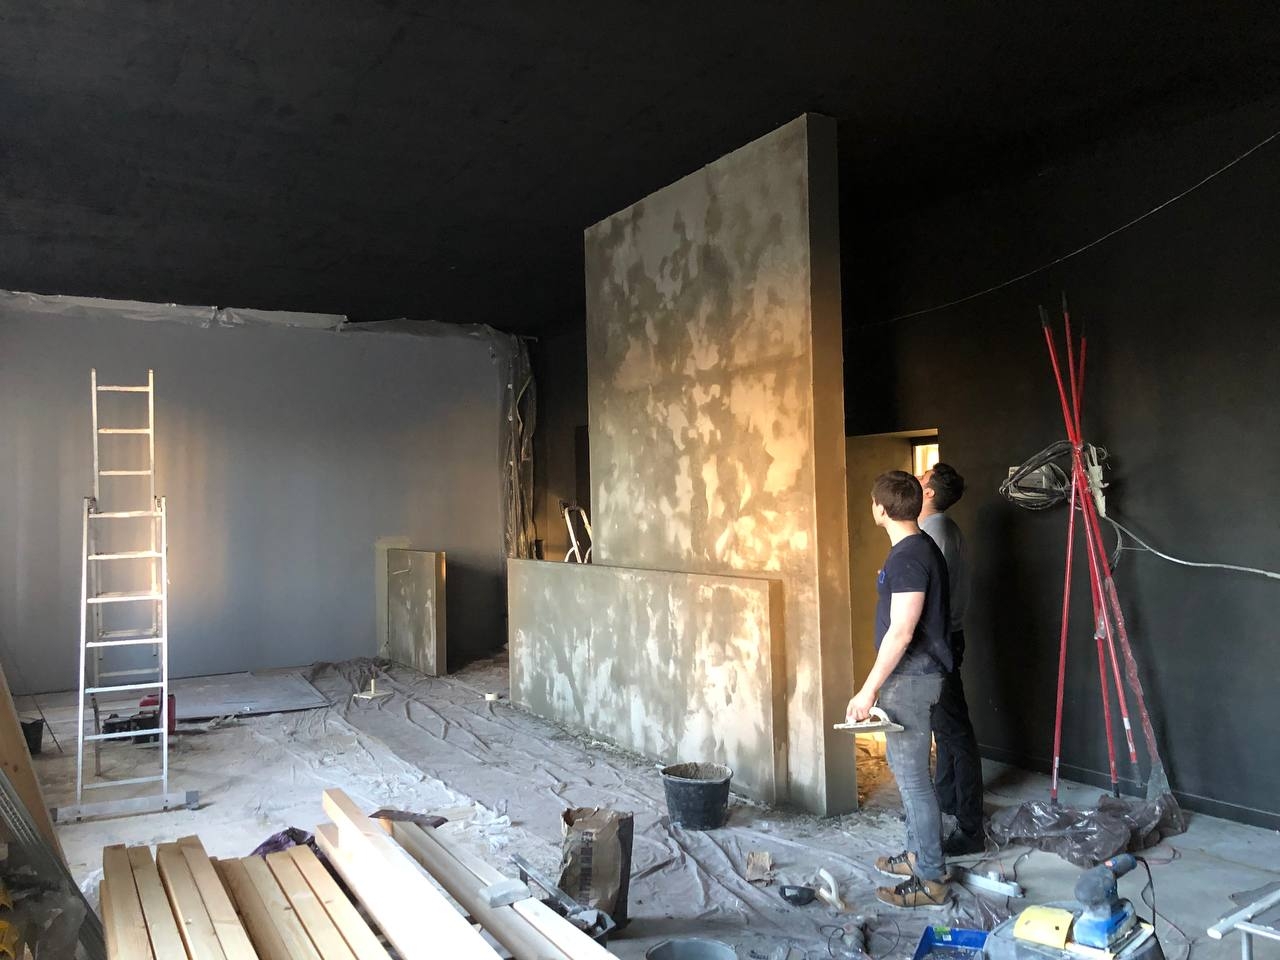

May 4
Column painting and decoration.


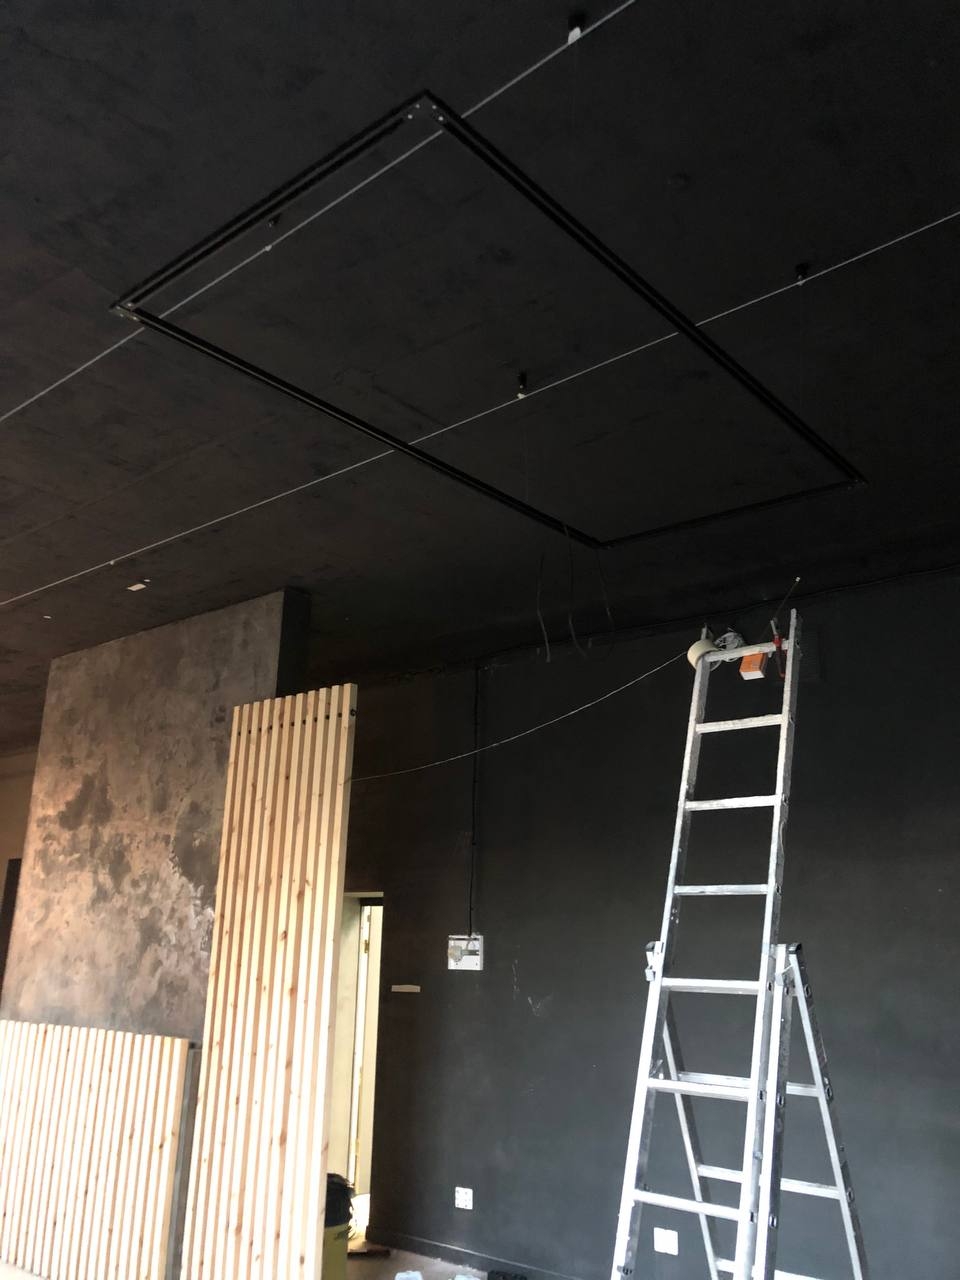
May 6
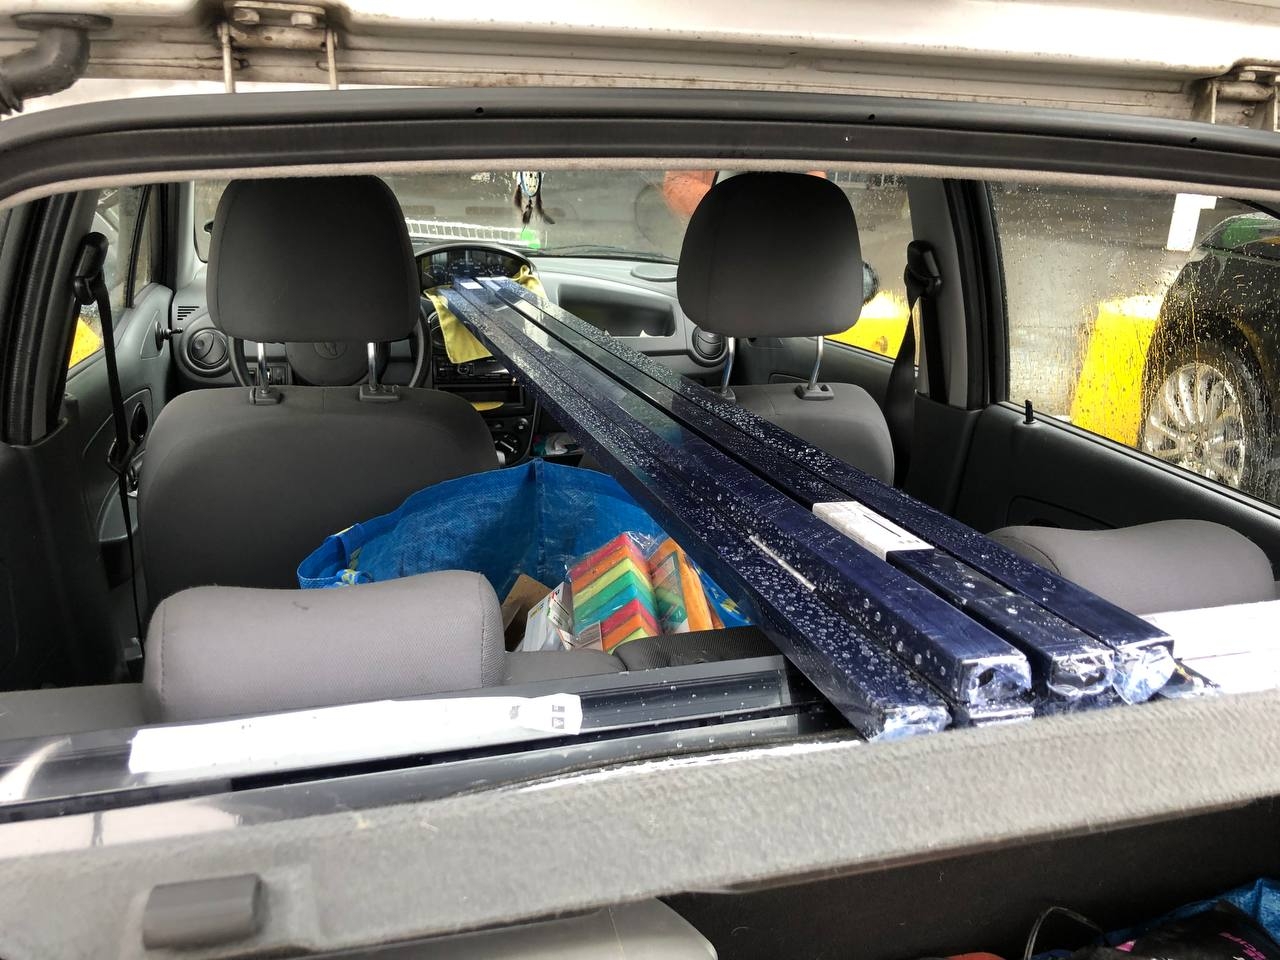
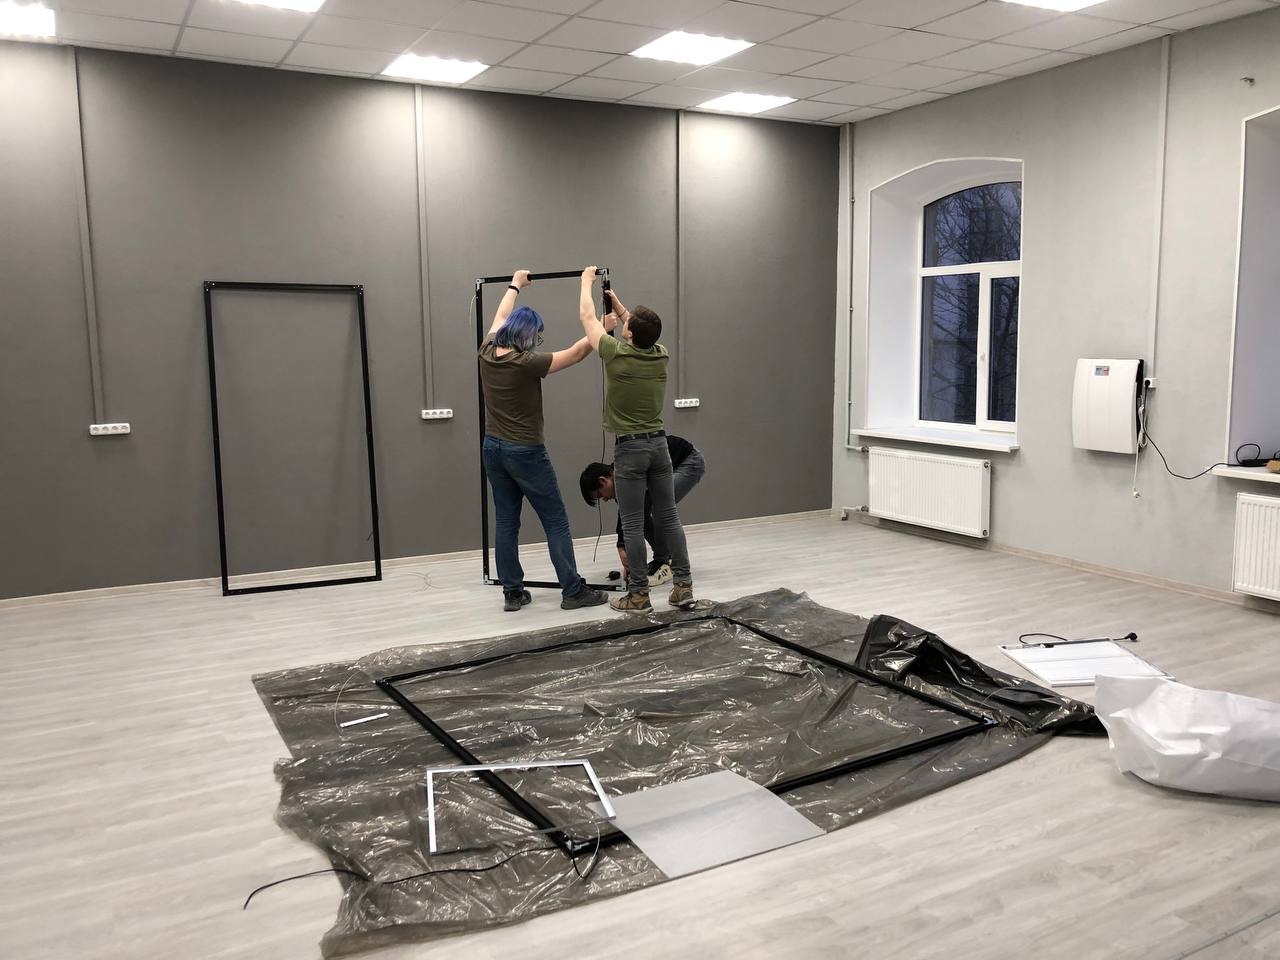
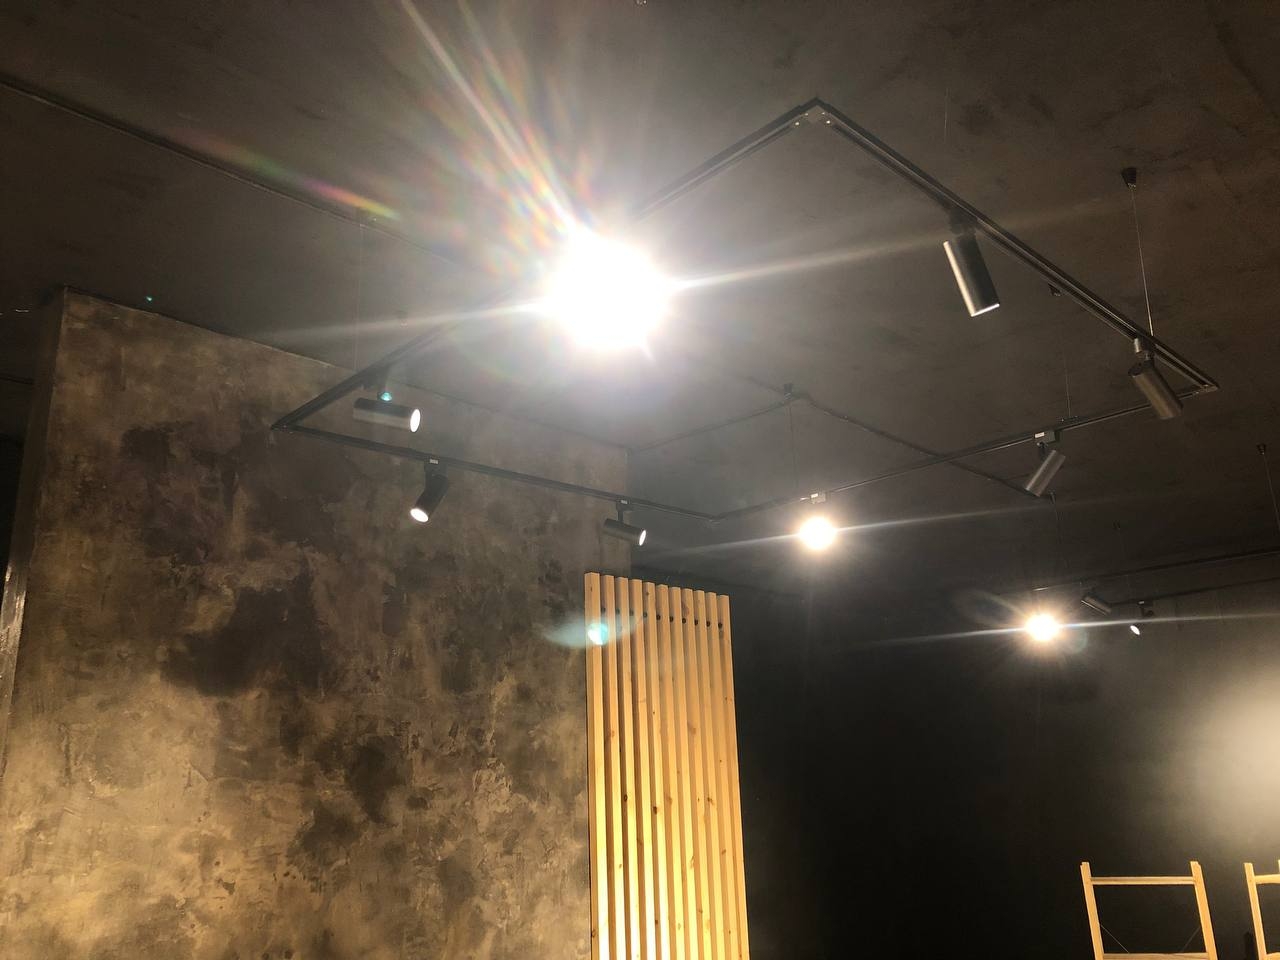
Buying light.

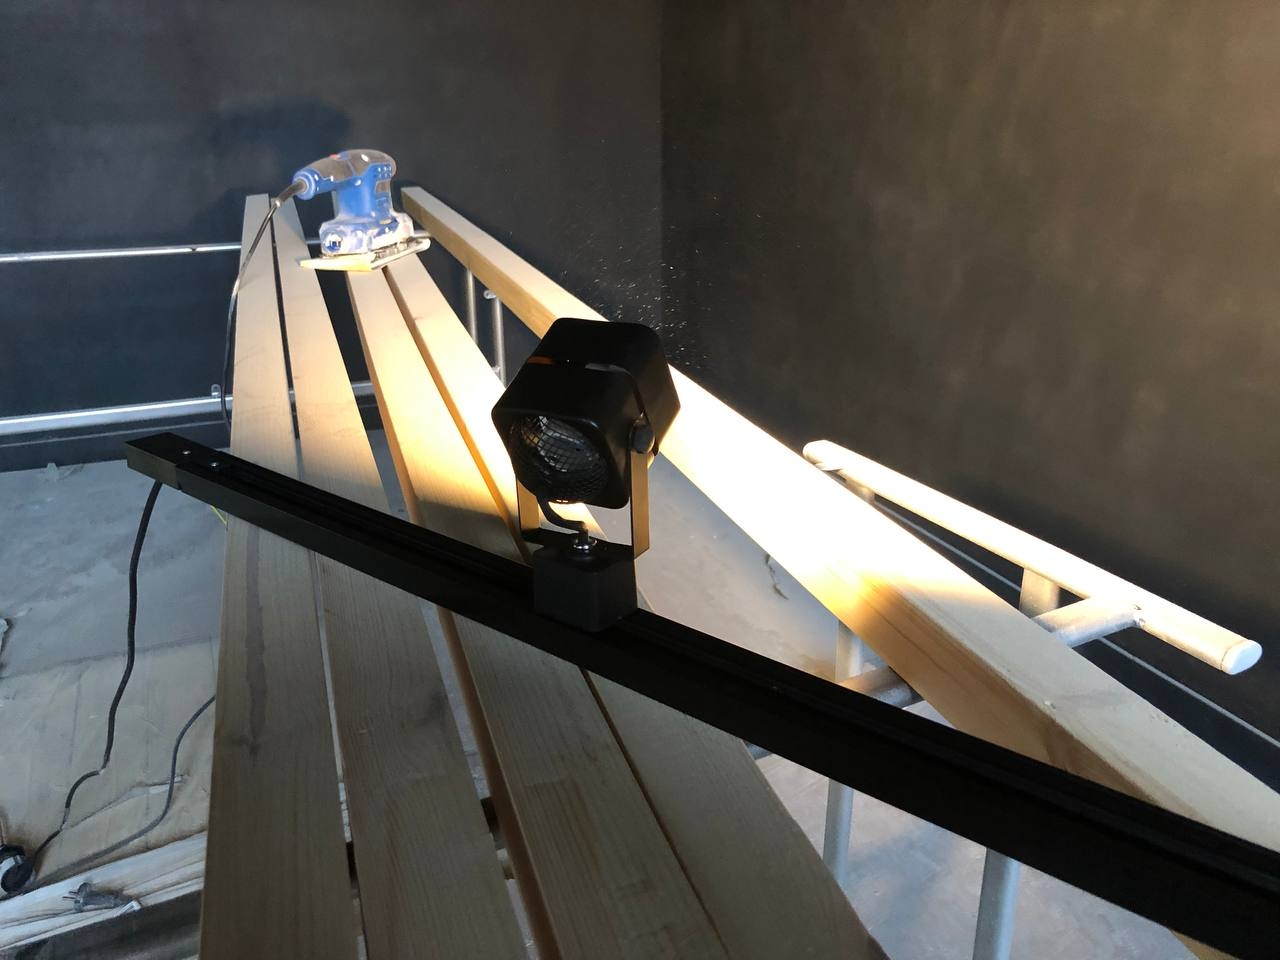
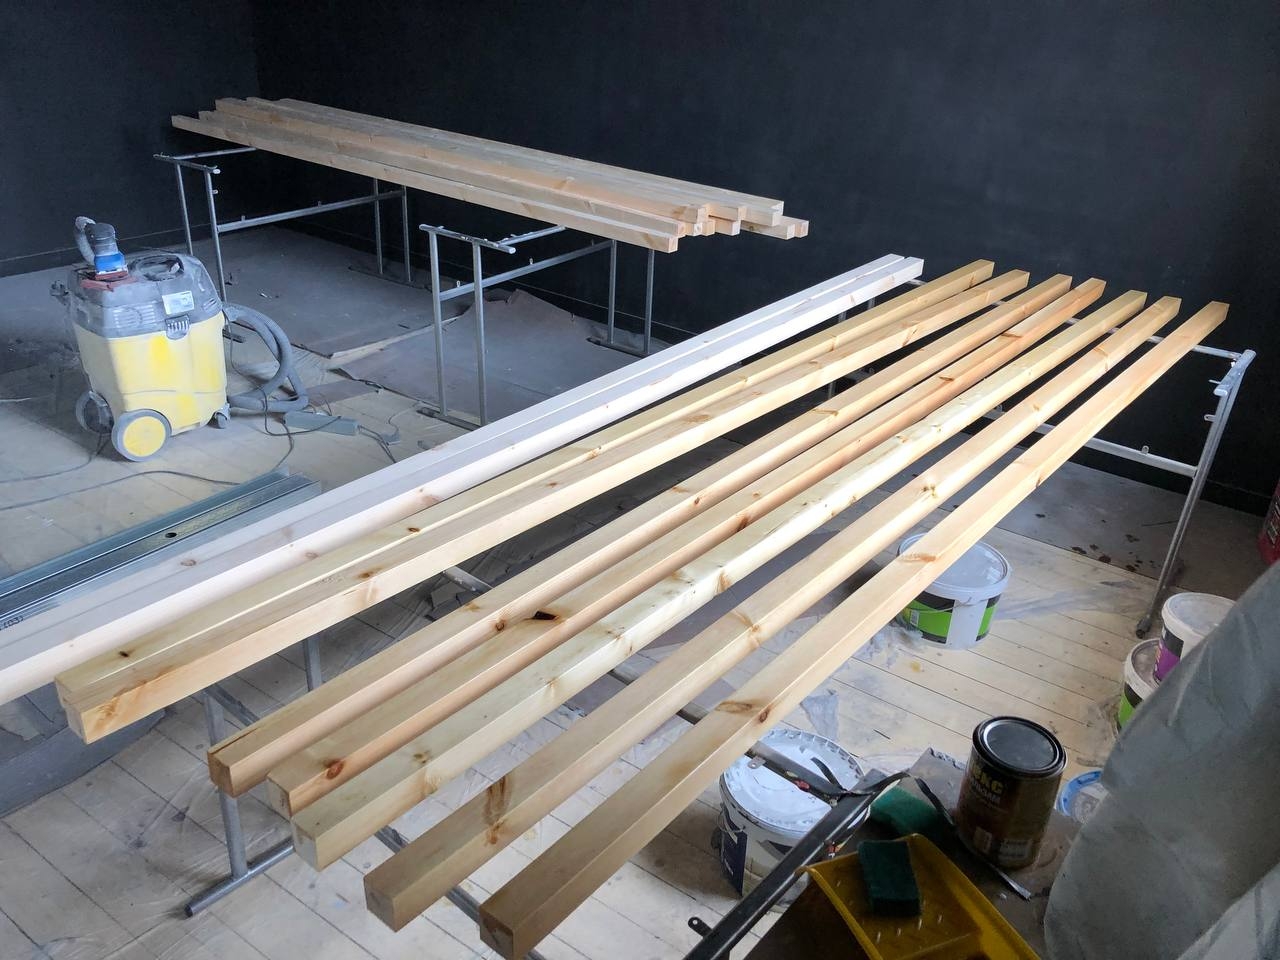
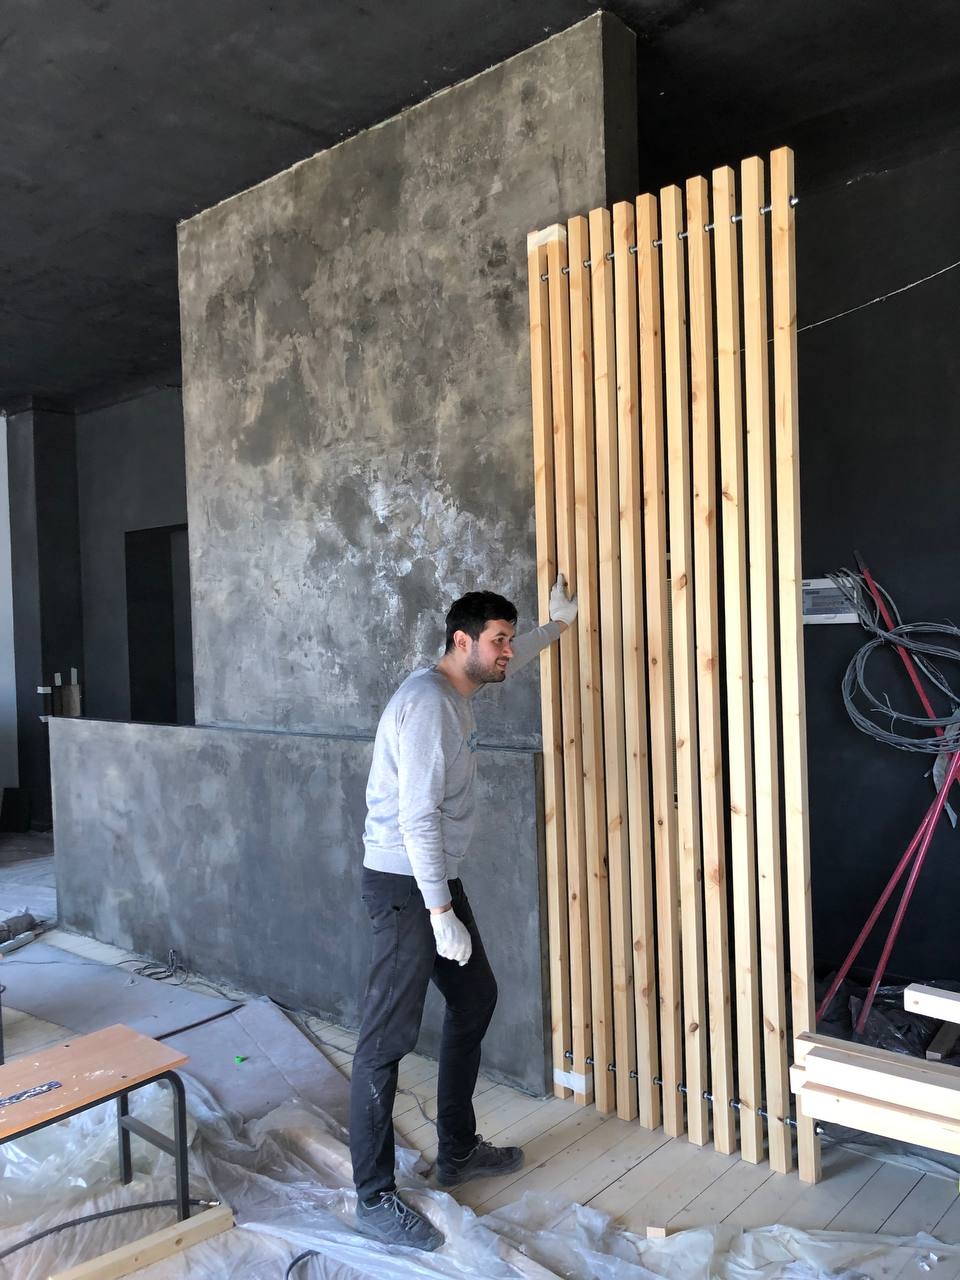
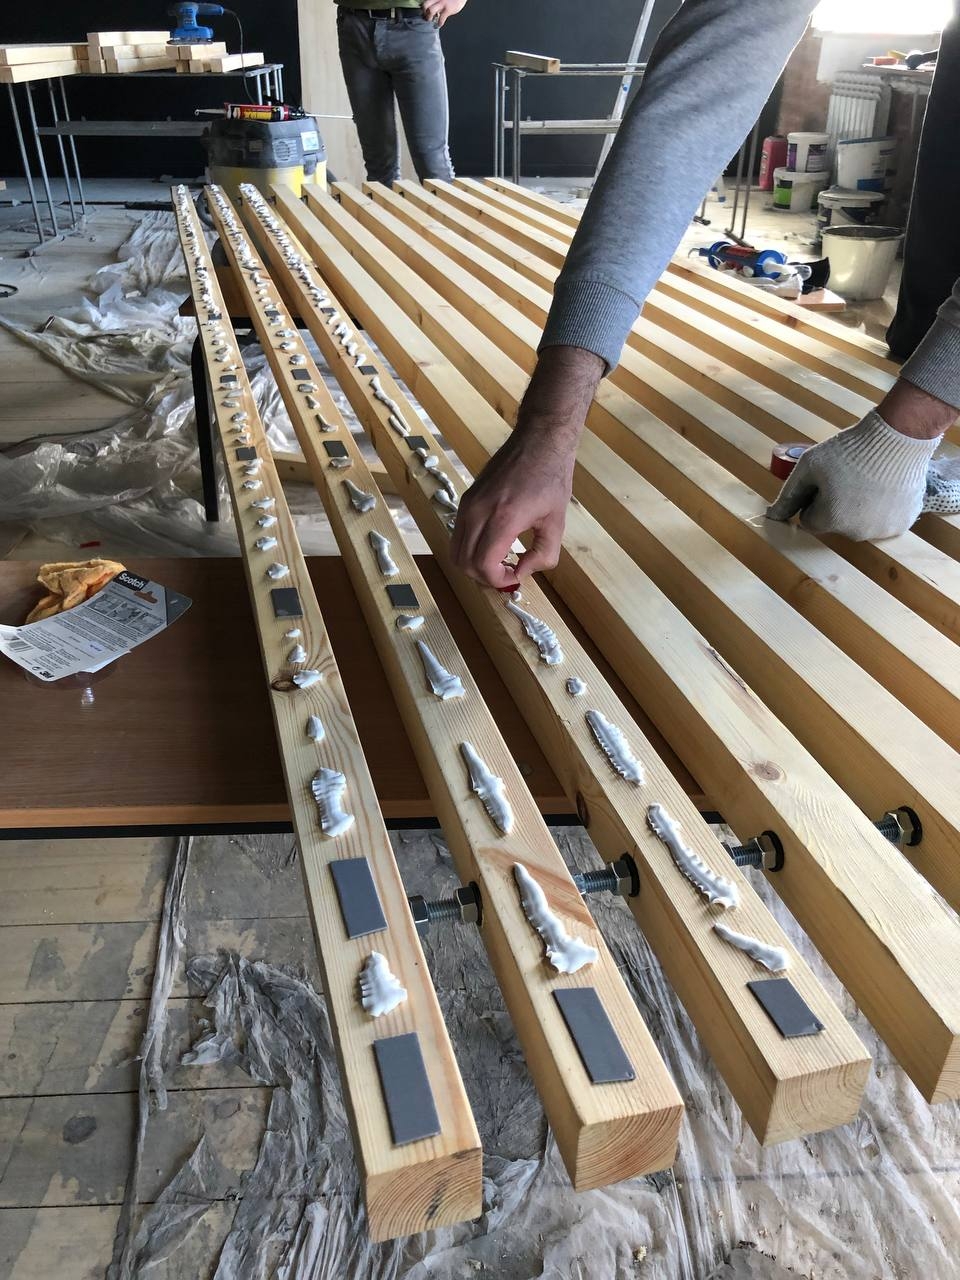
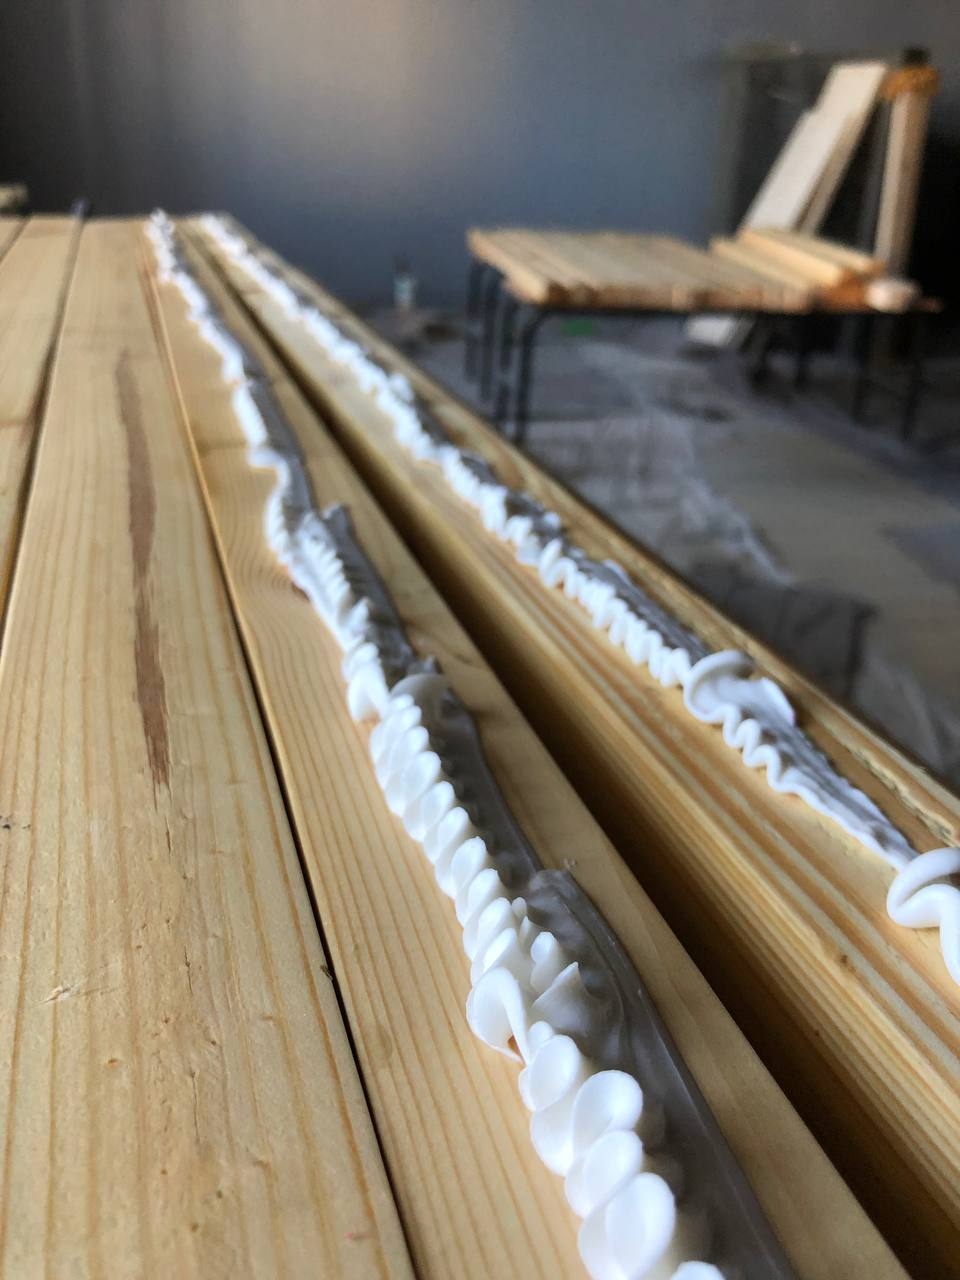
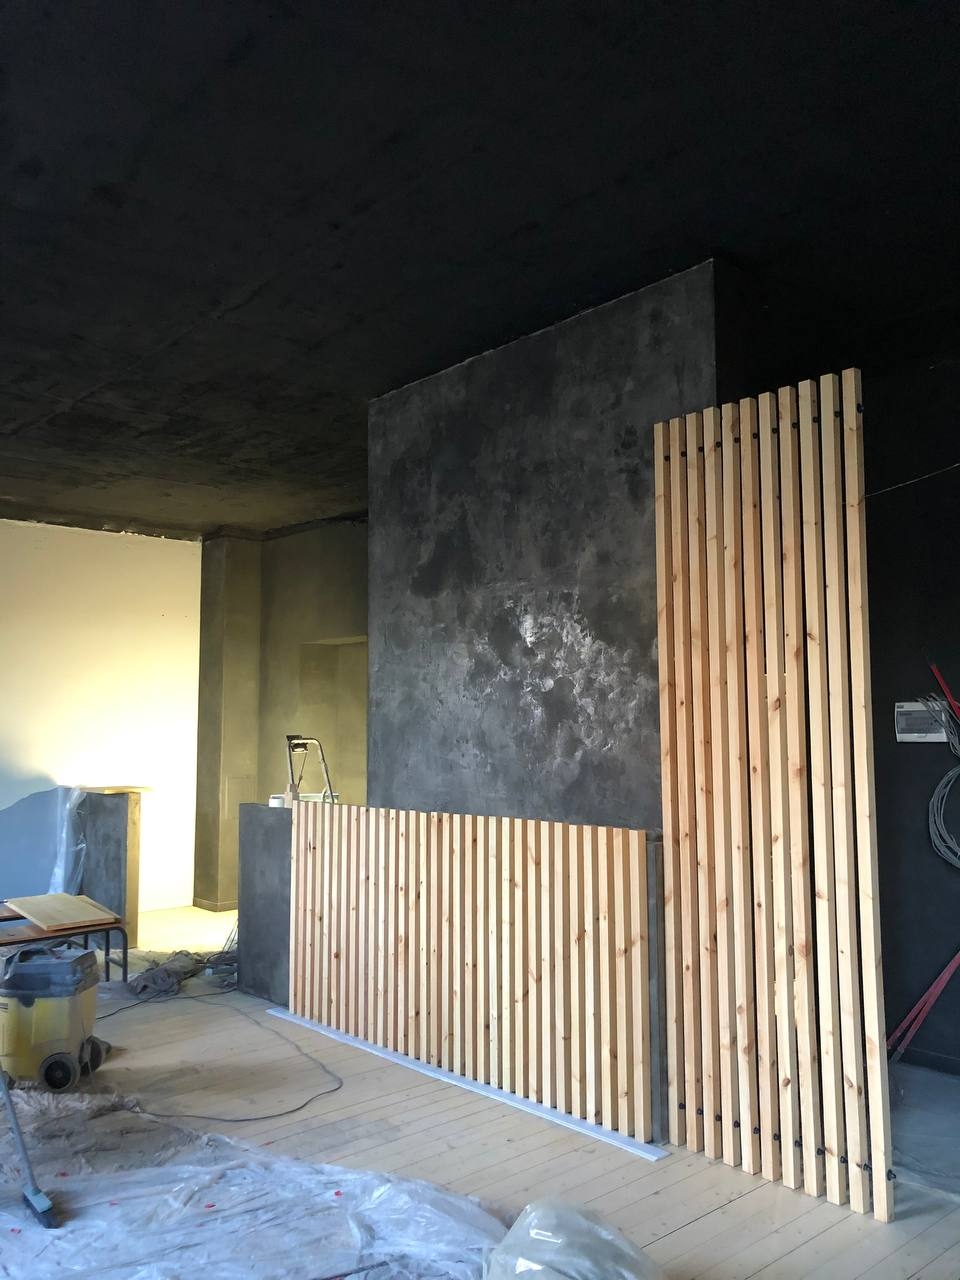
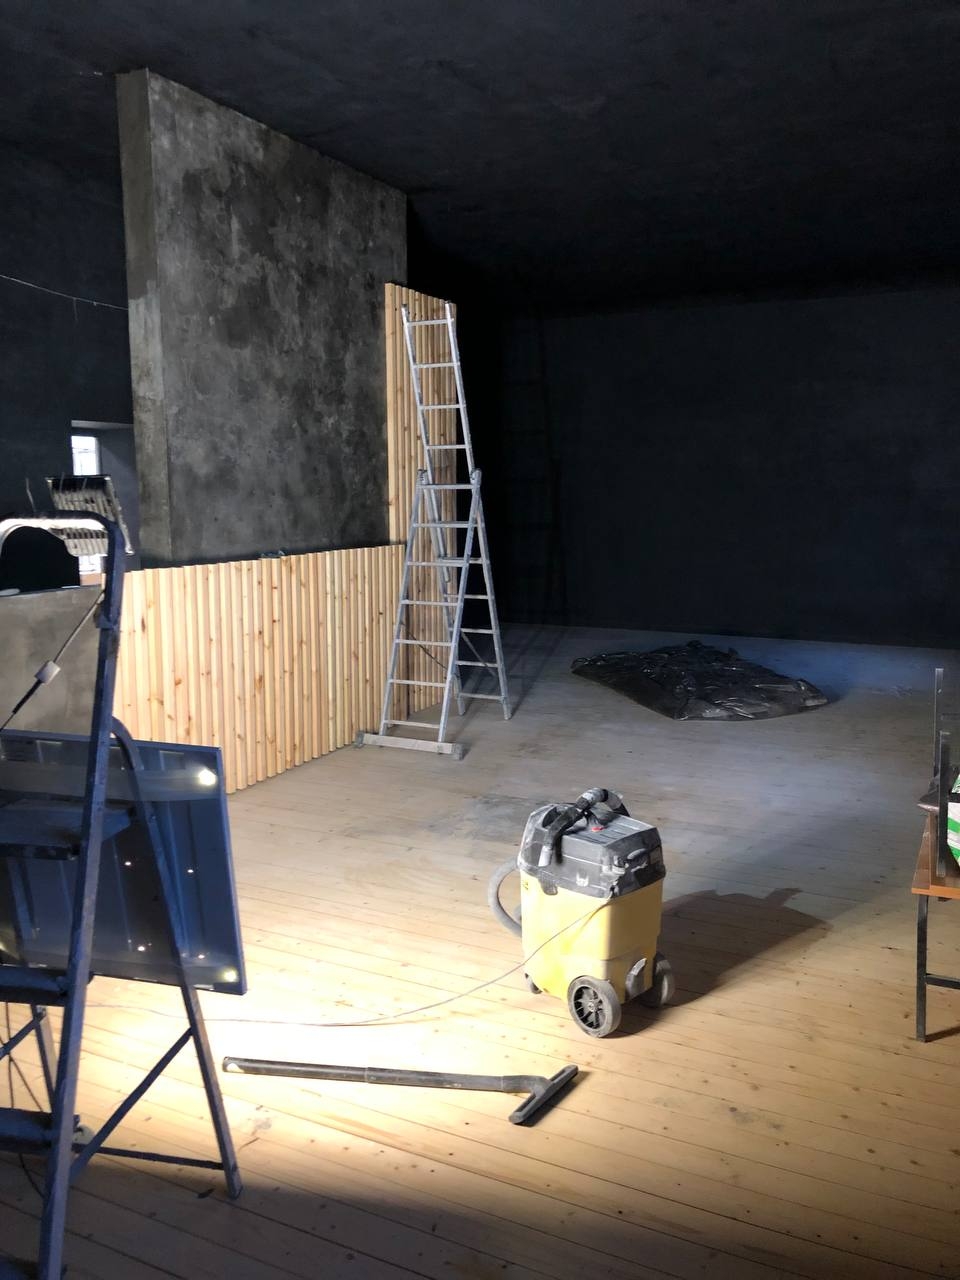
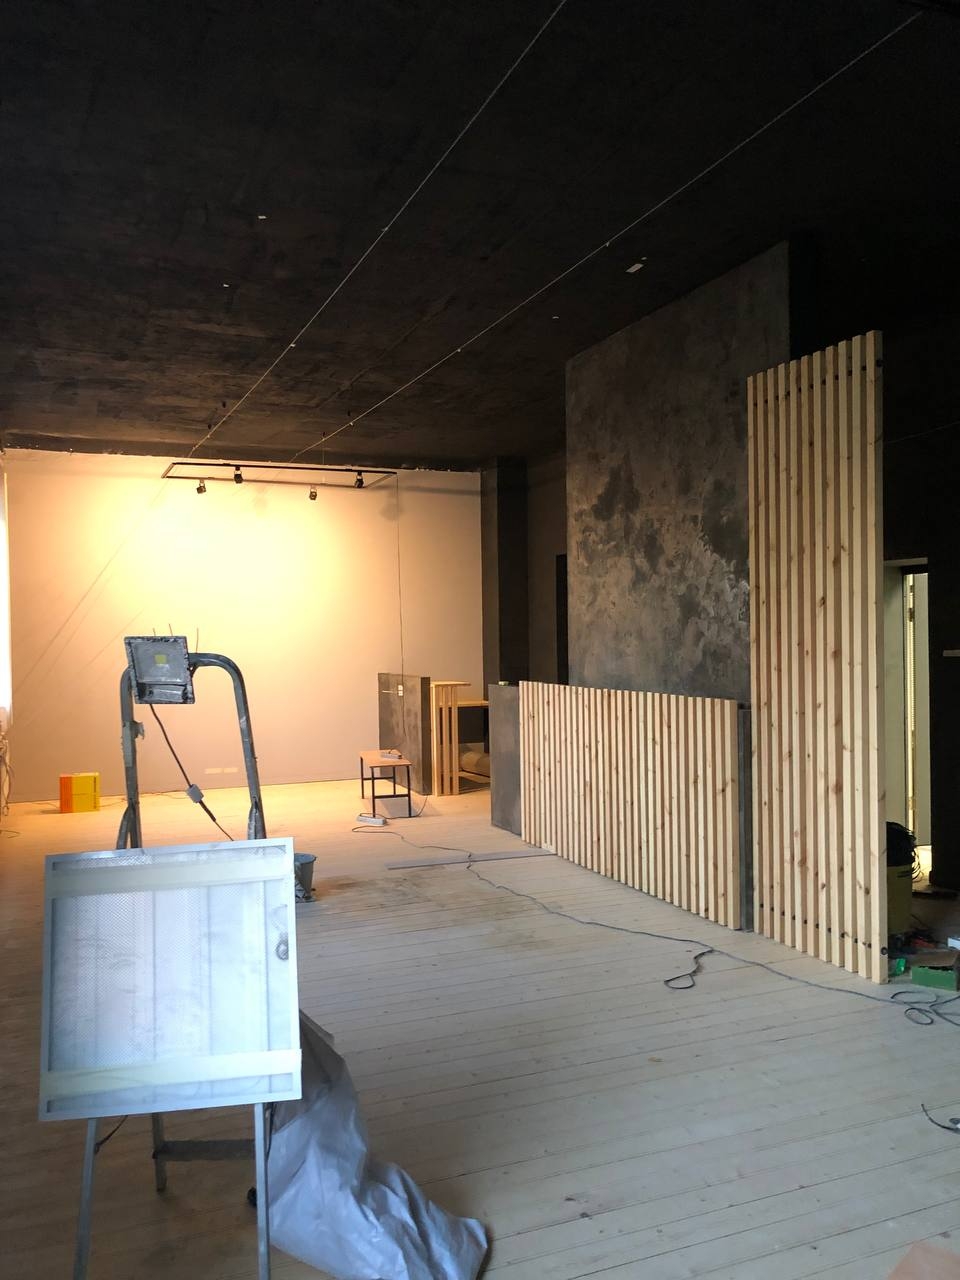
May 8
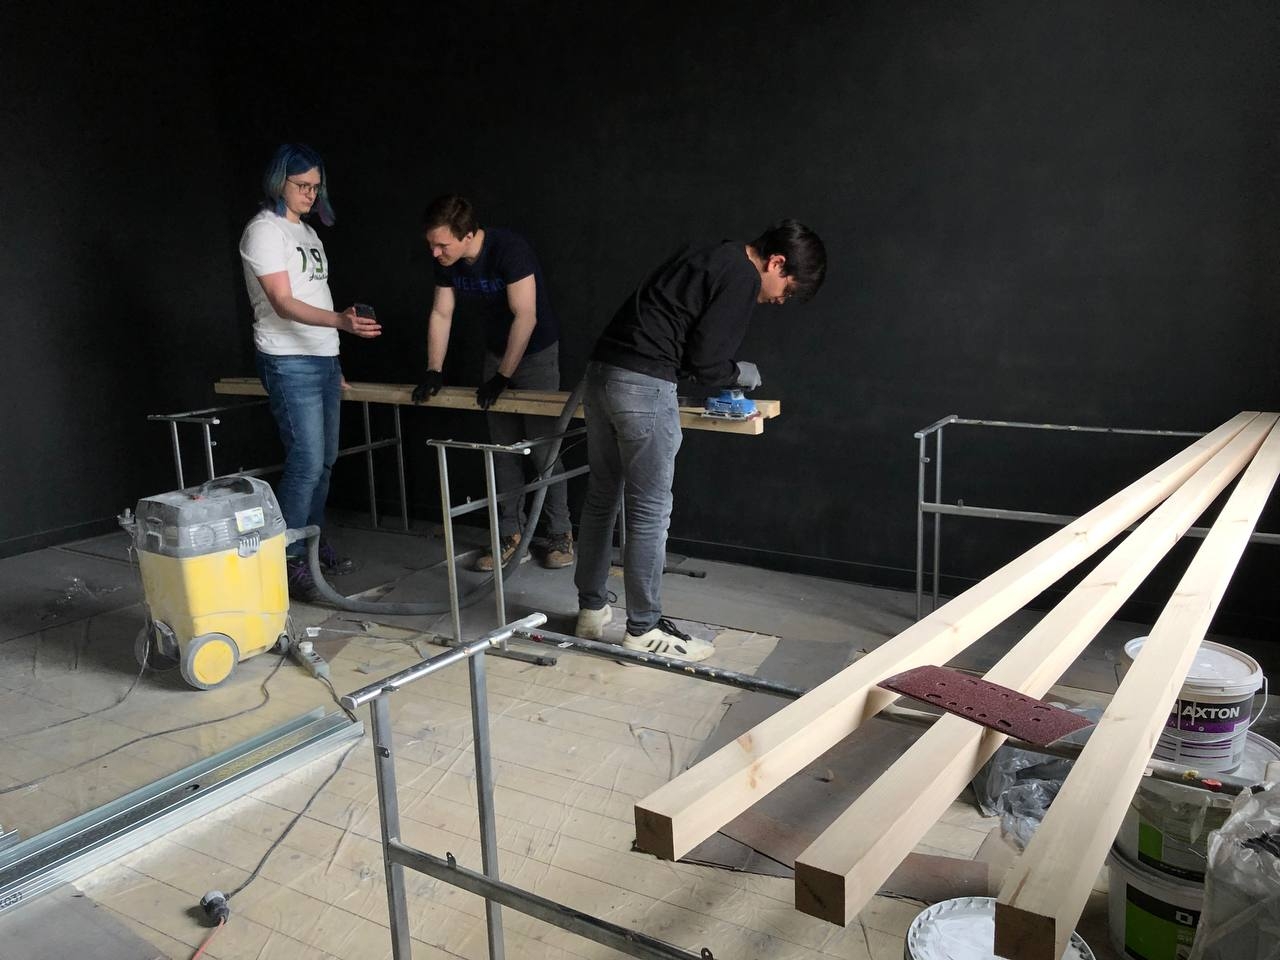
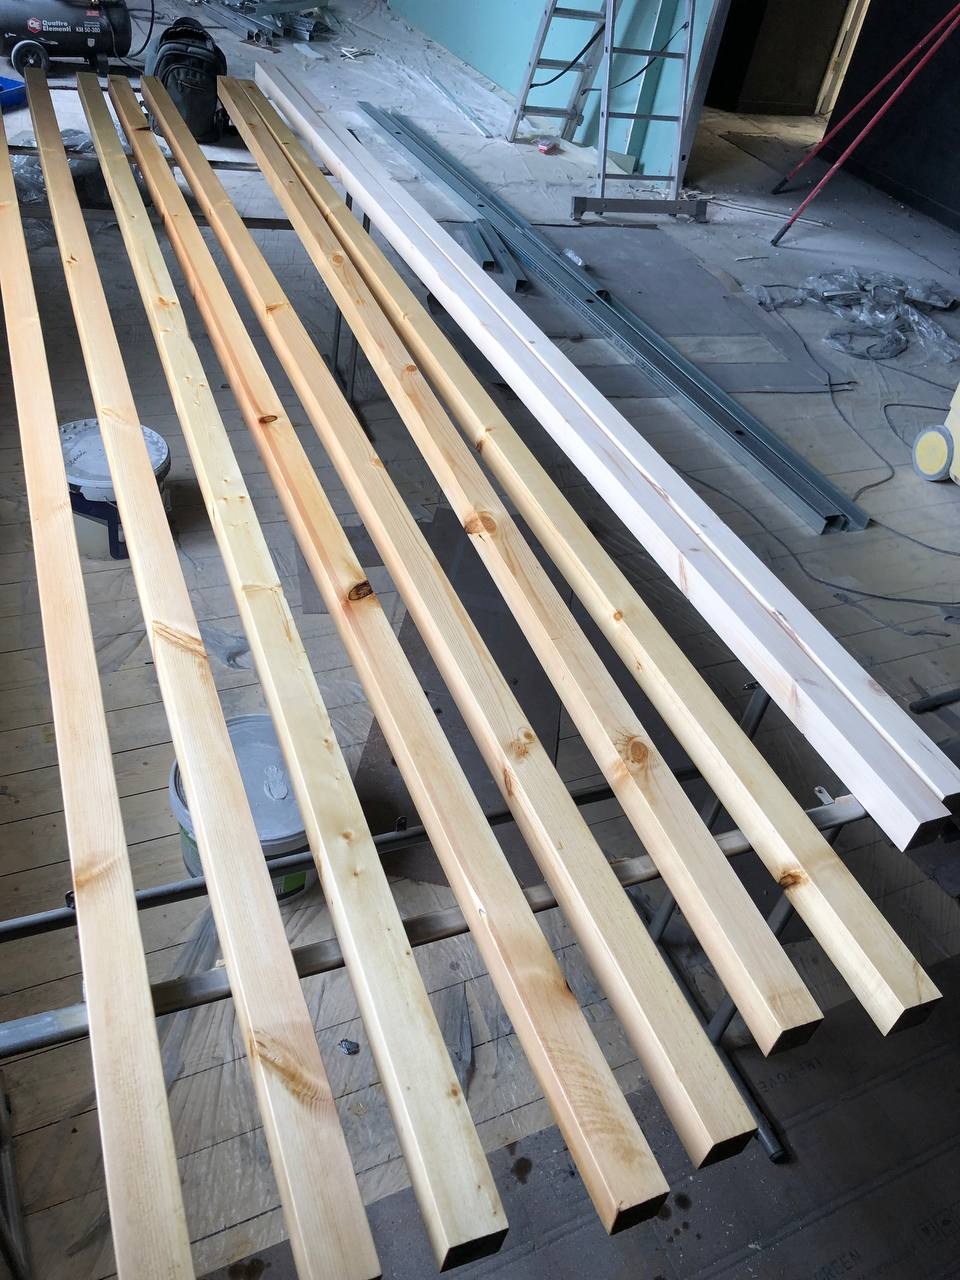
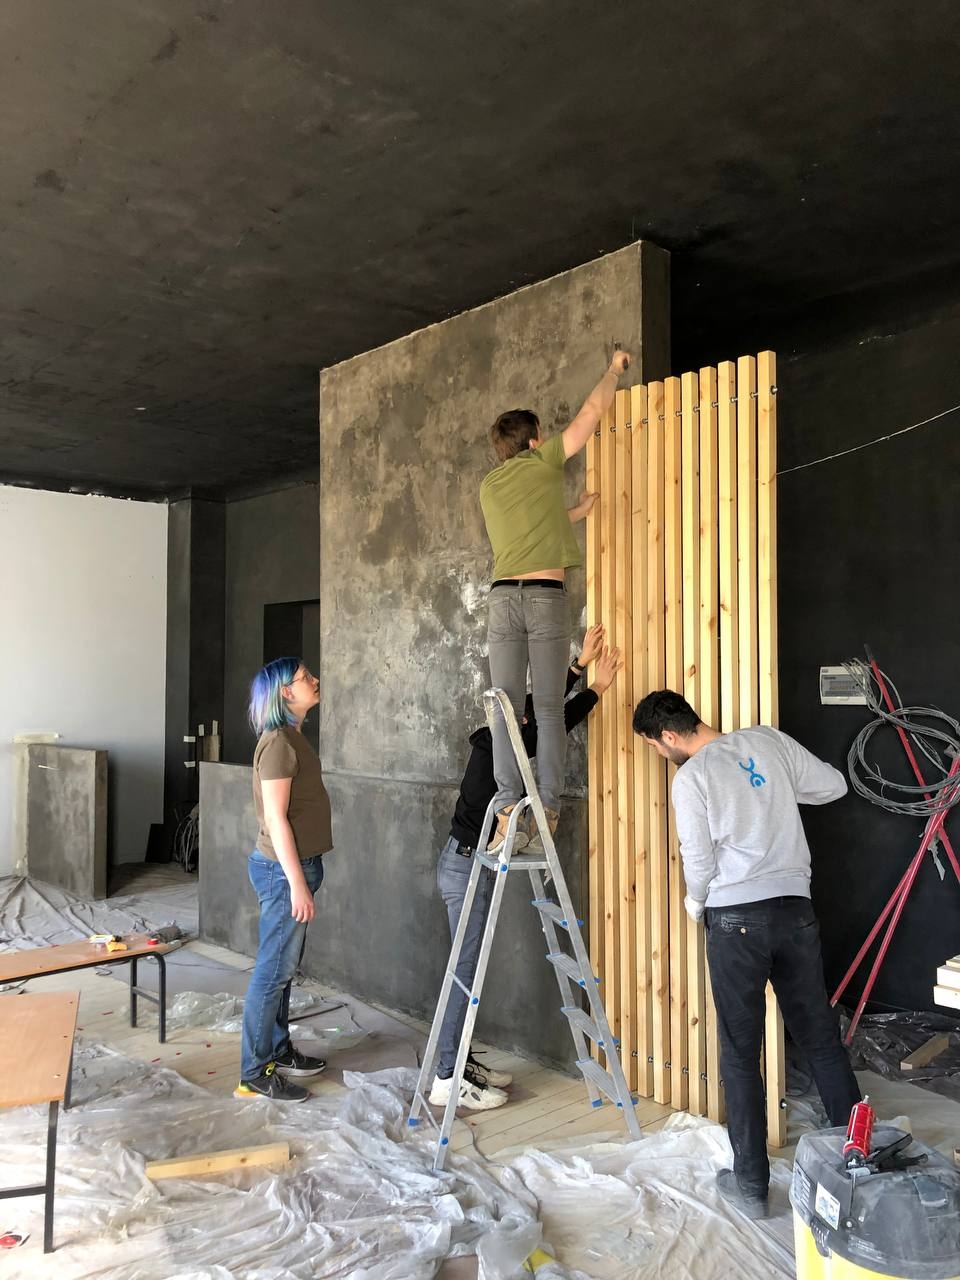
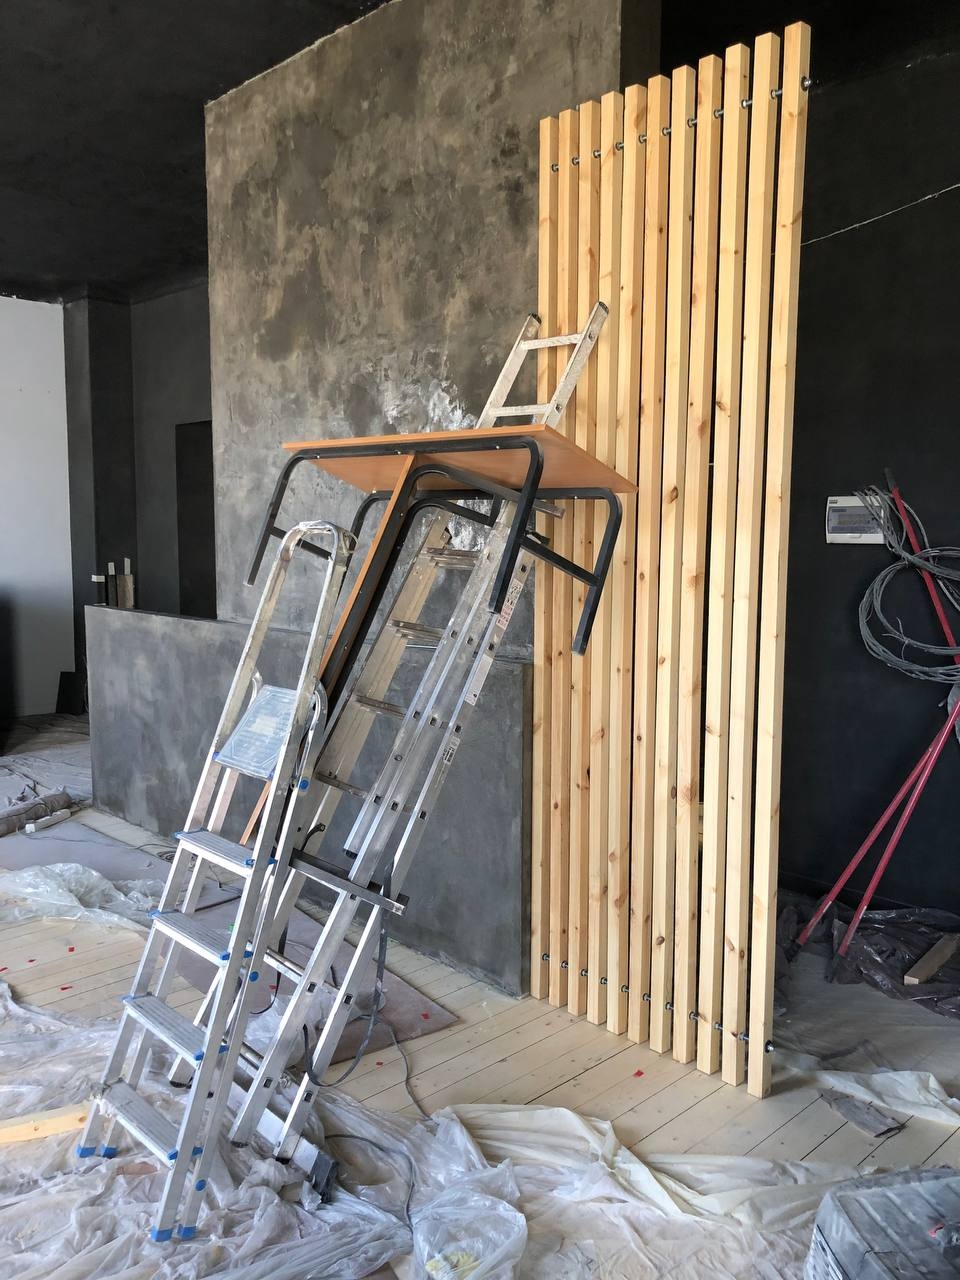
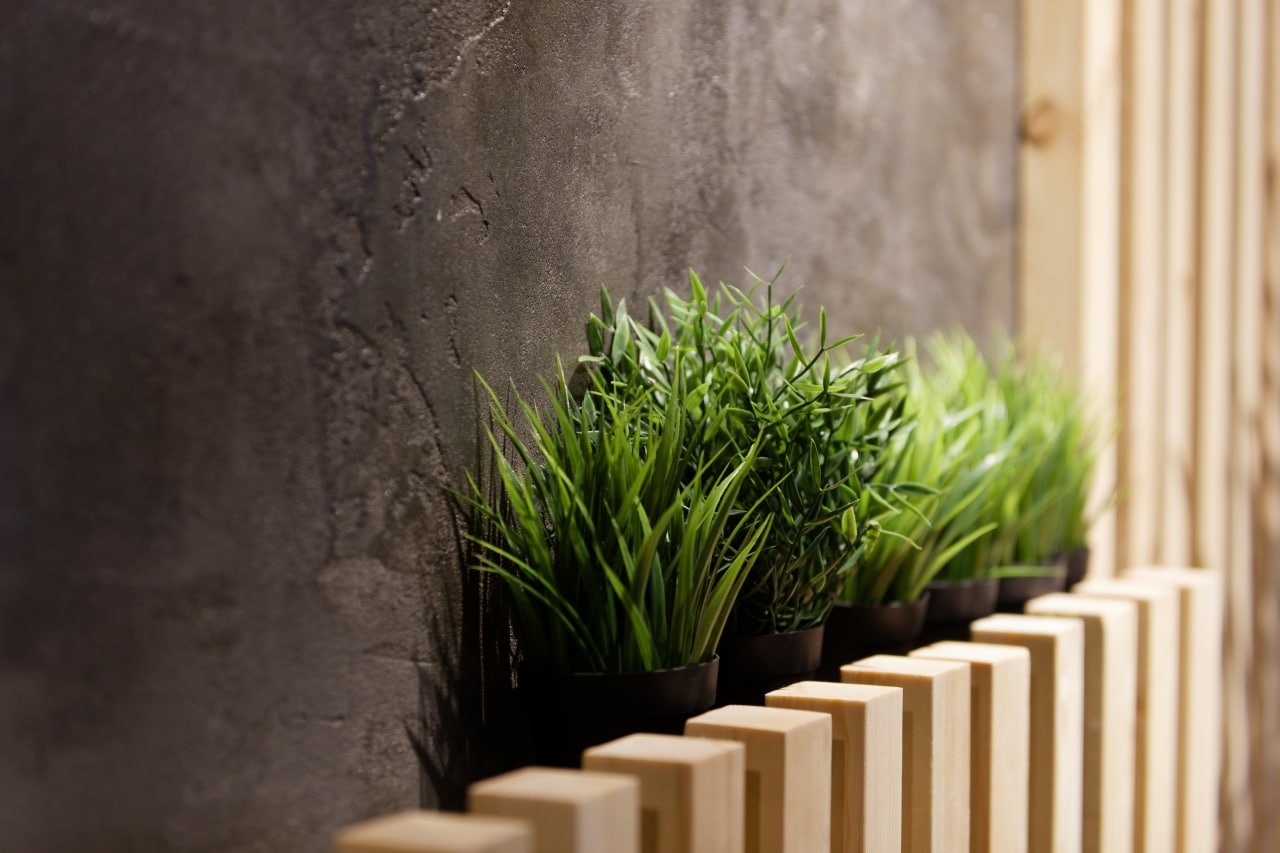
Slat wall, elements painting and light testing.


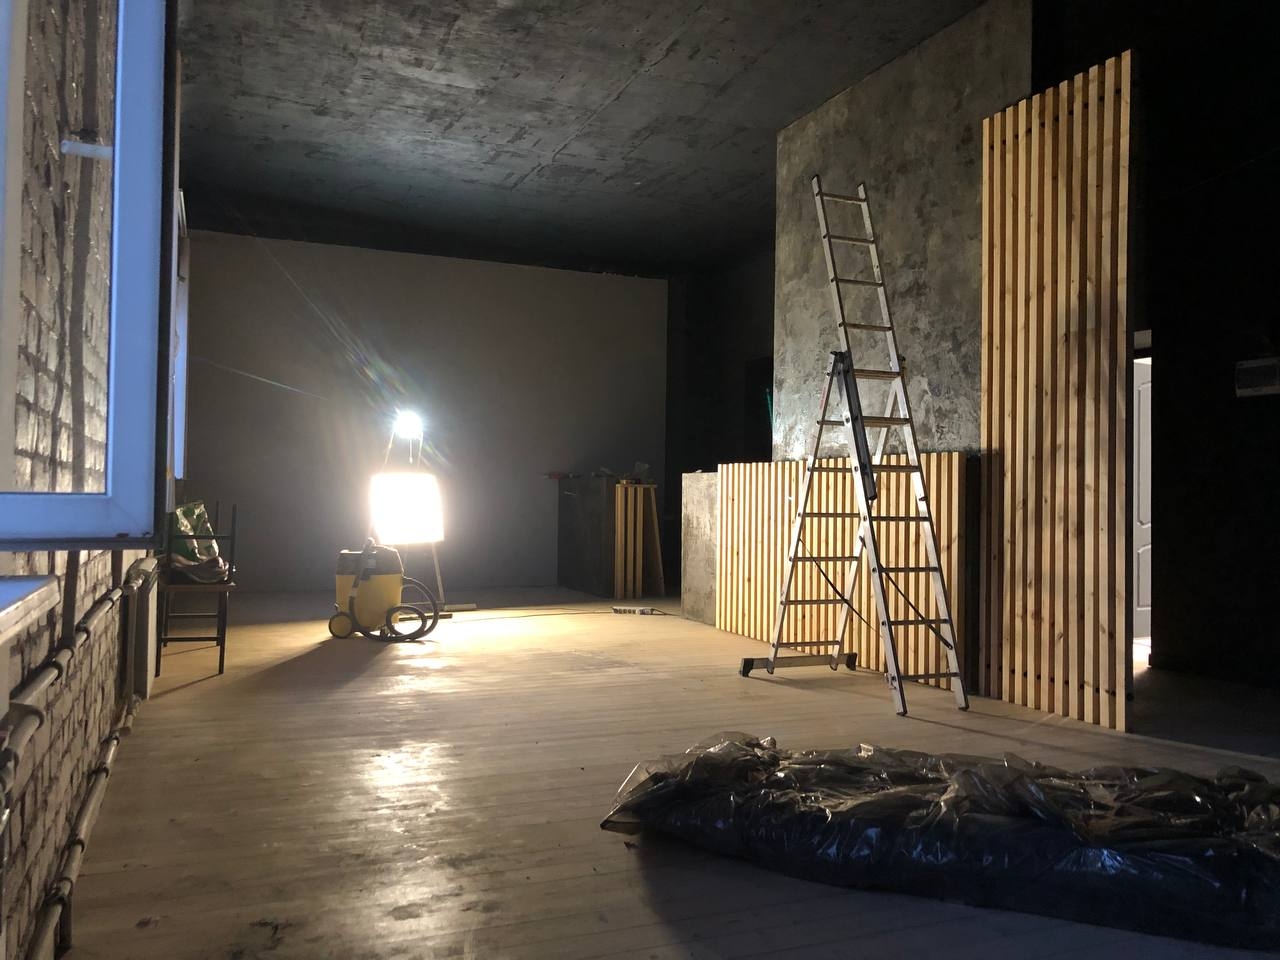
May 9
Slat wall again.

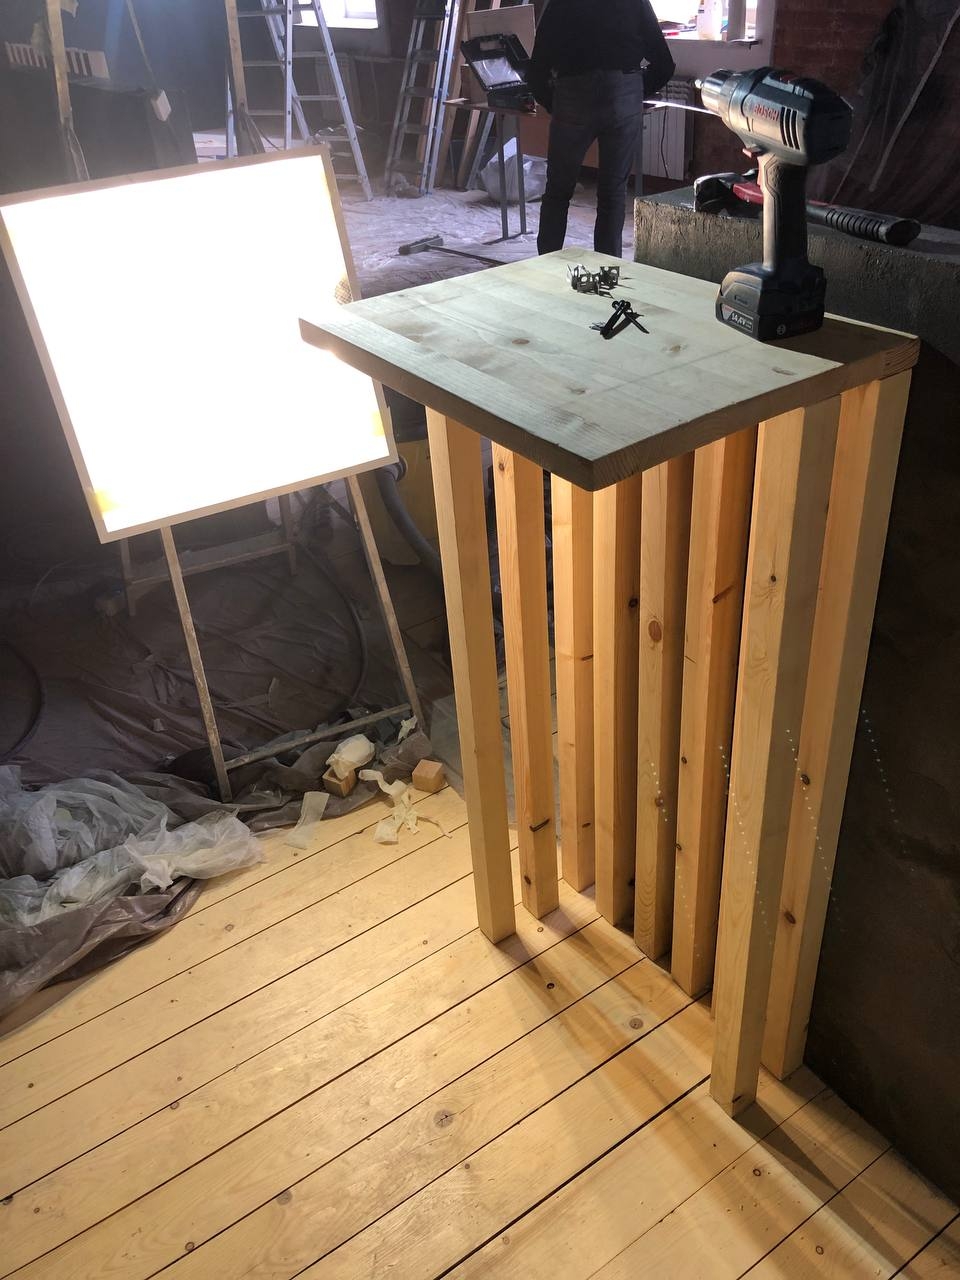
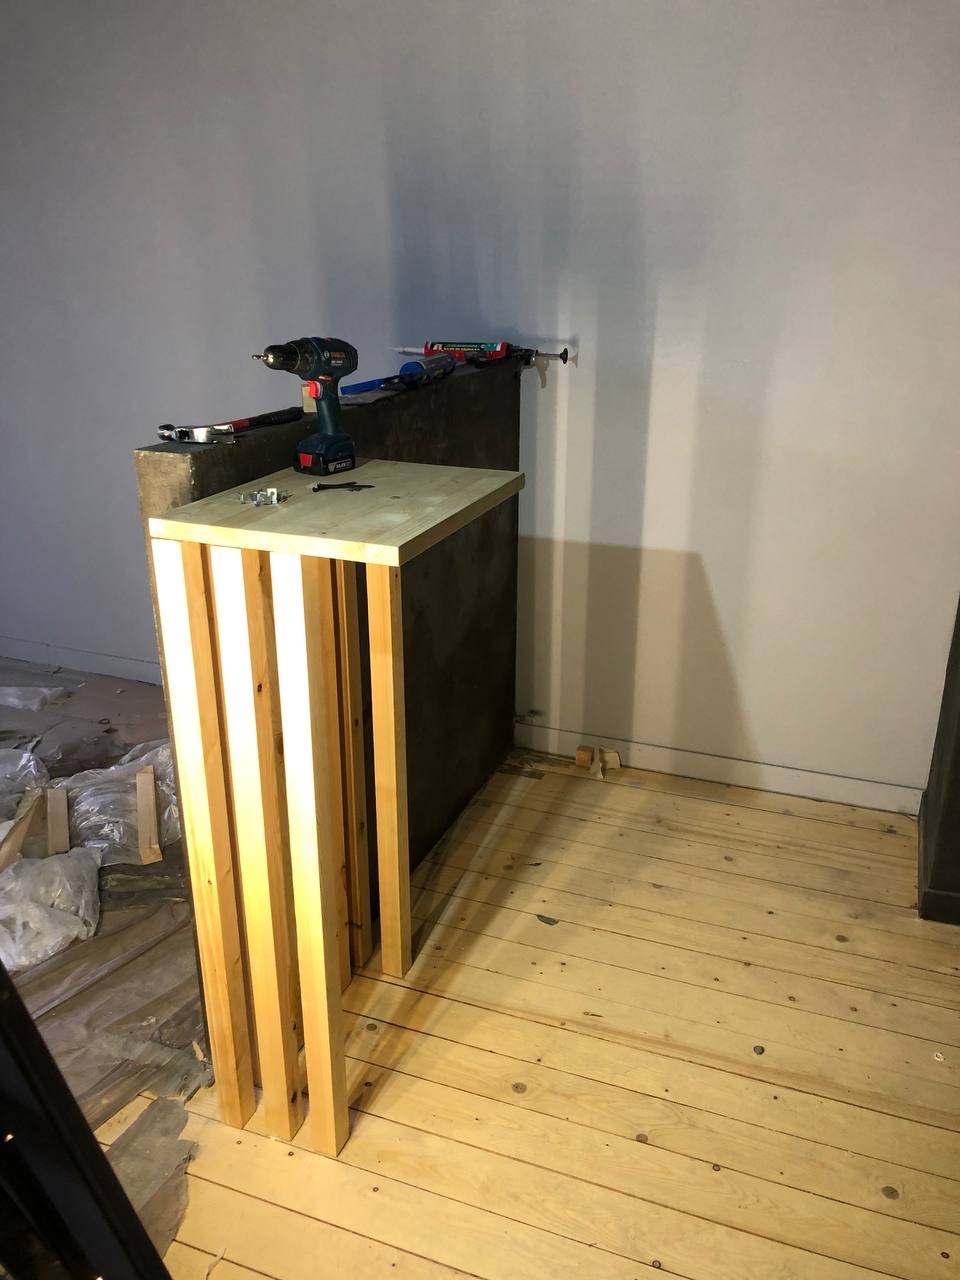
May 10
Coffee table and kitchen.
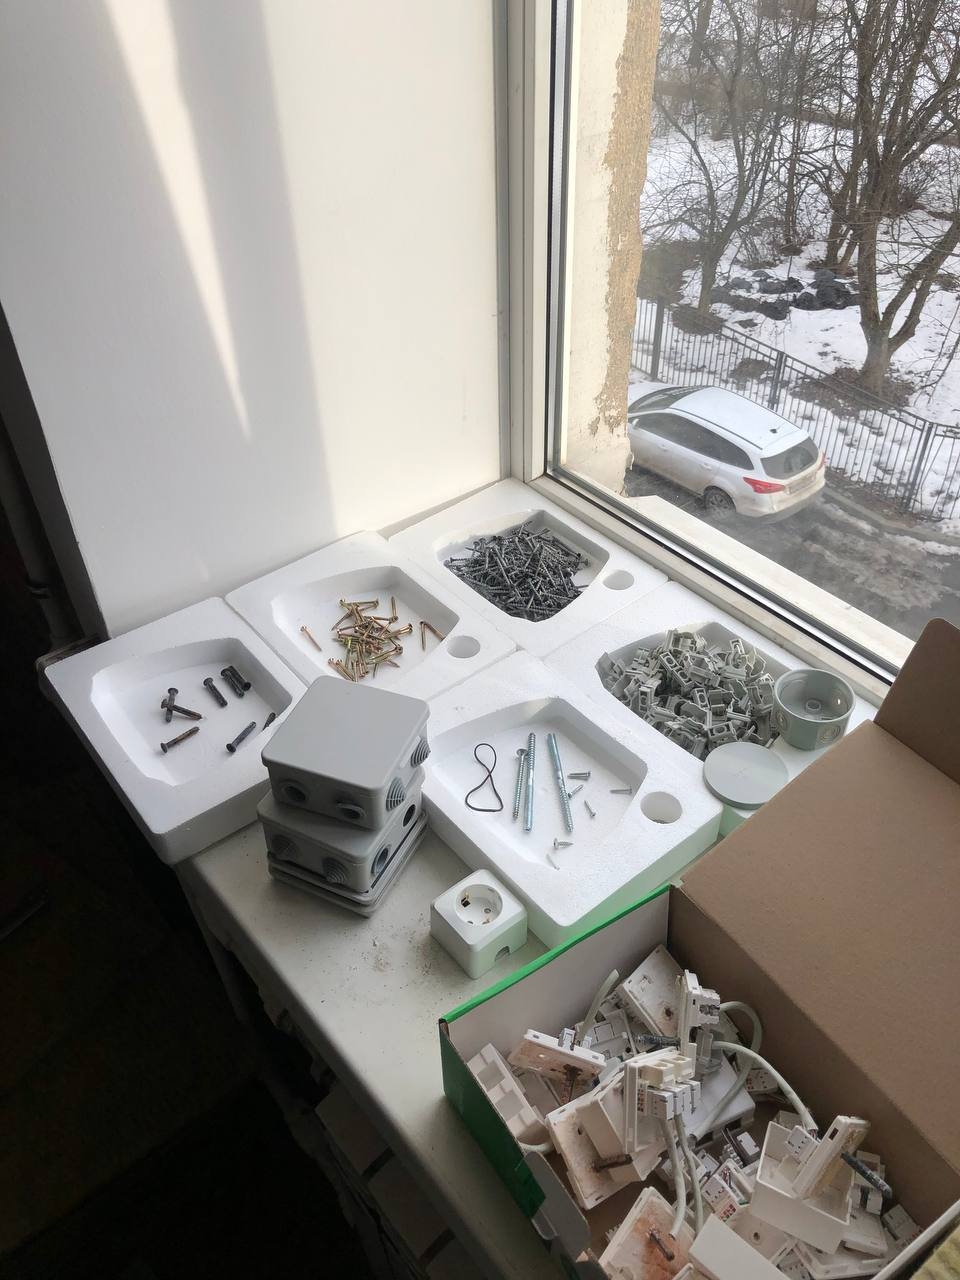
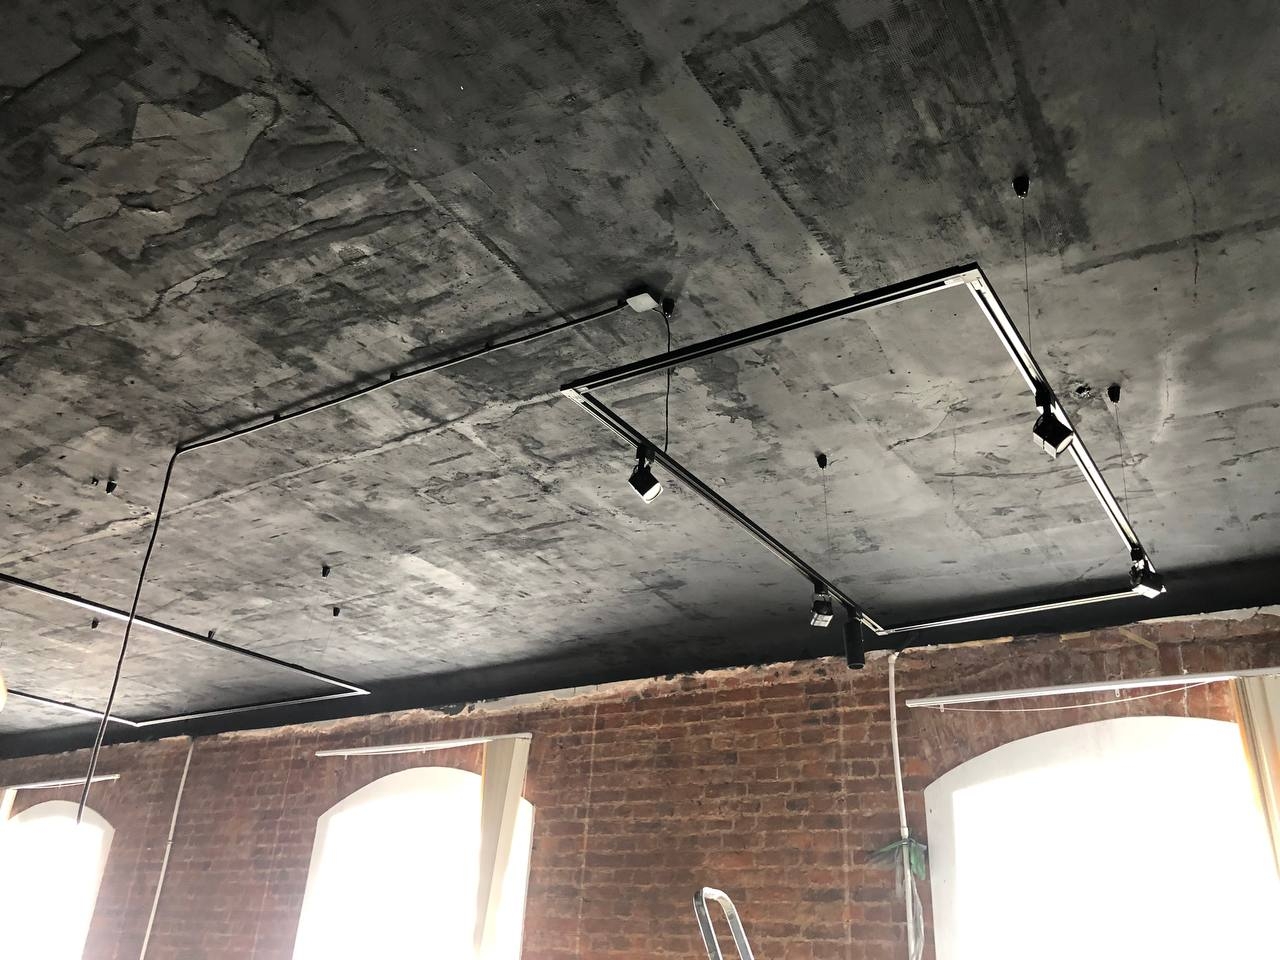
May 11
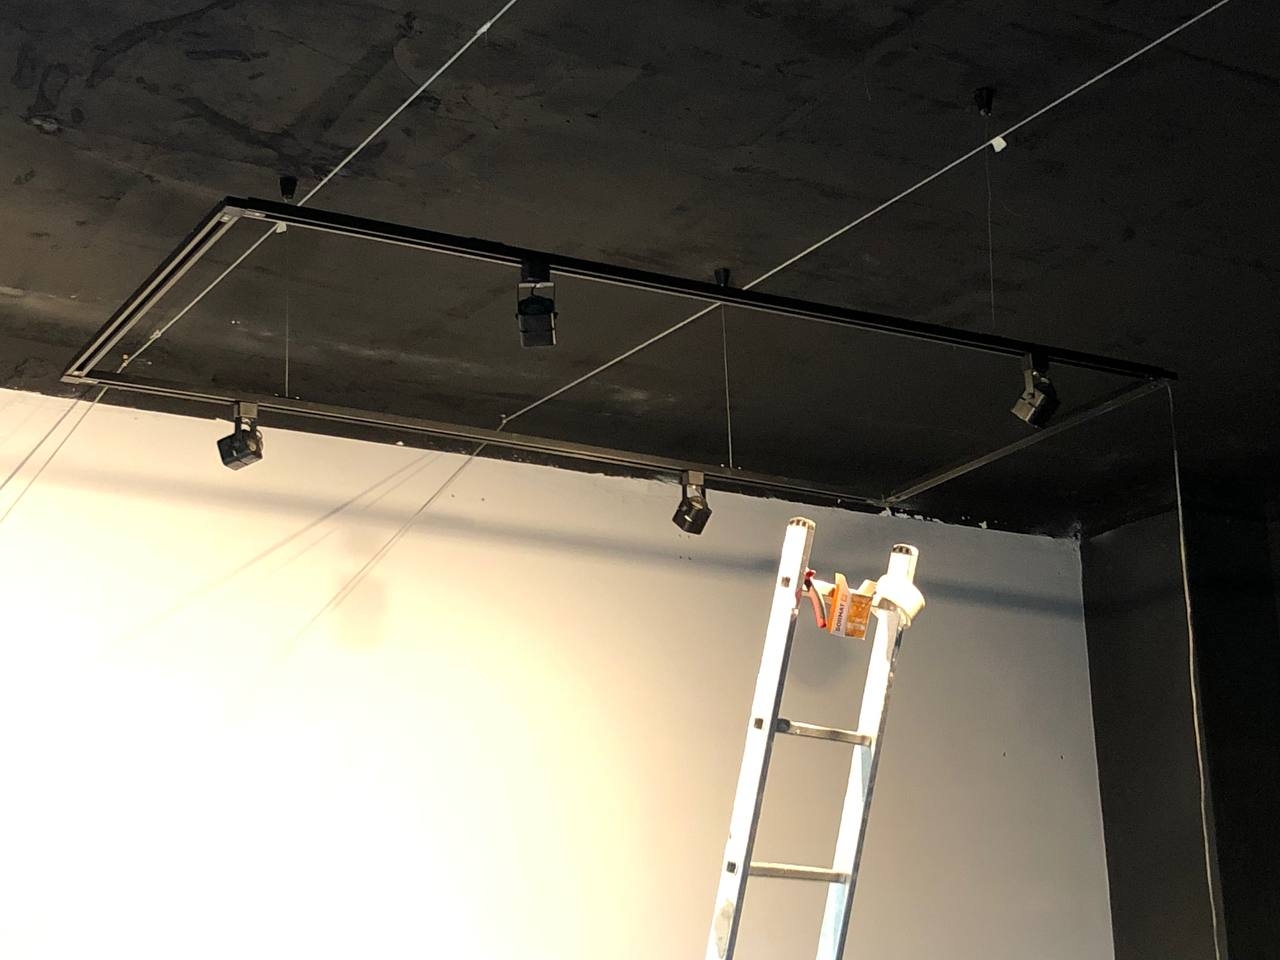
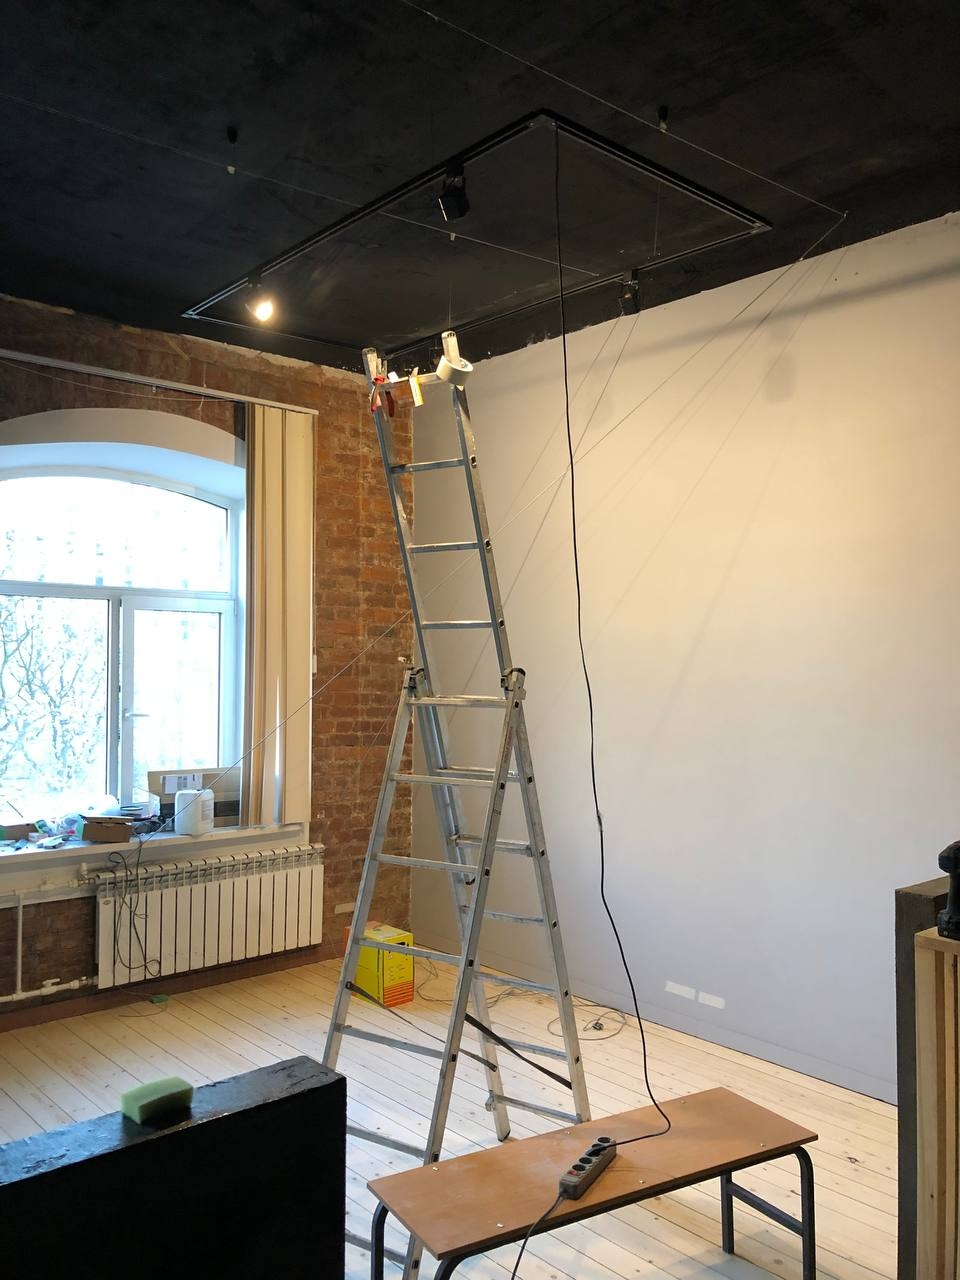
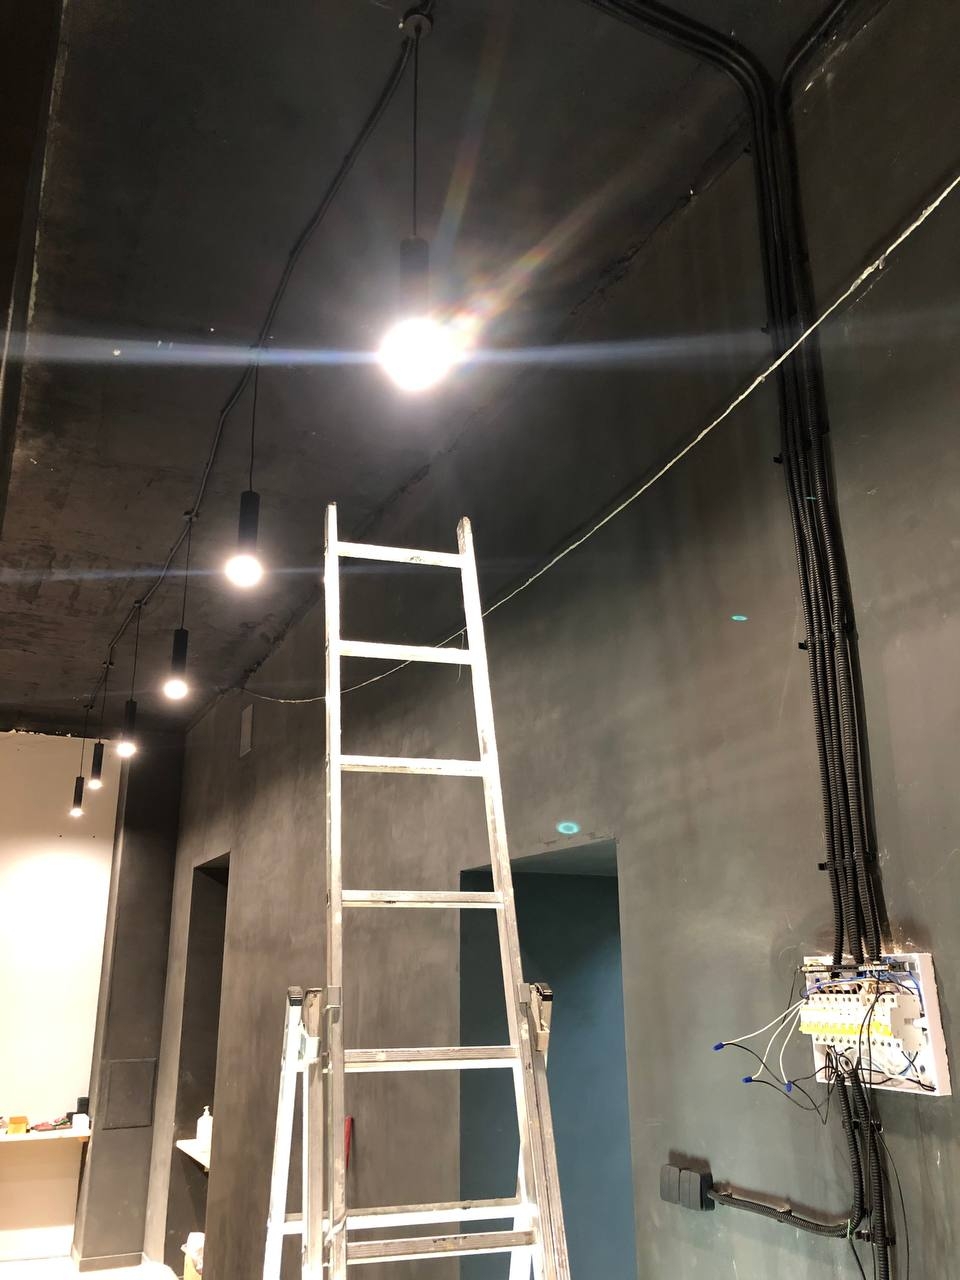
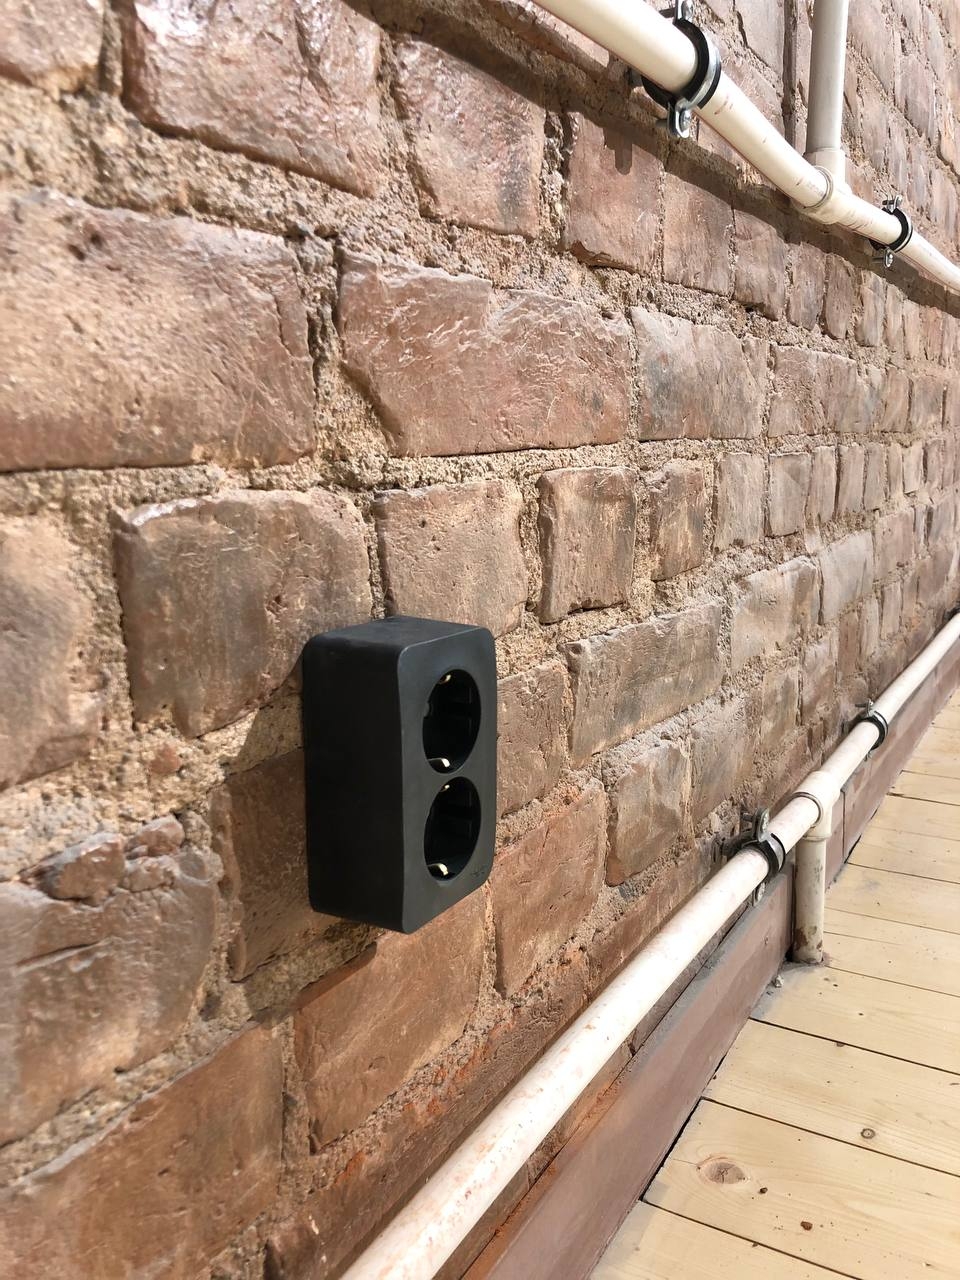
Light and electricity.

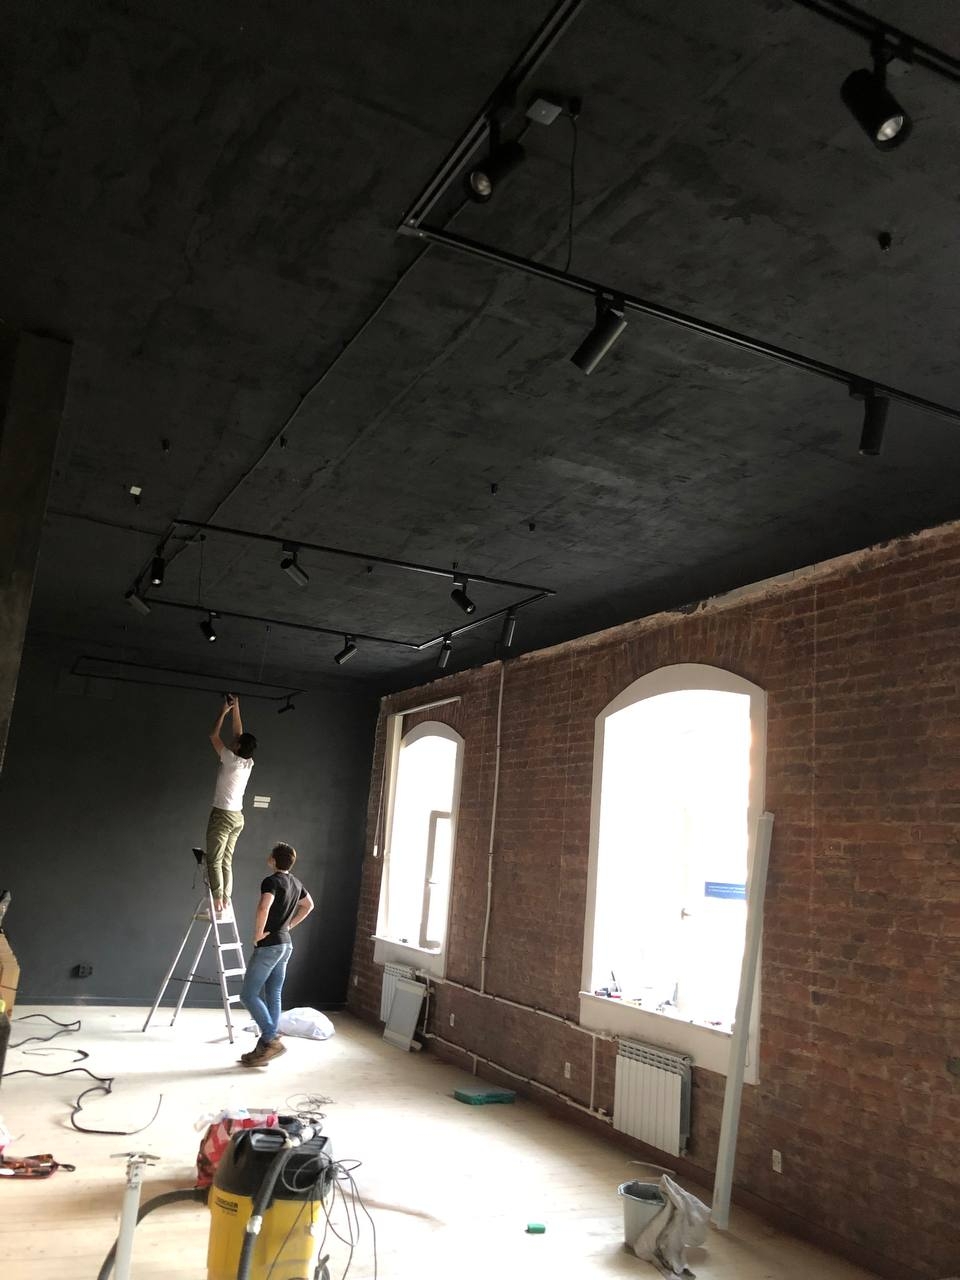
May 12
More light and electricity.
May 13
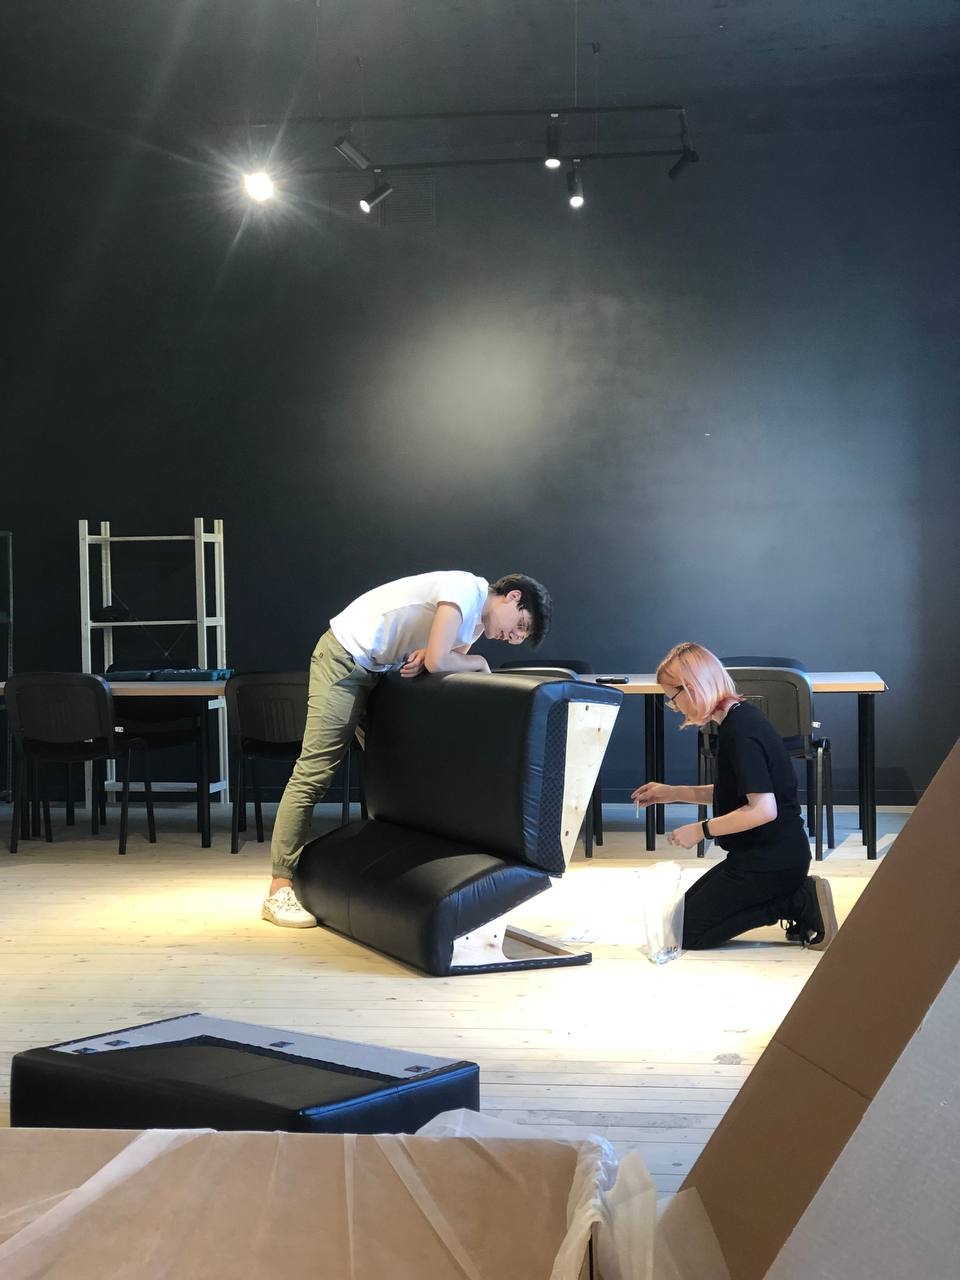
Furniture.

May 14 — Release

Come visit us.