
Let's imagine that I have Raspberry board, SD-card, my computer and no monitor, keyboard and mouse. And I need to boot, set up and run RPi for my purposes. Fortunately, this is not a problem.
This note will help you to beat the following questions:
- how to get and flash OS image;
- how to enable SSH and set up root access;
- how to set up WiFi and enable auto reconnection.
Operating system image
Every fresh installation of RPi OS begins at downloading a newest ISO image for system from the official site. I prefer "Raspberry Pi OS Lite" image for my experiments.
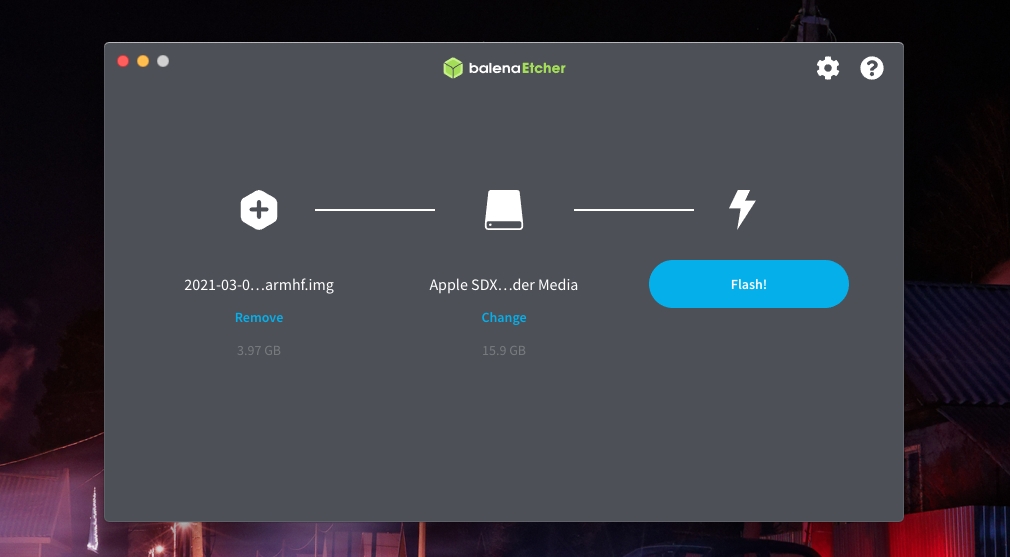
For flashing images to SD-cards I use balenaEther — free and open source tool for macOS, Windows and Linux.
Do not rush to put the memory card into RPi, read about SSH and WiFi.
Enable SSH
SSH access is disabled by default. But it you create an empty file named ssh in the root of SD-card (boot partition), after system installation you will be able to connect to RPi remotely.
Setting up WiFi
If you don't want to set up wireless internet connection or your RPi has no WiFi adapter then skip this block.
In the root of SD-card you also can create file wpa_supplicant.conf with the following content. Fill ssid and psk with your network information.
ctrl_interface=DIR=/var/run/wpa_supplicant GROUP=netdev
update_config=1
country=RU

network={
 ssid=“<WIFI_SSID>”
 psk=“<WIFI_PASSWORD>”
}
On the boot RPi will connect to this WiFi network.
Booting
Now you can place the SD-card into RPi and enable power. Wait for a few minutes and check your network for a new device. Or open your router settings and find raspberrypi device in the DHCP info page. You need to know it's IP address for connection. 192.168.100.8 for example.
Then use ssh to create a terminal session. User: pi, password: raspberry.
ssh pi@192.168.100.8
Enable root access
If you want to login as root user then in the RPi session open root console.
sudo -i
Create a directory for ssh config files for root user.
mkdir -p /root/.ssh
And create a file for public keys which can be used for auth. Paste here your public key.
nano /root/.ssh/authorized_keys
Save and exit (Ctrl+X, Y).
Now you can connect via the following command as a root user:
ssh root@192.168.100.8
WiFi auto reconnecting
Original note on GitHub Gists: Auto reconnect to wifi when lost connect.
Create a new script wifi-reconnect.
nano /usr/local/bin/wifi-reconnect
Paste here the following code.
#!/bin/bash

SSID=$(/sbin/iwgetid --raw)

if [ -z "$SSID" ]
then
    echo "`date -Is` WiFi interface is down, trying to reconnect" >> /home/pi/wifi-log.txt
    sudo ifconfig wlan0 down
    sleep 30
    sudo ifconfig wlan0 up
fi

echo "WiFi check finished"
Allow script running.
chmod +x /usr/local/bin/wifi-reconnect
And enable run once per minute via Crontab crontab -e. Paste here this line:
* * * * * wifi-reconnect
Now your RPi will check for a WiFi network name every minute. If it is missing script will try to rerun wlan interface.
Conclusion
These tips I use every time when I need to set up and run for a new RPi machine.
In the next articles I will tell about setting up a SSH tunnel, Docker and Node.js environment installation, my expirience of creating a smart hub for Apple Home and IoT.